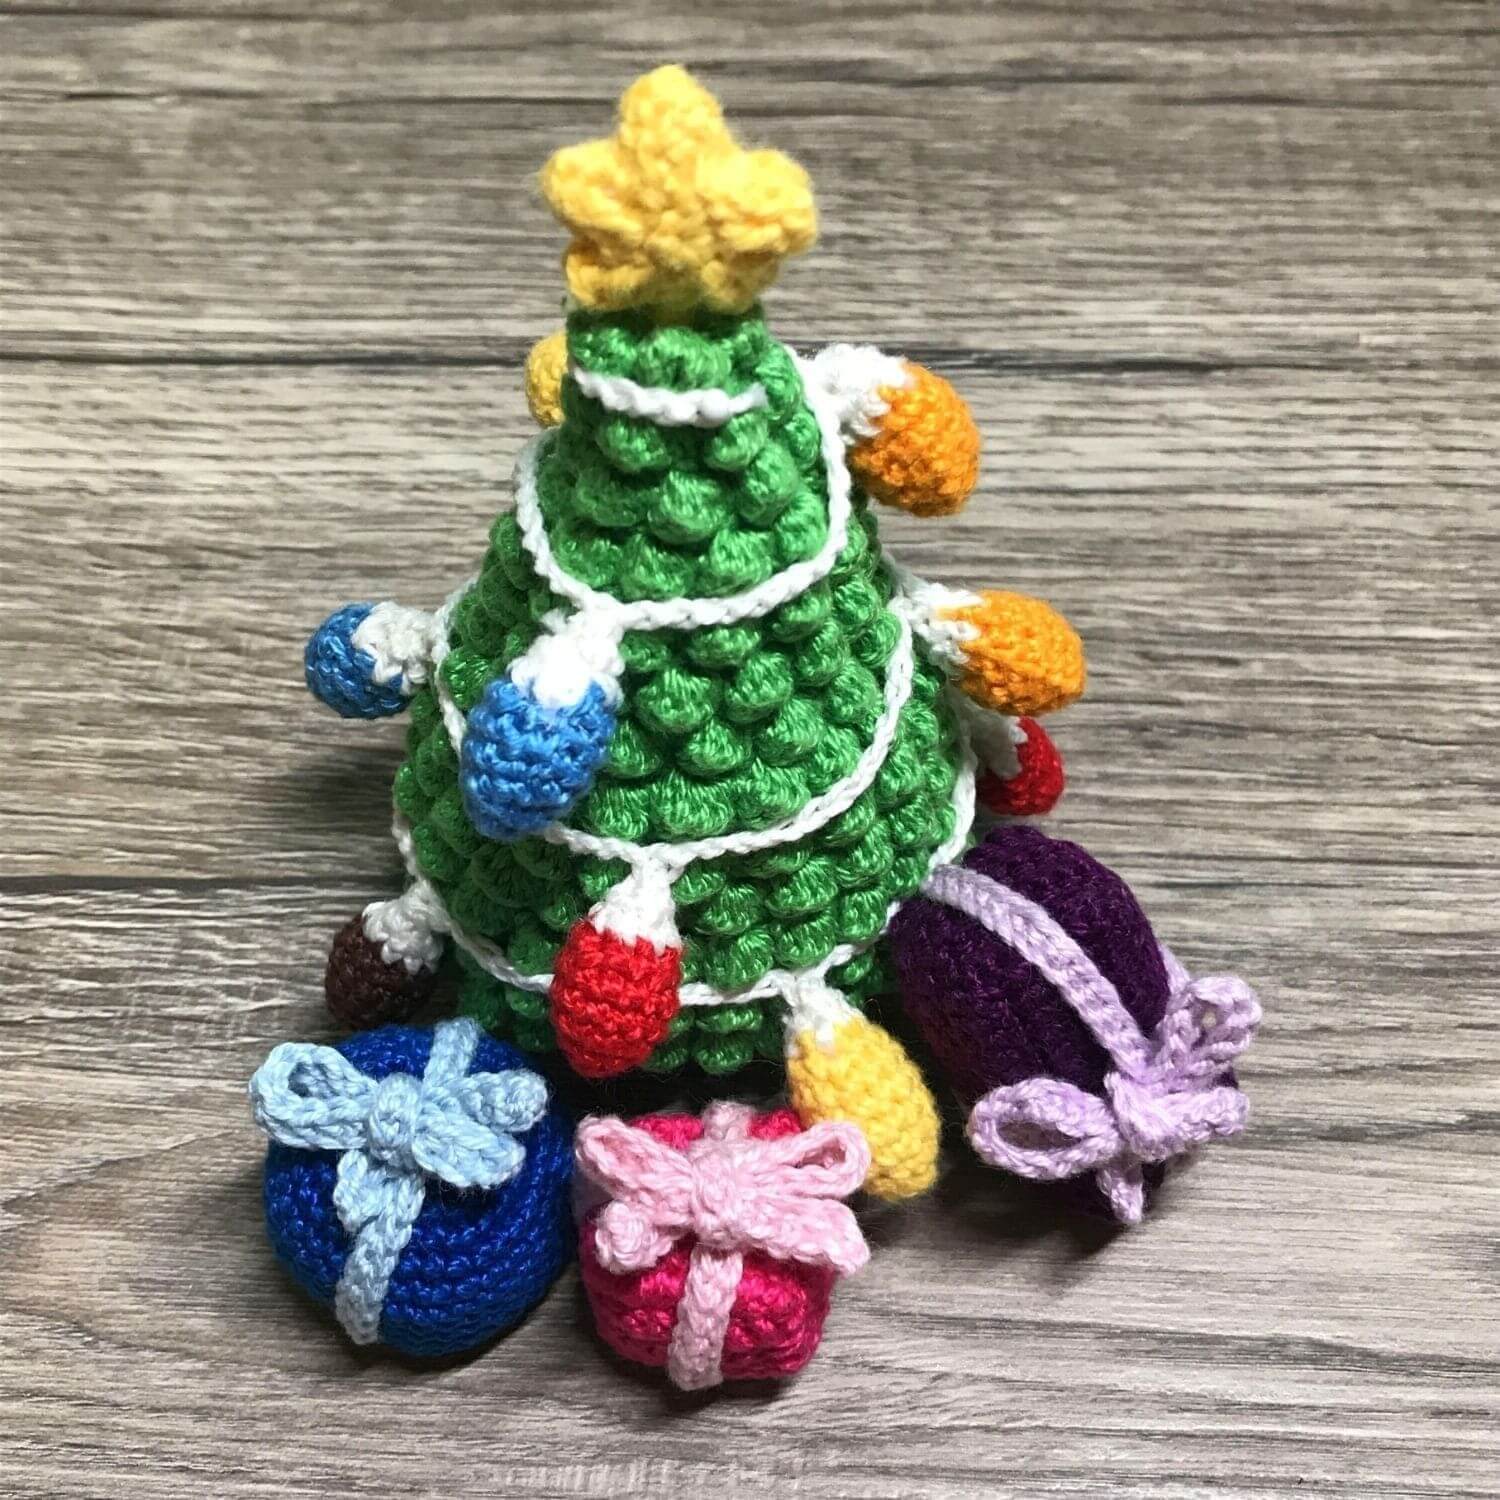
Decorate your Christmas tree: Desk Mini Christmas tree with Christmas lights/ stars/gift boxes
Tip:How do you read tutorial articles more easily? Ms. Tina has organized a short version of its diagram text for you on instagram. The article is very easy to understand. You can save it and watch it whenever you want. Besides, you can try to do it and follow with the article below.
Subscribe E-newspaper, so you can get more crochet patterns.
Table of Content
Christmas tree with light
【Ingredient Format】
- Lace color: green, yellow.
- 1.75mm crochet
【Free Pattern】
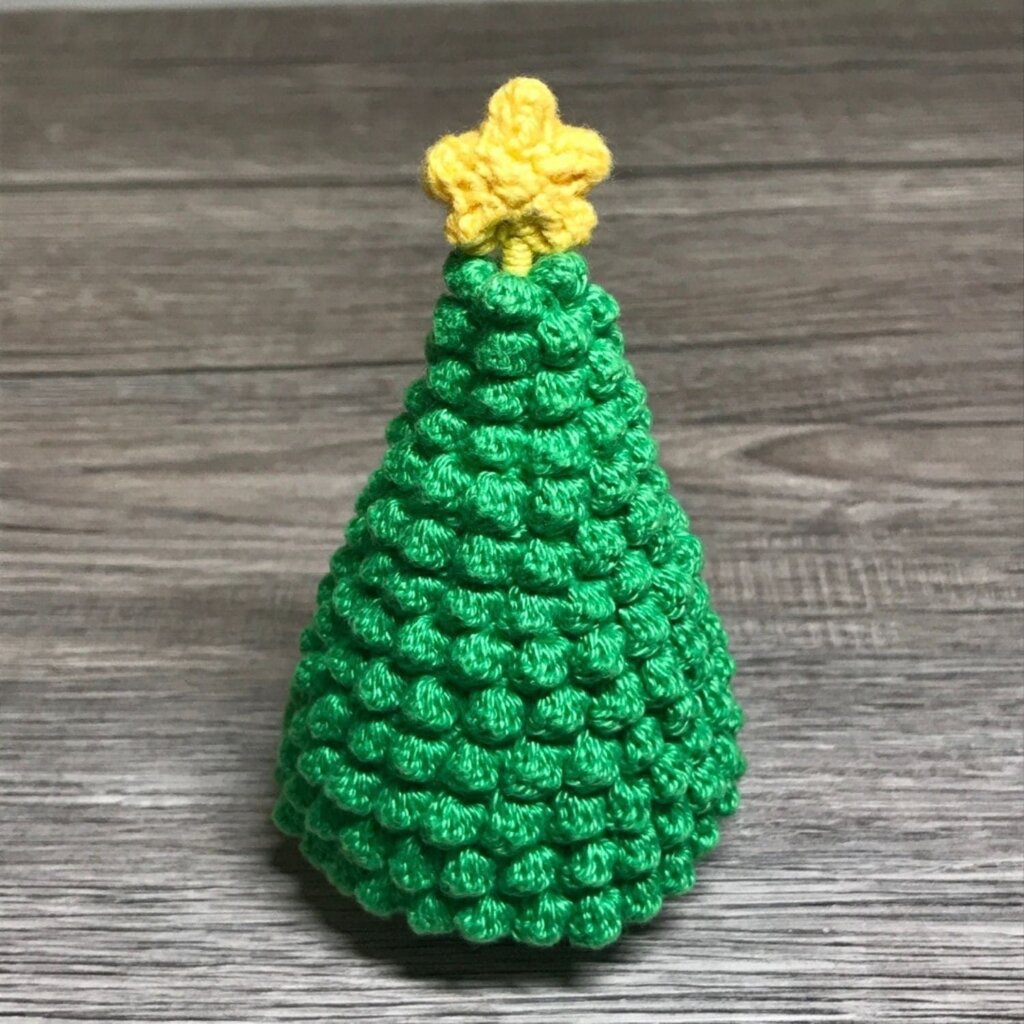
Green tree’s main body
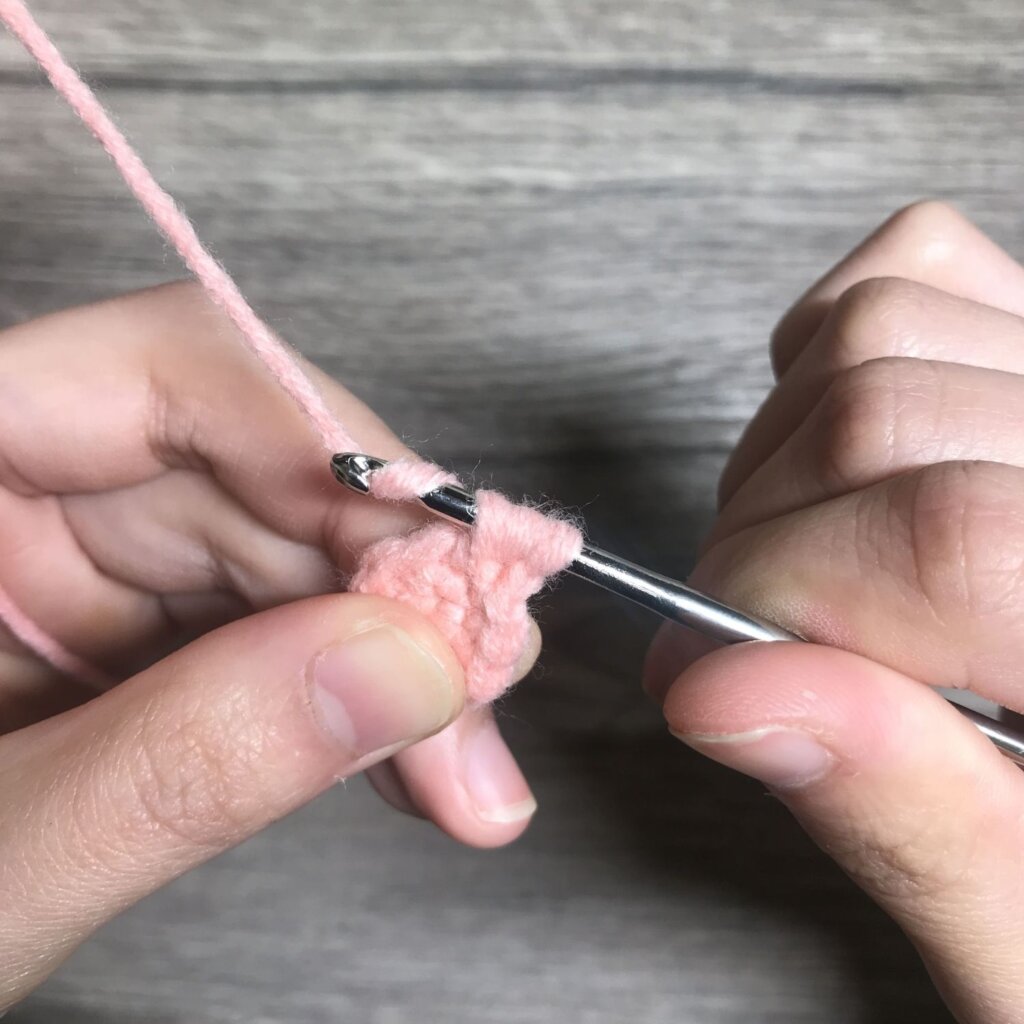
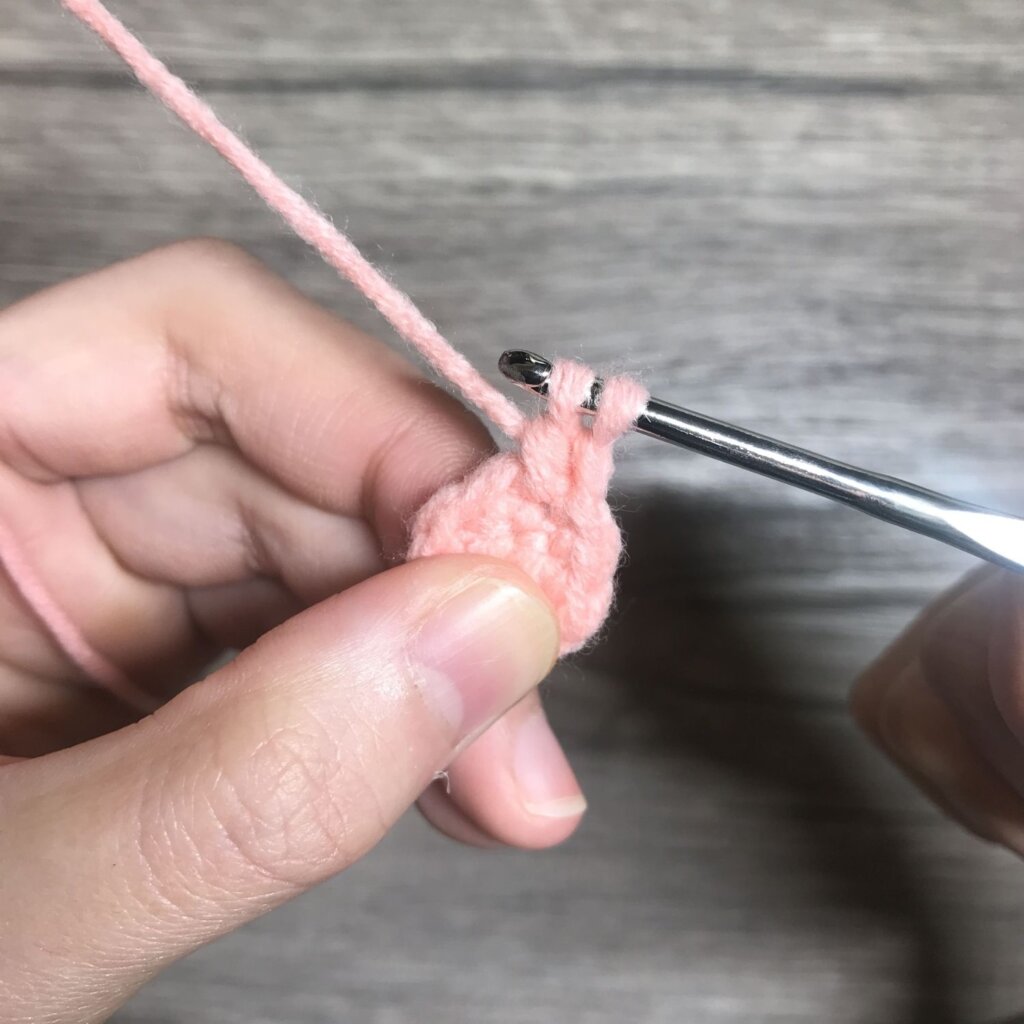
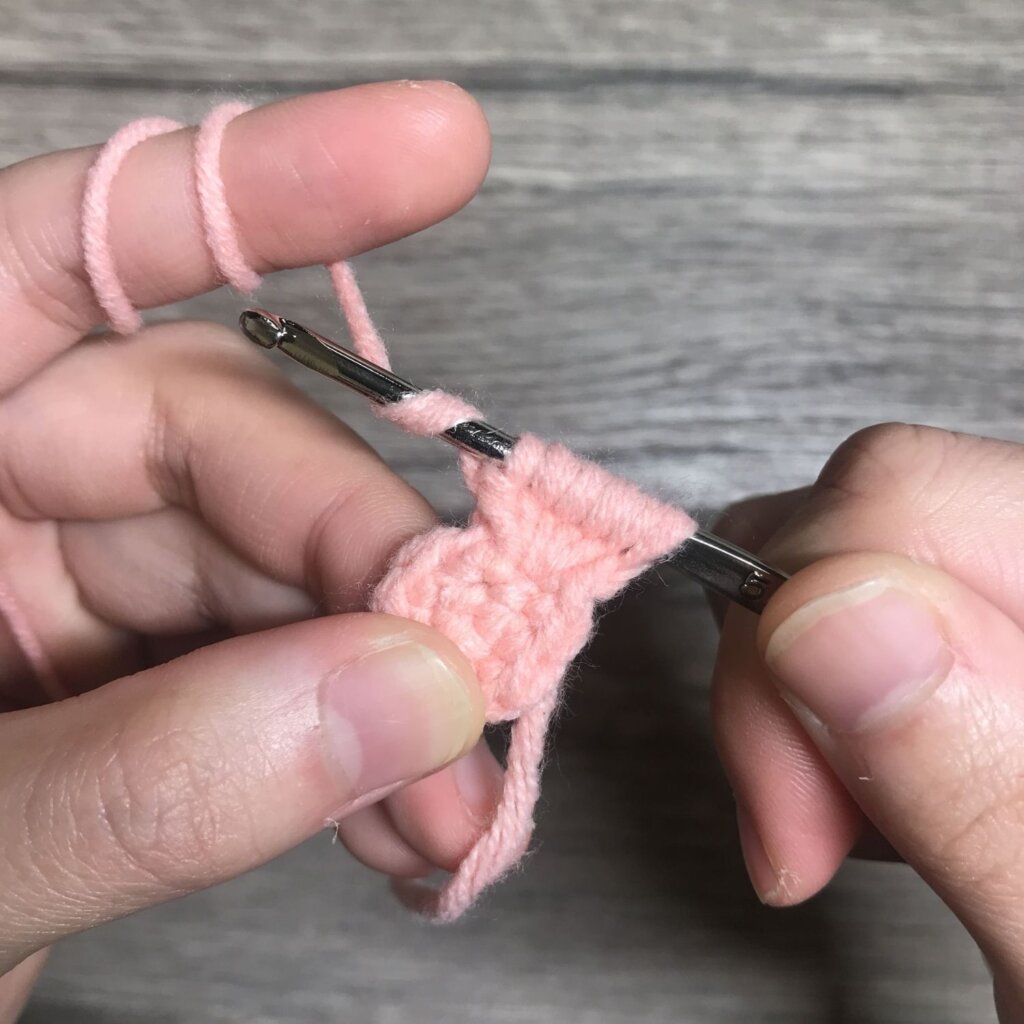
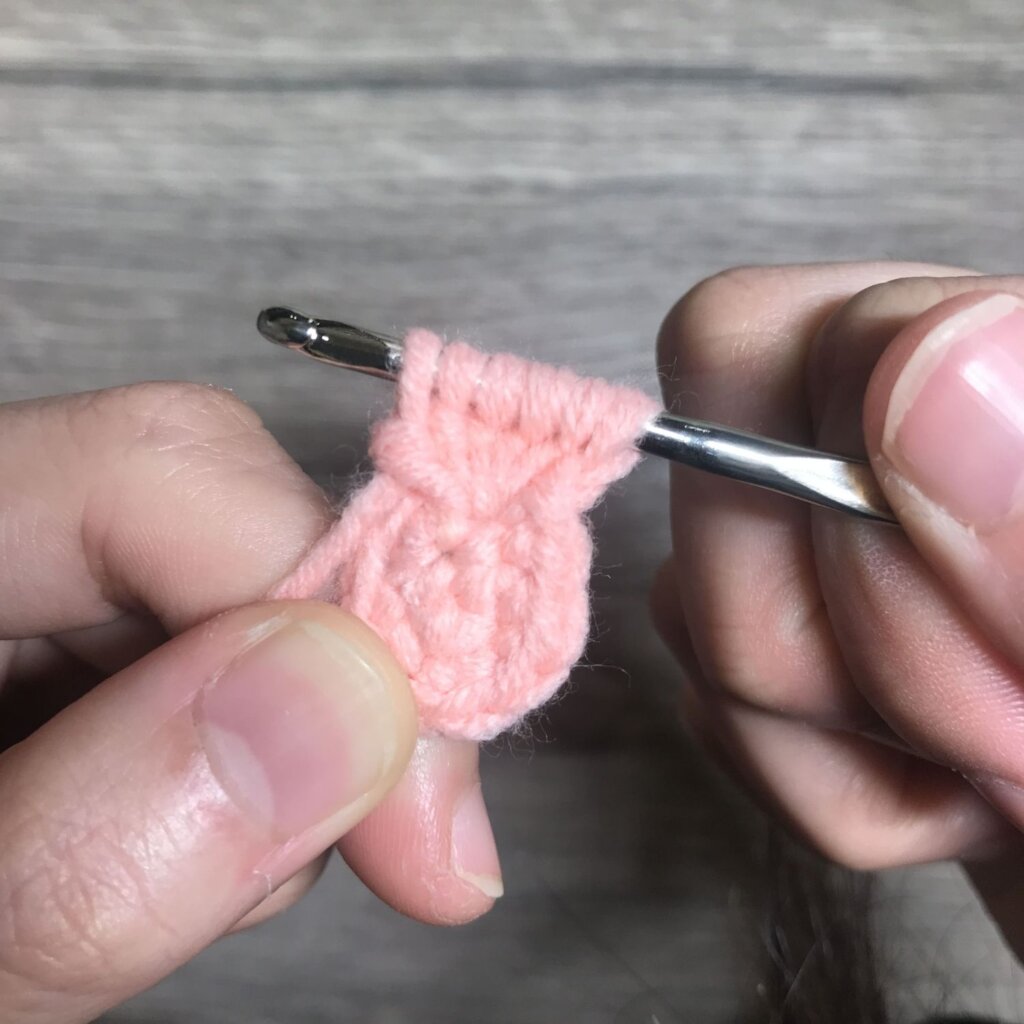
**bubble stitch is symbolized as “P” ,and single crochet is represented as “X”!
R1:4 sc in the MR(4)
R2:4V(8)
R3:(P,X)*4(8)
R4:turn (X,V)*4(12)
R5:turn (P,X)*6(12)
R6:turn (2X,V)*4(16)
R7:turn (P,X)*8(16)
R8:turn (3X,V)*4(20)
R9:turn (P,X)*10(10)
R10:turn (4X,V)*4(24)
R11:turn (P,X)*12(24)
R12:turn (5X,V)*4(28)
R13:turn (P,X)*14(28)
R14:turn (6X,V)*4(32)
**What’s backwards knitting? Why do we do that? When knitting a christmas tree, we usually knit along the way, but in the single crochet, the even number of turns is in reverse of the last turn( odd number of turns). By the way, there’s a difference between the front and back in crocheting; therefore, we have to knit it in reverse. Just remember that the last stitch in the previous direction is the first stitch next.
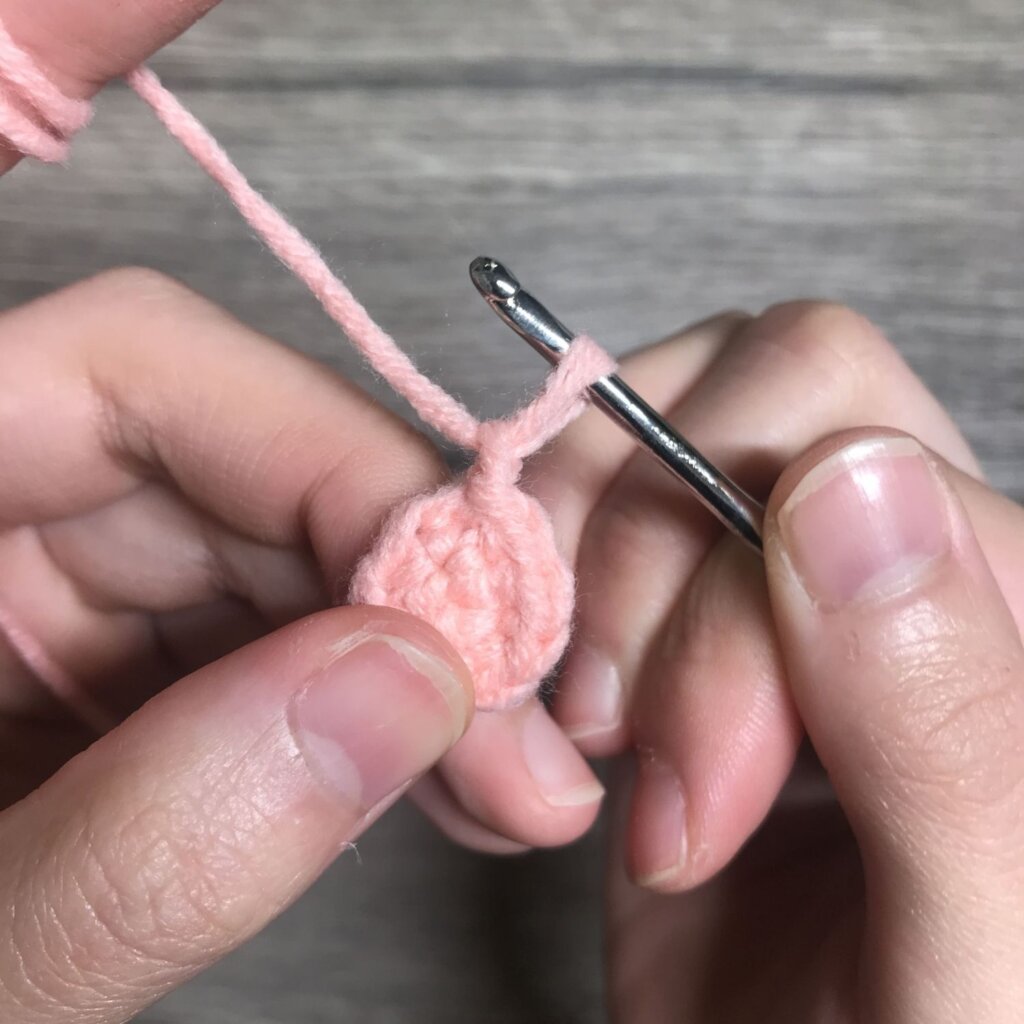
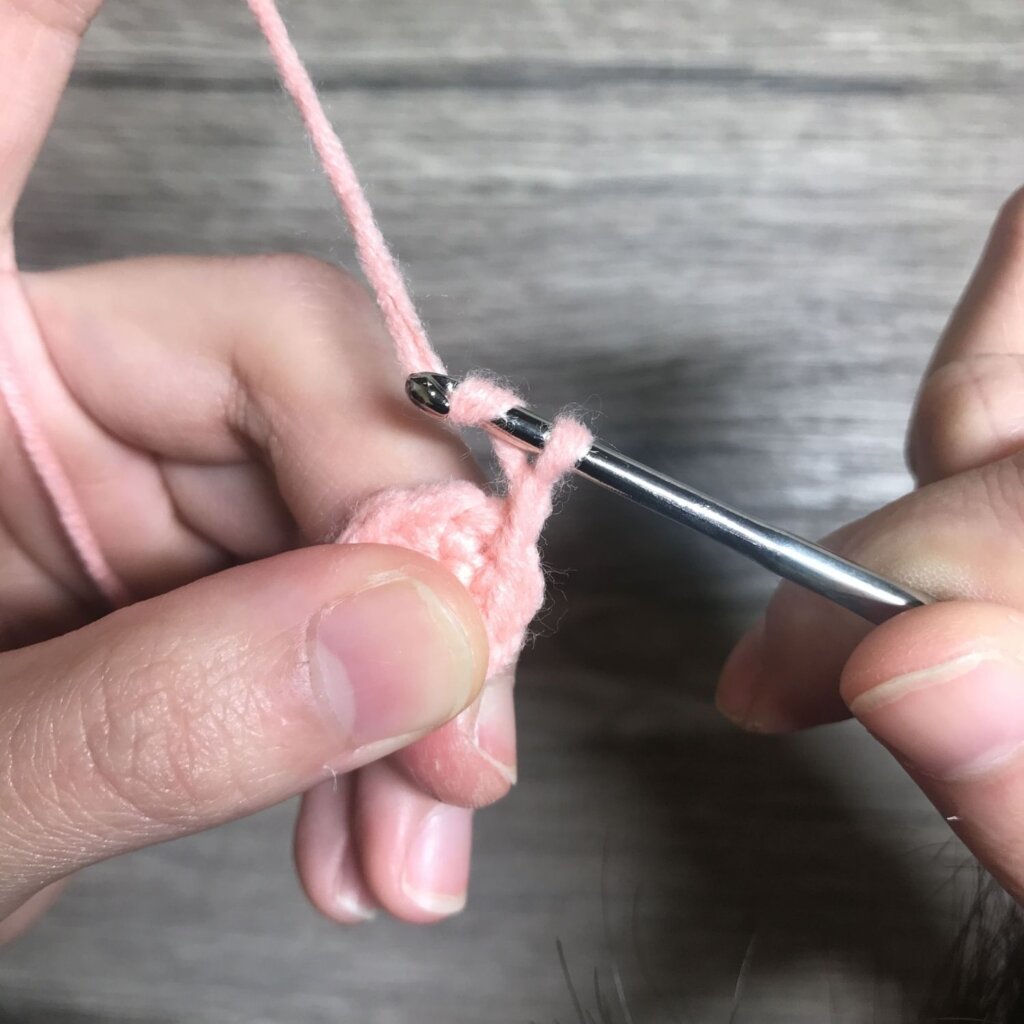
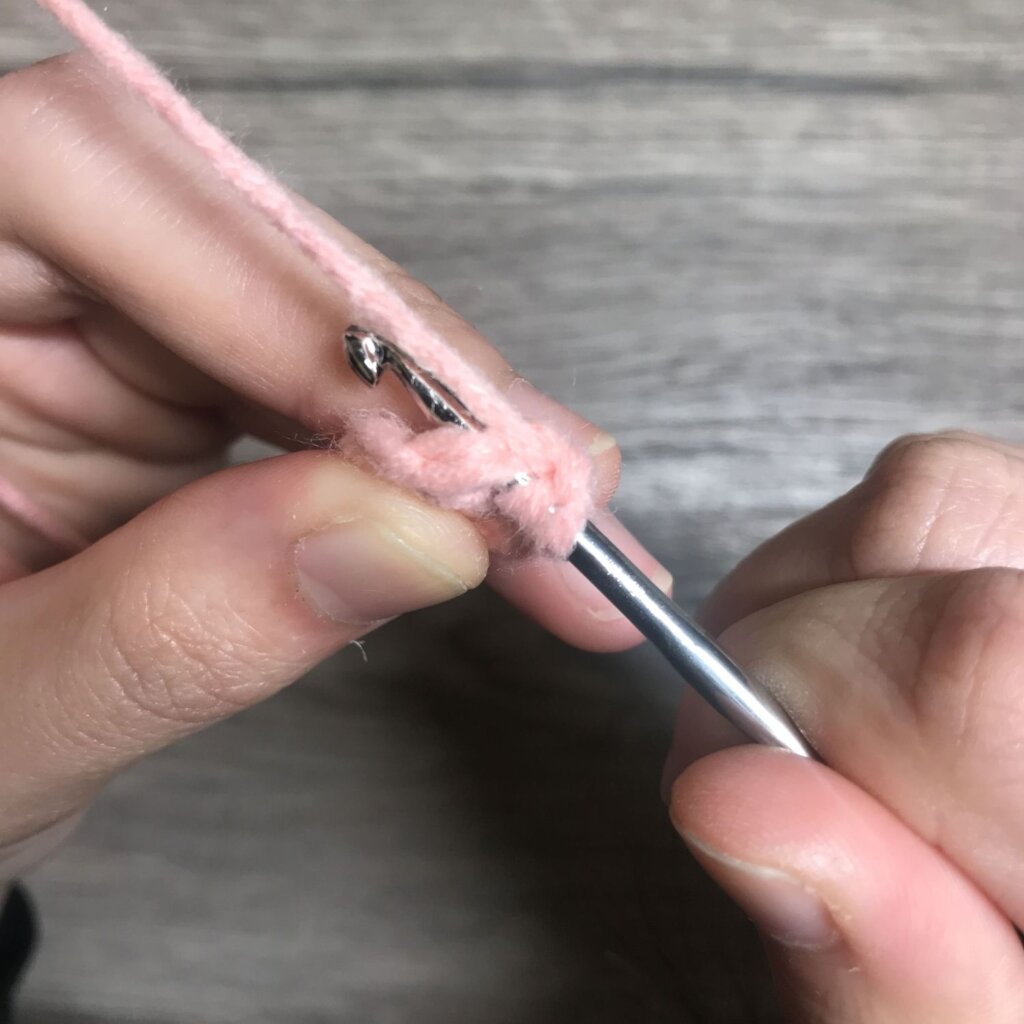
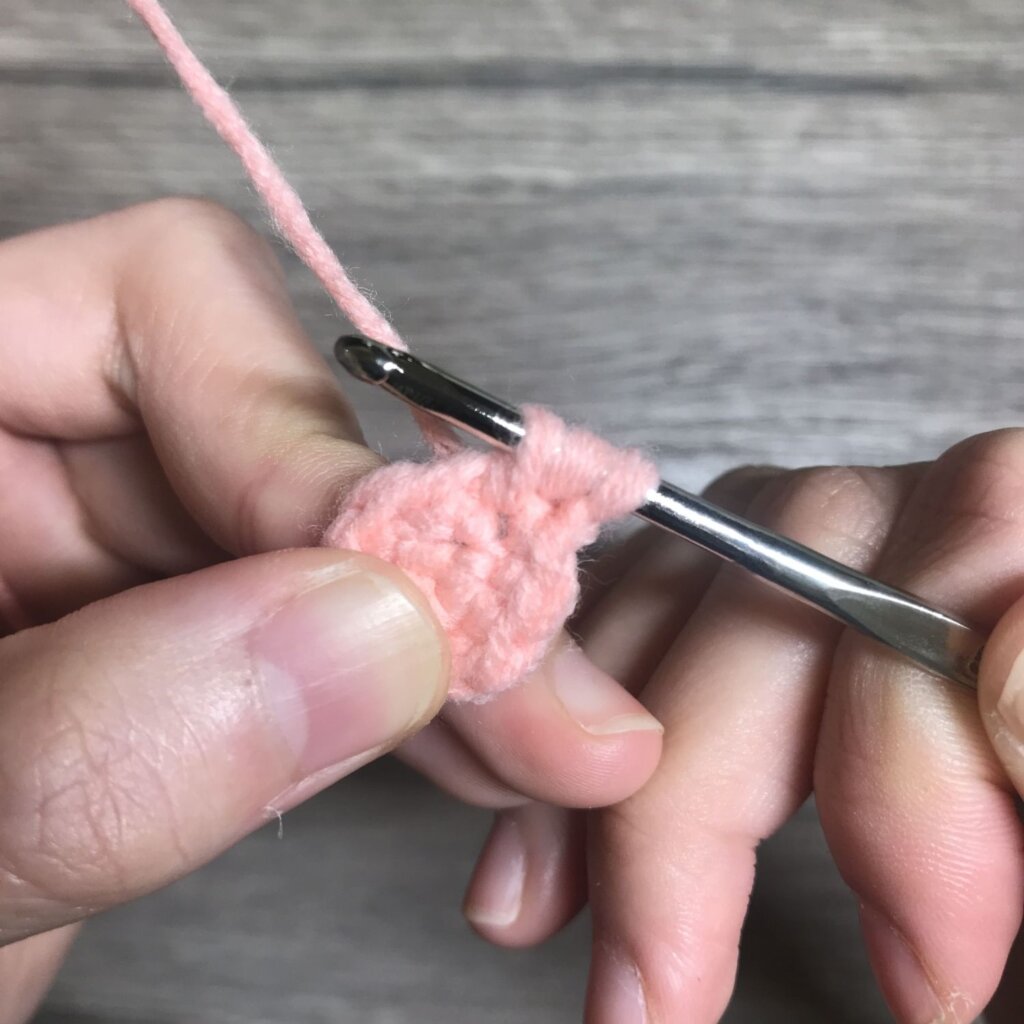
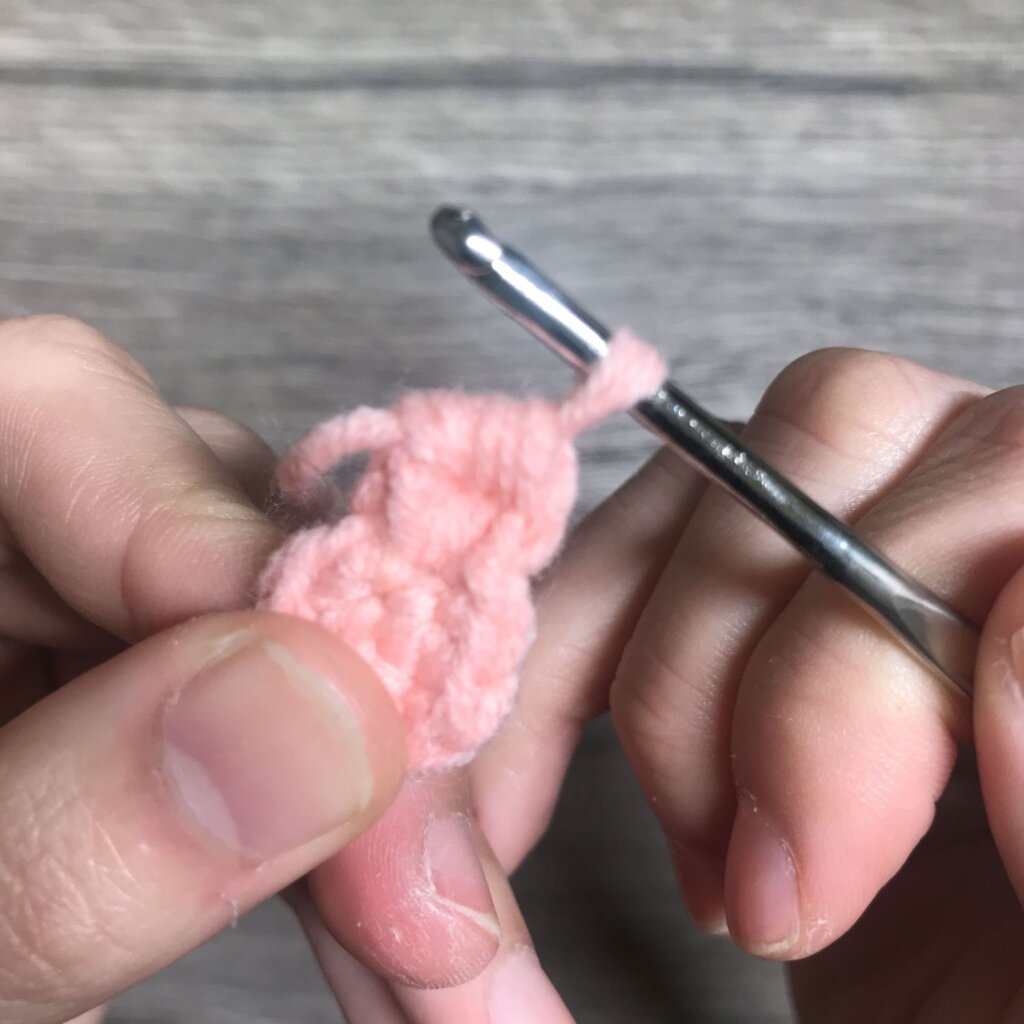
Bubble stitch tutorial diagram:
The bottom of tree
R15:Follow with the main body and keep going. (6X,A)*4(28)
R16: (5X,A)*4(24)
R17:(4X,A)*4(20) Stuff cotton in this turn.
R18:(3X,A)*4(16)
R19:(2X,A)*4(12)
R20:6A(6)
Star
Knit 2 pieces of pentagons and combine them.
Start with 2 chain stitches and knit half double crochet (T), and then add 1 single crochet in the same stitch and knit 2 pieces of stars and sew them together, and then stuff cotton. After that, use an aluminium wire to fix the stitch with the bottom of the tree. And pierce on the tip of the tree with a needle, and put the star on the tip.
R1:5 sc in the MR(5)
R2:2 chains, (T,X)*5 (10)
Gifts
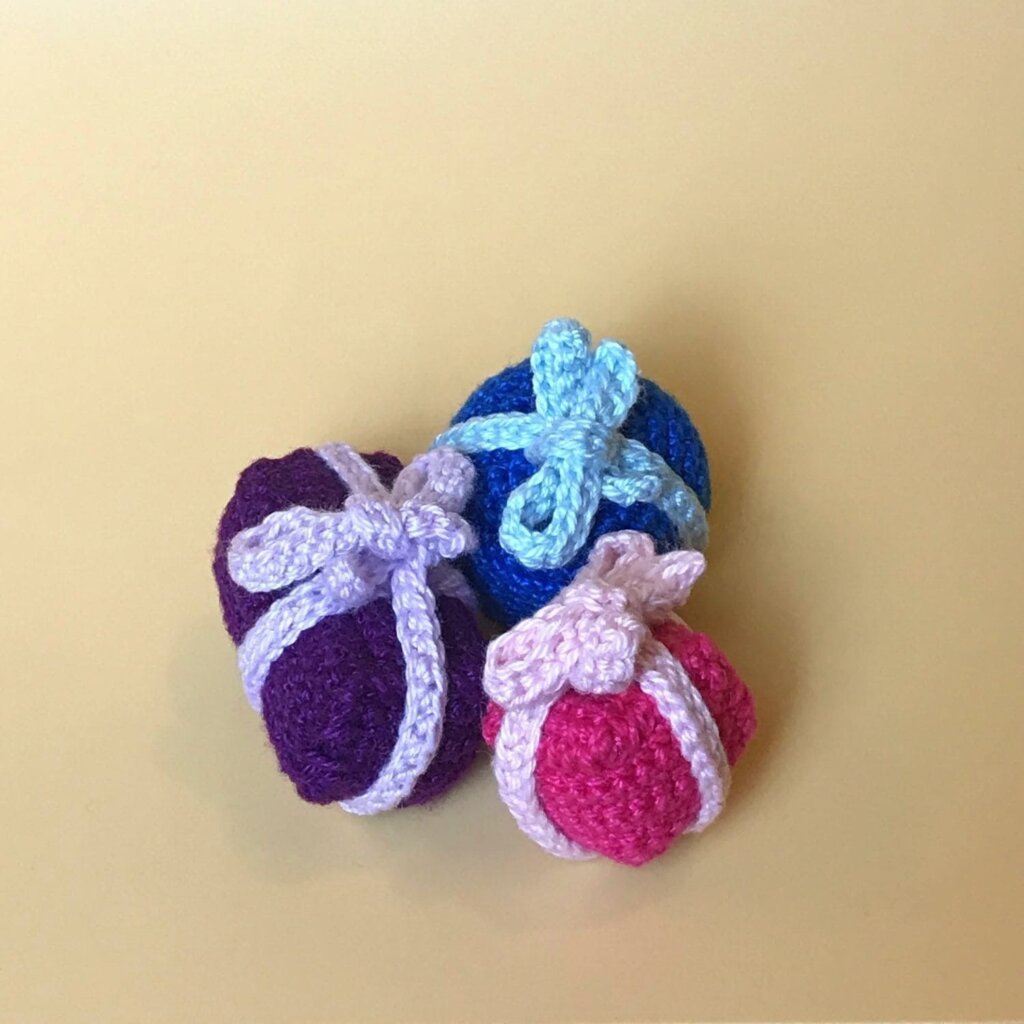
【Ingredient Format】
- Lace color: Dark purple, light purple, dark pink, light pink, dark blue, and light blue
- 1.5mm crochet
【Free Pattern】
Longitudinal box: Make a big rectangle and sew up 2 small rectangles and shape them into a cuboid.
Big rectangle box*1
**Garter stitch: Add 1 stitch in the first stitch of new row every time.
R1:42 chains(42)
R2-14:1 chains, 42X(42)
Finish slip stitch and conceal the end, and knit back to the 14th stitch of the longer side of rectangle to small rectangle.
Small rectangle box*2
**Garter stitch: Add 1 stitch in the first stitch of new row every time.
R1:14 chains(14)
R2-7:1 chains, 14X(14)
Finish slip stitch and conceal the end.
Ribbon
R1:125 chains(125)
R2:1 chains, 125X(125)
Finish slip stitch and conceal the end. And tie up the box and tie a knot on top of it.
Square box: Knit in circles and make it become a cylinder.
大長方形*1
**Garter stitch: Add 1 stitch in the first stitch of new row every time.
R1:28 chains(28)
R2-7:1 chains, 28X(28)
Finish slip stitch and conceal the end, and knit back to the 7th stitch of the longer side of rectangle to small rectangle.
Small rectangle box*2
**Garter stitch: Add 1 stitch in the first stitch of new row every time.
R1:7 chains(7)
R2-7:1 chains, 7X(7)
Finish slip stitch and conceal the end.
Ribbon
R1:110 chains(110)
R2:1 chains, 110X(110)
Finish slip stitch and conceal the end. And tie up the box and tie a knot on top of it.
Square box: Knit in circles and make it become a cylinder.
R1:8 sc in the MR(8)
R2:8V(16)
R3:(V,X)*8(24)
R4:(X,V,X)*8(32)
R5:(15X,V)*2(34)
R6:(16X,V)*2(36)
R7-12:36X(36)
R13:(16X,A)*2(34)
R14:(15X,A)*2(32)
R15:(X,A,X)*8(24)
R16:(A,X)*8(16) Stuff cotton in this turn.
R17:8A(8)
Ribbon
R1:78 chains(78)
Finish slip stitch and conceal the end.
R2:1 chain, 78X(78)
Finish slip stitch and conceal the end. And tie up the box and tie a knot on top of it.
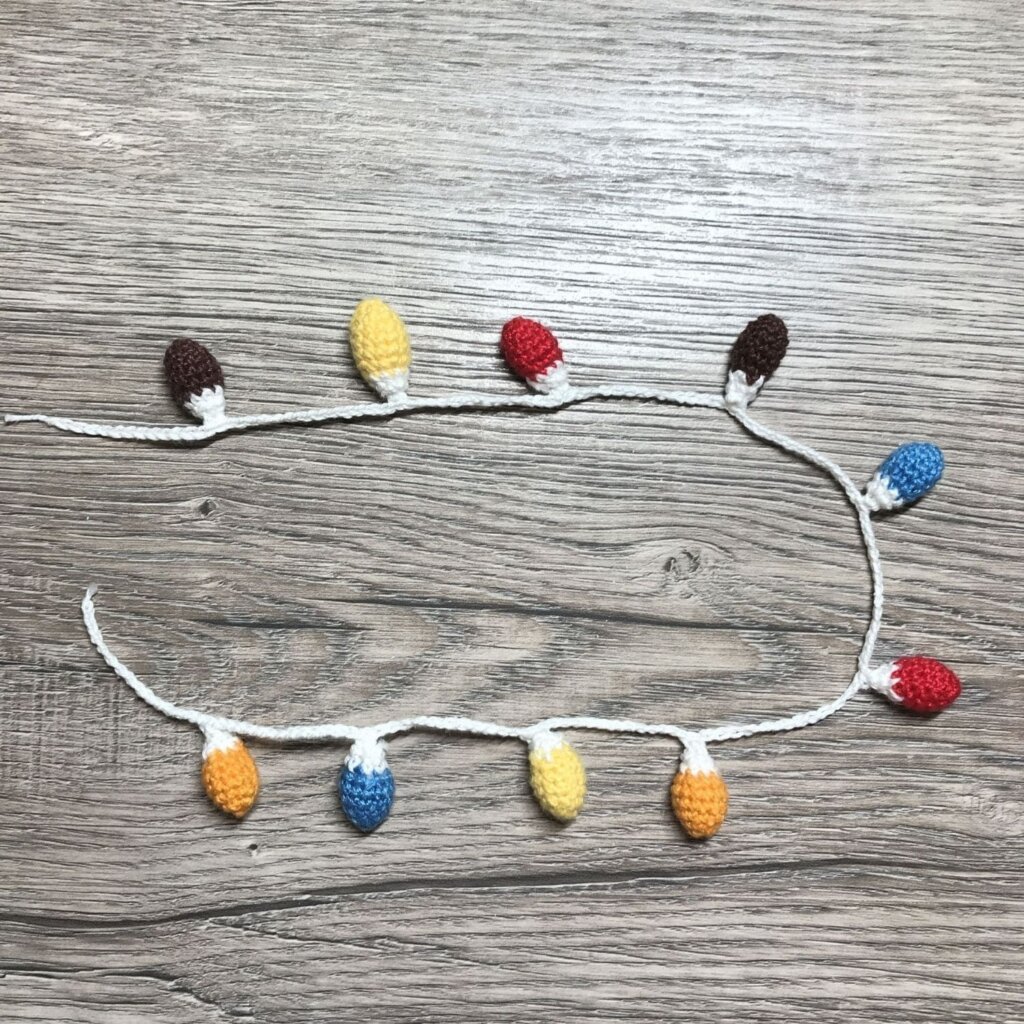
Lighting strings of decoration
【Ingredient Format】
- Lace color: yellow,orange, red,brown,blue, white.
- 1.5 mm crochet
【Free Pattern】
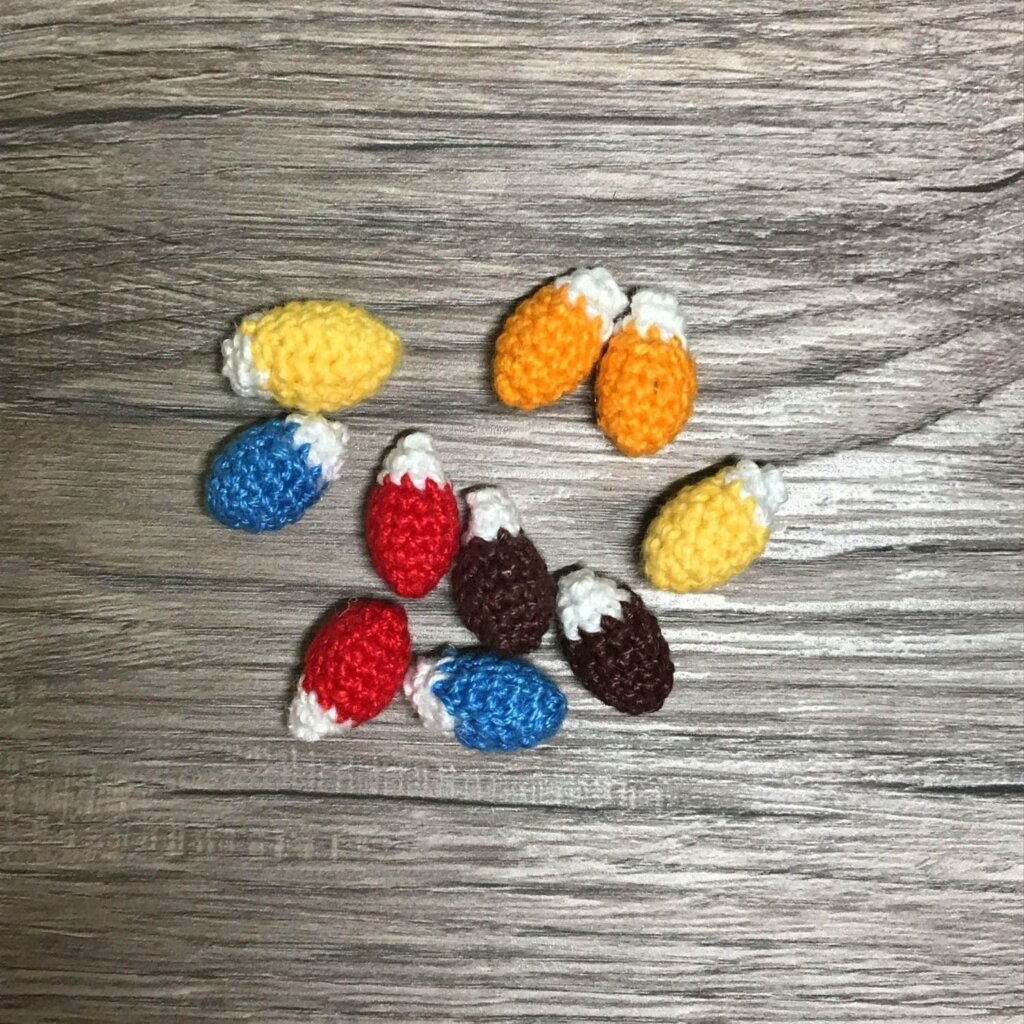
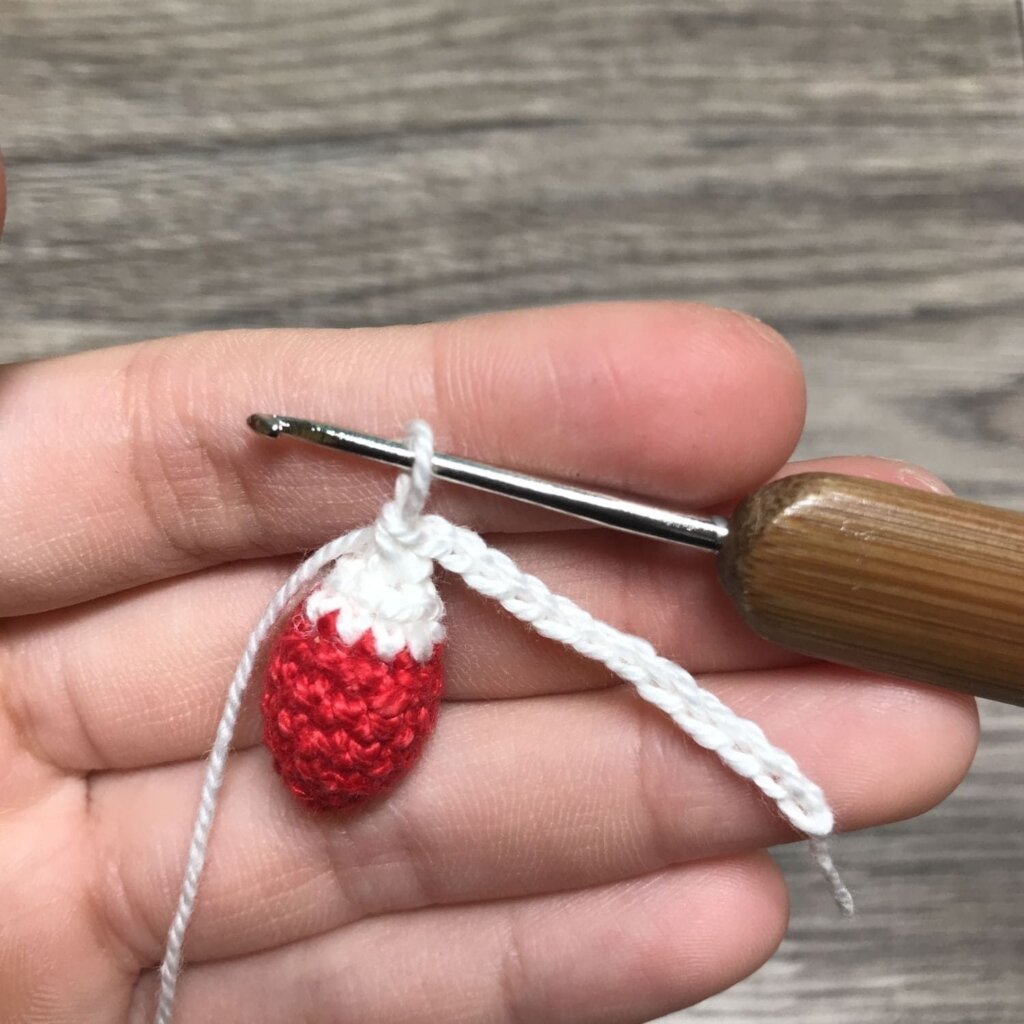
Light bulb*10 ( 2 bulbs and 5 colours per each)
Start from one color
R1:4 sc in the MR(4)
R2:4V(8)
R3:(V,X)*4(12)
R4-5:12X(12)
R6:(X,A)*4(8)
R7:change white color, 8X(8)
R8:4A(4)
Finish slip stitch and conceal the end.
Assemble
Pass through every bulb every after 14 chain stitches. One stitch to fix up the bulb. Mess up the sequence of colours so when you hang it up, it won’t look boring and simple.
(14X,X)*10, 14X(164)
❈ Read more ❈
Nut Brown Bunny Amigurumi Free Pattern Original Author:angelsofi_crochet