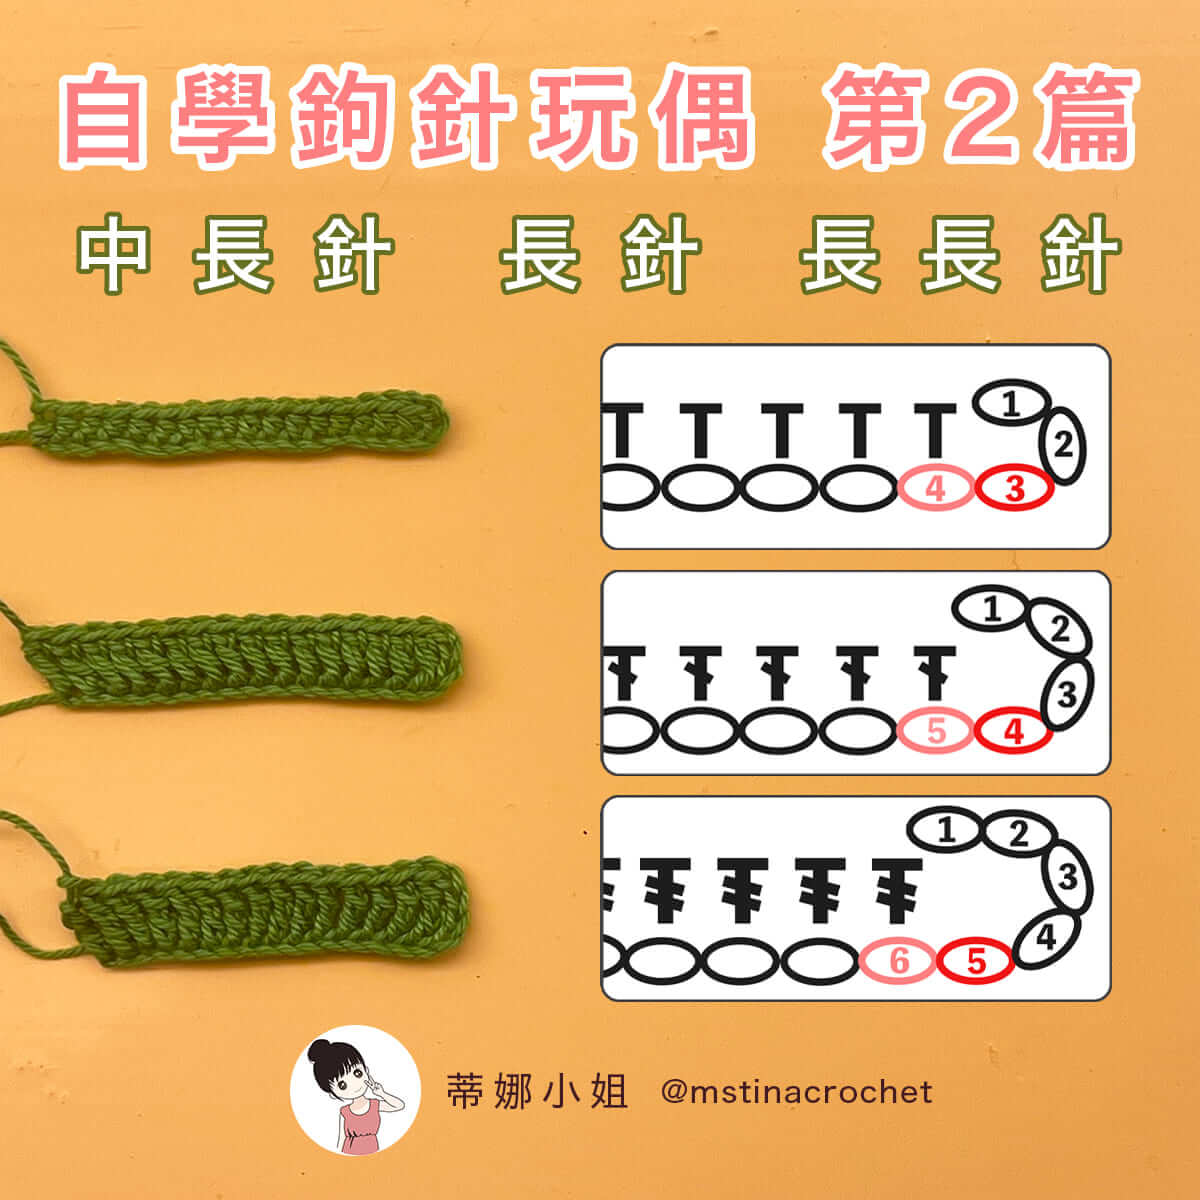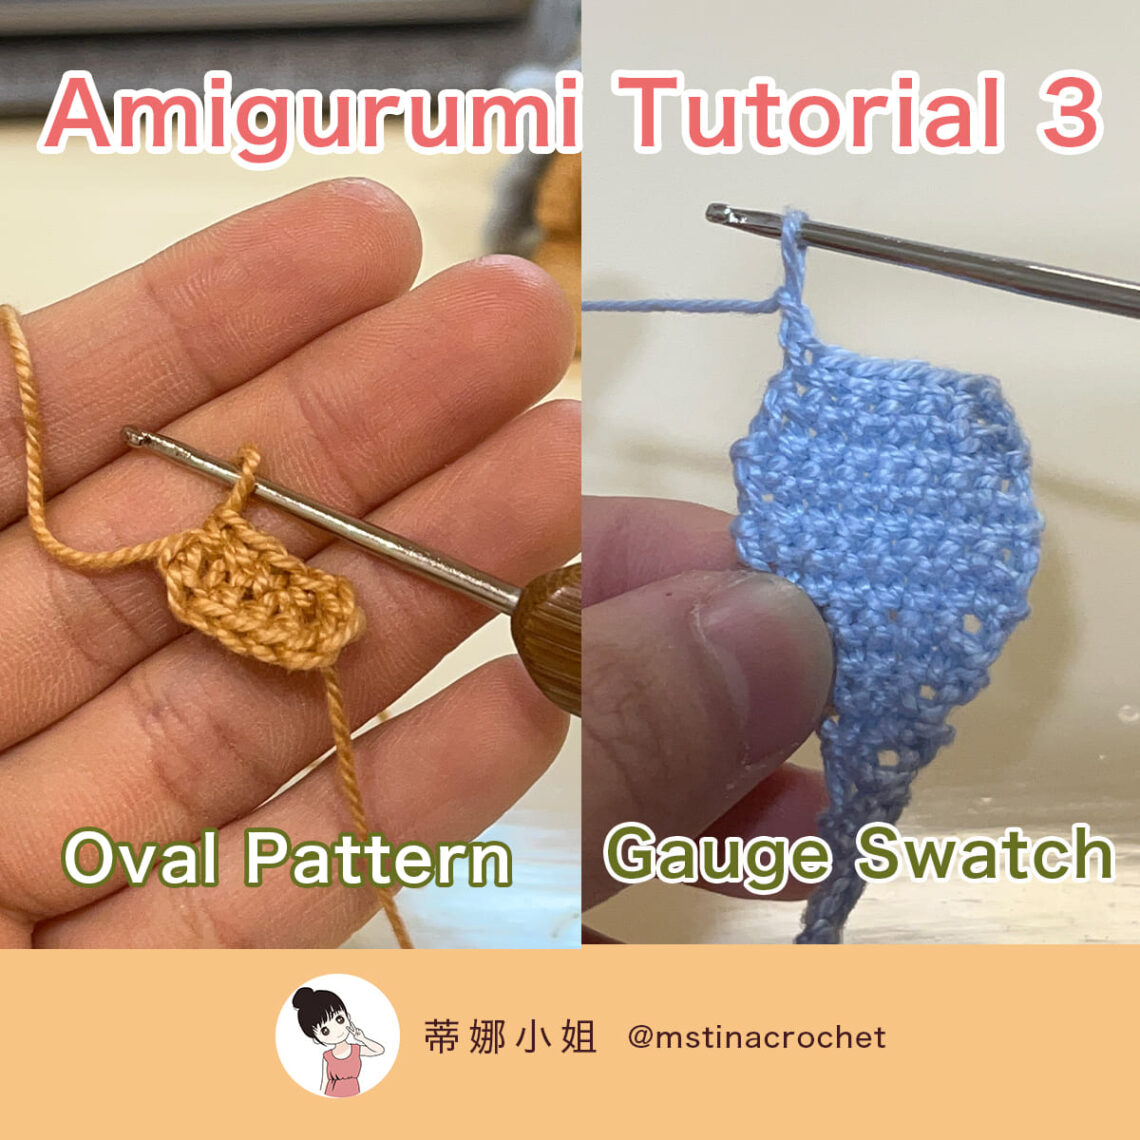
How to Crochet an Oval Pattern or gauge swatch – Amigurumi Tutorial 3
Most crochet dolls can be started with the magic ring using single crochet stitches. However, for some parts of the structure or accessories of the doll’s clothing, the traditional magic ring may not be suitable because the bottom shape is not circular. In addition to the magic ring, there are two other starting methods using single crochet: the piece hook and the oval. These two starting methods involve chaining and single crochet stitches, but the concept of the base is completely different.
What is a Gauge Swatch?
Gauge swatch is a form of crochet worked back and forth horizontally. The typical method involves crocheting a row of chain stitches, followed by working single crochet stitches across that row. After completing each row, you turn the piece over, a technique known as “turning” in crochet patterns. This process continues until a piece is formed, hence the name “gauge swatch.” Initially, gauge swatch was often used to create practical household items such as coasters, rugs, or cushions, which are typically square or rectangular in shape and can be crocheted using the gauge swatch technique.
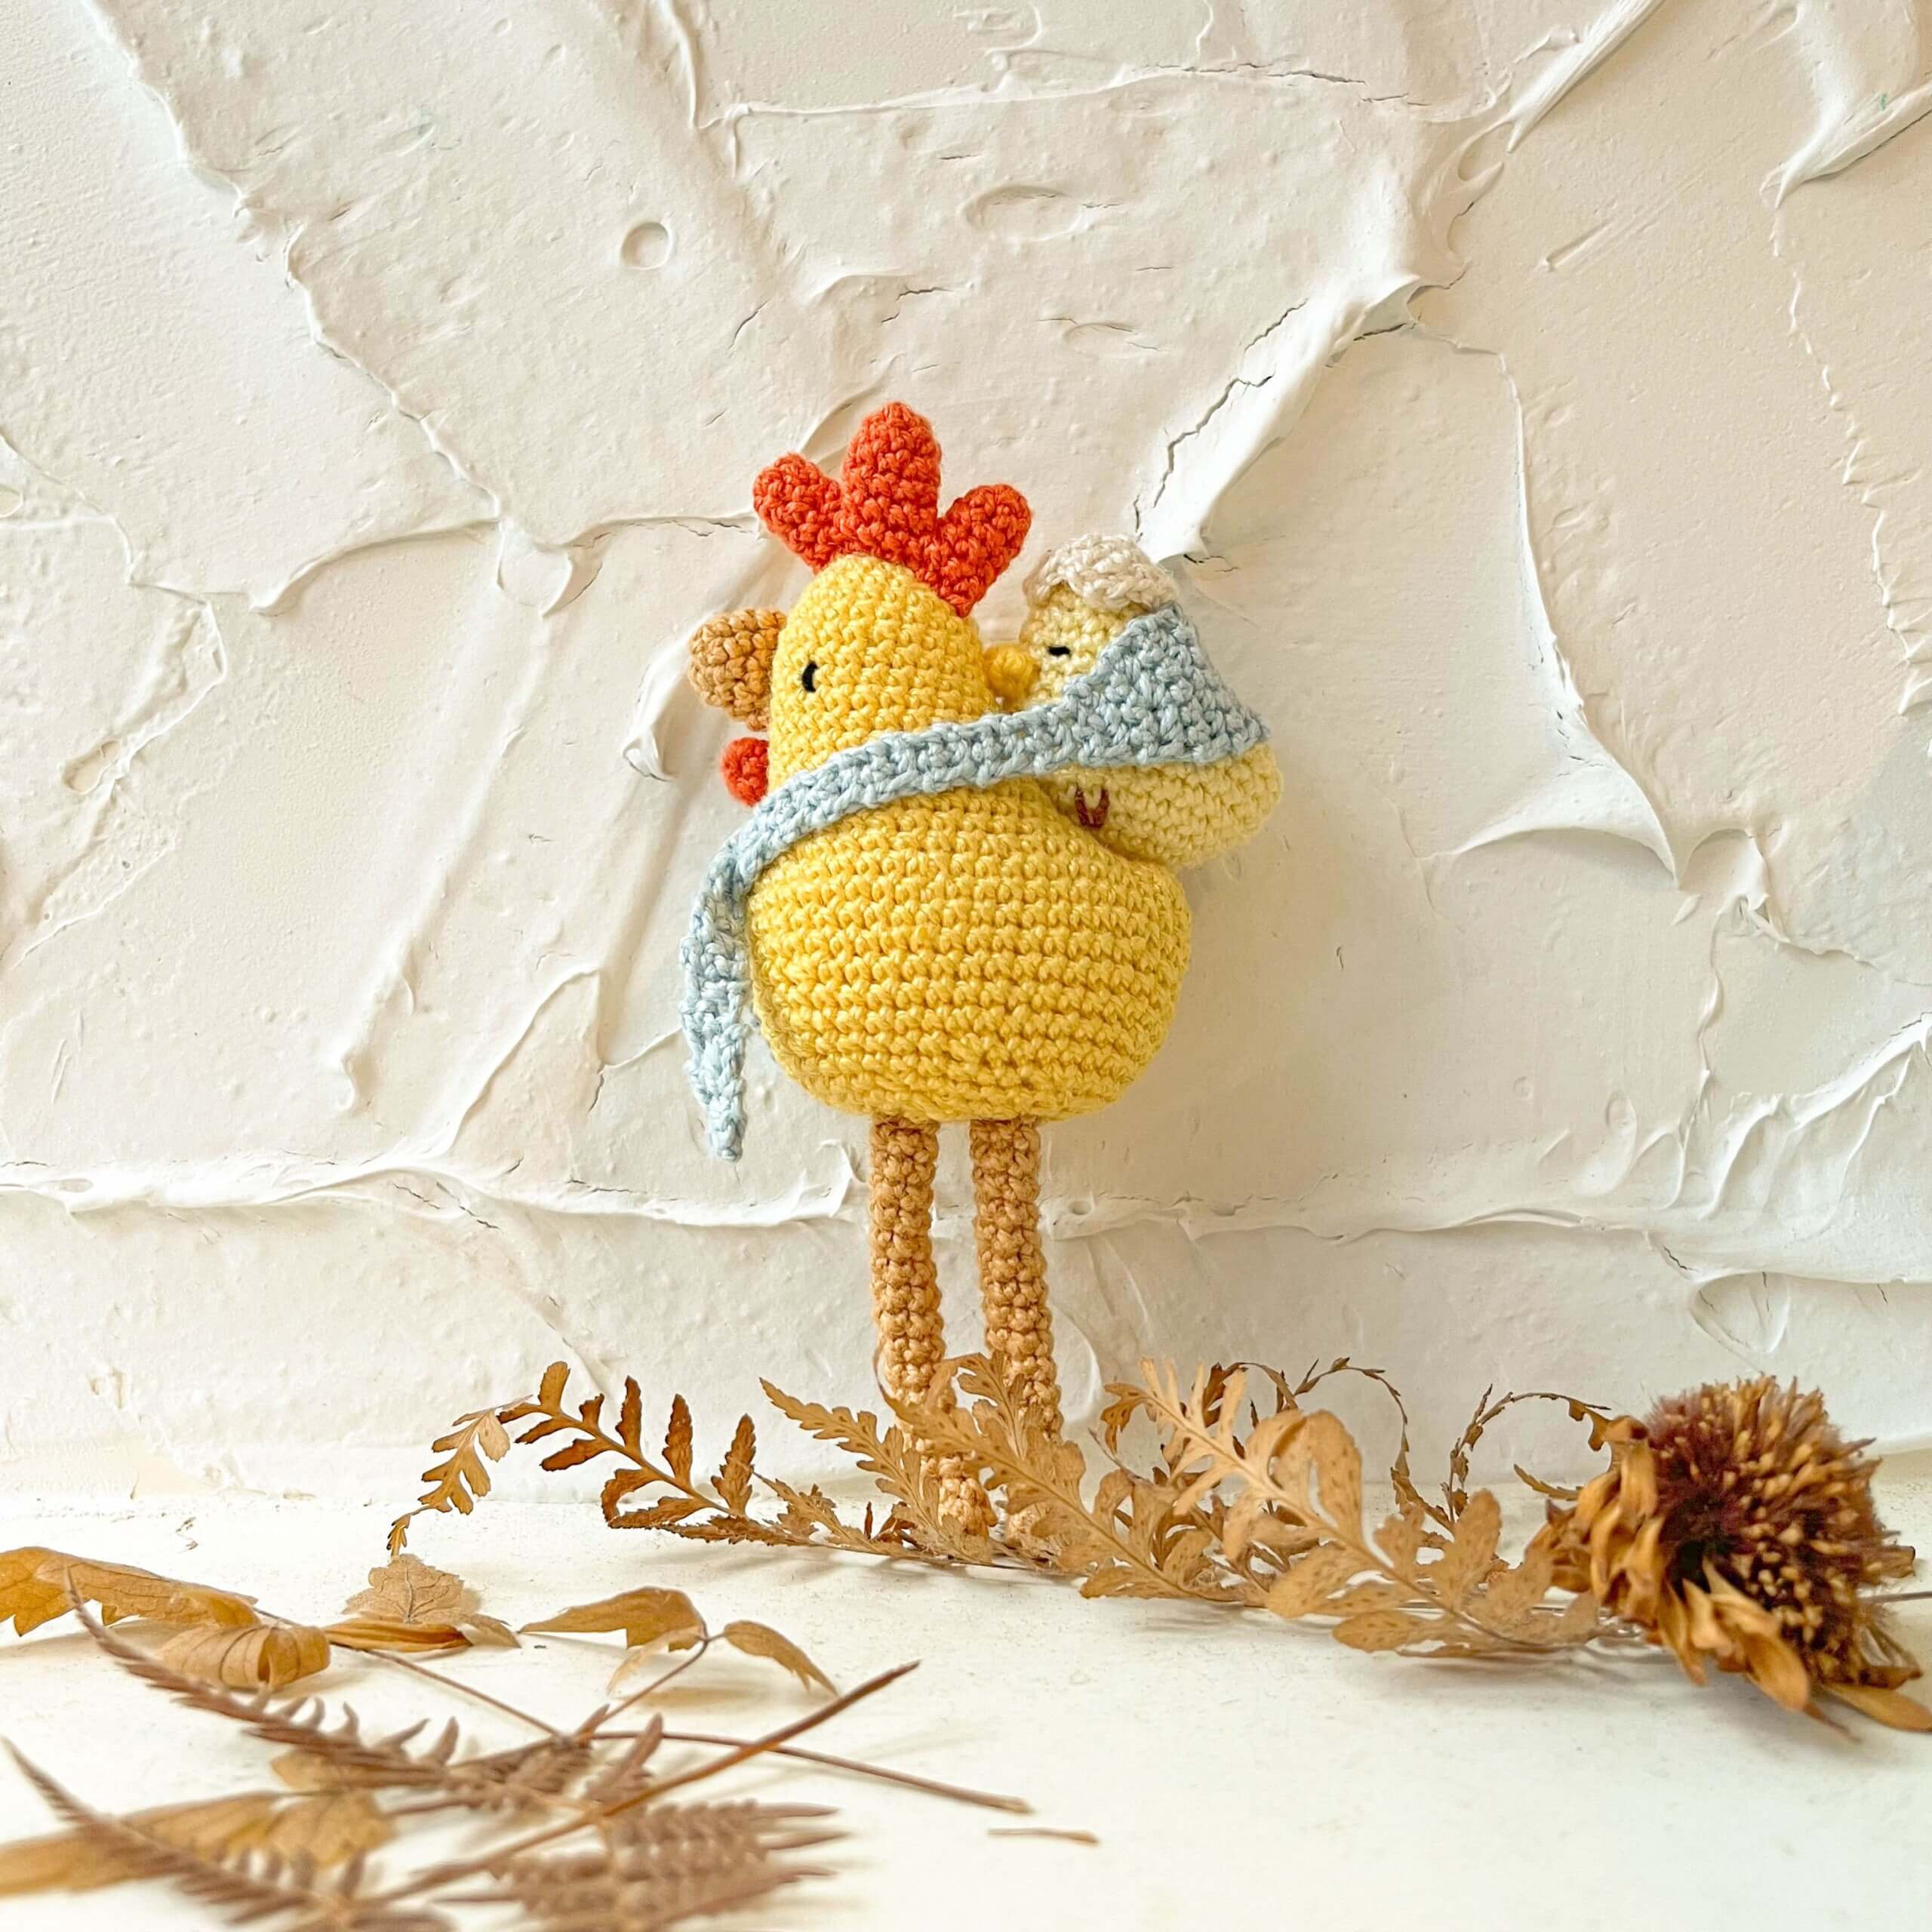
In the realm of crochet dolls, gauge swatch is widely used for creating mini shawls, cardigans, and so on. These items may not necessarily have a perfectly square shape, but the commonality lies in the need to work back and forth repeatedly, crocheting until the piece is completed. Now, let’s use the example of a chick’s scarf to understand the concept of gauge swatch!
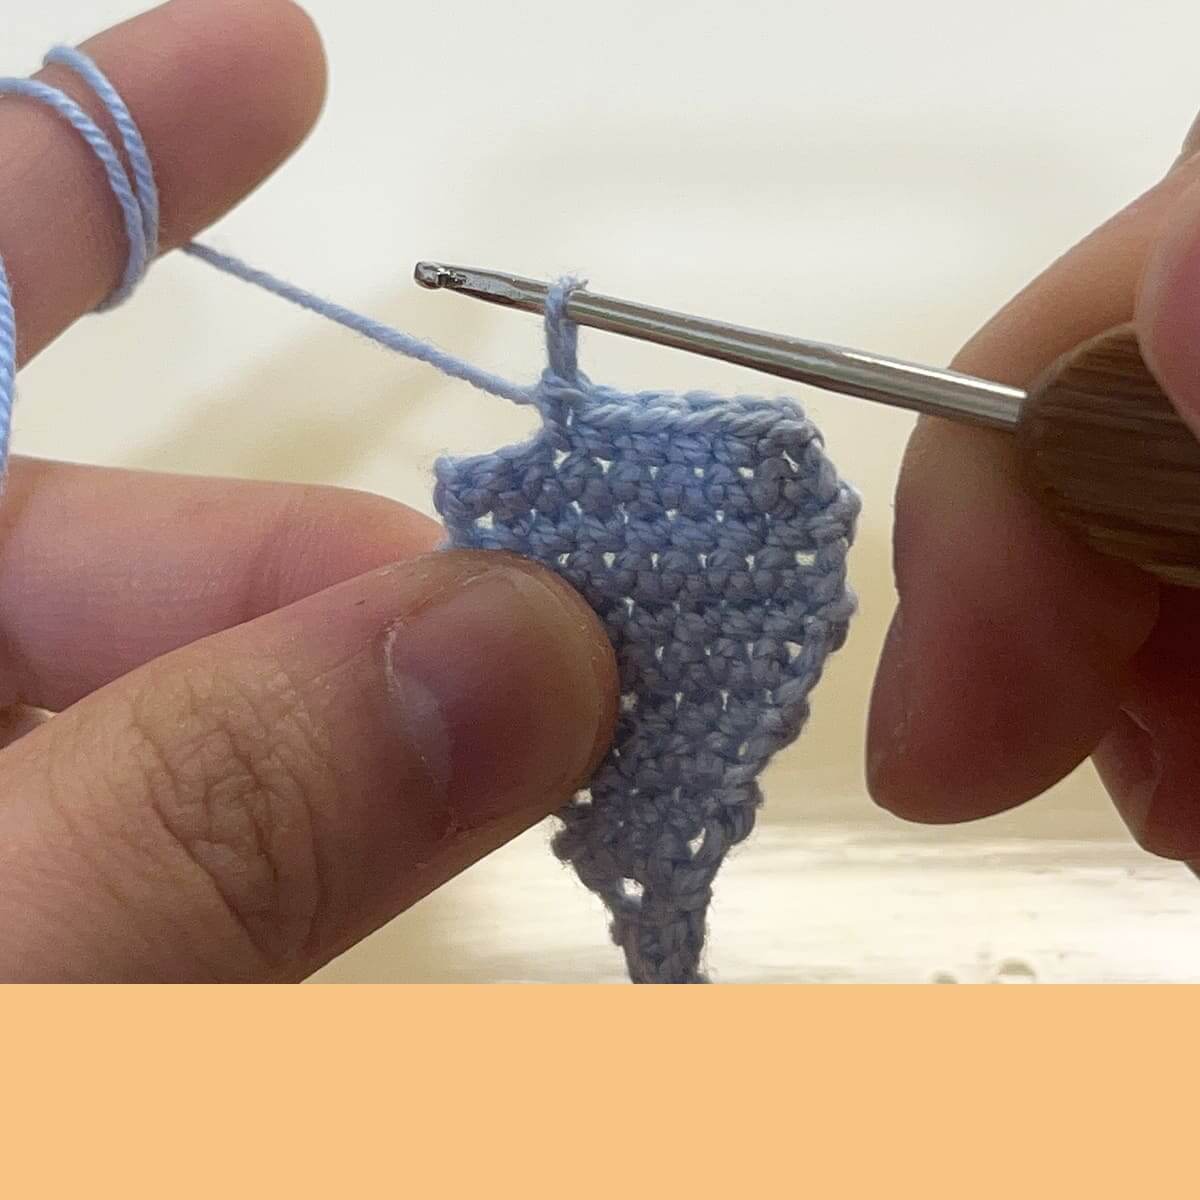
How to Crochet a Gauge Swatch
Let’s use the light blue component(Baby Sling) in the following image for illustration.
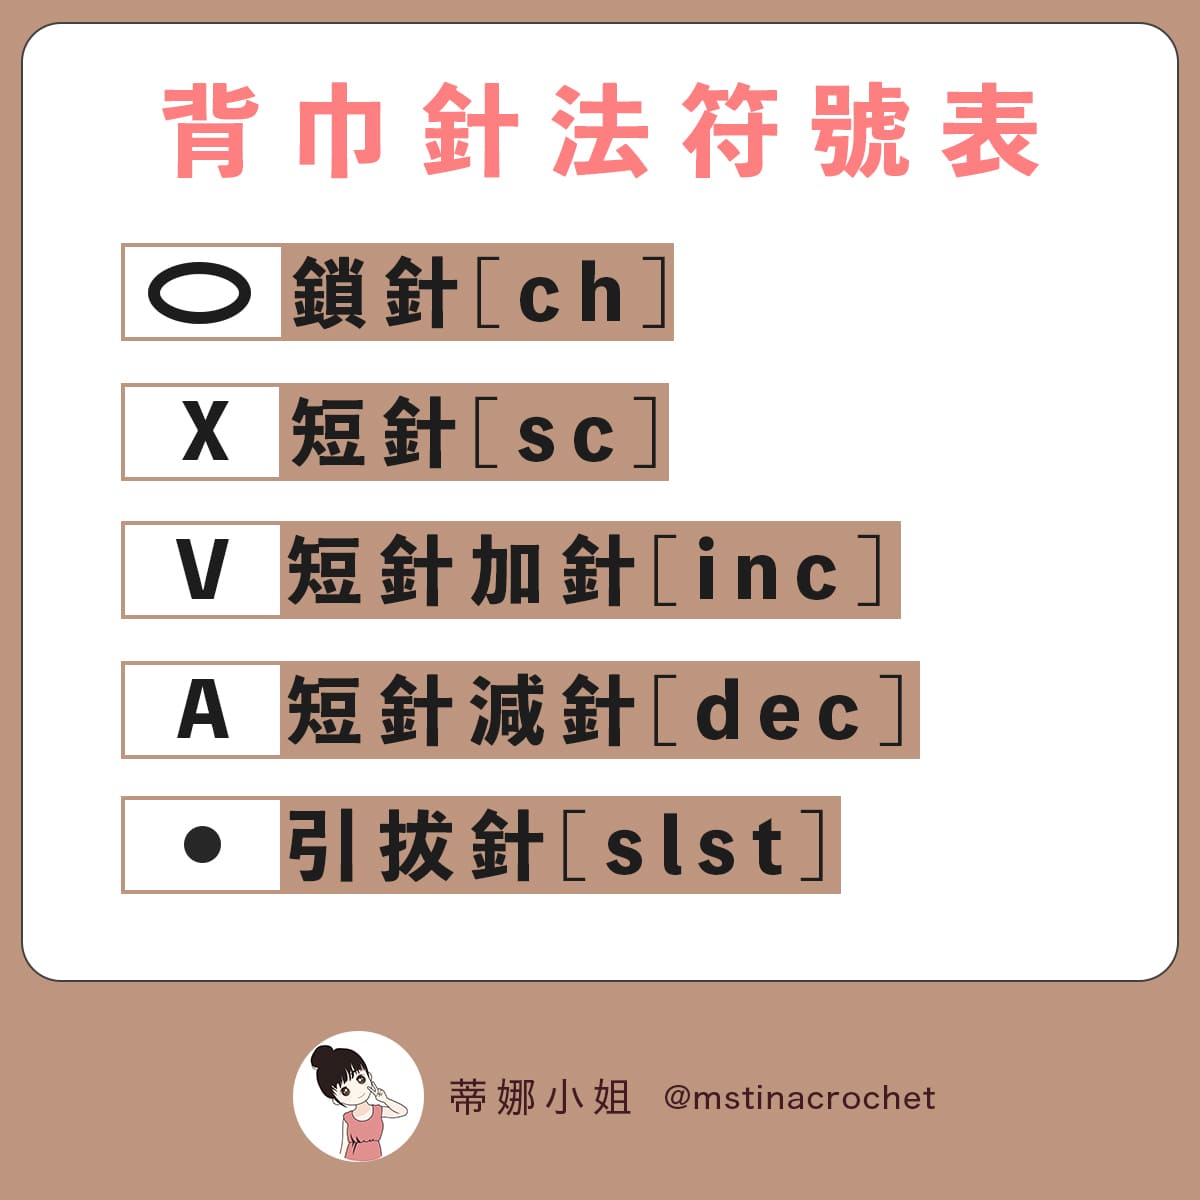
The baby sling will involve the following crochet stitches: chain stitch (ch), single crochet (X), single crochet increase (V), single crochet decrease (A), and slip stitch. If you’re not familiar with these stitches yet, you can review them in the article “Six Basic Crochet Stitches for beginners – Amigurumi Tutorial 1“
First, take 5 minutes to mentally visualize the crochet process.
Crochet Pattern Explanation
Pattern Crochet Tutorial


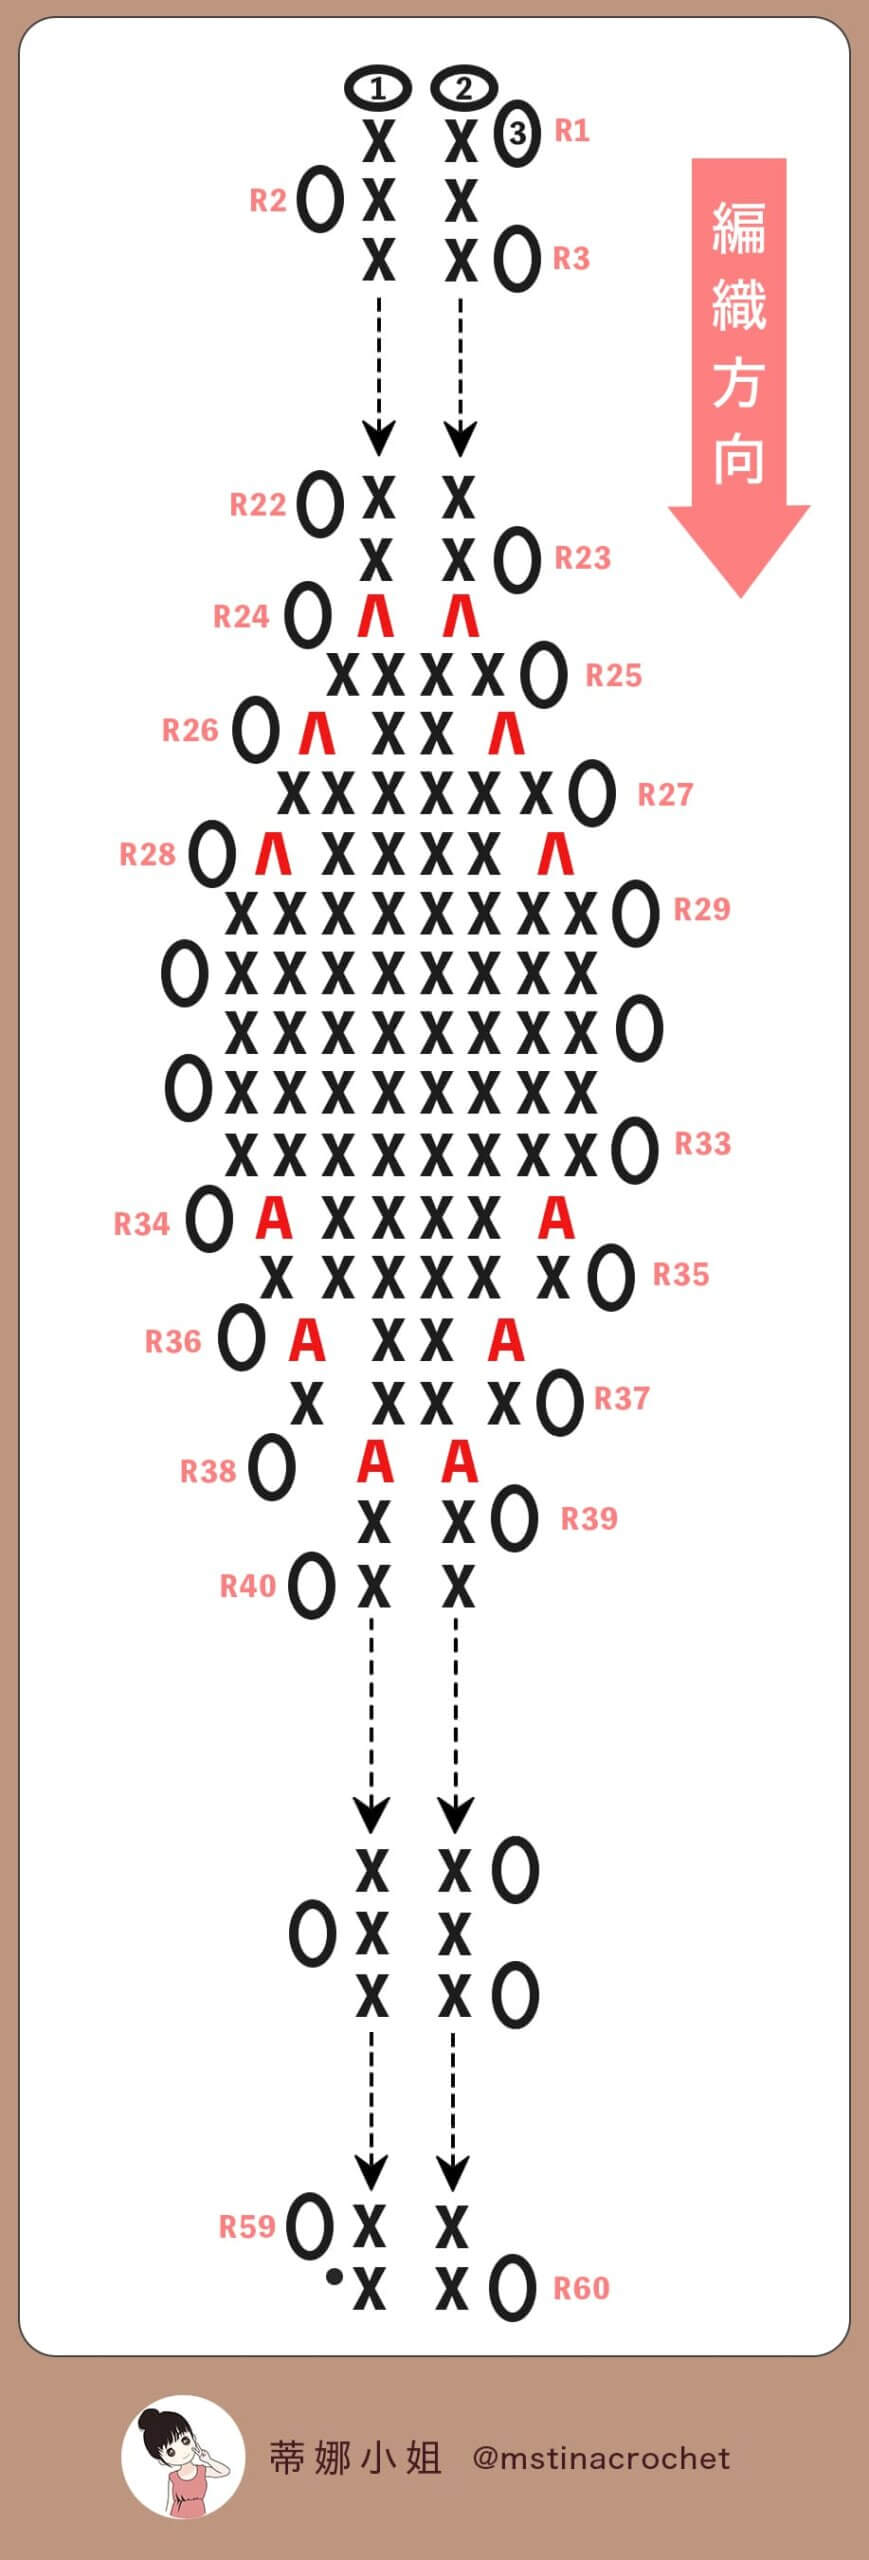
Baby Shawl Crochet Pattern
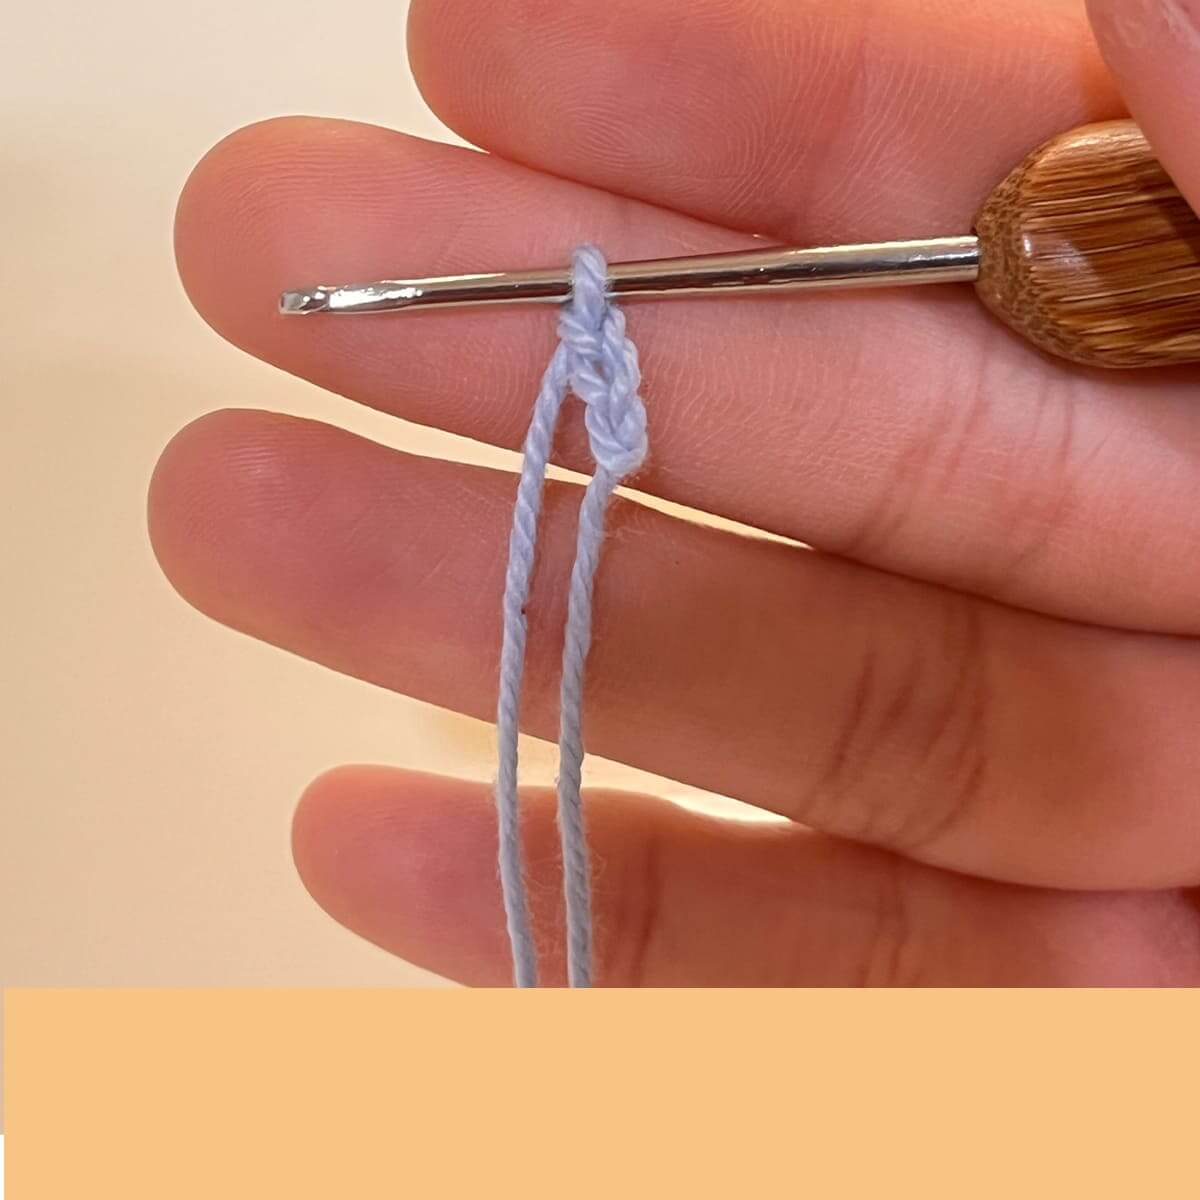
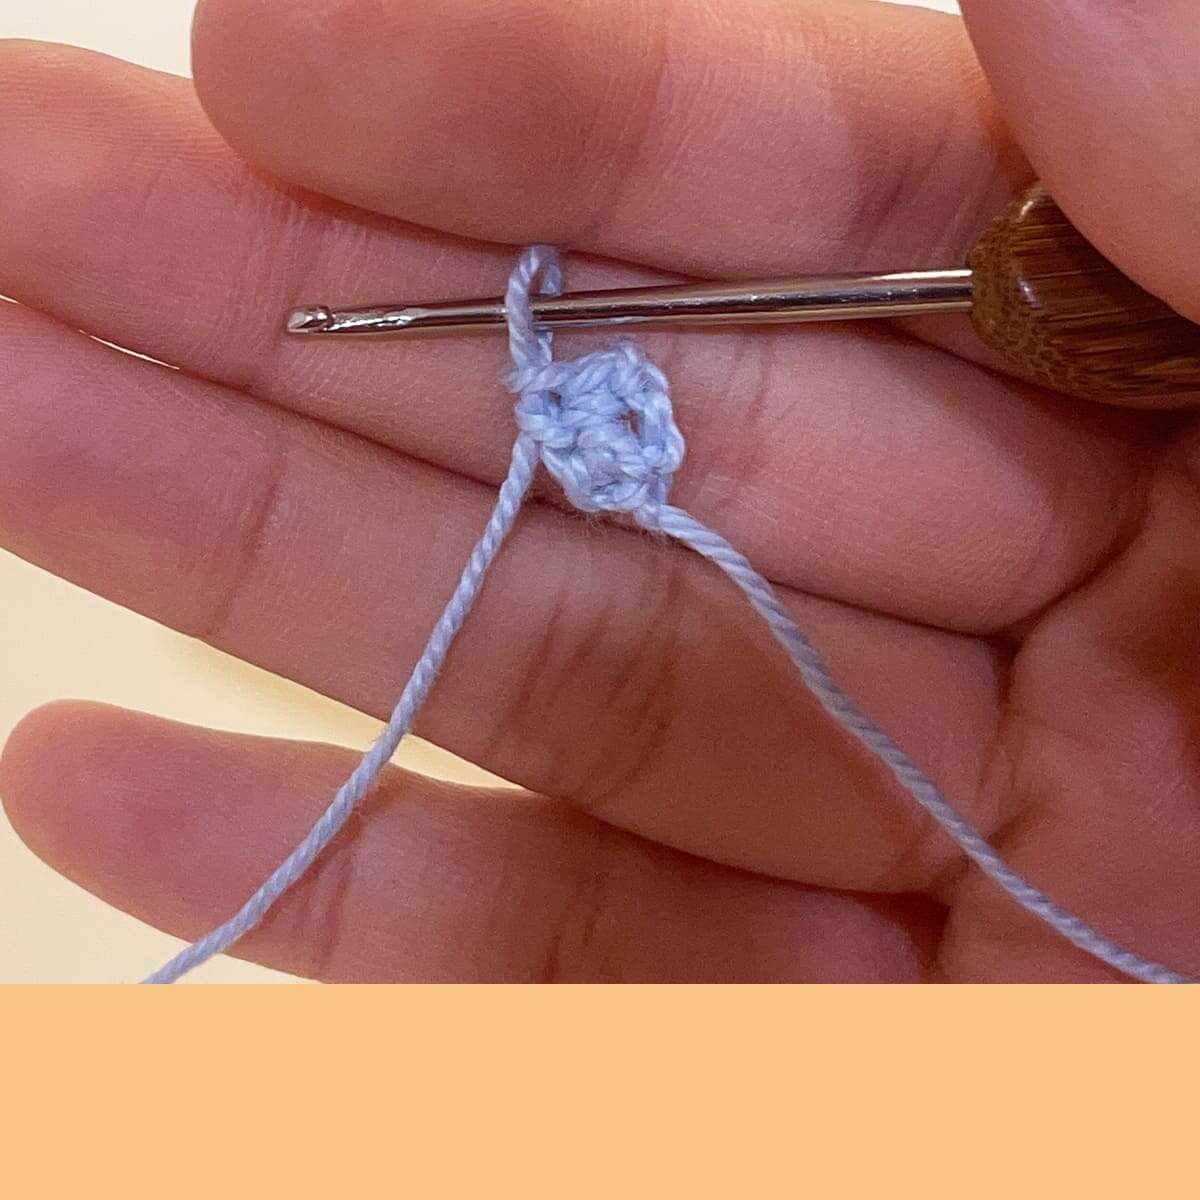
R1: ch3, 2sc (2)
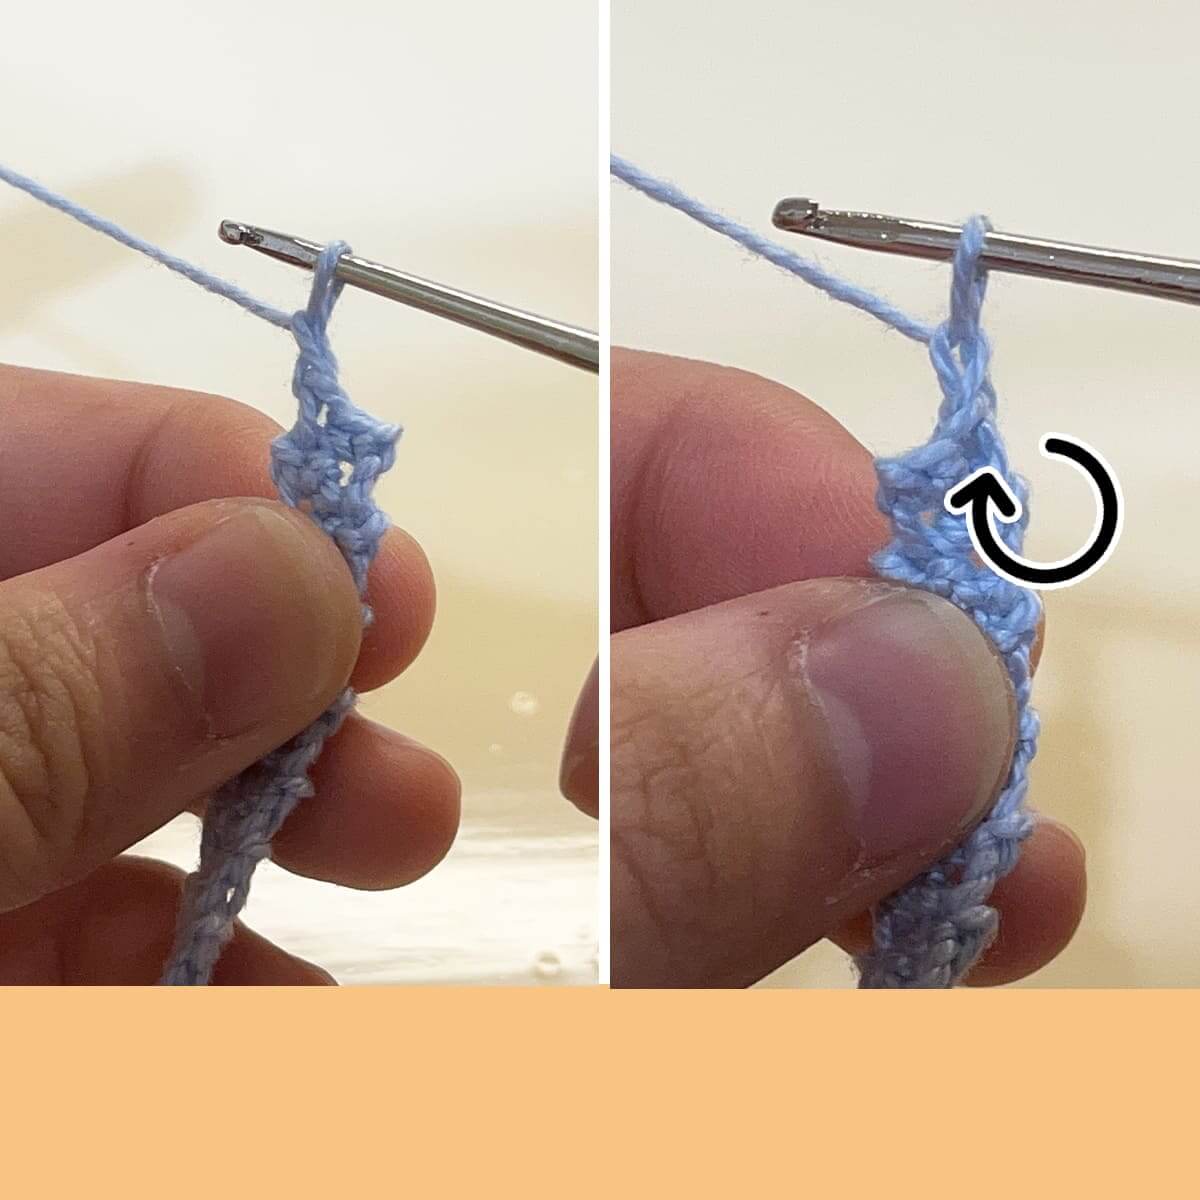
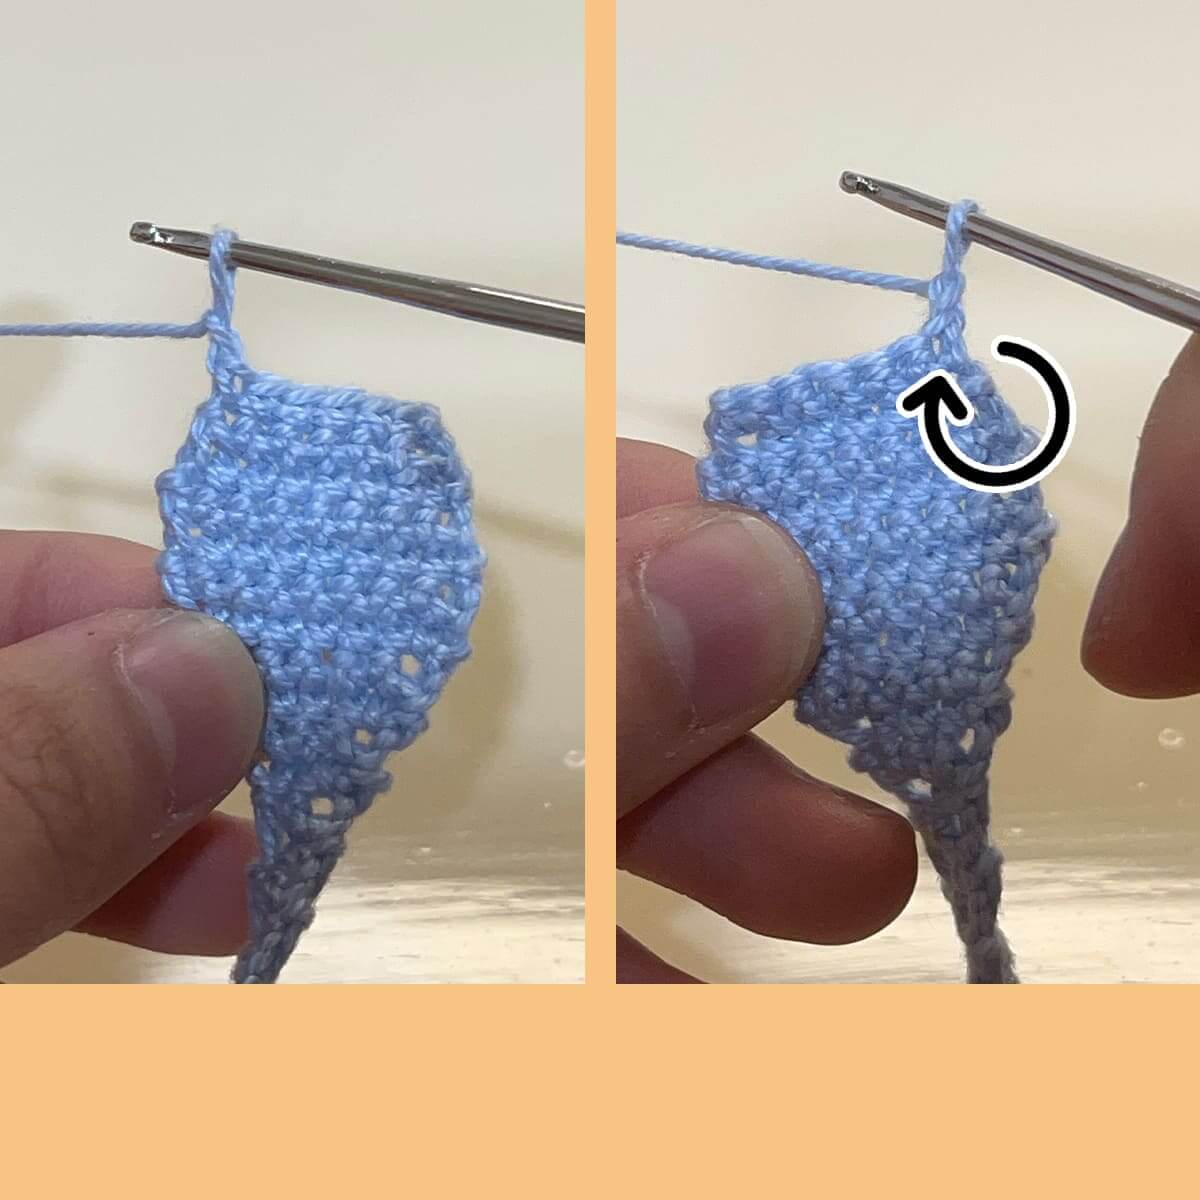
R2-R23: ch1, turn, 2sc (2)
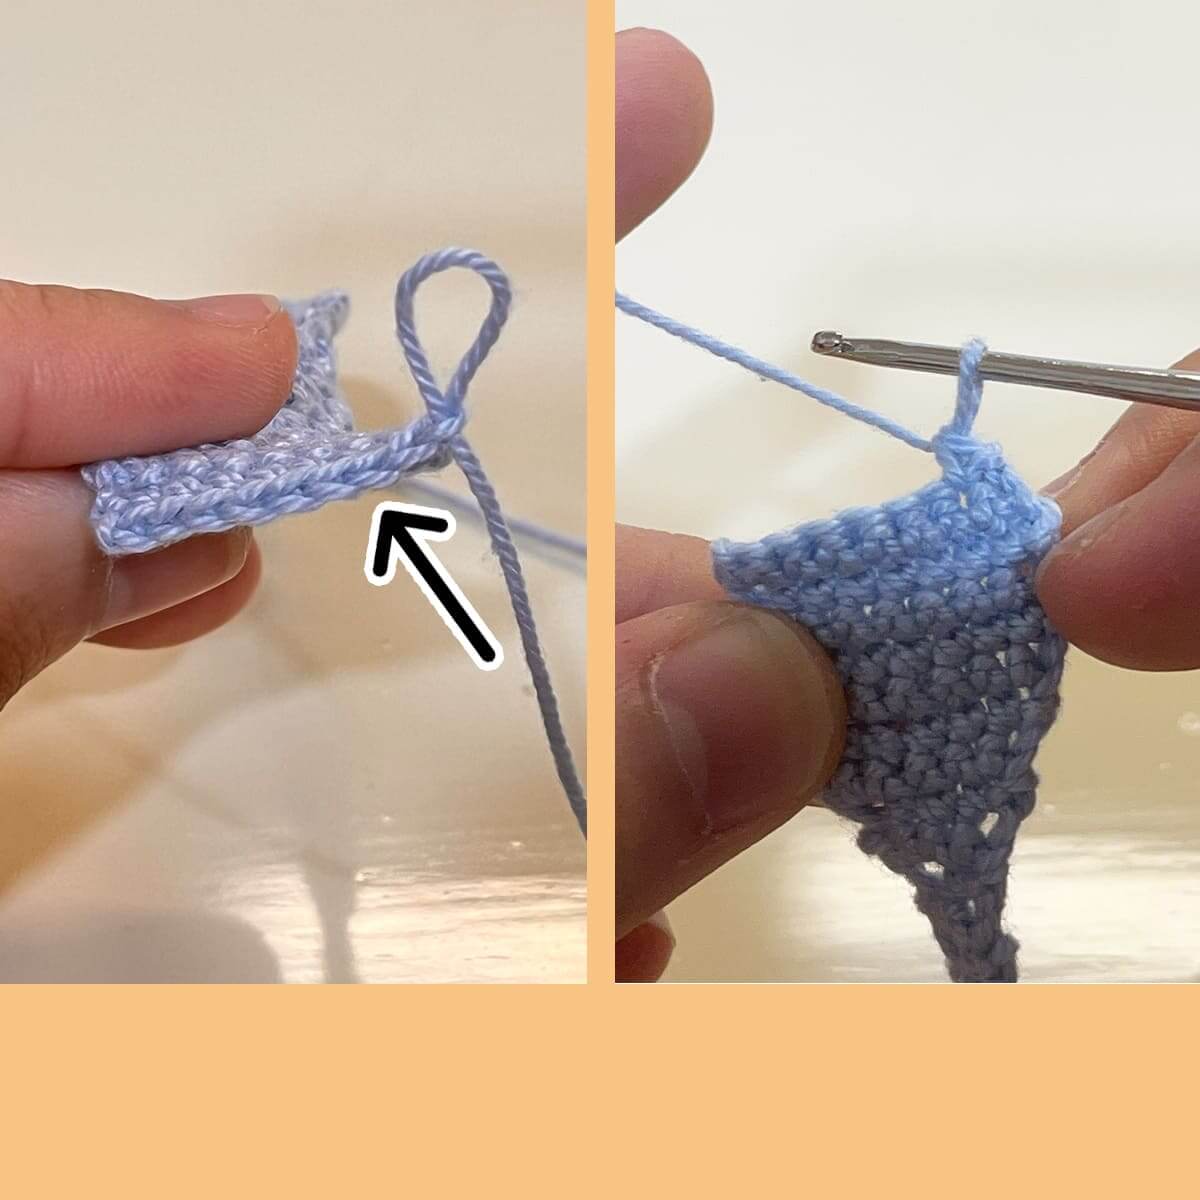
R24: ch1, turn, 2inc (4)
R25: ch1, turn, 4sc (4)
R26: ch1, turn, inc, 2sc, inc (6)
R27: ch1, turn, 6sc (6)
R28: ch1, turn, inc, 4sc, inc (8)
R29-R33: ch1, turn, 8sc (8)
R34: ch1, turn, dec, 4sc, dec (6)
R35: ch1, turn, 6sc (6)
R36: ch1, turn, dec, 2sc, dec (4)
R37: ch1, turn, 4sc (4)
R38: ch1, turn, 2dec (A)
R39-R60 ch1, turn, 2sc (2)
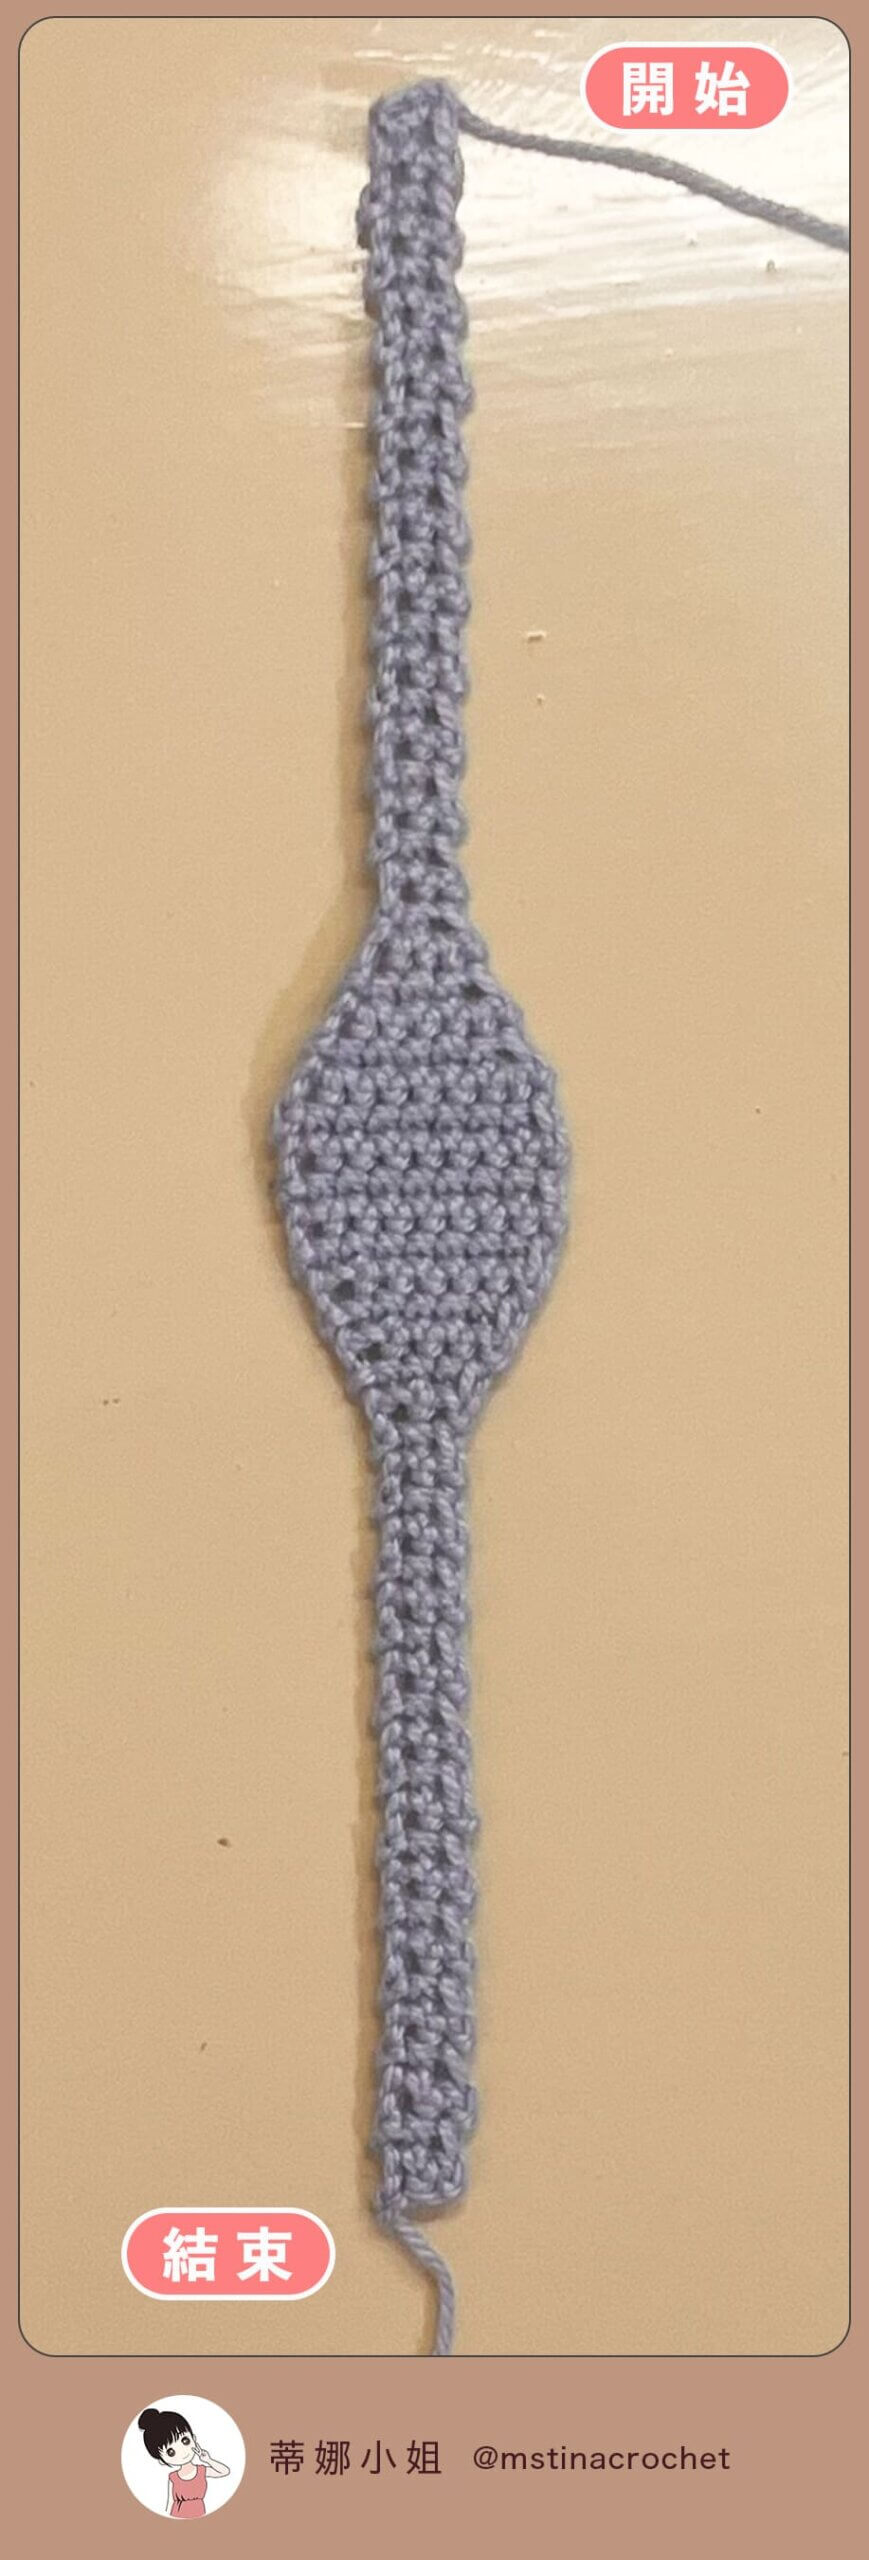
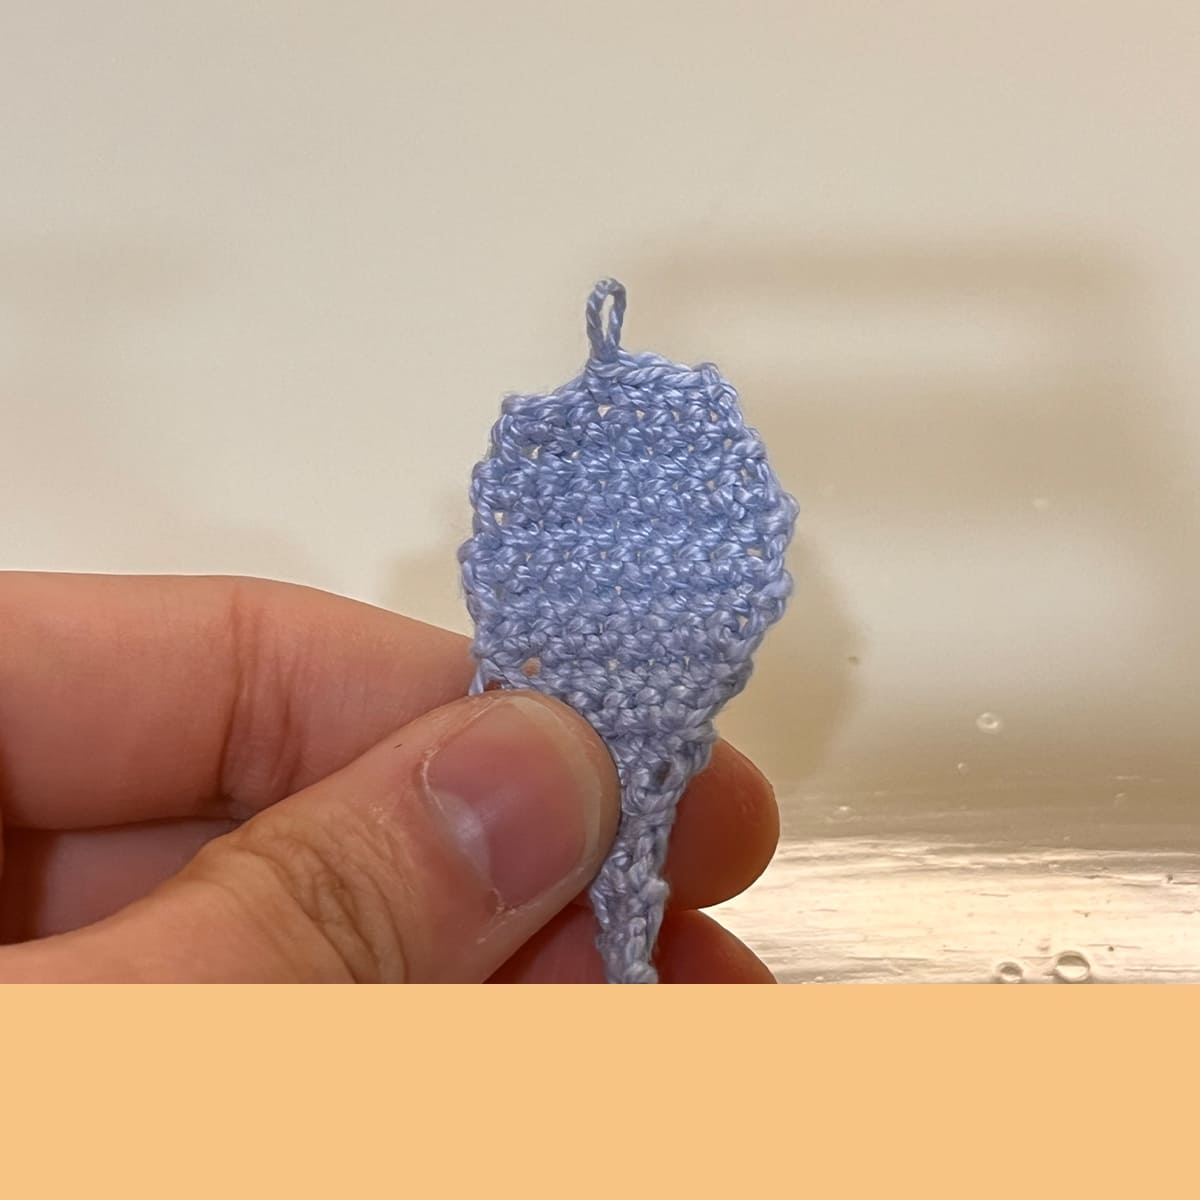
Finish off by slip stitching and cutting the yarn.
The hen’s creator is AnnaB.shop. If you’re interested in studying the crochet pattern for this hen, you can refer to this post. If you want to crochet the chick, you can check out this post.
The crochet method for oval-shaped starting stitches
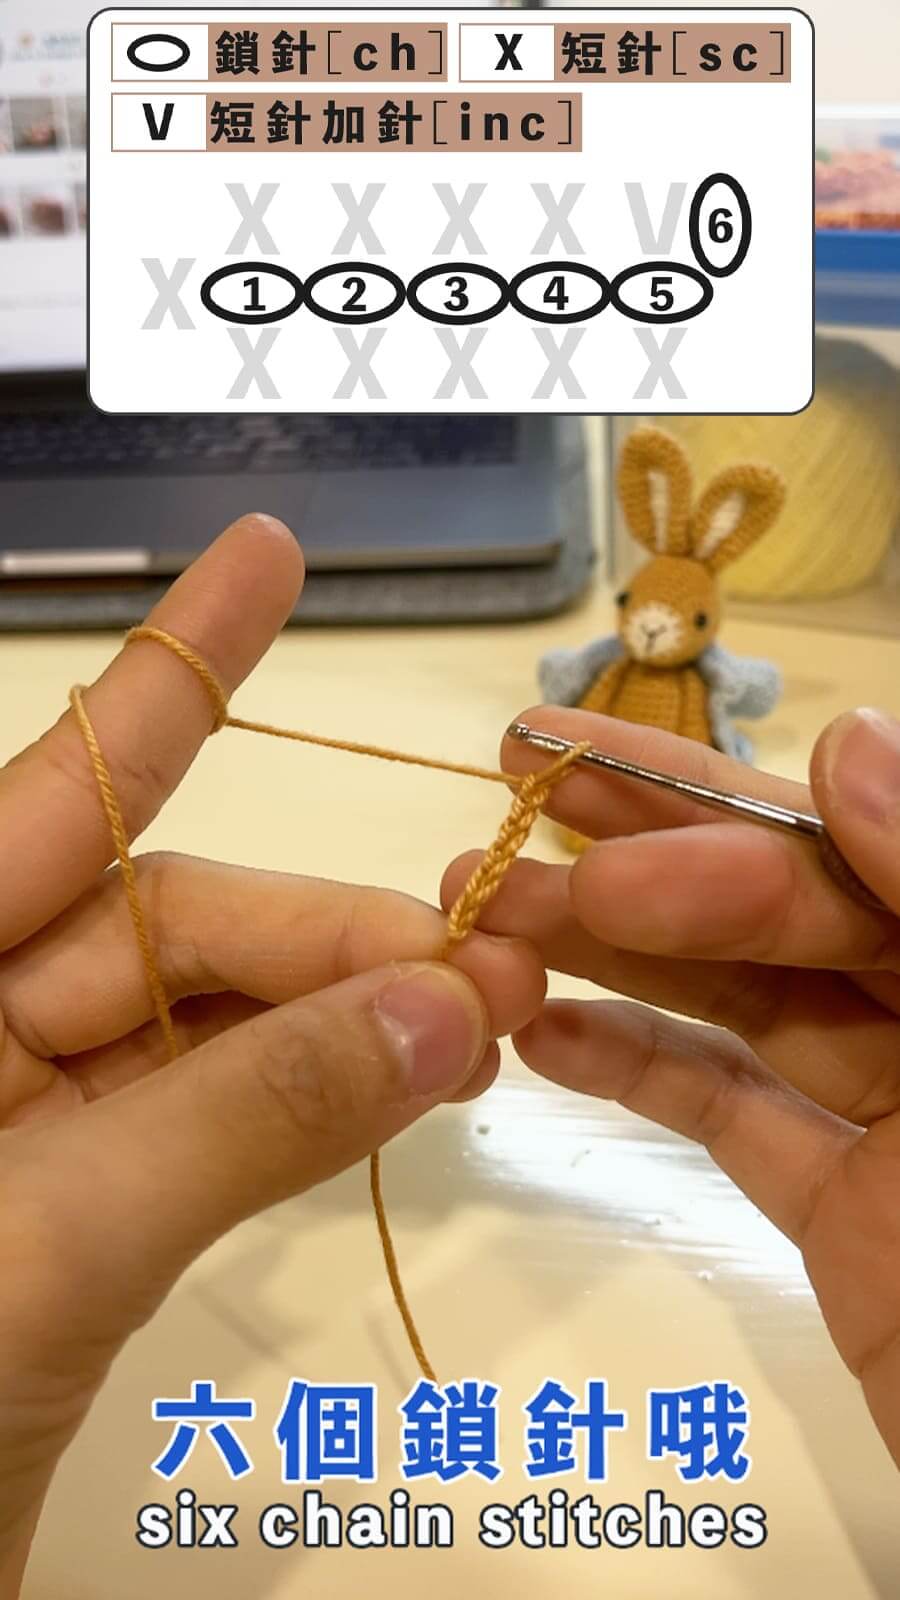
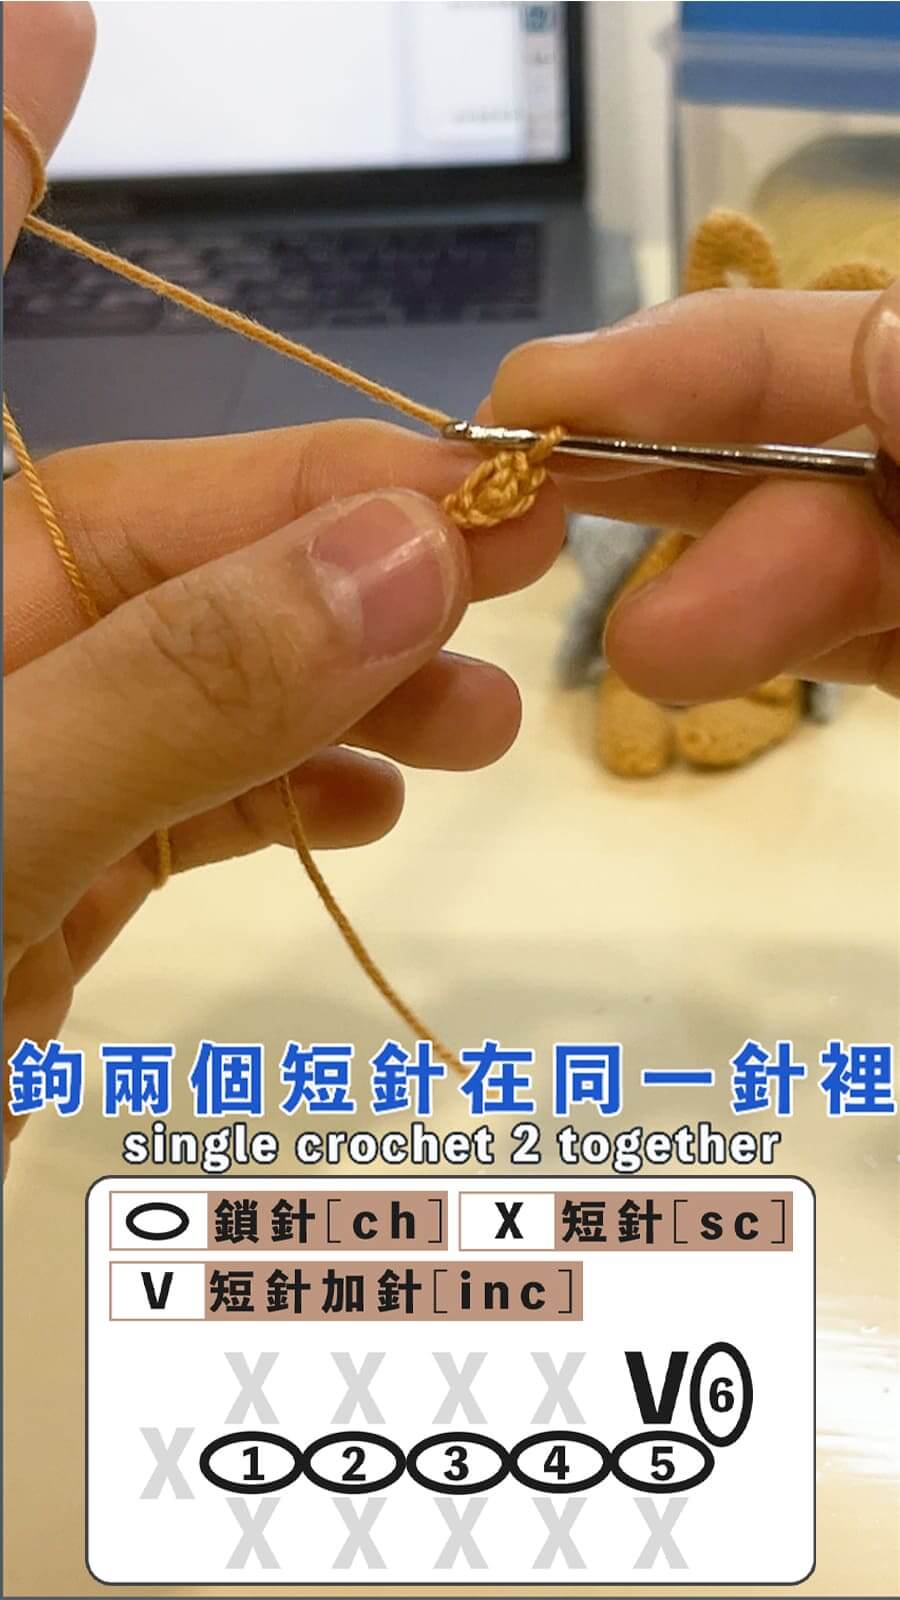
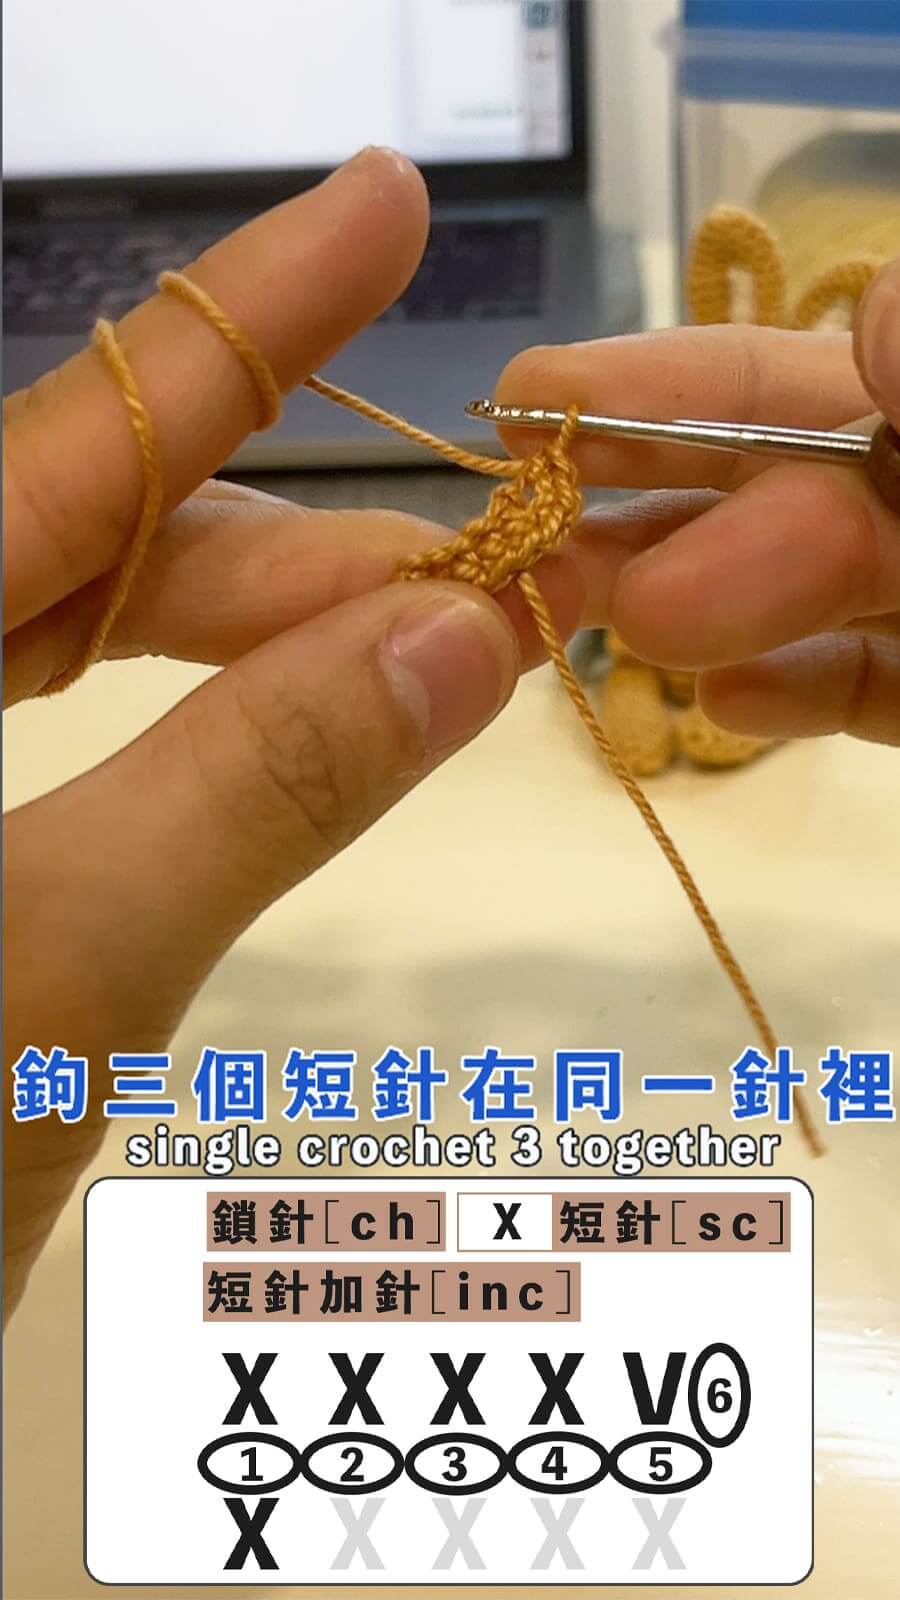
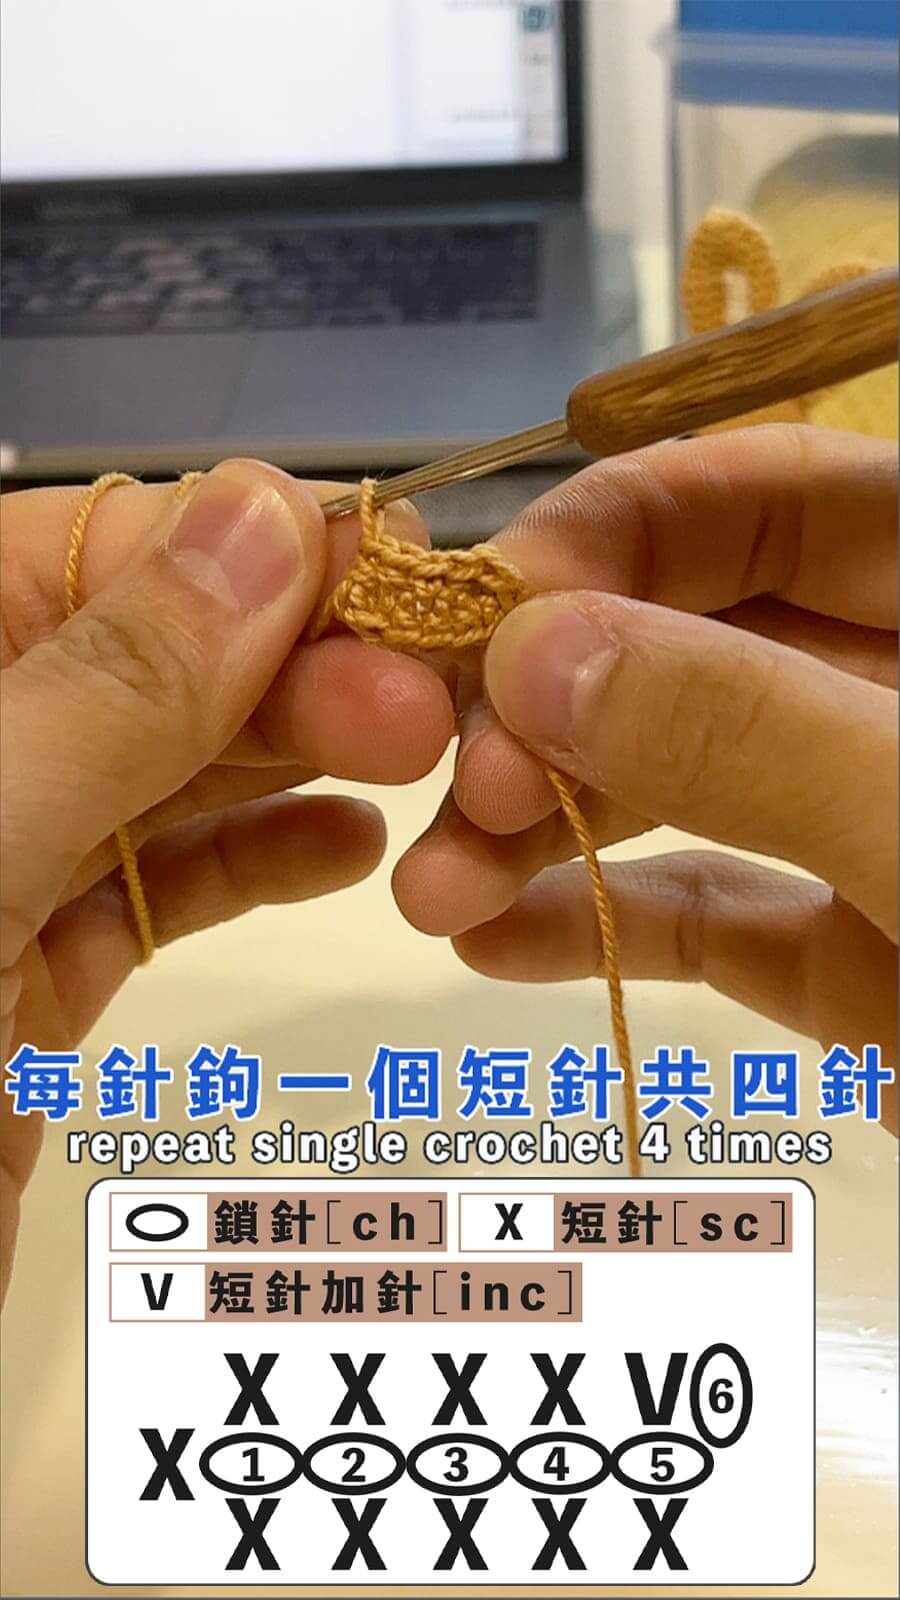
This type of starting stitch, as the name suggests, creates an oval-shaped base. It’s commonly used in crocheting bag purses. When making crochet dolls, some doll bodies or feet may also use this shape as a base. Next, we’ll demonstrate by making a mini oval-shaped starting stitch for Peter Rabbit’s body!
How to Start from an Oval Pattern

Do you want to crochet the complete Peter Rabbit? You can refer to this popular article: Nut Brown Bunny Amigurumi Free Pattern
Subscribe E-newspaper, so you can get more crochet patterns.
❈ Read more ❈
Usage of Stitch Markers & Effective Joining Methods for Changing Yarn and Colors