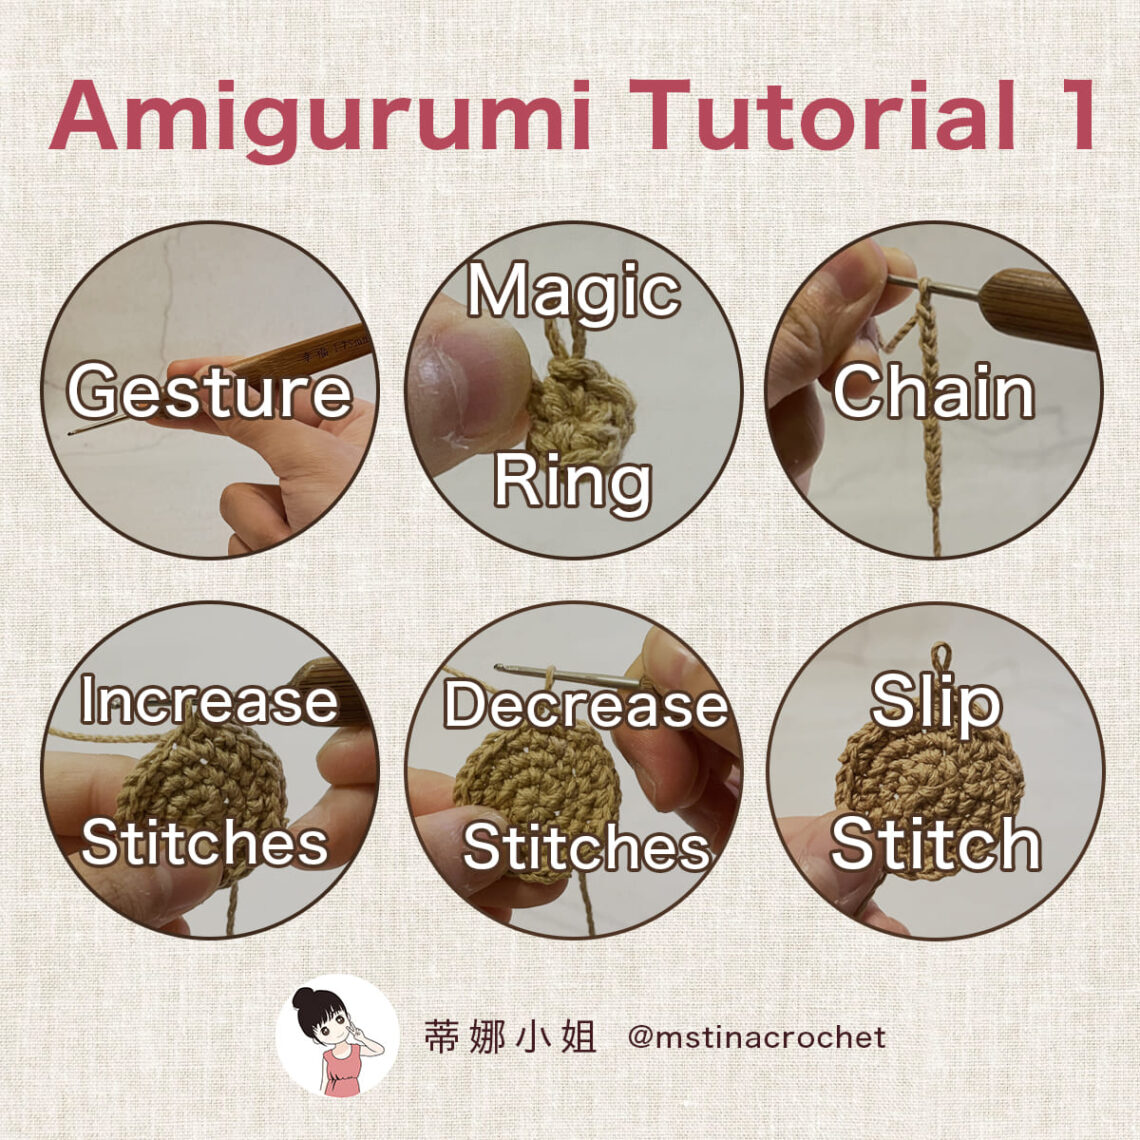
Six Basic Crochet Stitches for beginners – Amigurumi Tutorial 1
Crochet weaving is a craft that’s perfect for self-learning, and there are a few key reasons why. Firstly, the technical barrier is relatively low, as the movements are rhythmic and repetitive. Secondly, materials are readily available and reasonably priced. Take wool felt as an example: beginners might struggle with shaping and occasionally prick themselves, so it’s crucial to build up a feel for the material and gain experience. Crocheting, on the other hand, follows a certain pattern. By simply following the crochet pattern stitch by stitch, step by step, you can create a complete yarn piece!
Did you know? In the world of crochet dolls, knowing just six stitches can yield a variety of adorable creations! Let’s take a look at the following two pieces and guess how many crochet stitches were used:
Piske:
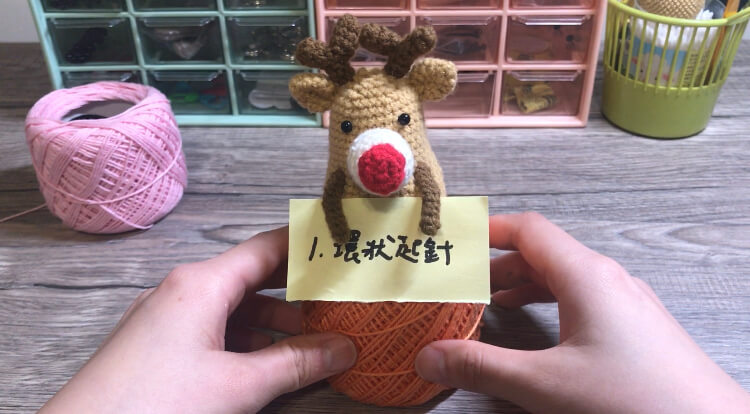
Reindeer:
The stitches used in these two pieces include: round starting stitch, chain stitch, single crochet, single crochet increase, single crochet decrease, and slip stitch. You see, with just these few stitches, you can create a range of crochet dolls, each with distinct styles.
So instead of mastering all stitches before starting to crochet, it’s more motivating to pick a project you like and figure things out as you go. Feeling inspired after seeing these examples? Next, before diving into learning crochet stitches, I’d like to briefly introduce what a “crochet pattern” is.
What is a Crochet Pattern? How Are Stitches and Patterns Related?
A crochet pattern serves as the communication medium between the designer and the crocheter, akin to a product manual. A complete pattern informs you about the materials and stitches used by the designer, often presented in the form of a chart composed of stitches and numbers. Some designers also include written instructions, detailed explanations, and rich visuals. To draw a parallel, in music, notes and staff lines are to a musical piece what stitches and a crochet pattern are to a crochet project. Stitches form the framework of the entire crochet piece. In other words, mastering stitches enables us to understand the meaning of a pattern and replicate the same piece by following it.
Now, let’s get started with the main topic!
How to Hold Crochet Hooks and Yarn
Weaving involves the coordinated use of both hands. Taking right-handed individuals as an example, typically the left hand holds the yarn while the right hand holds the hook. There are two common methods for holding the yarn and the hook respectively. Let’s begin with the method of holding the yarn in the left hand:
A. Hold Yarn with the Entire Palm
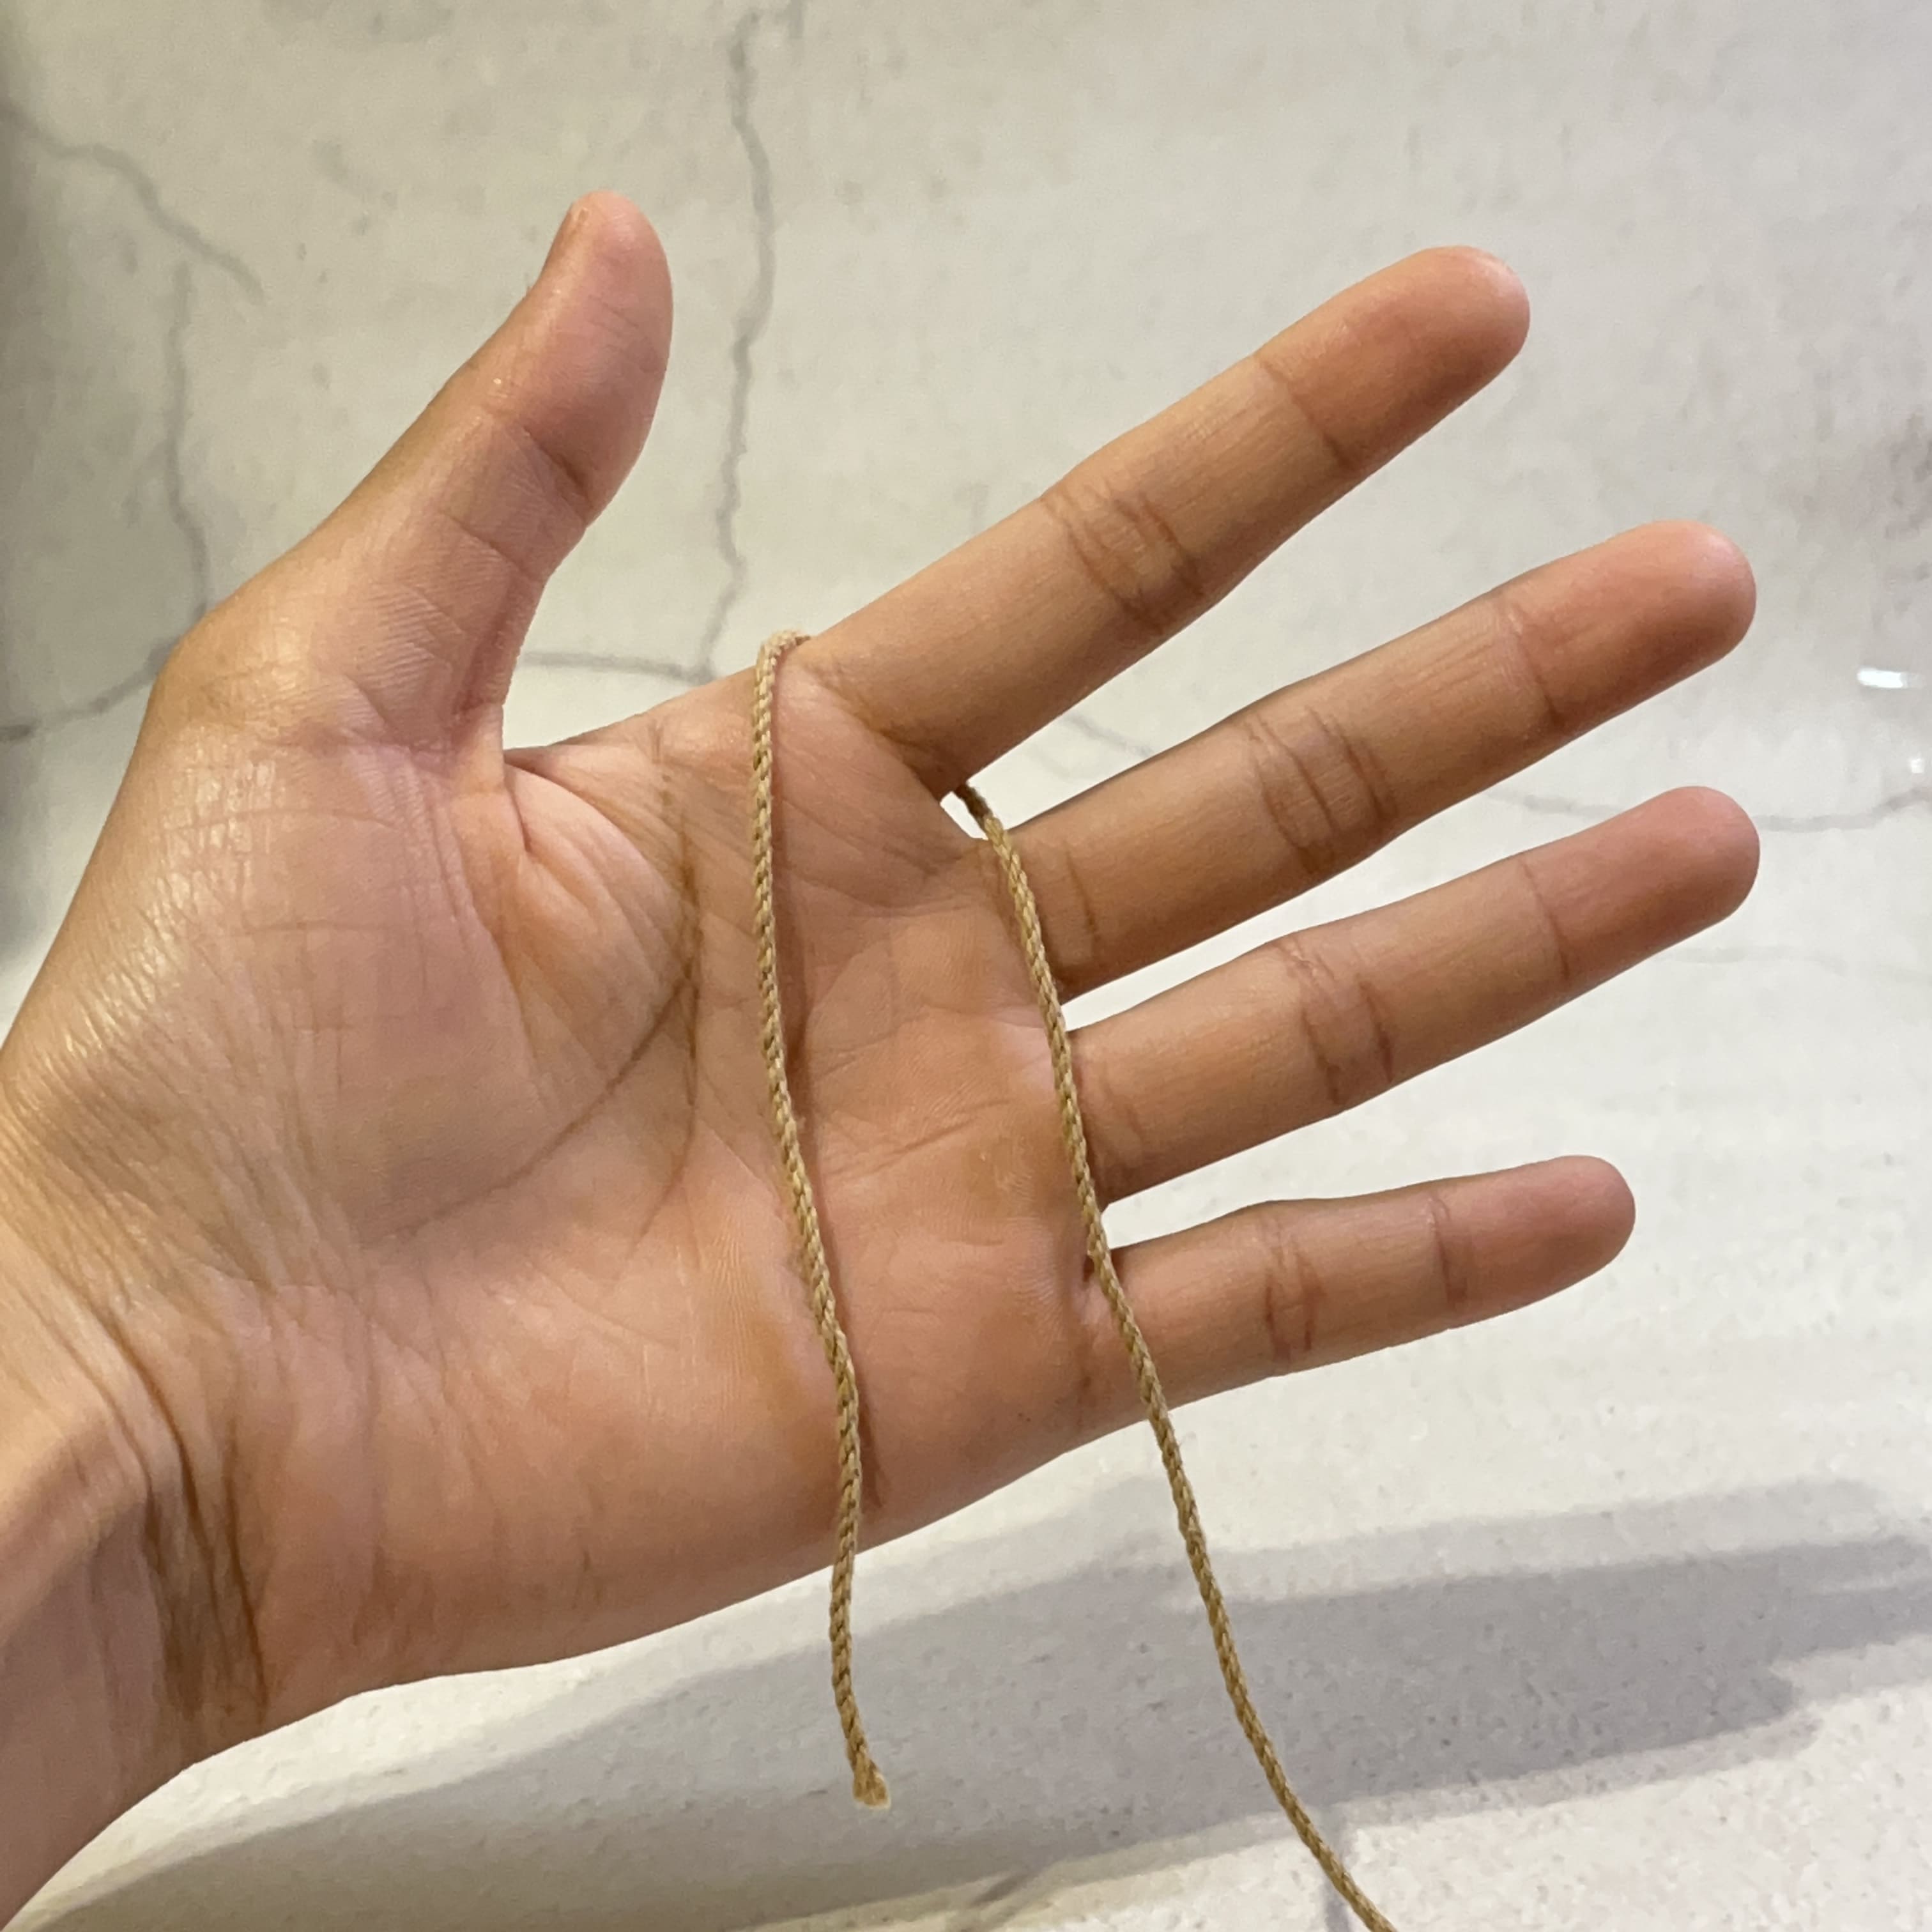
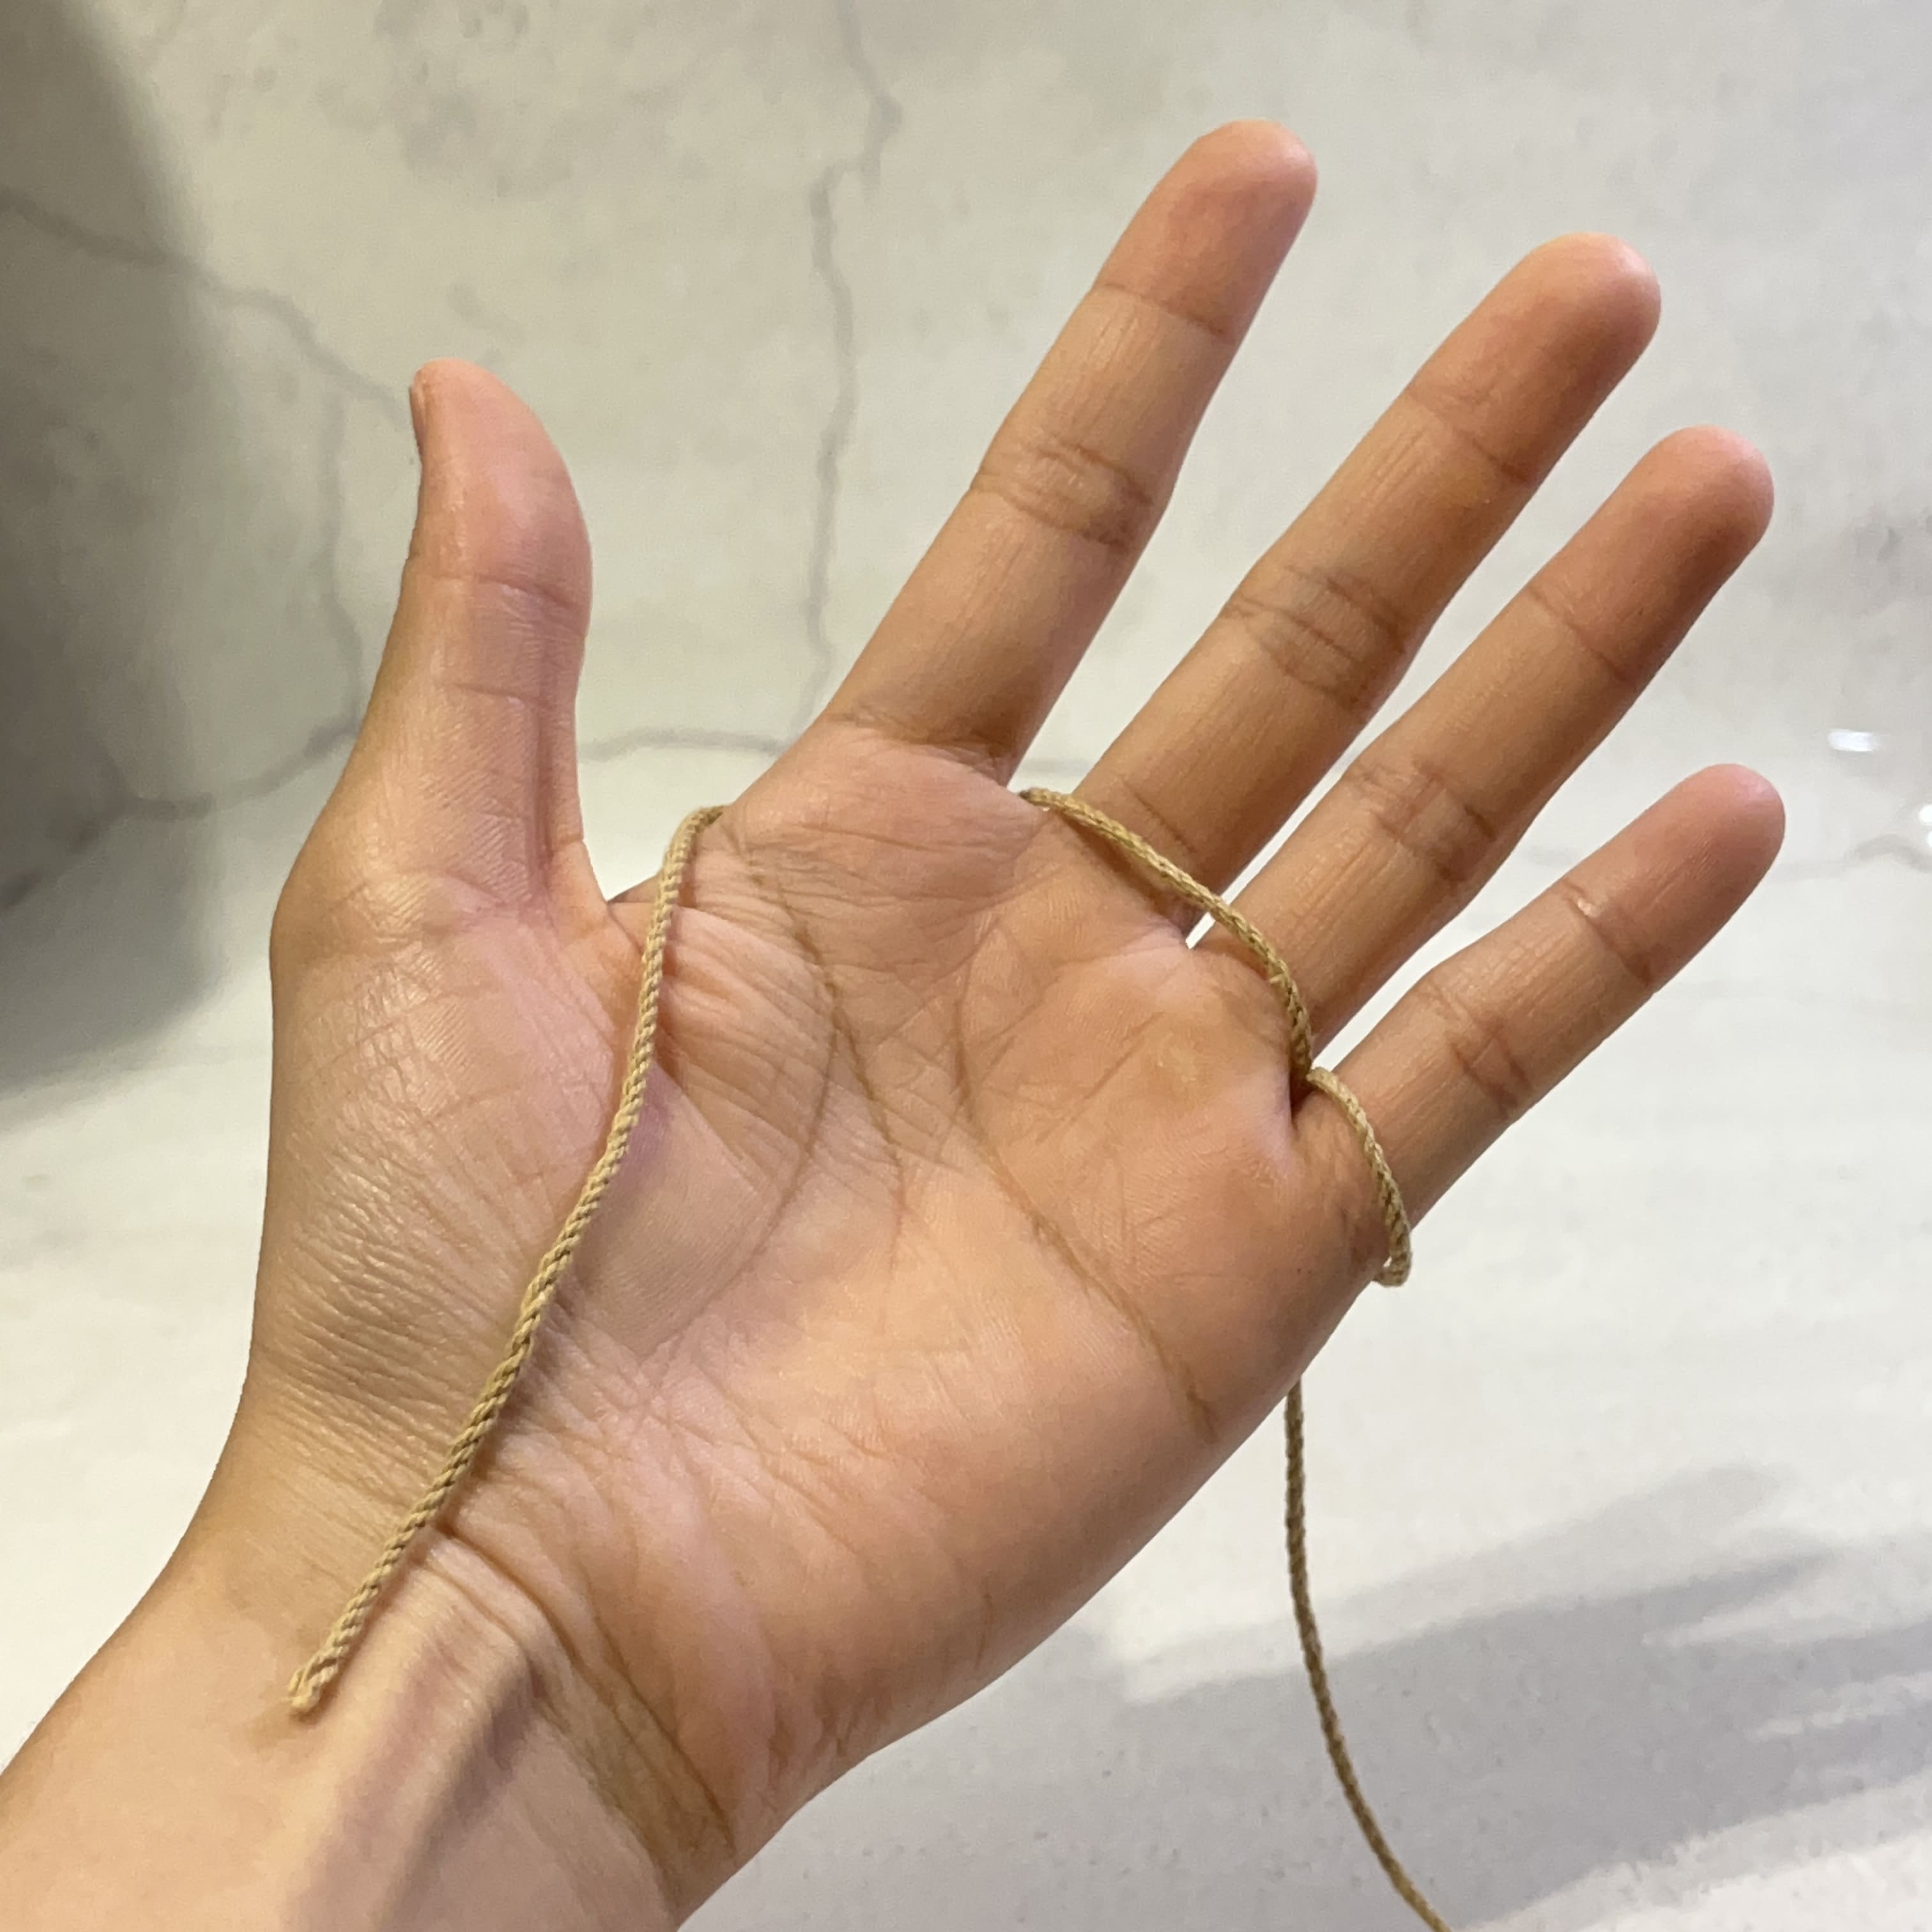
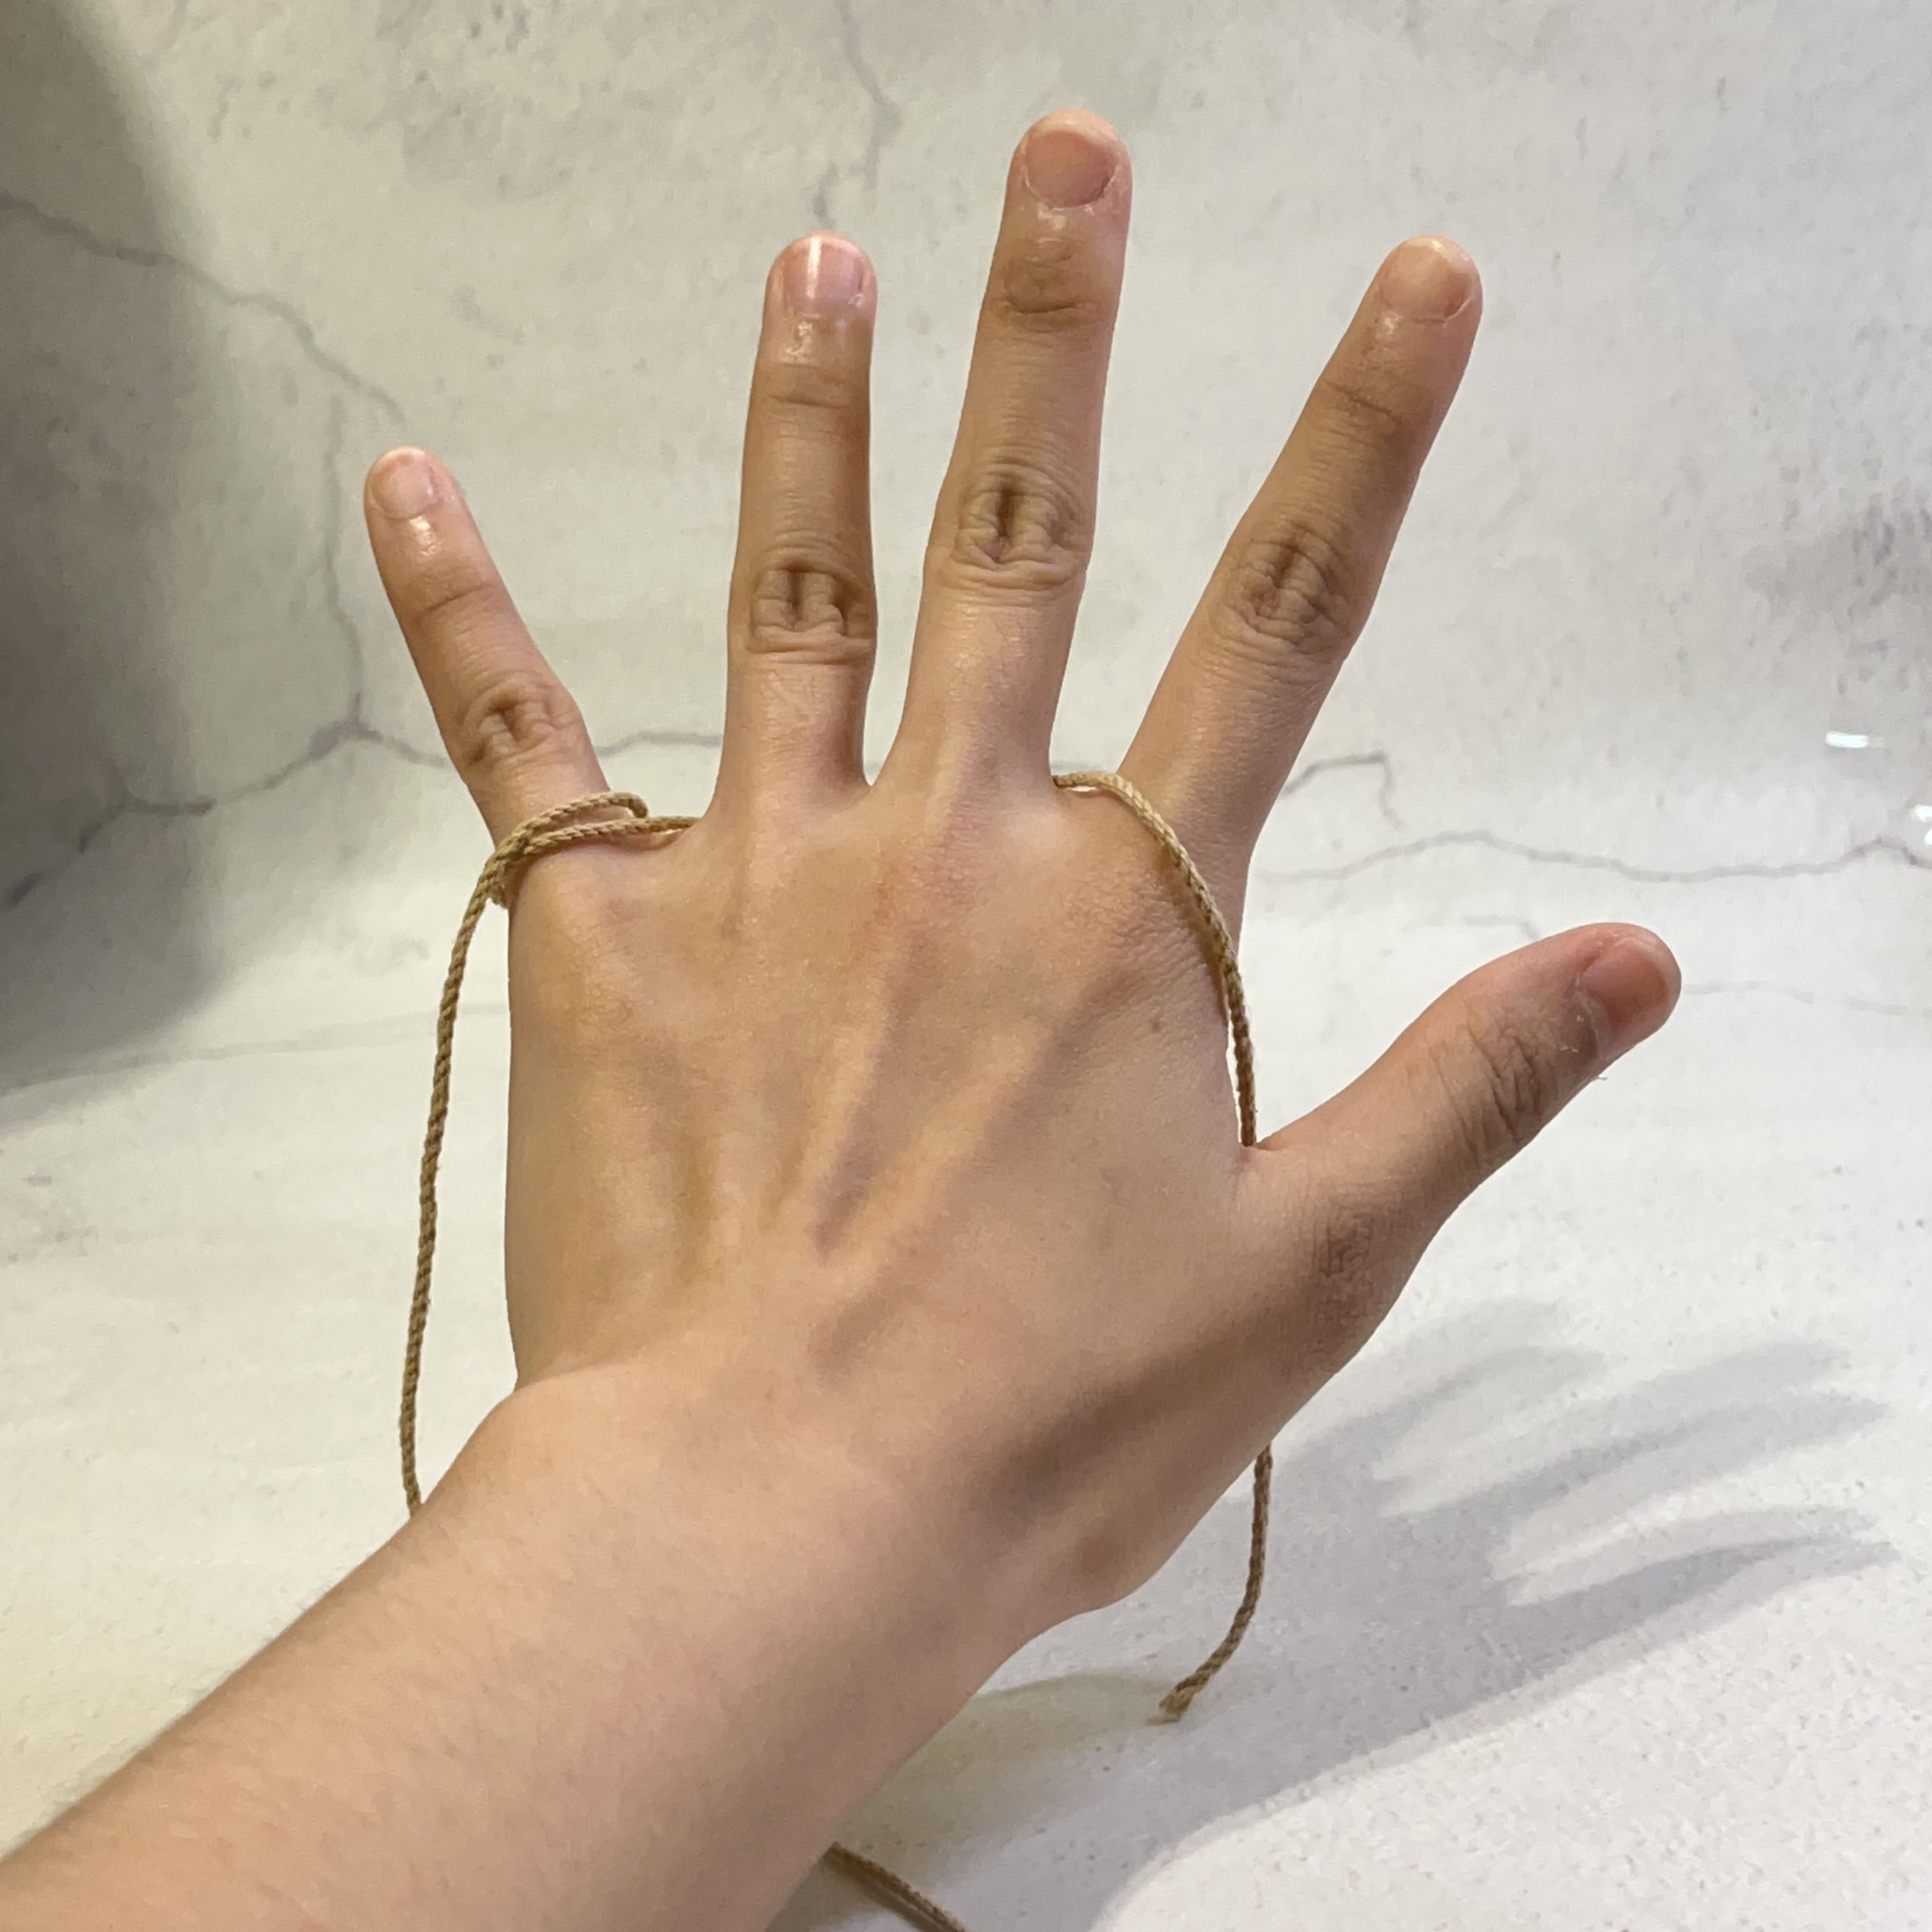
B. Hold Yarn with Fingers (My Preferred Gesture)
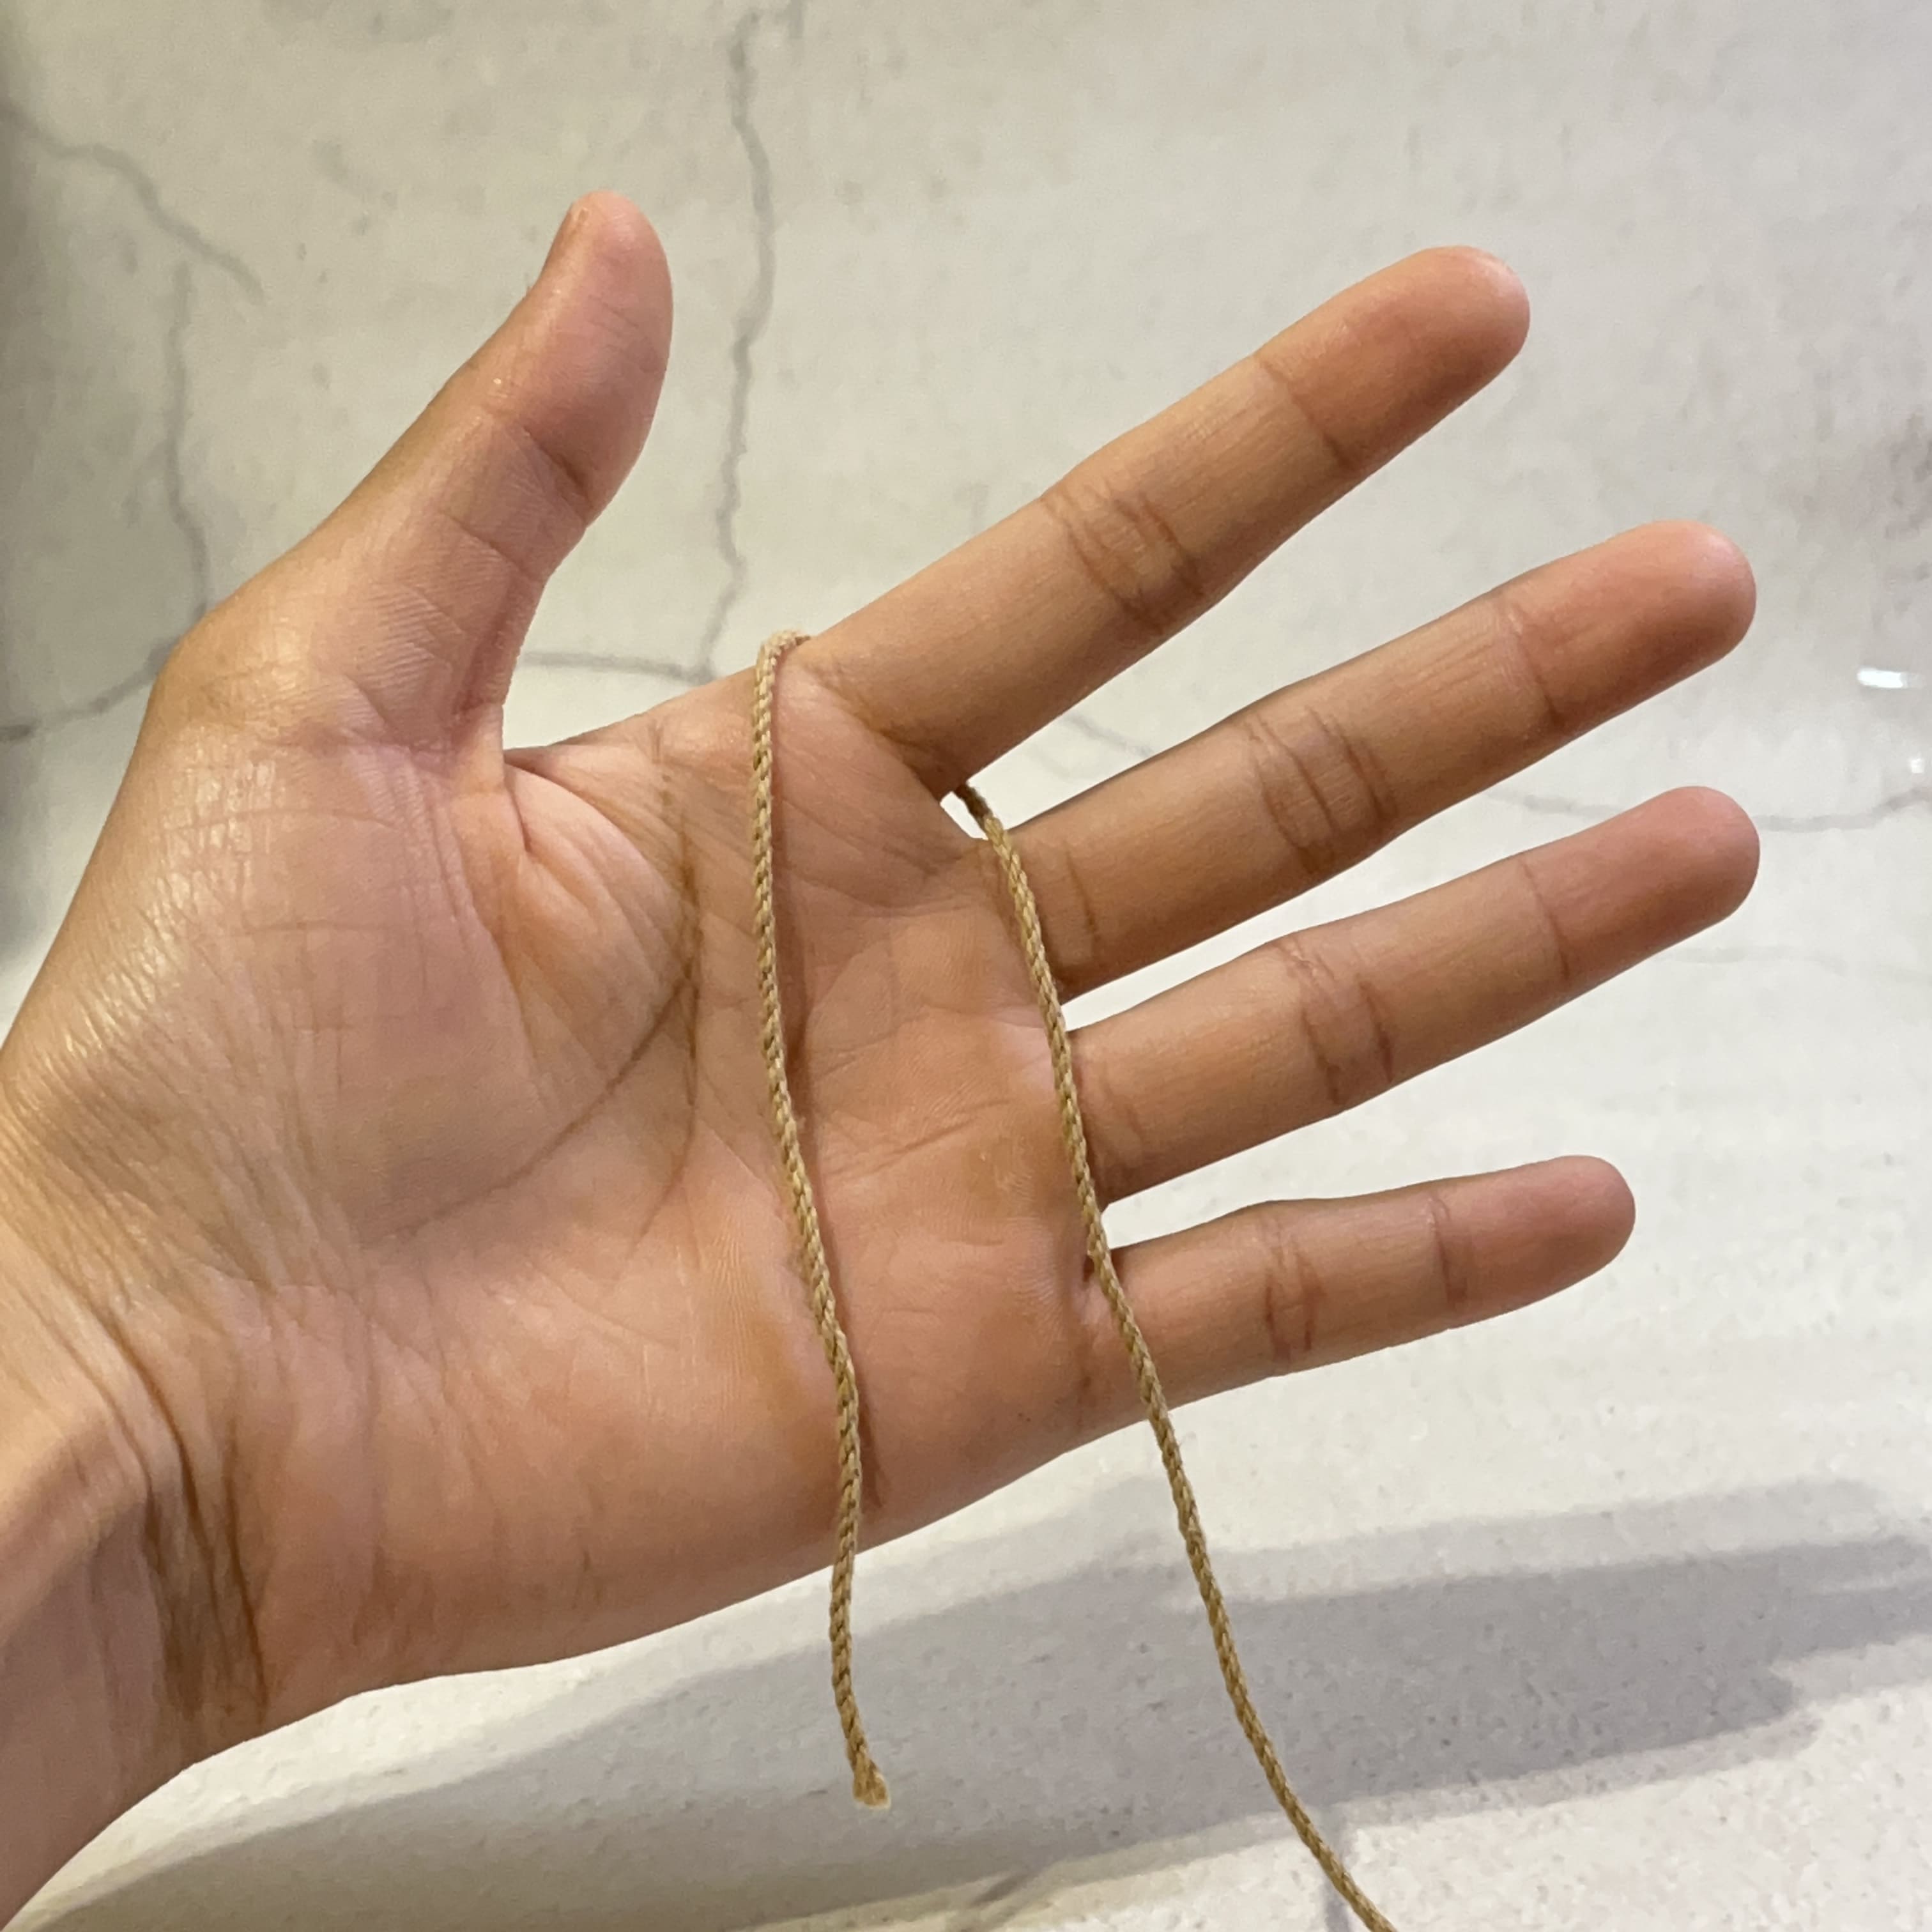
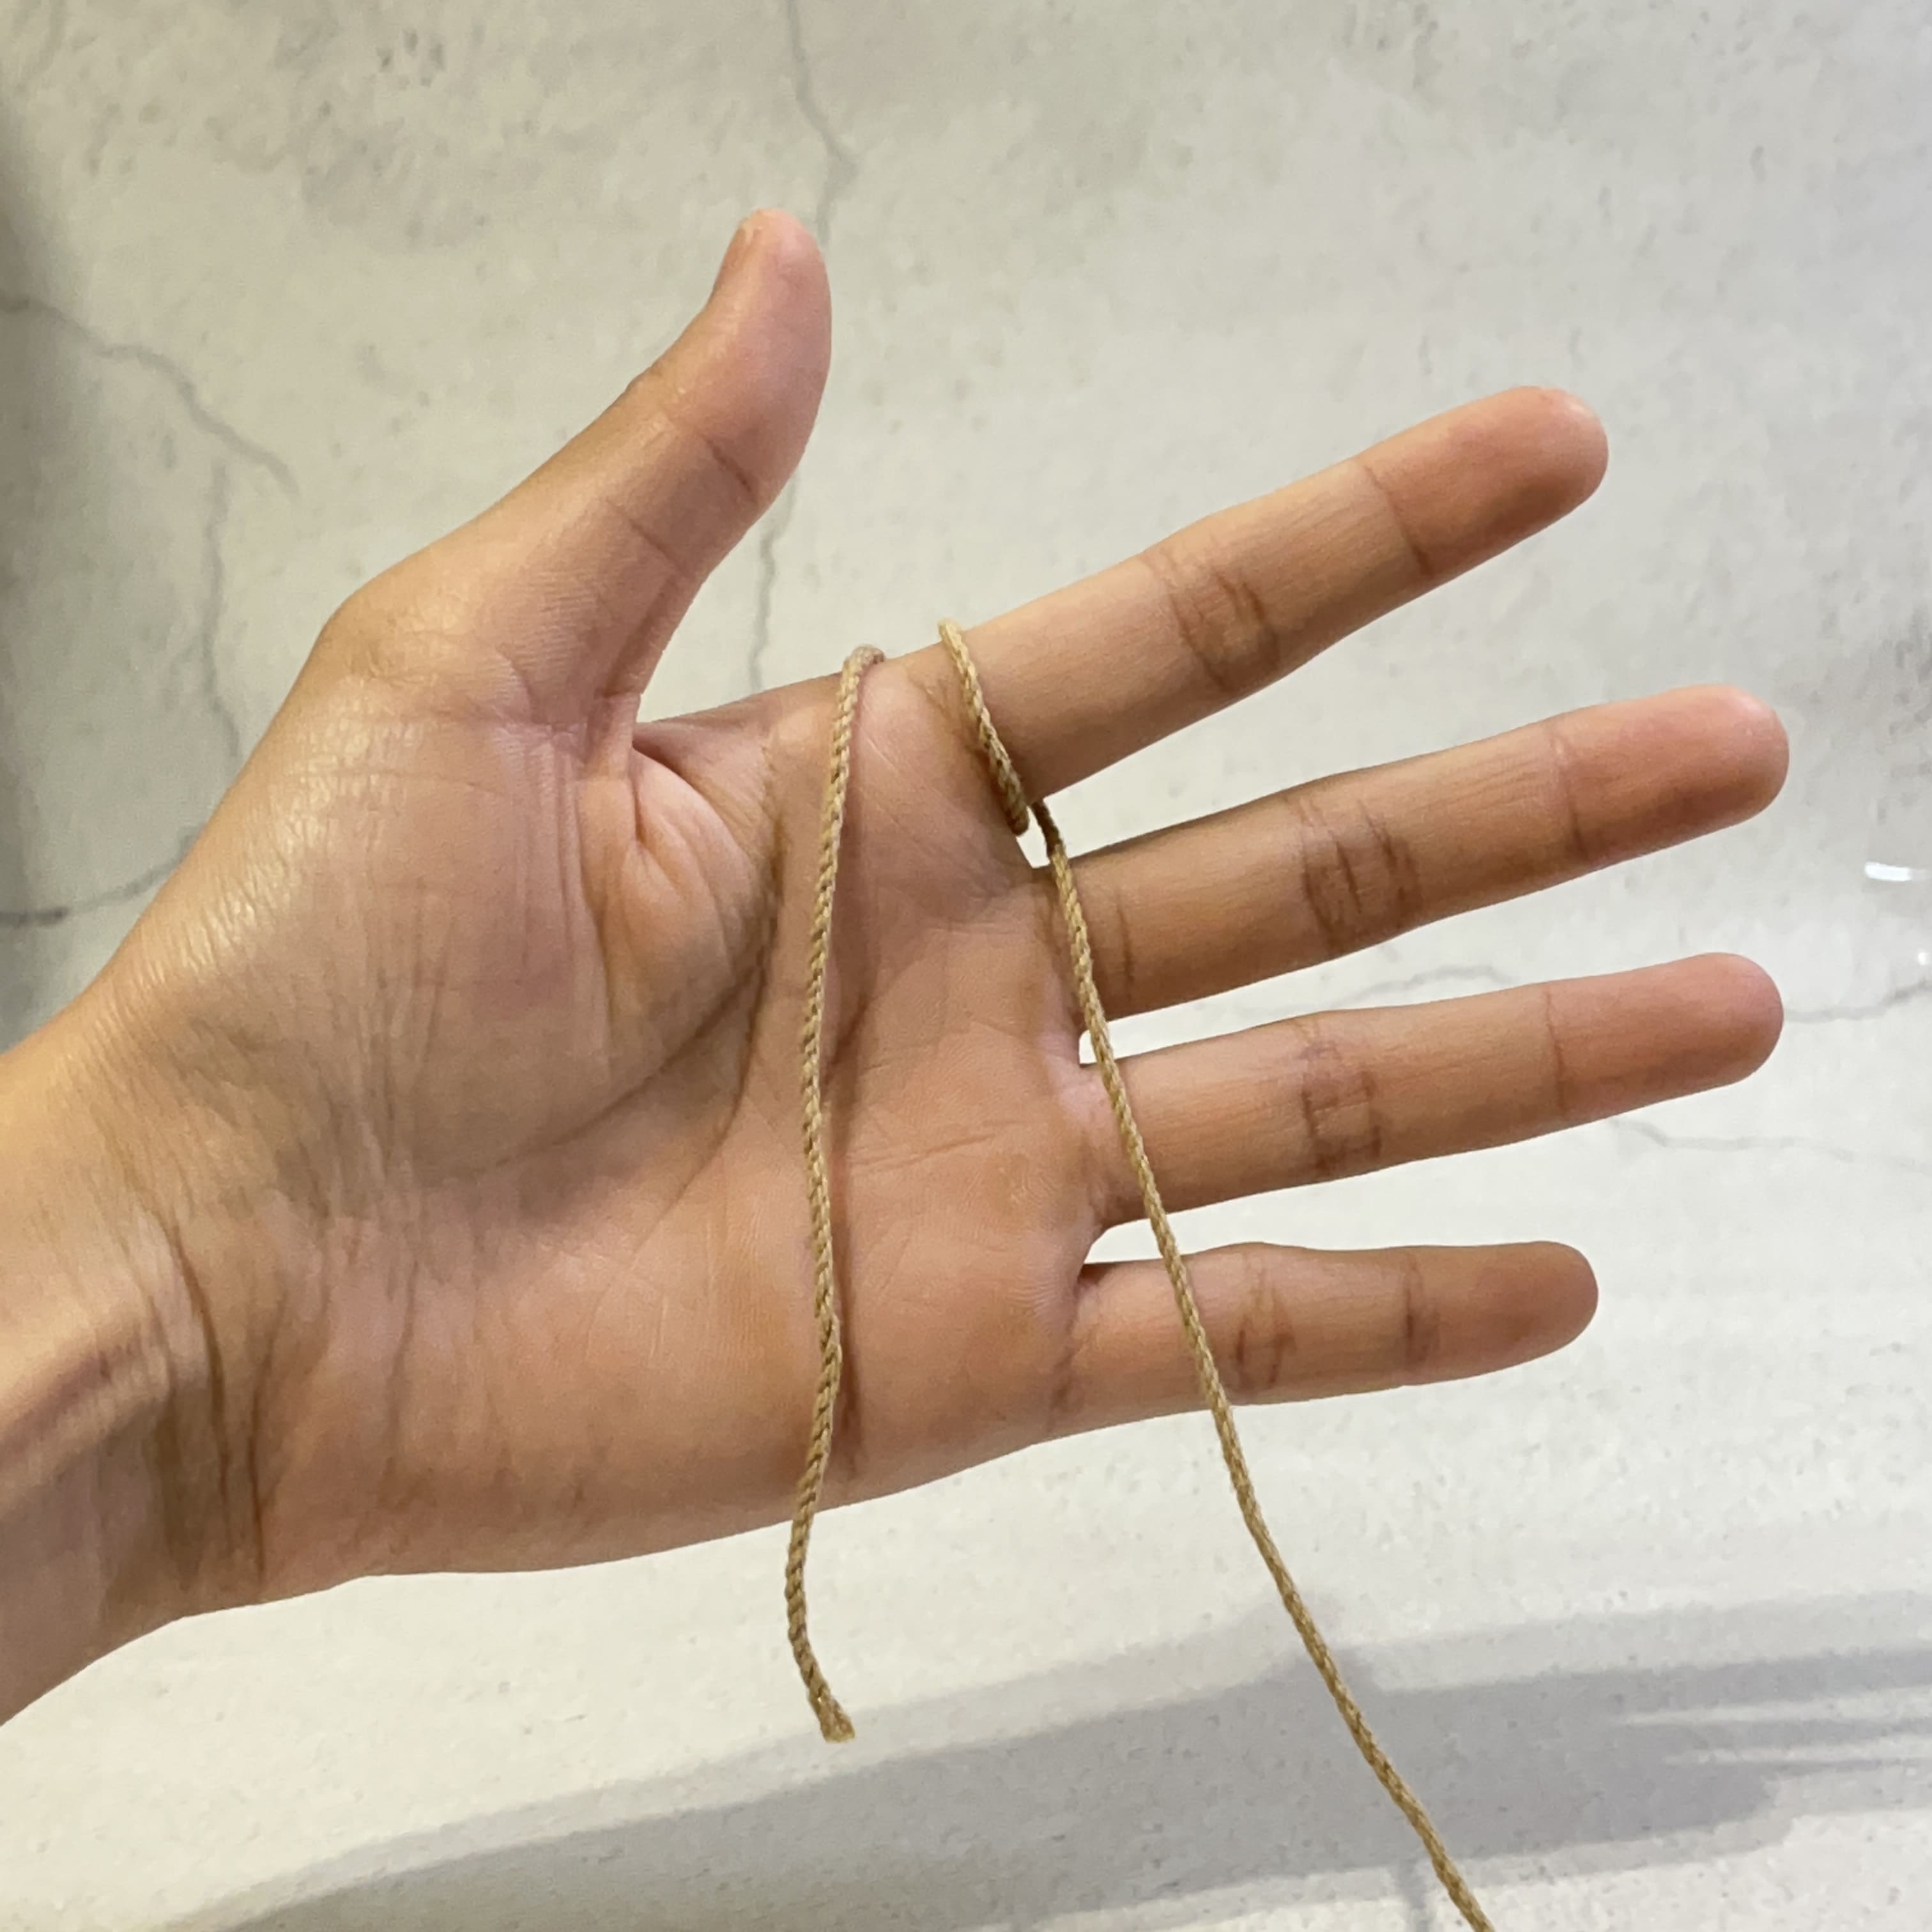
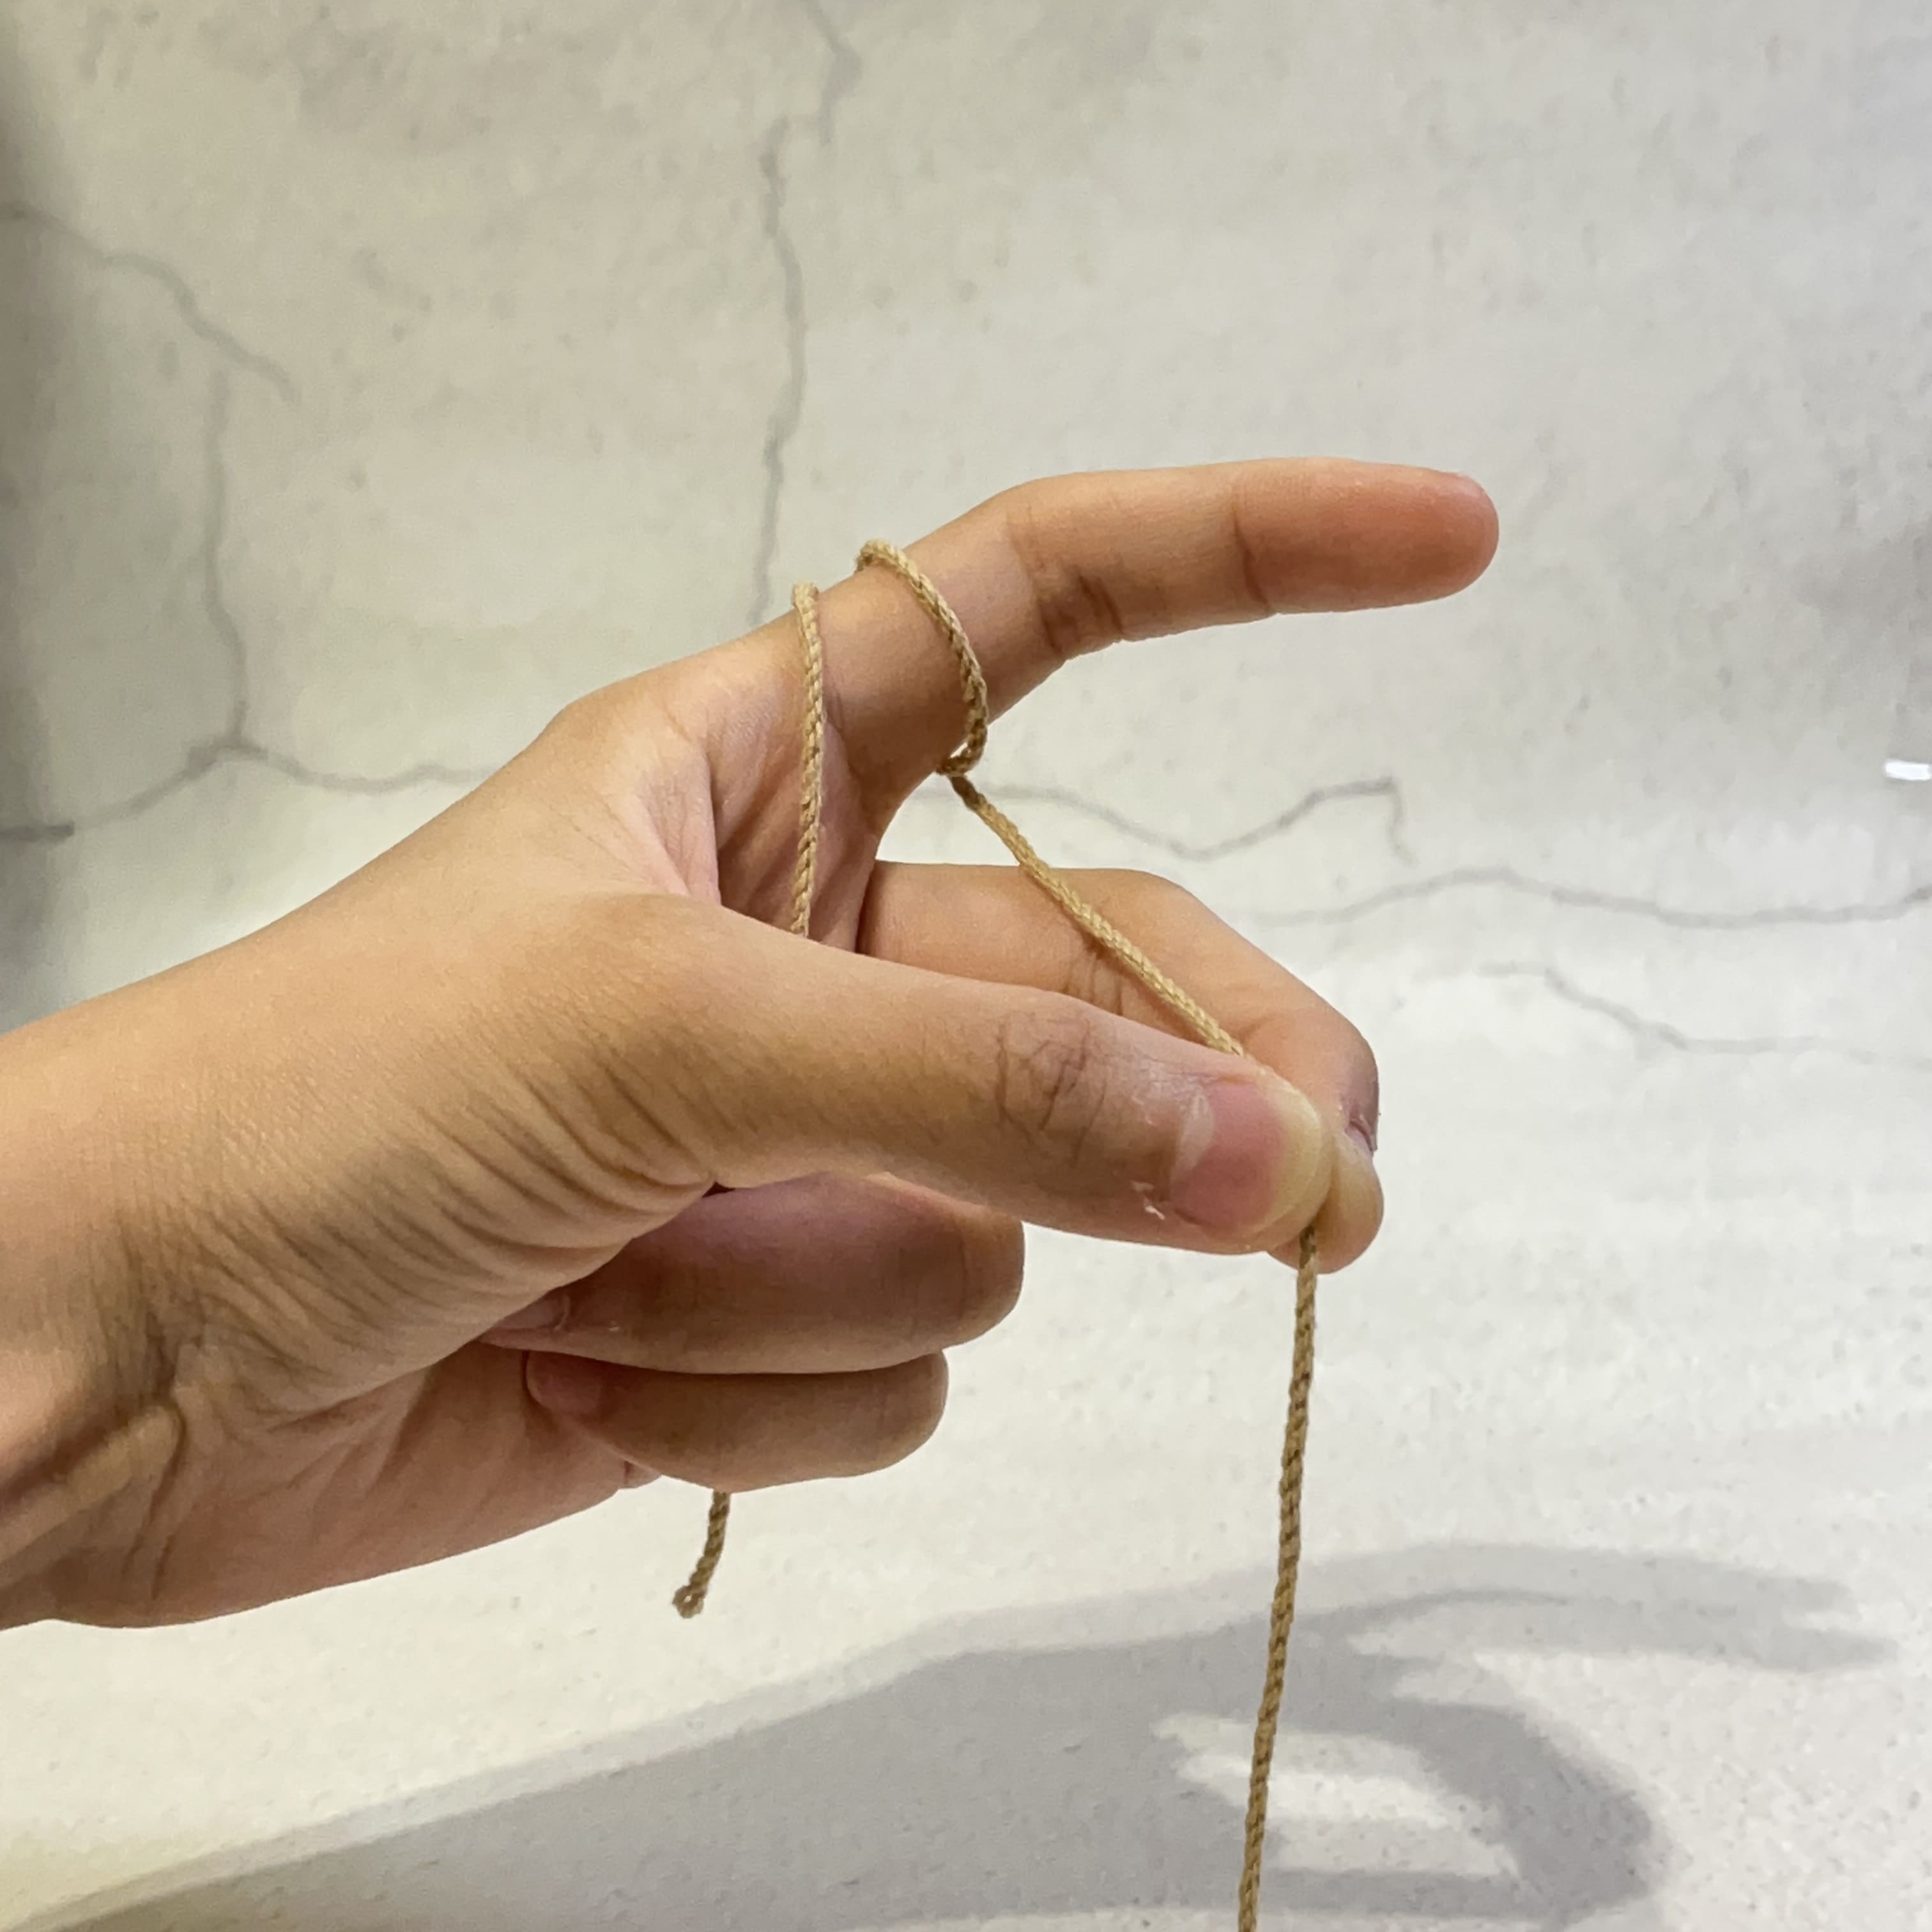
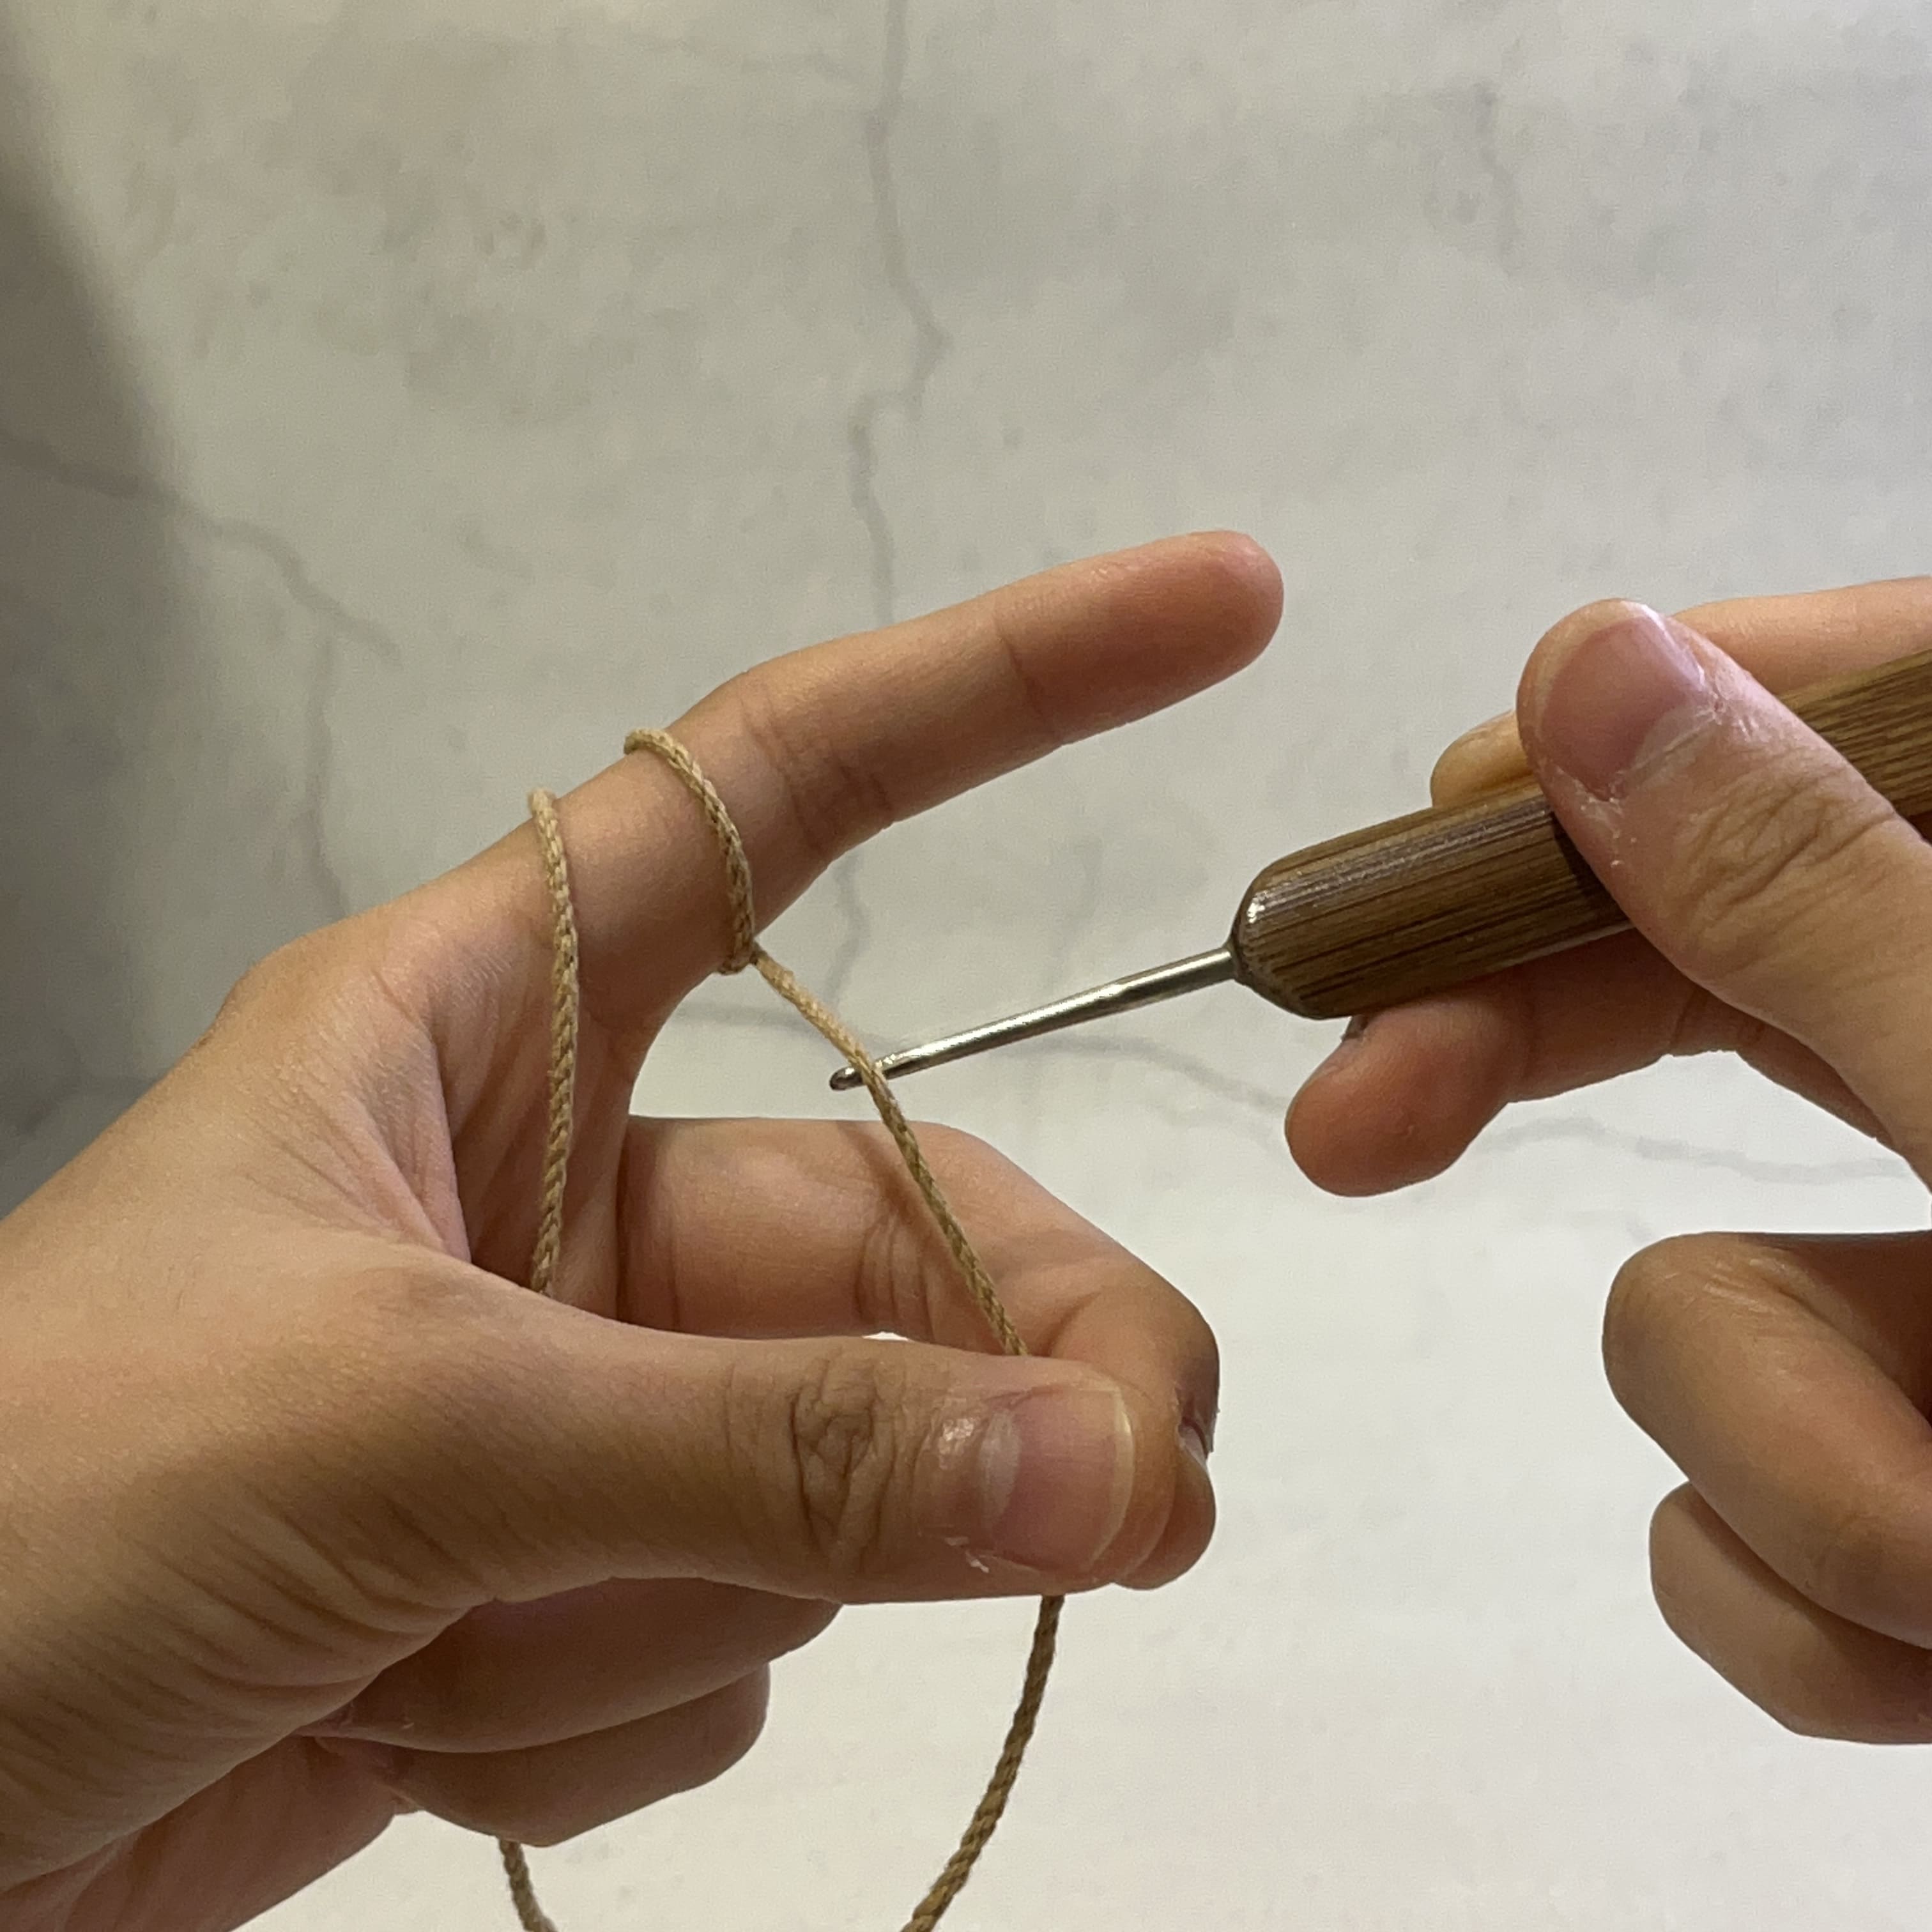
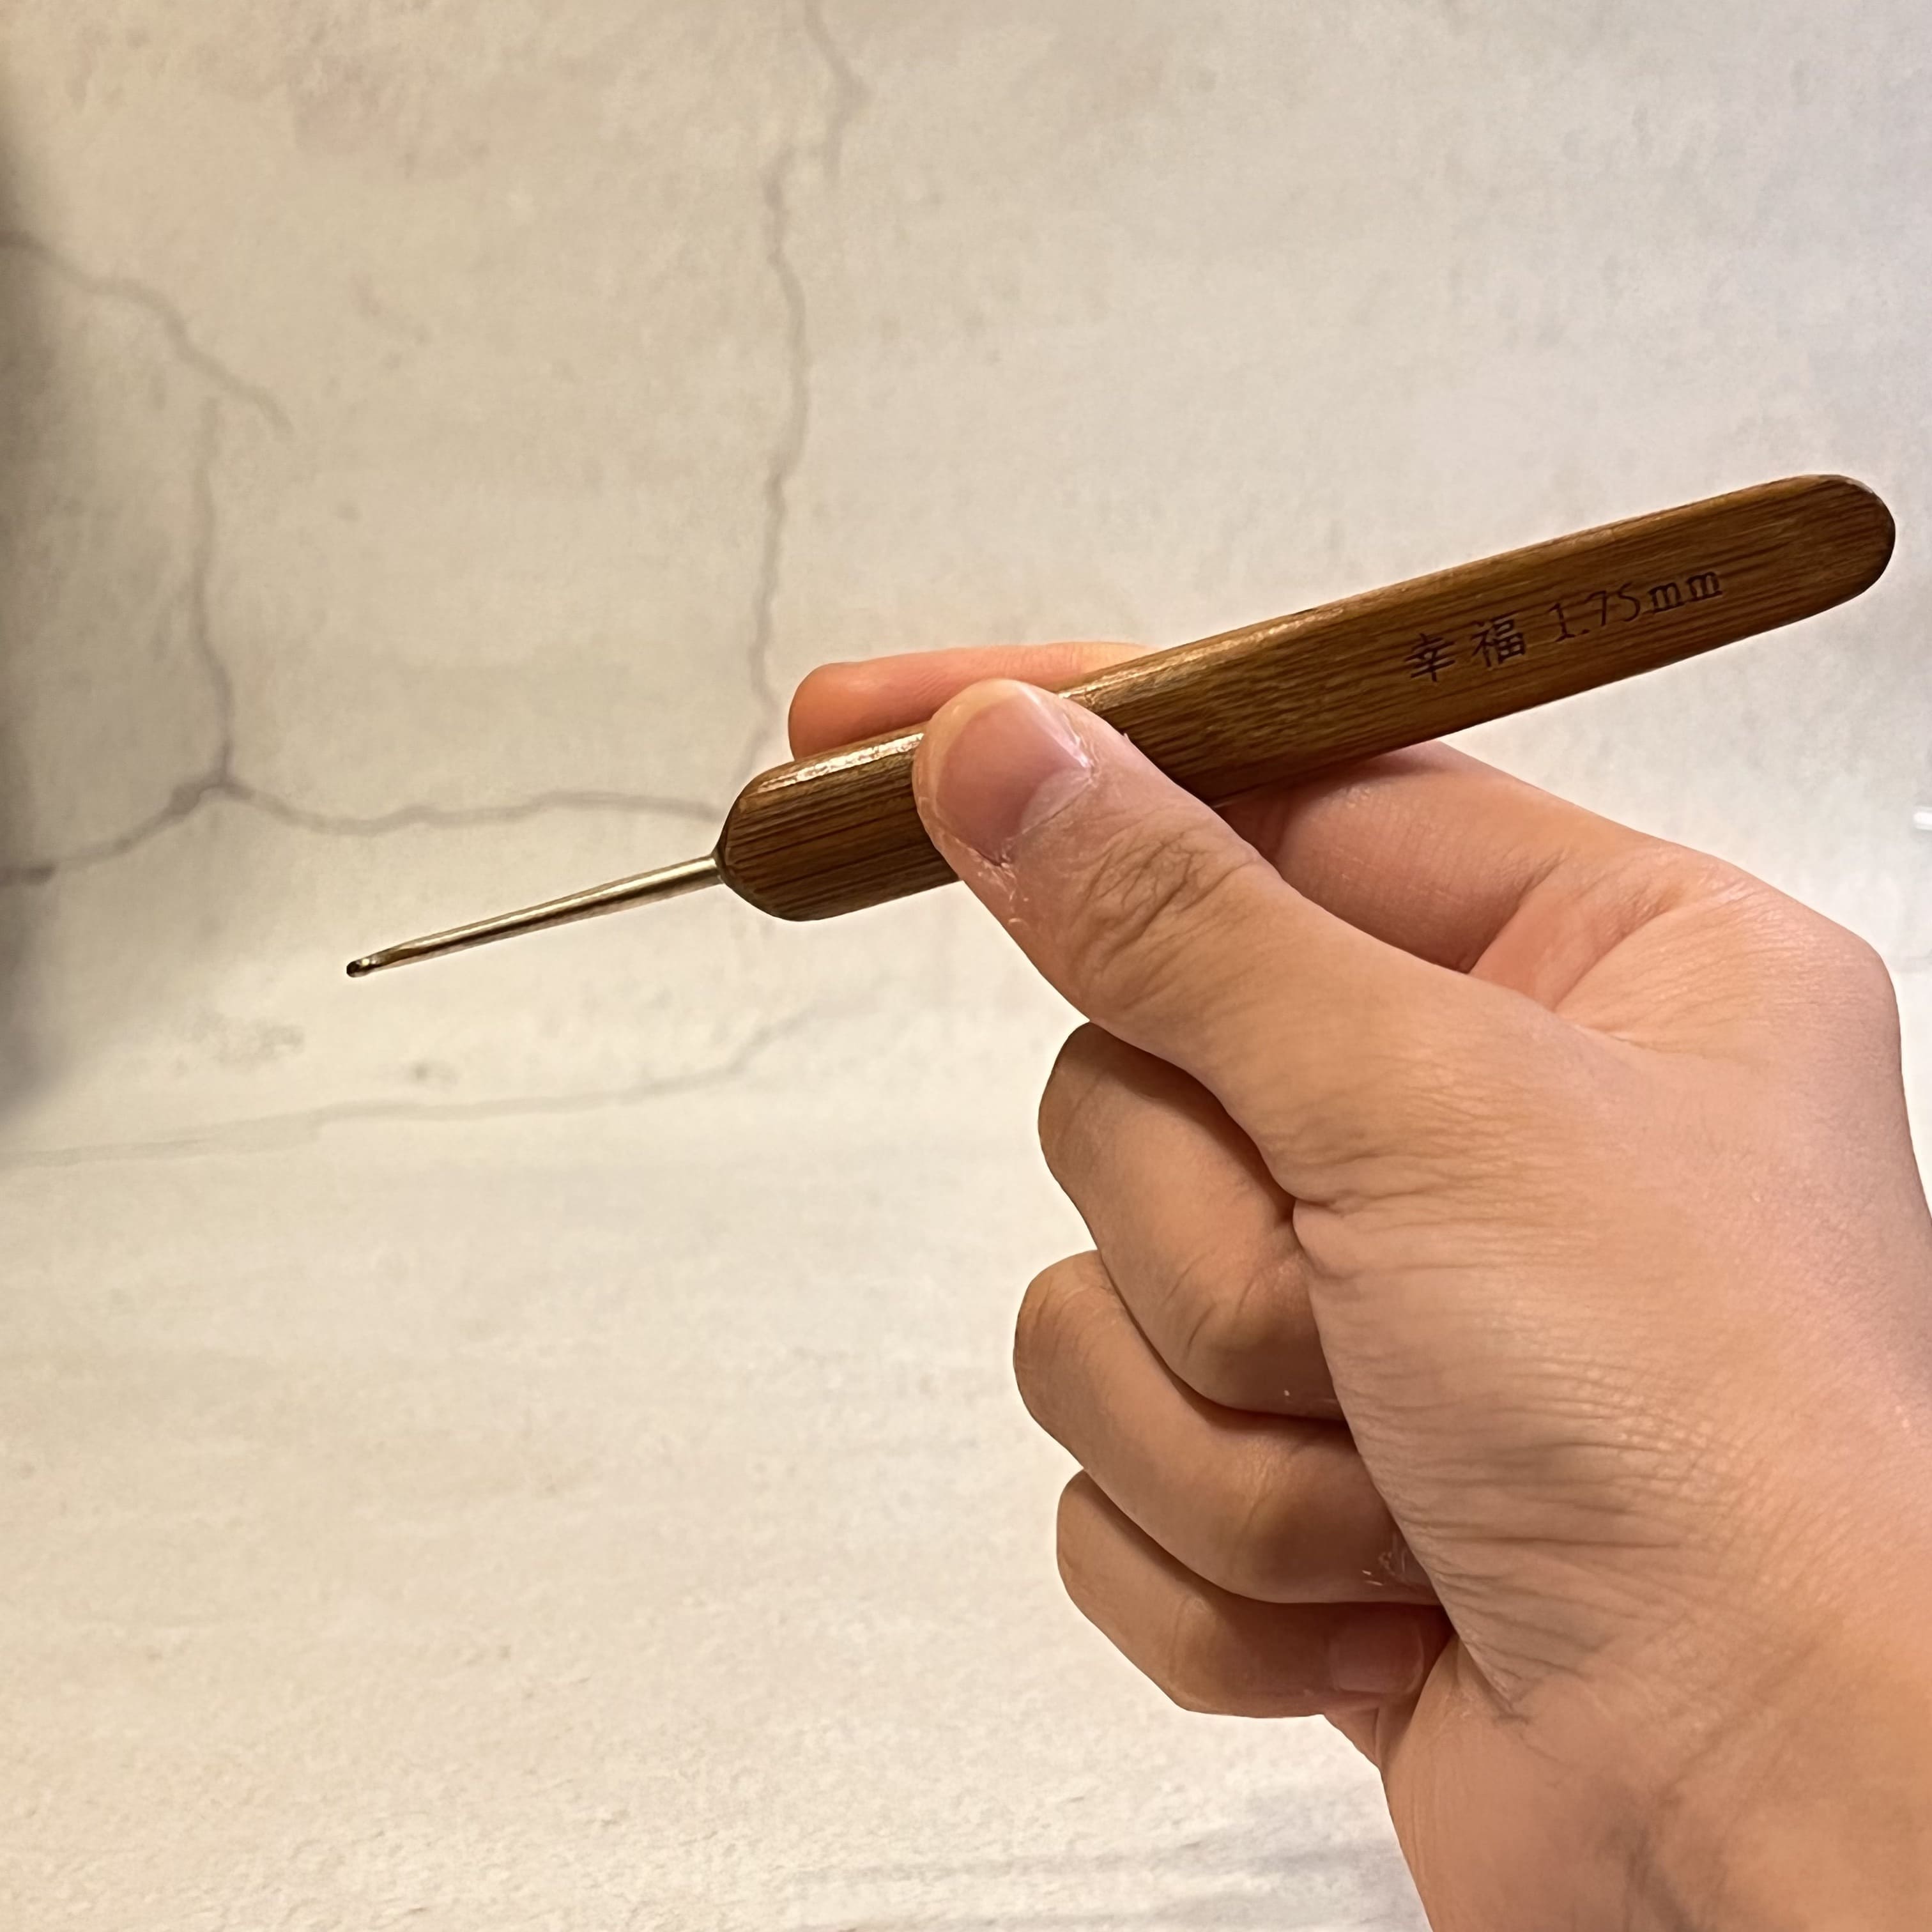
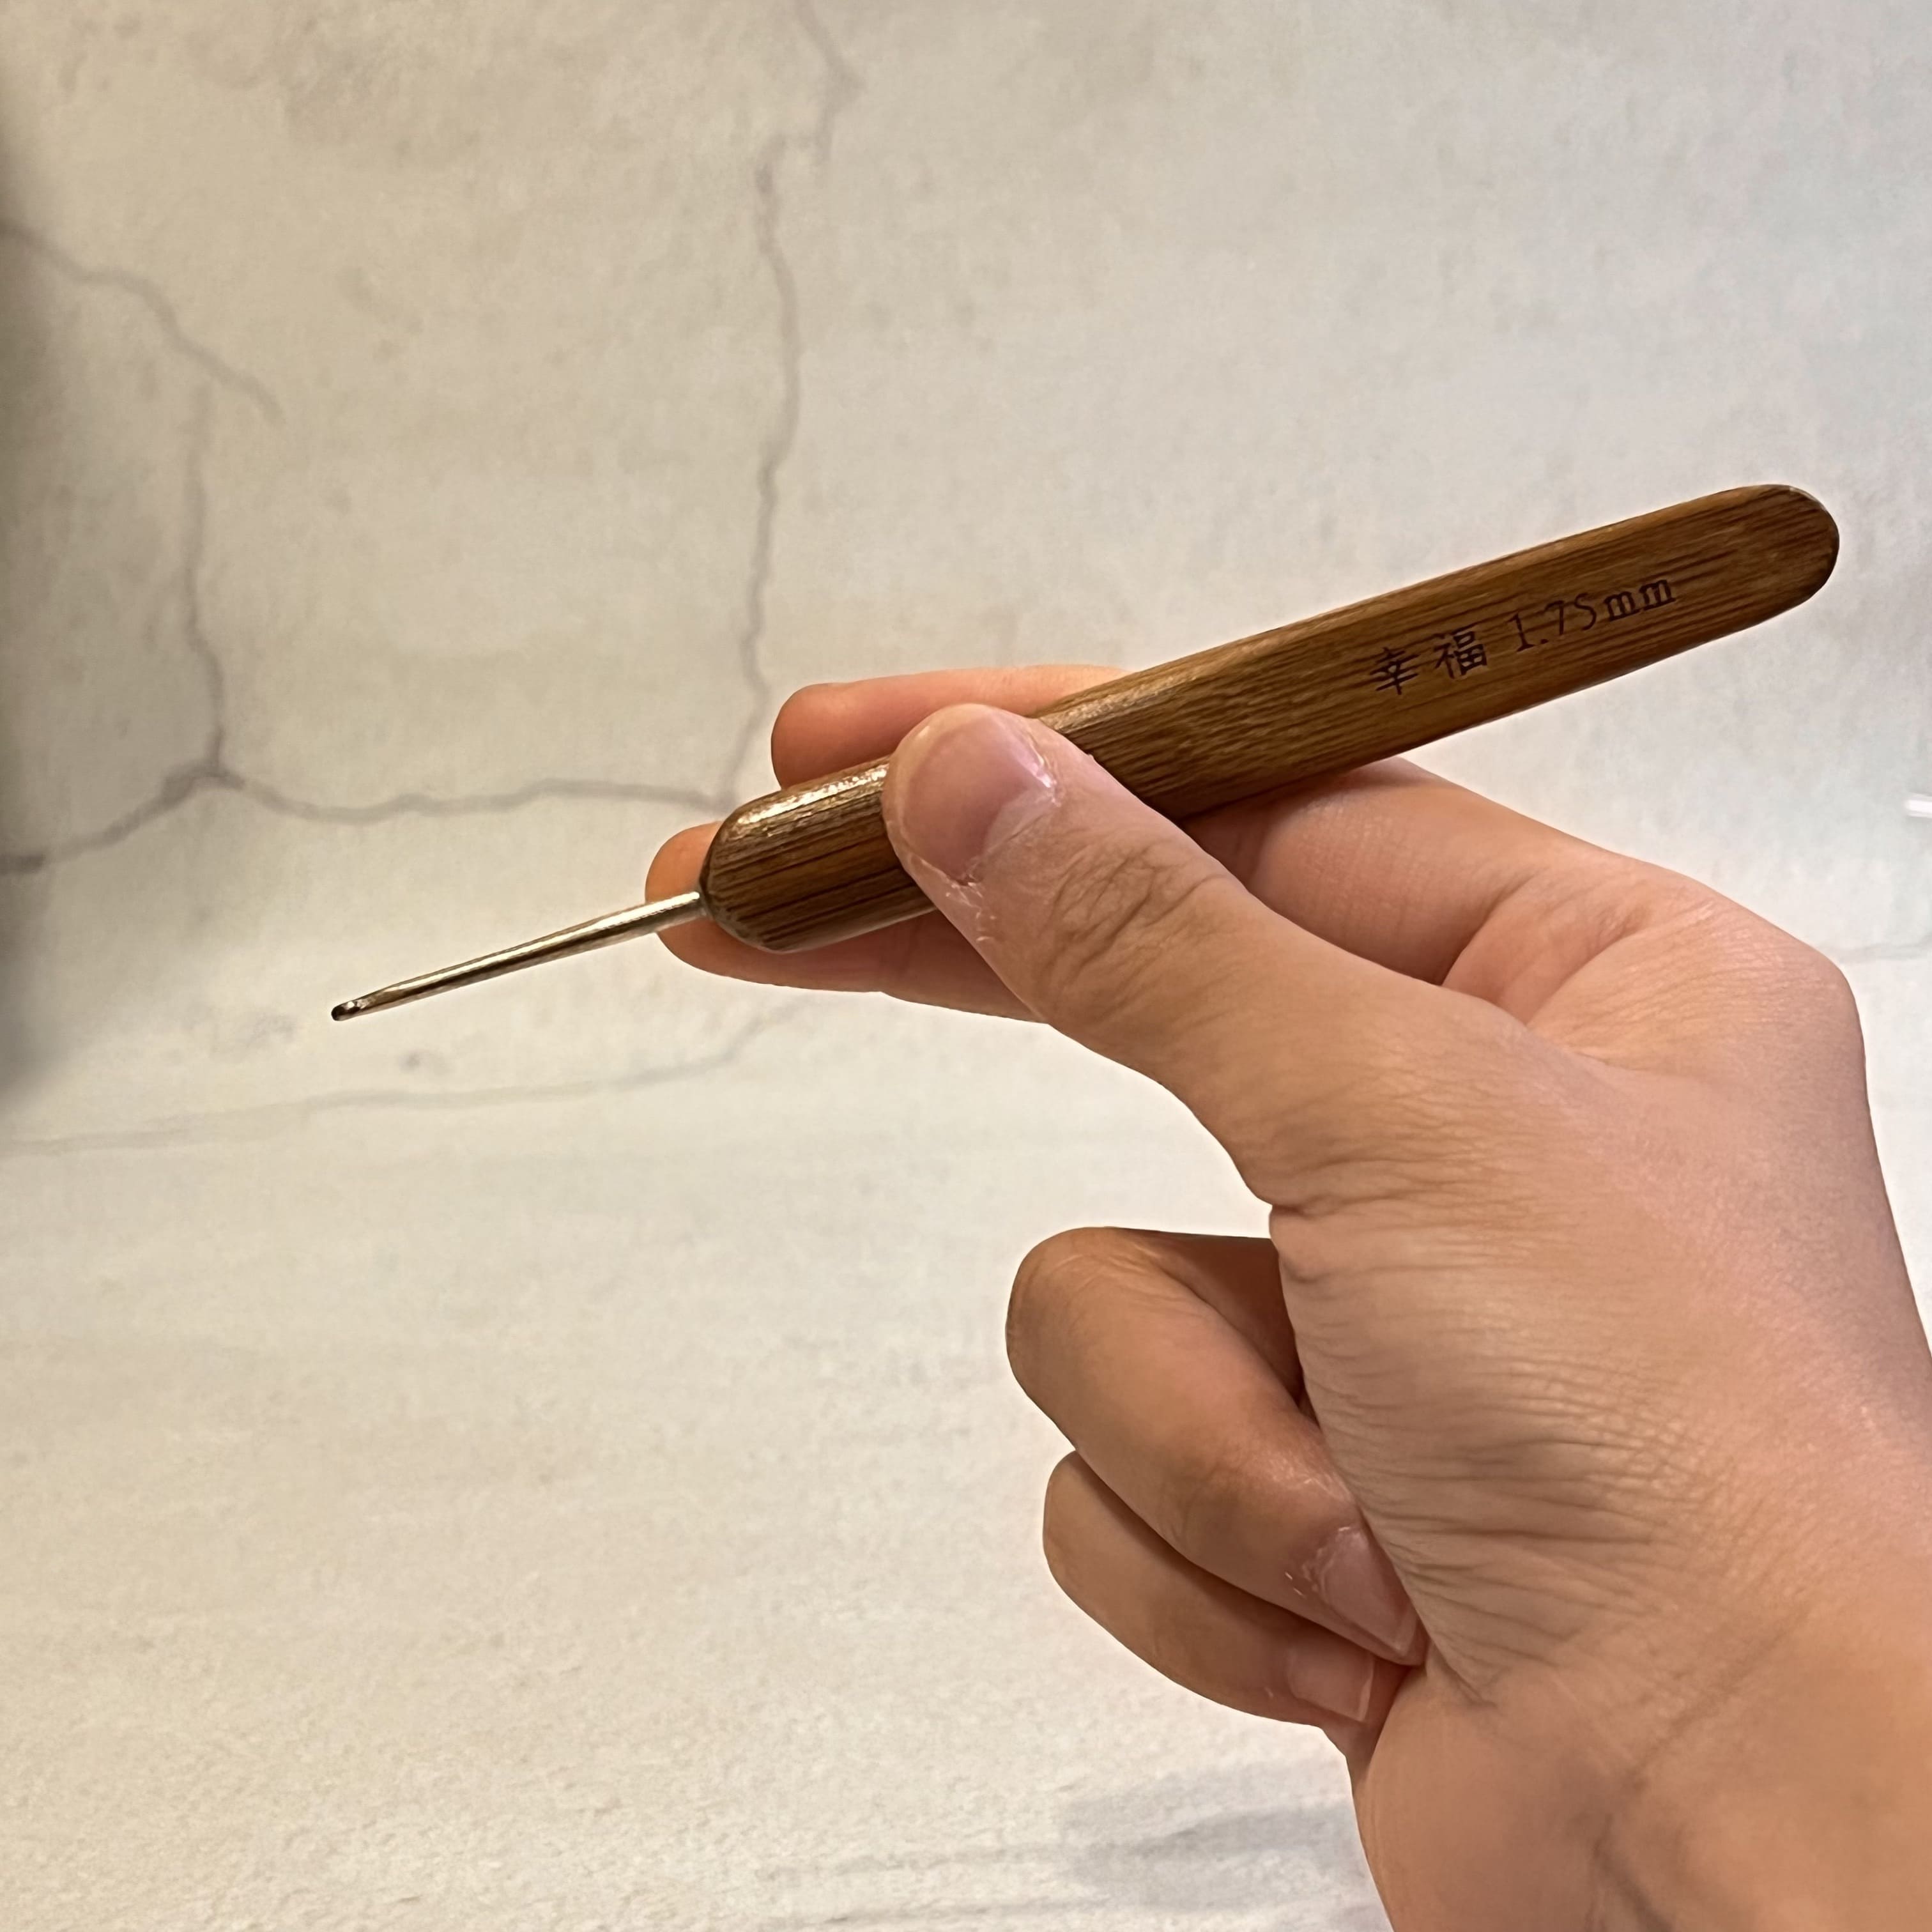
Now, let’s move on to holding the crochet hook:
Basic Stitch 1: Chain Stitch
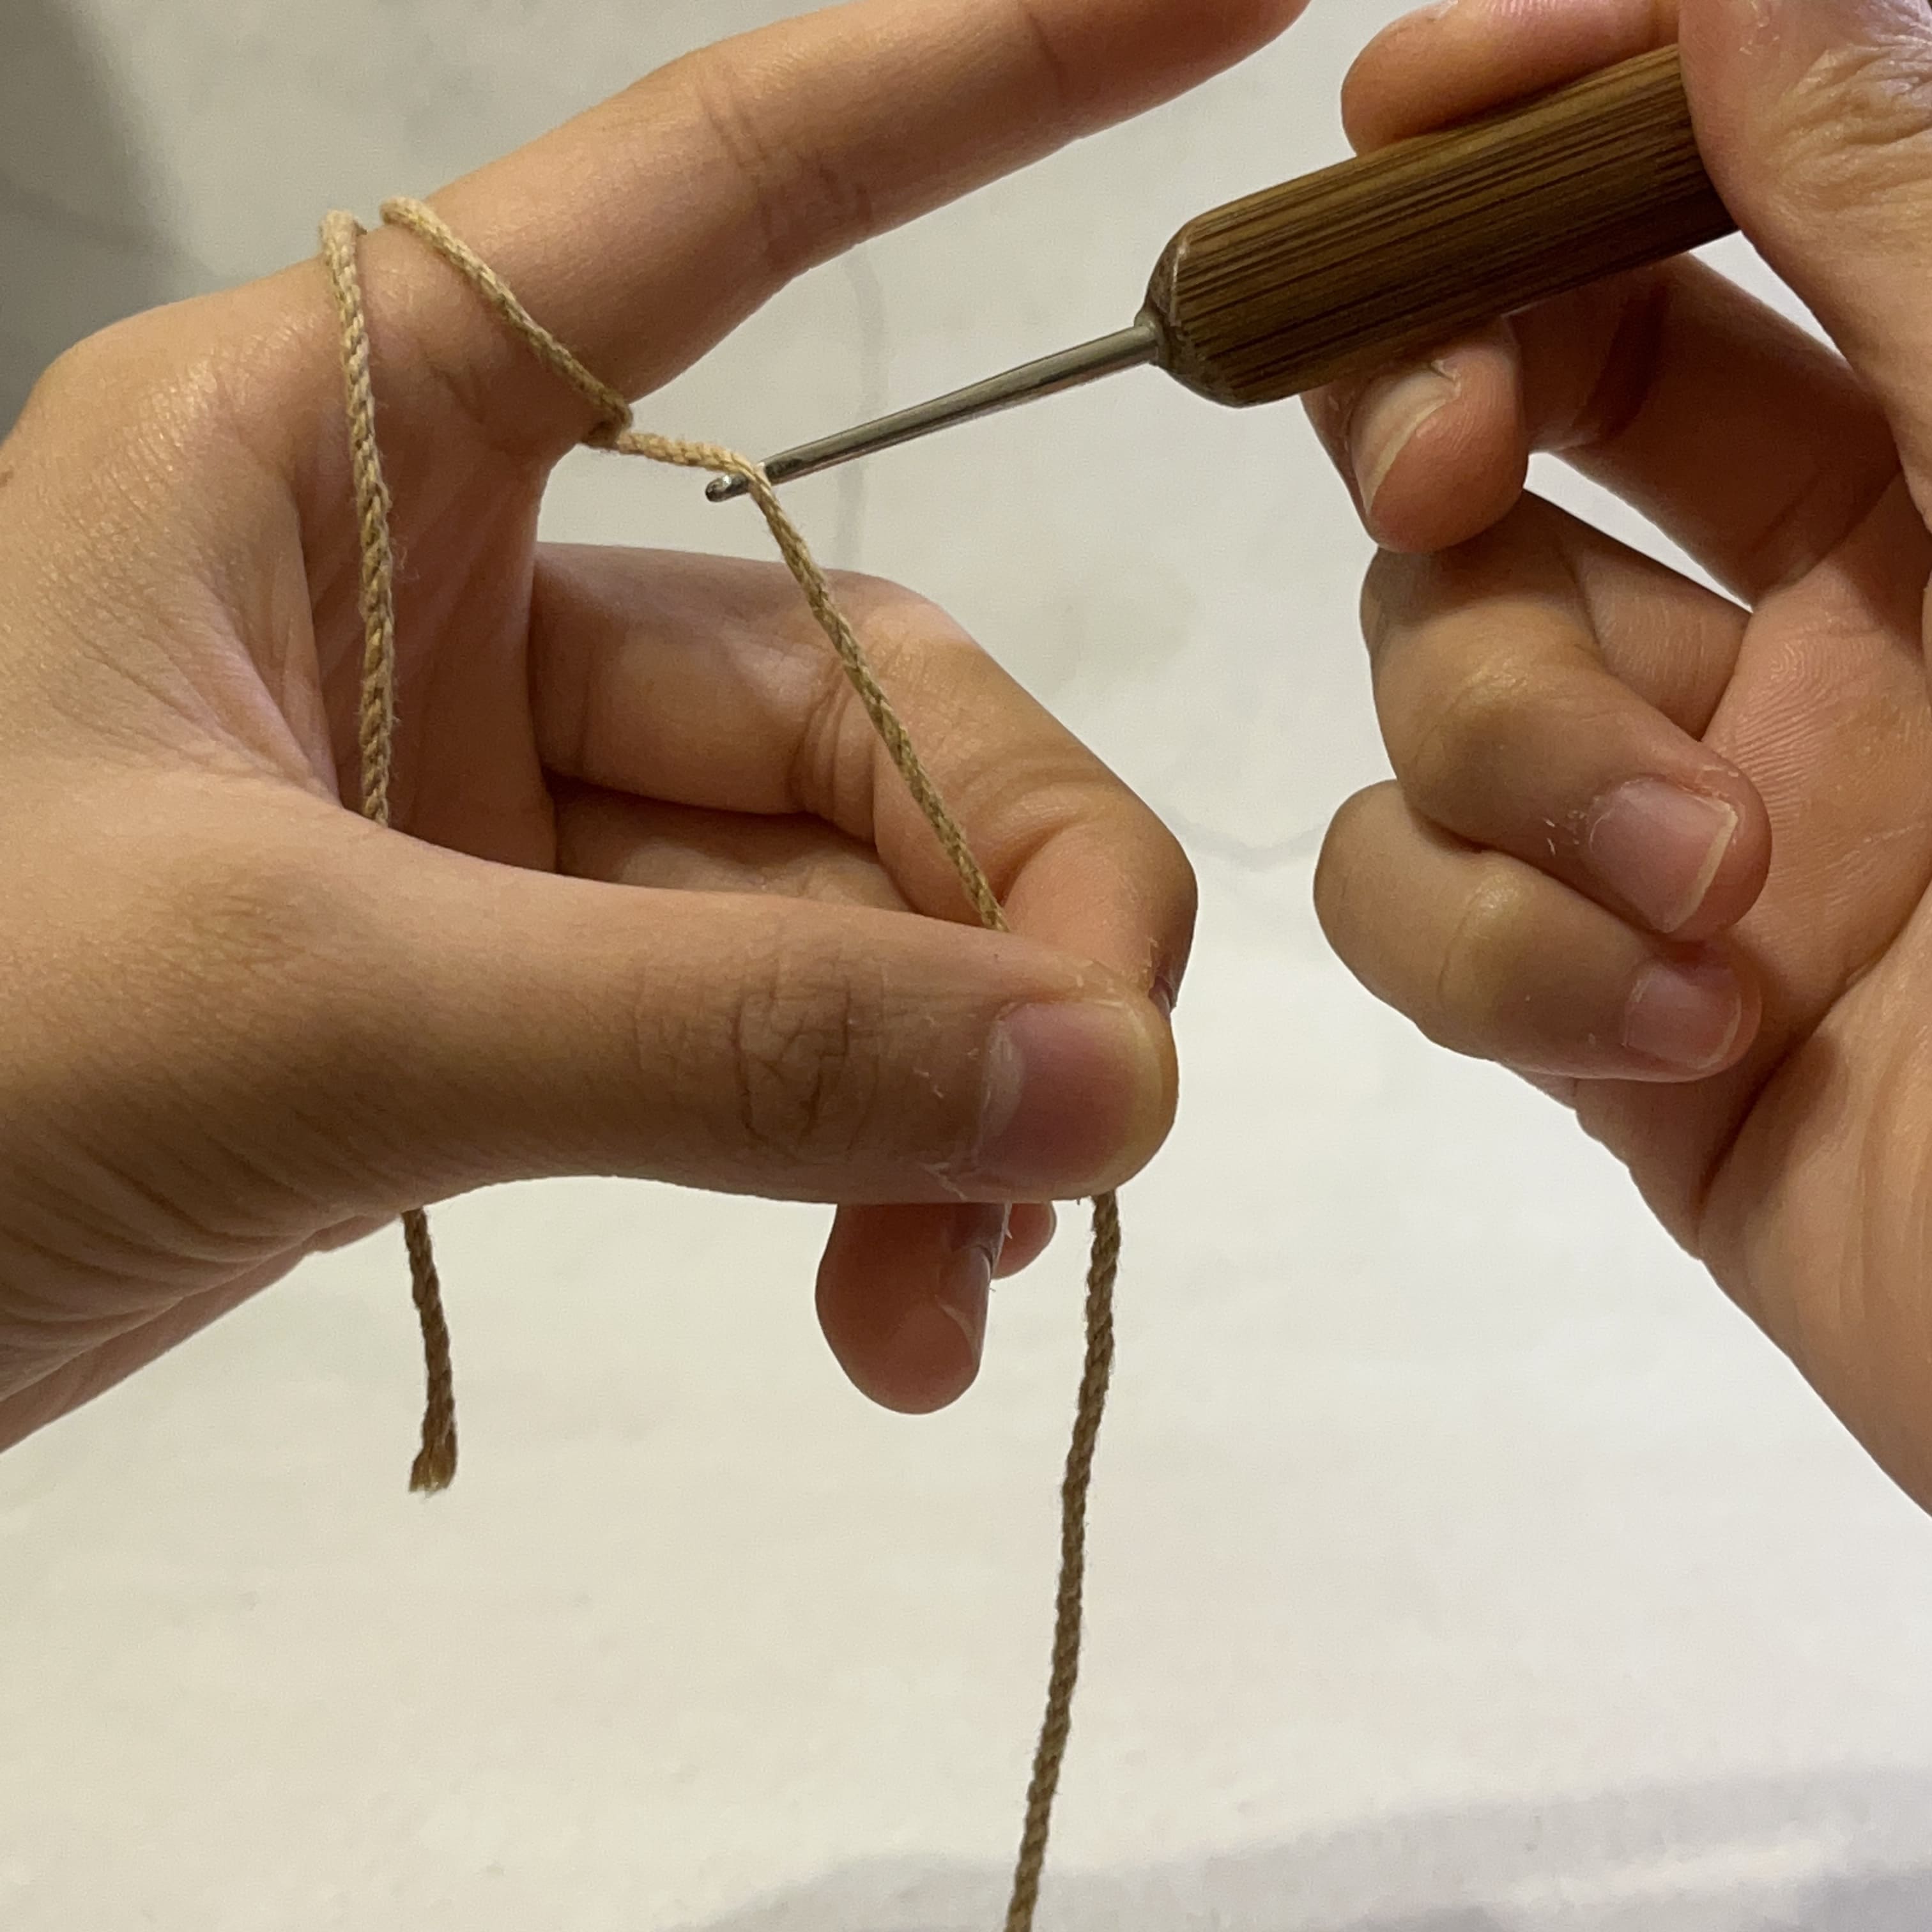
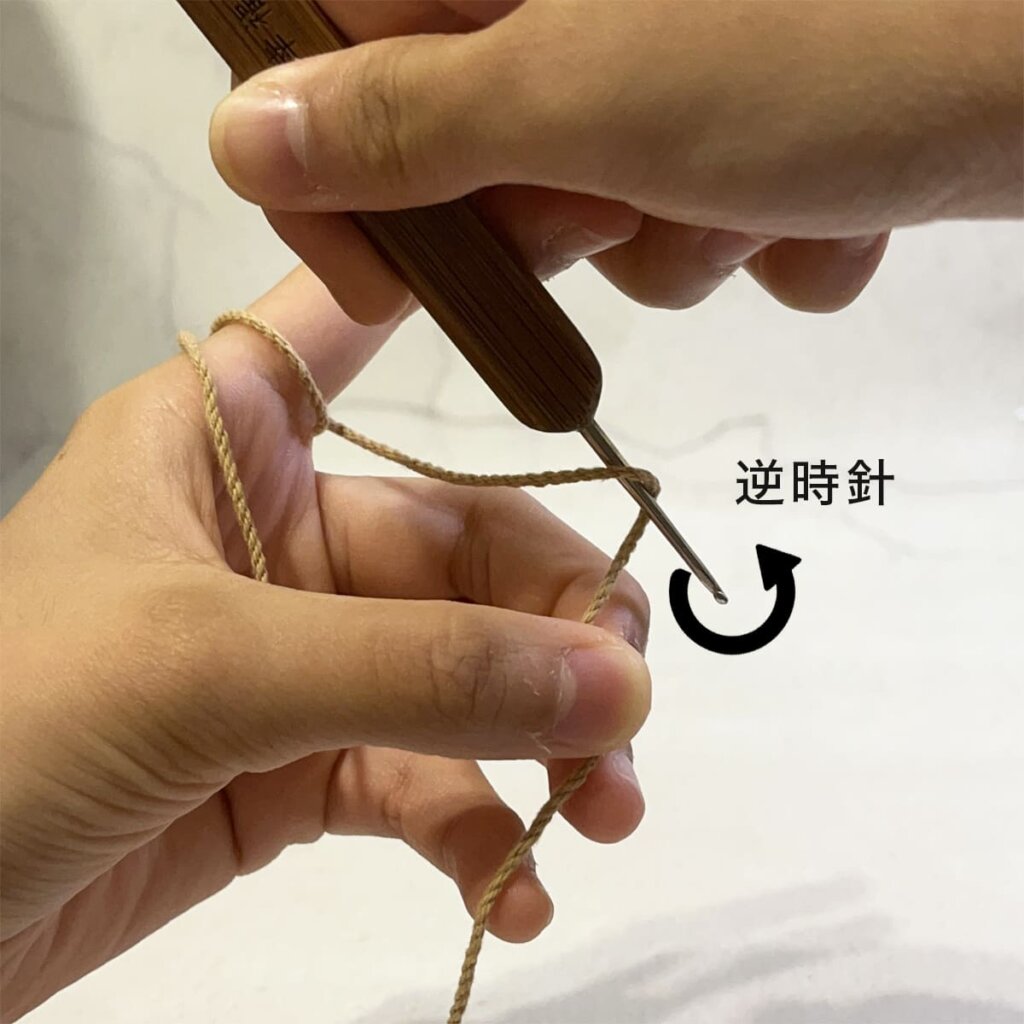
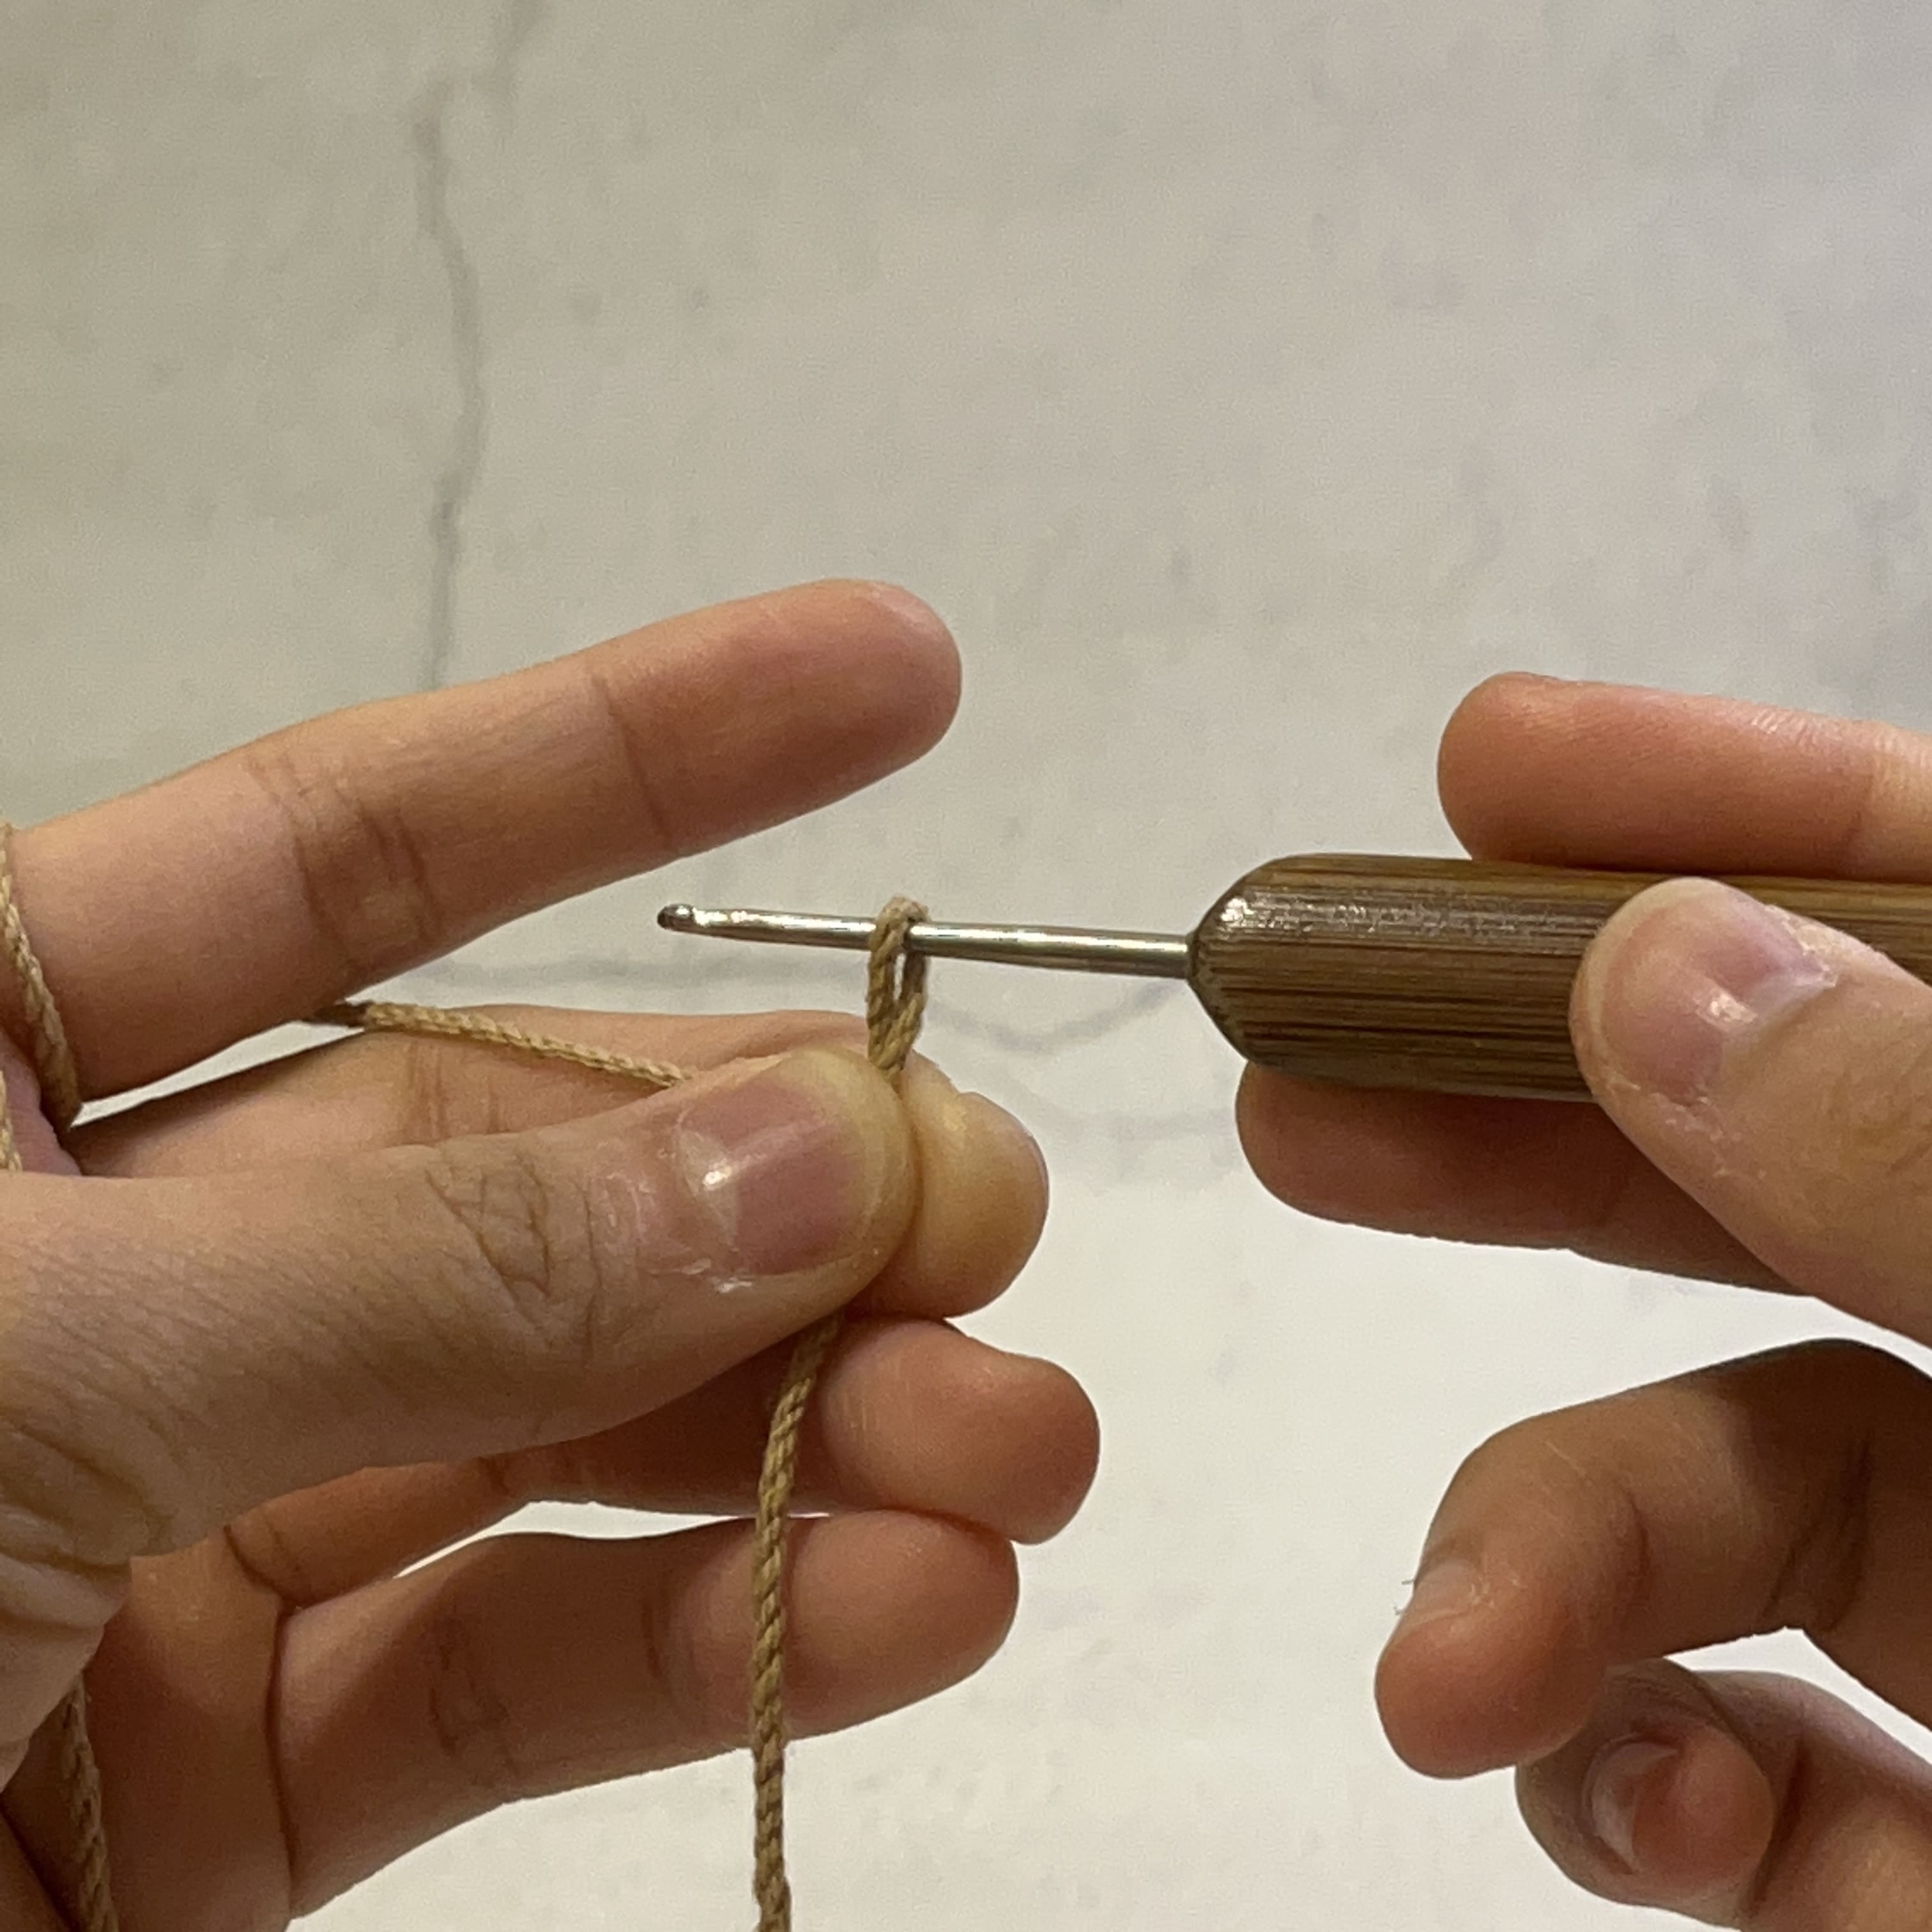
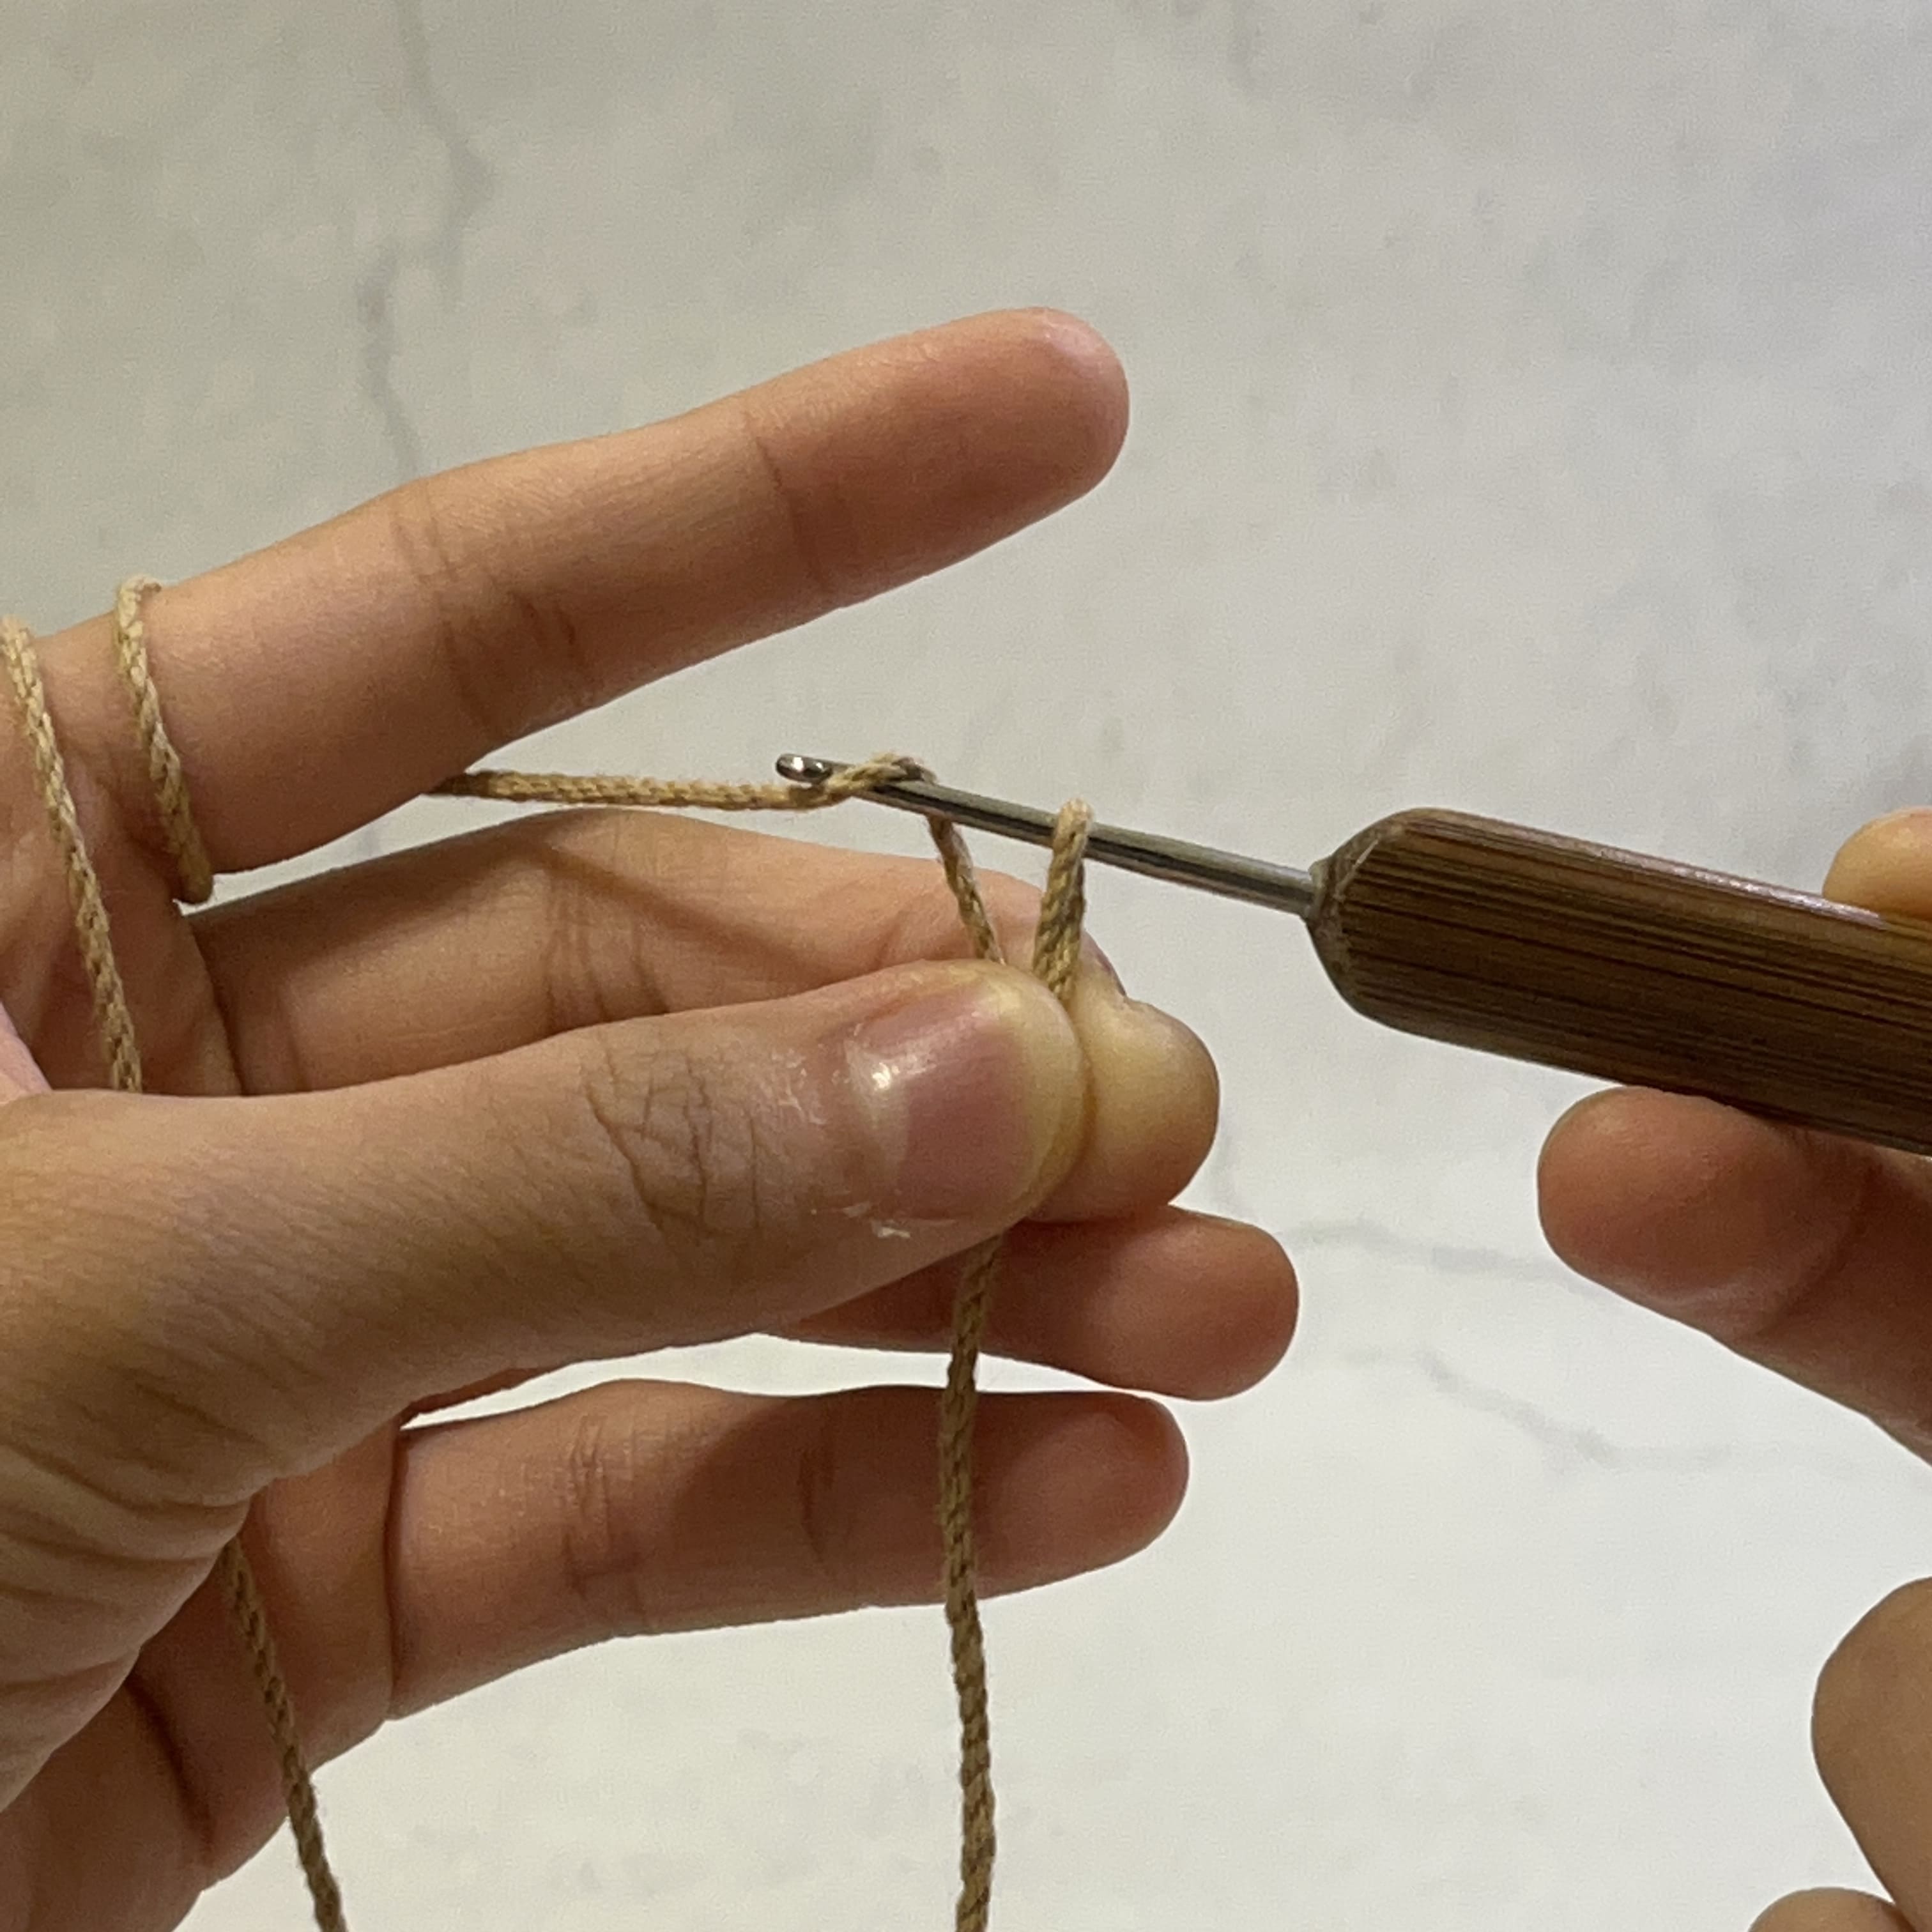
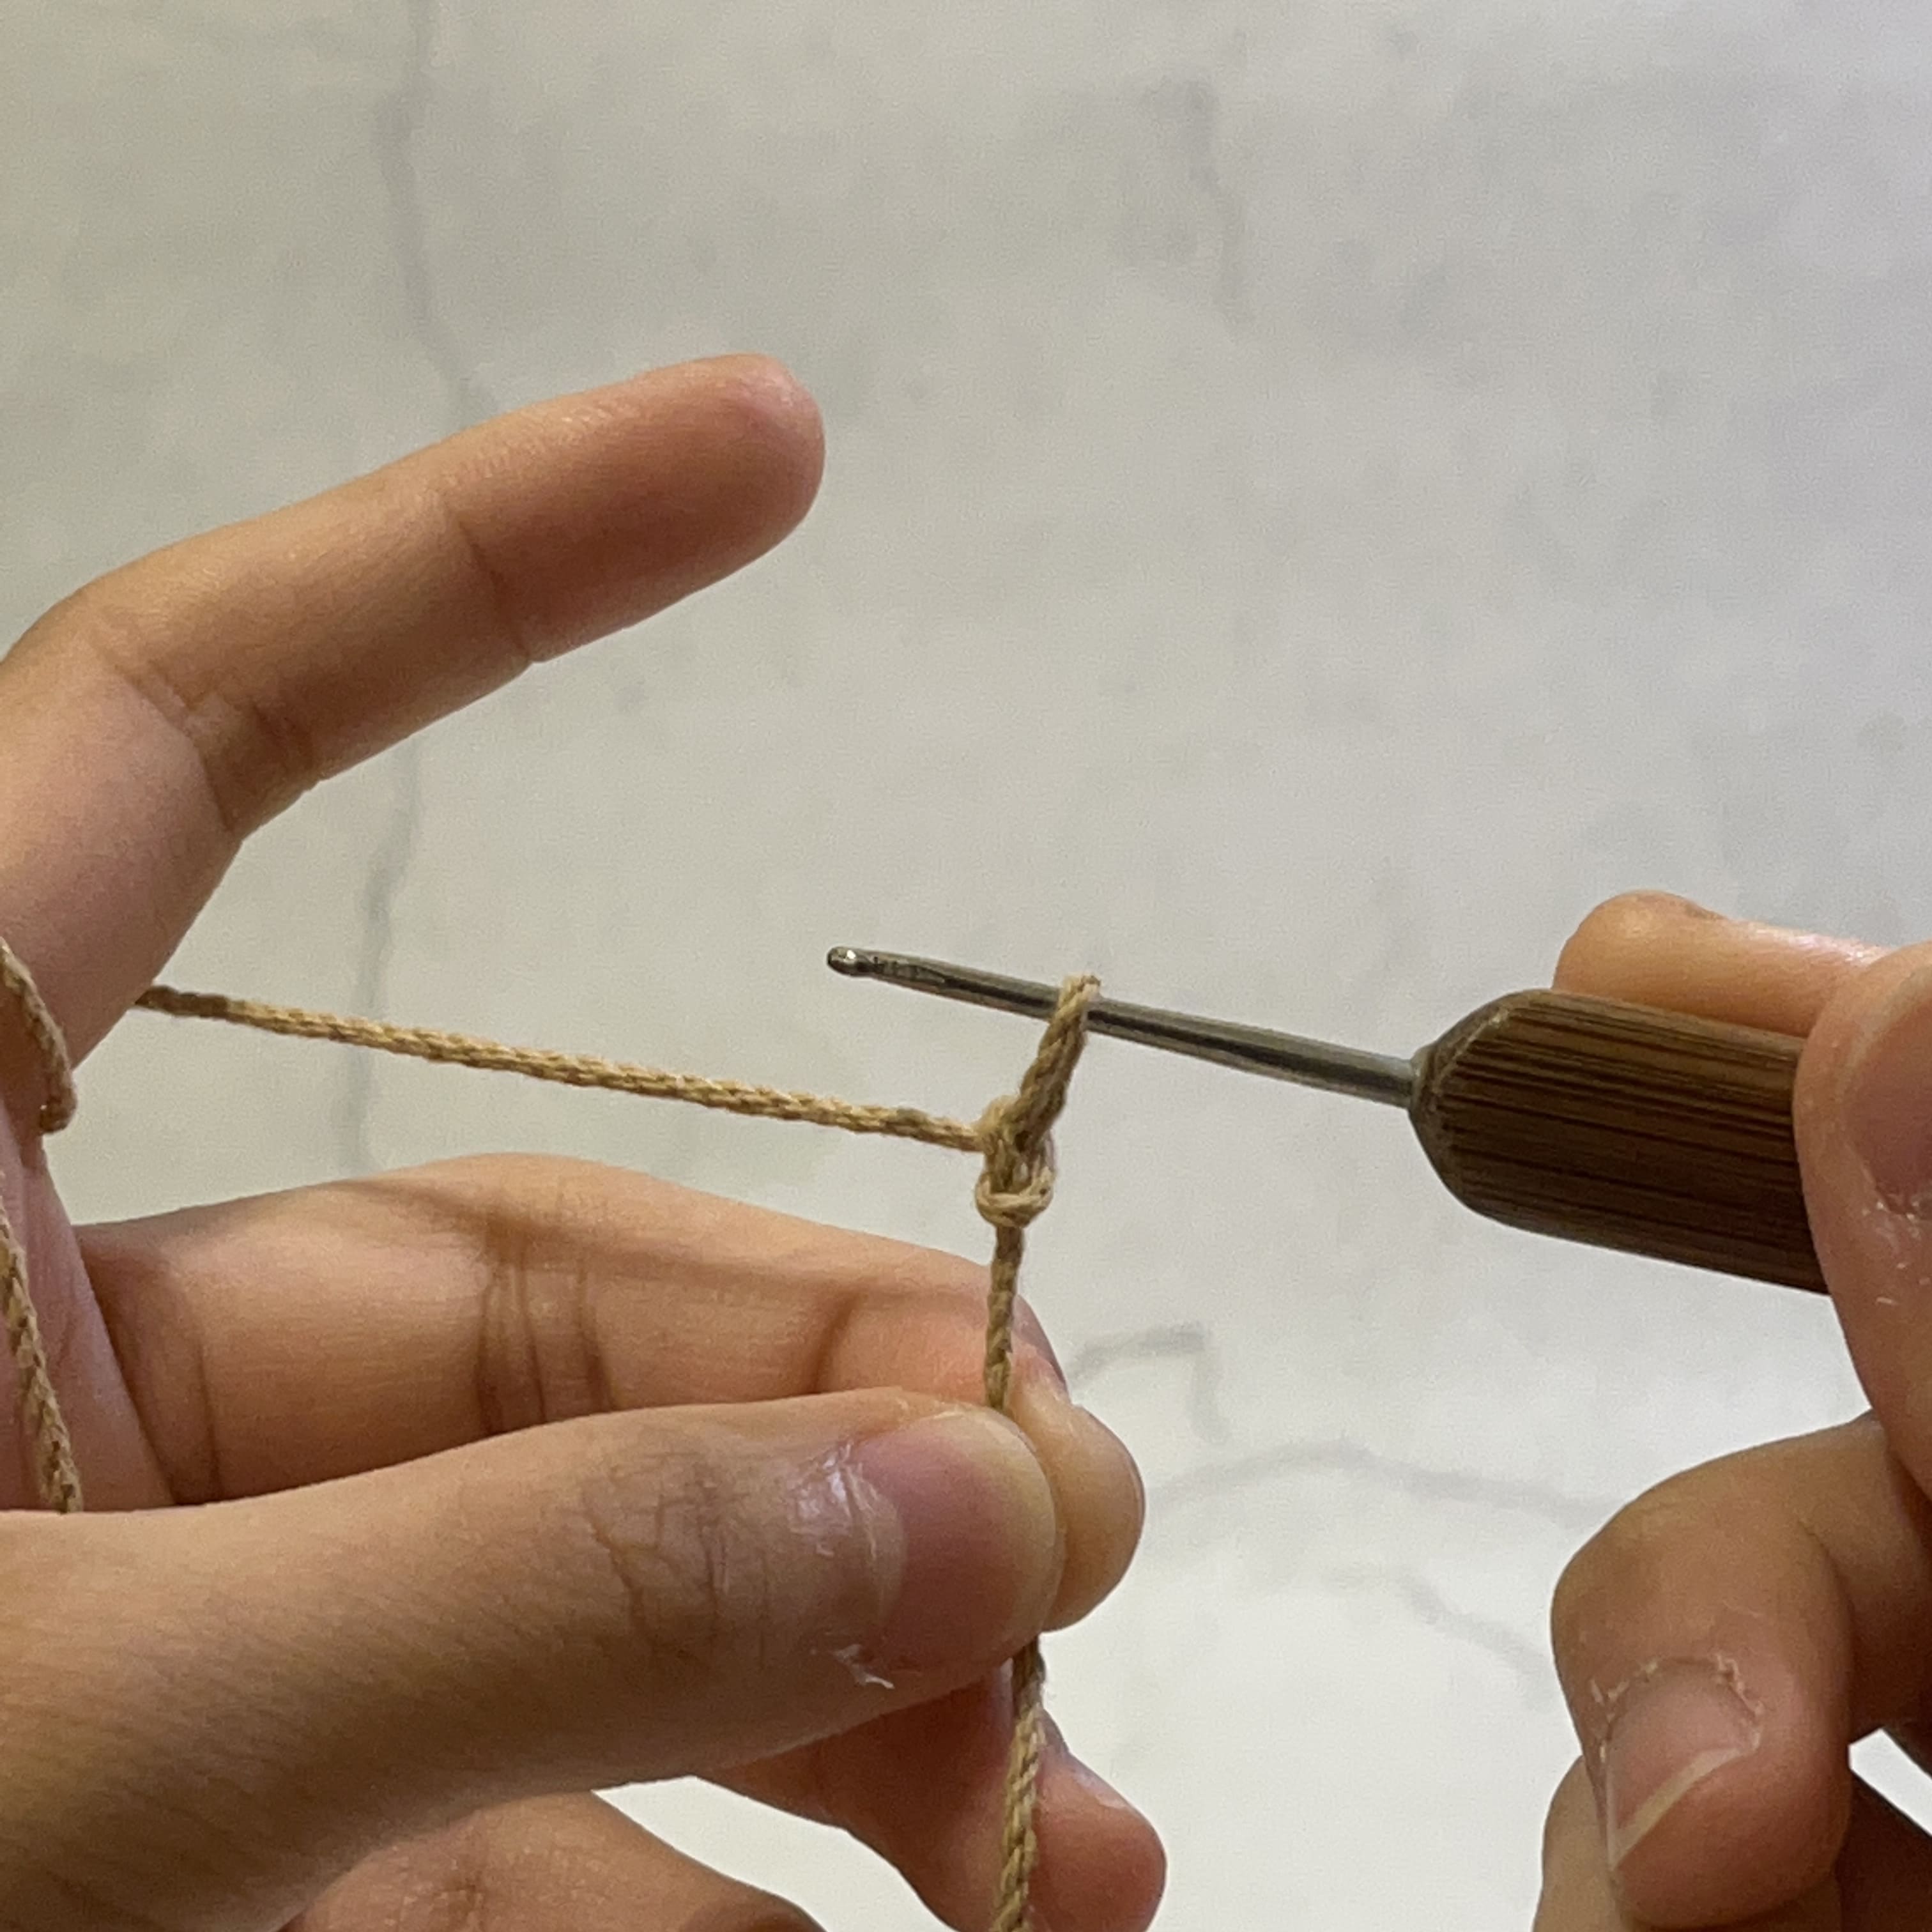
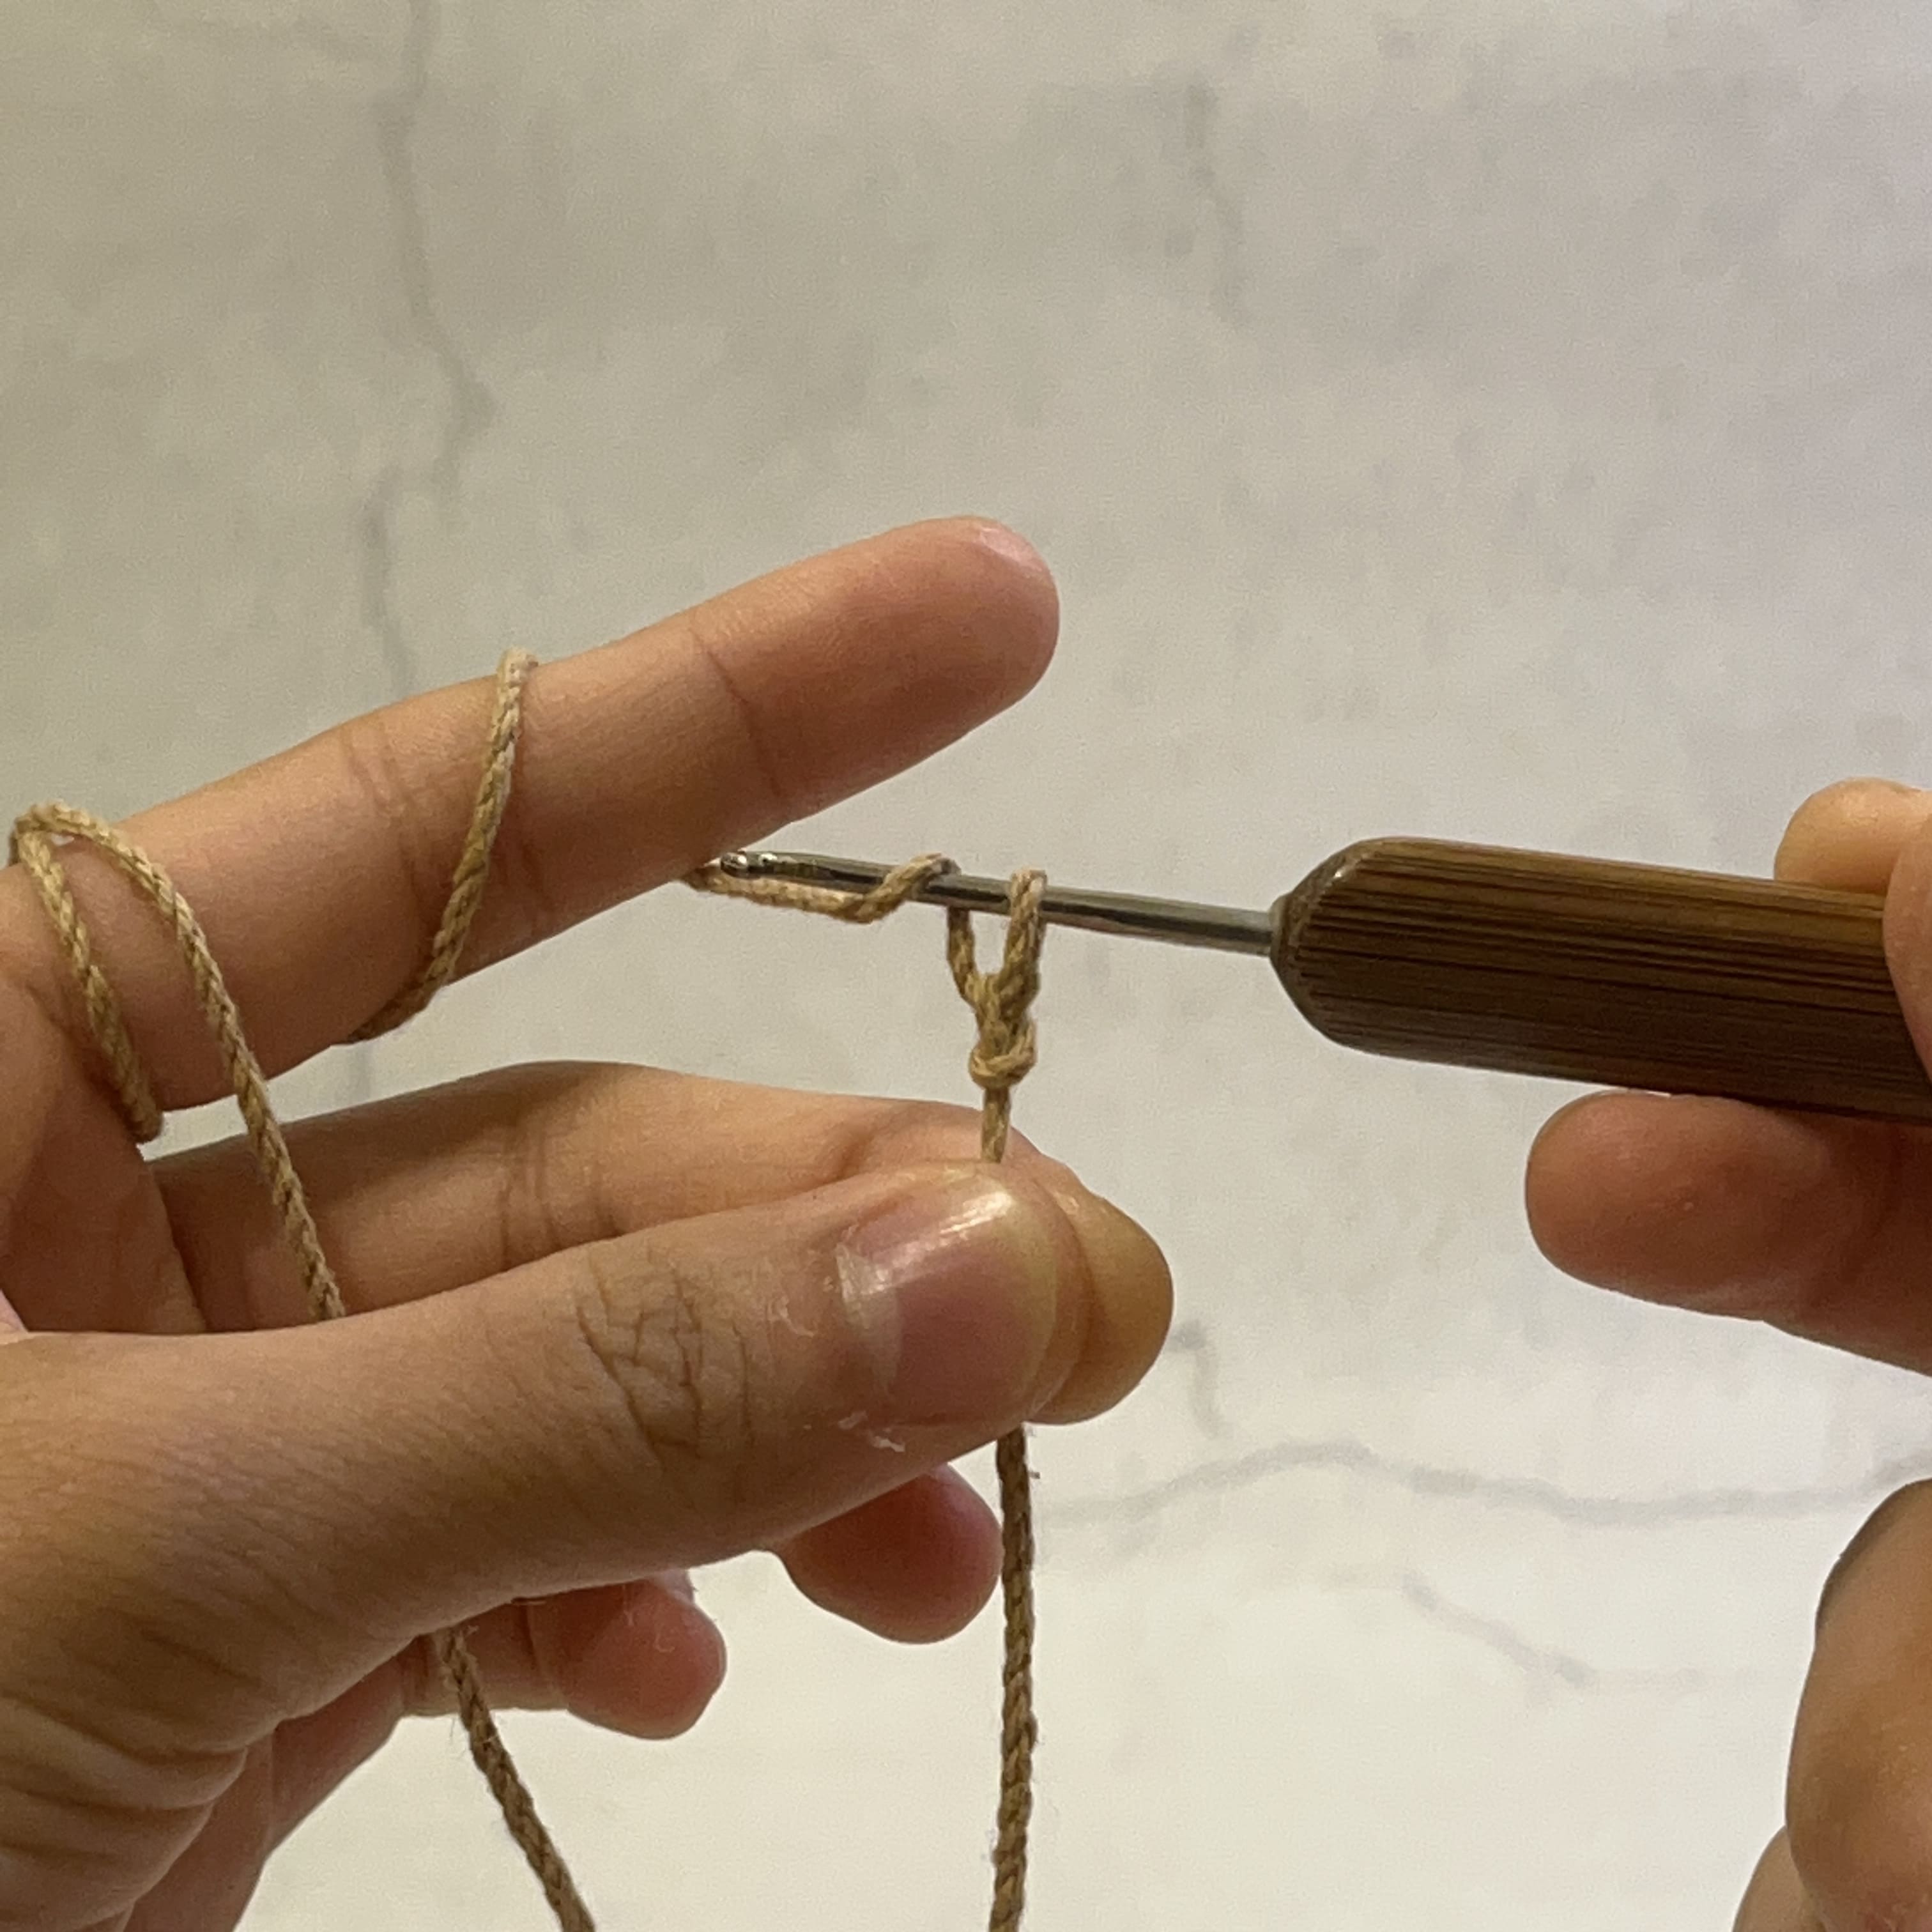
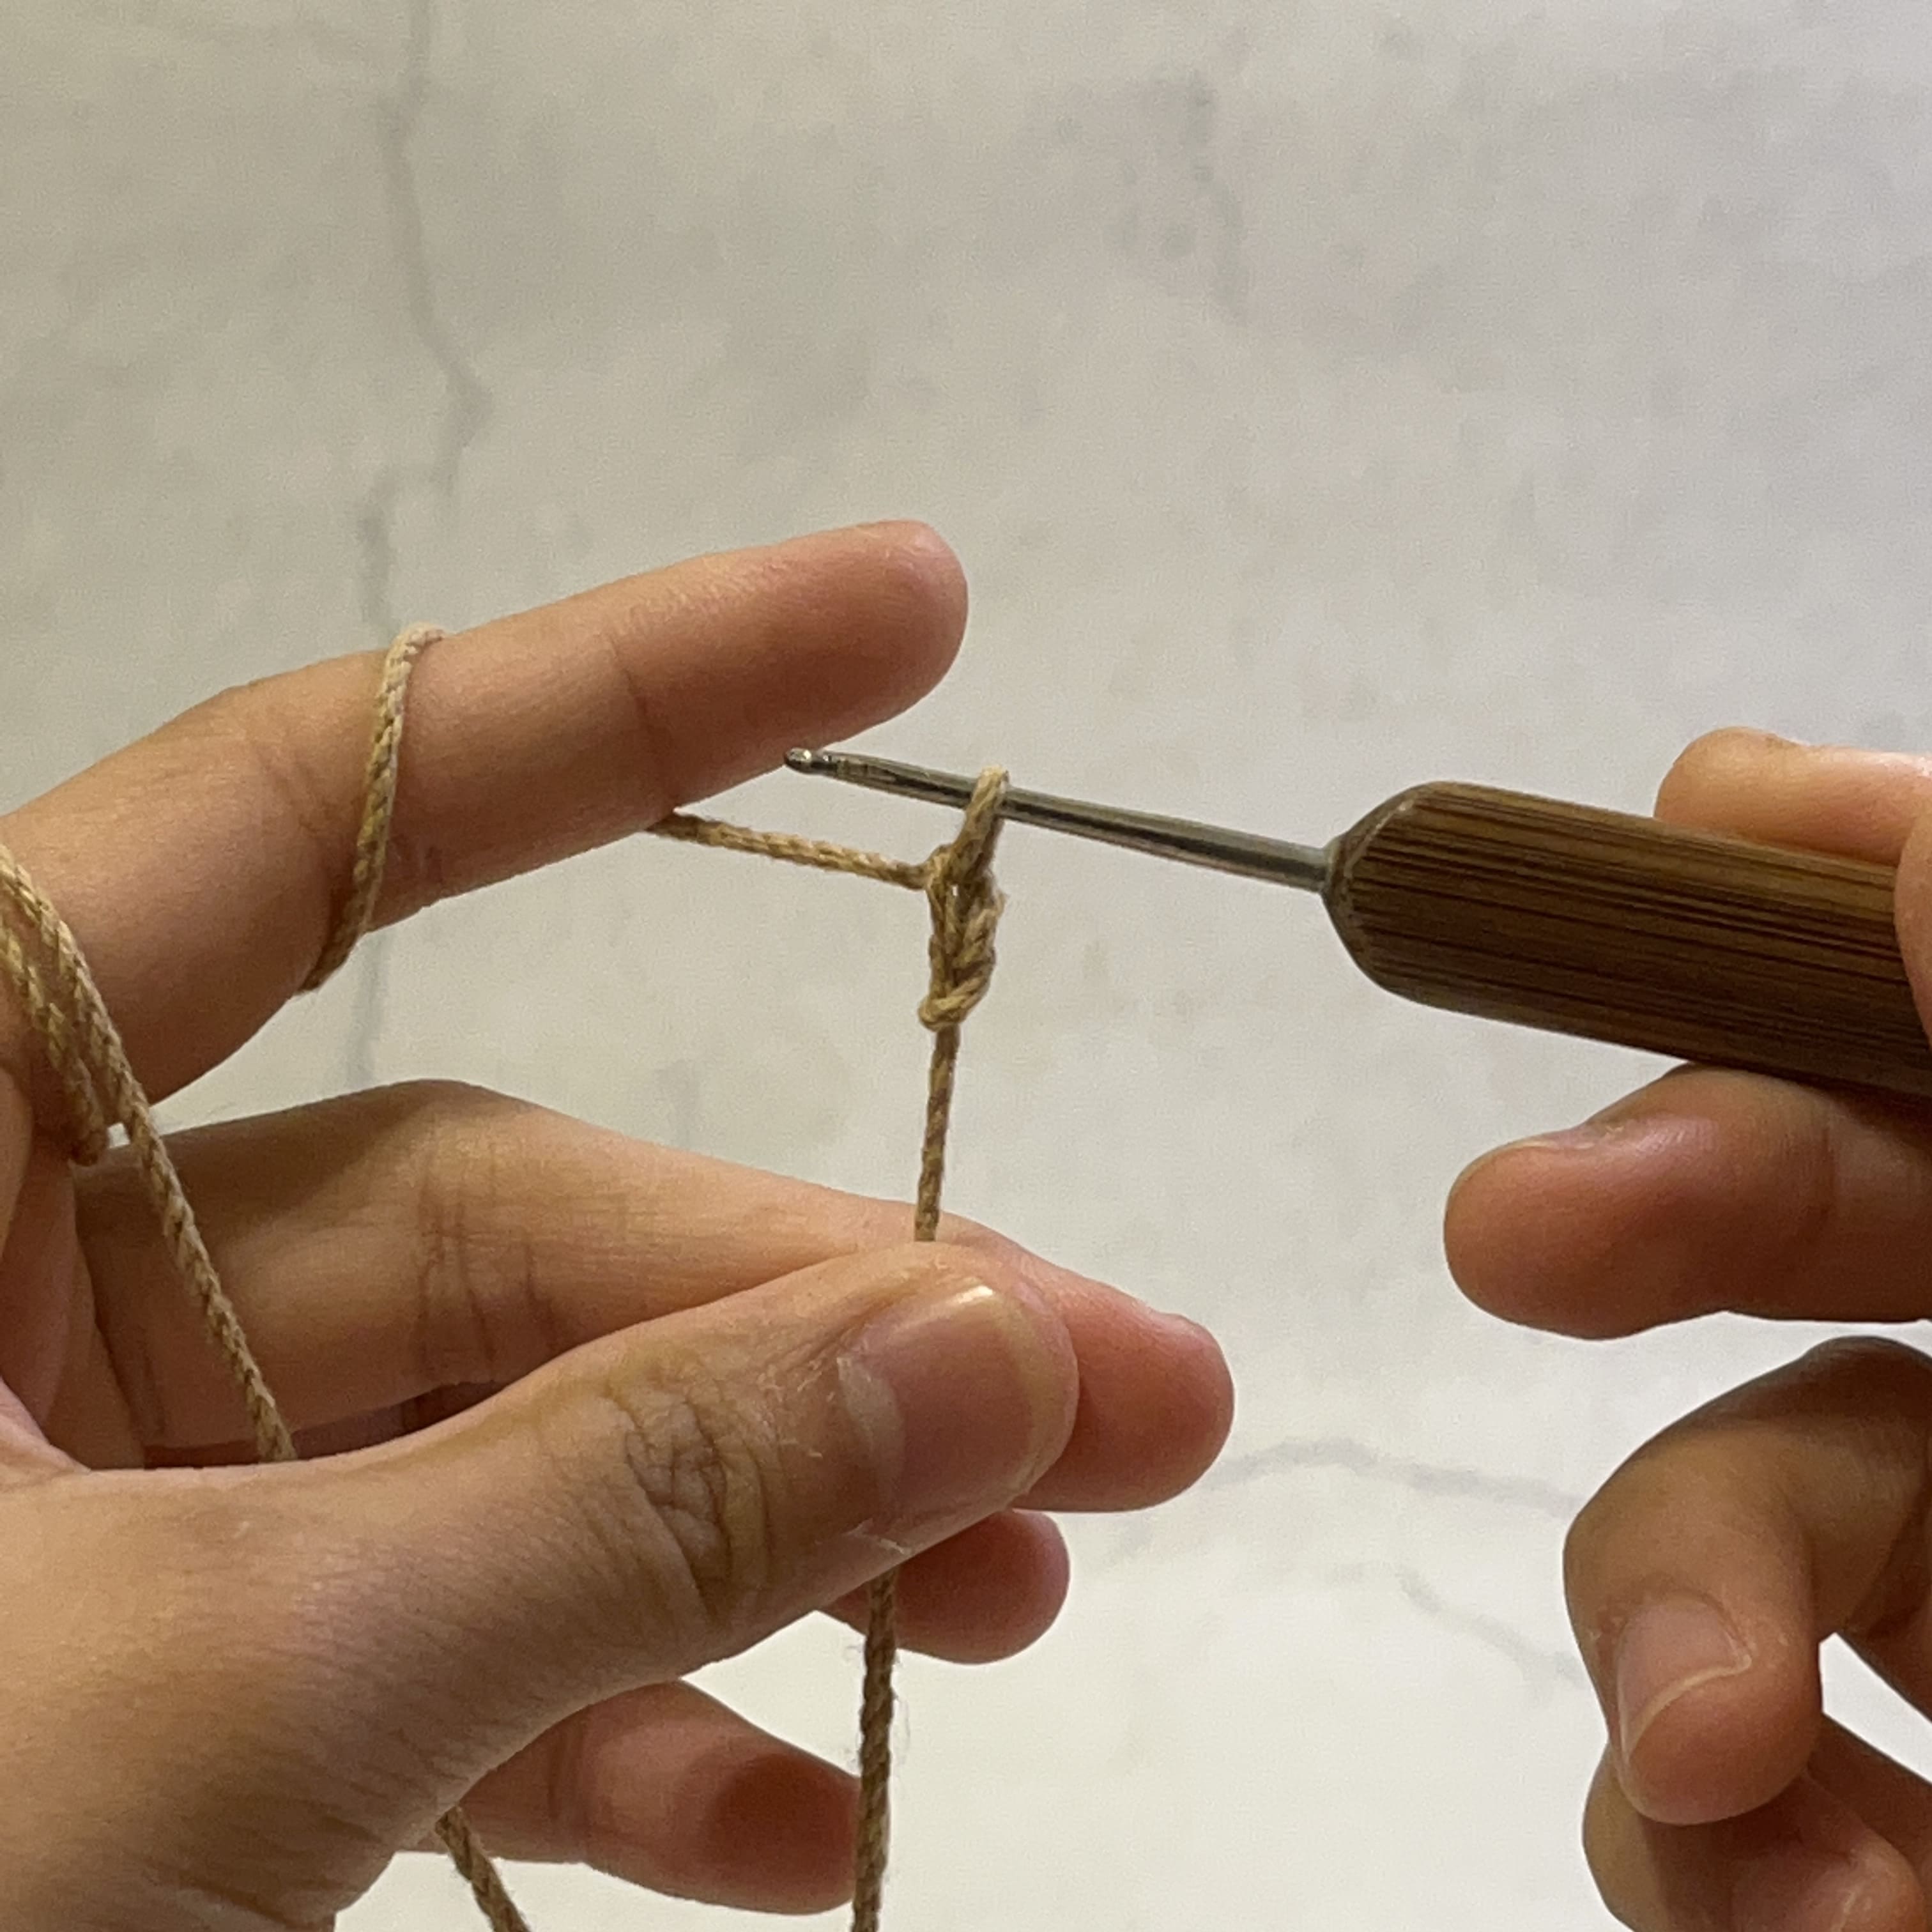
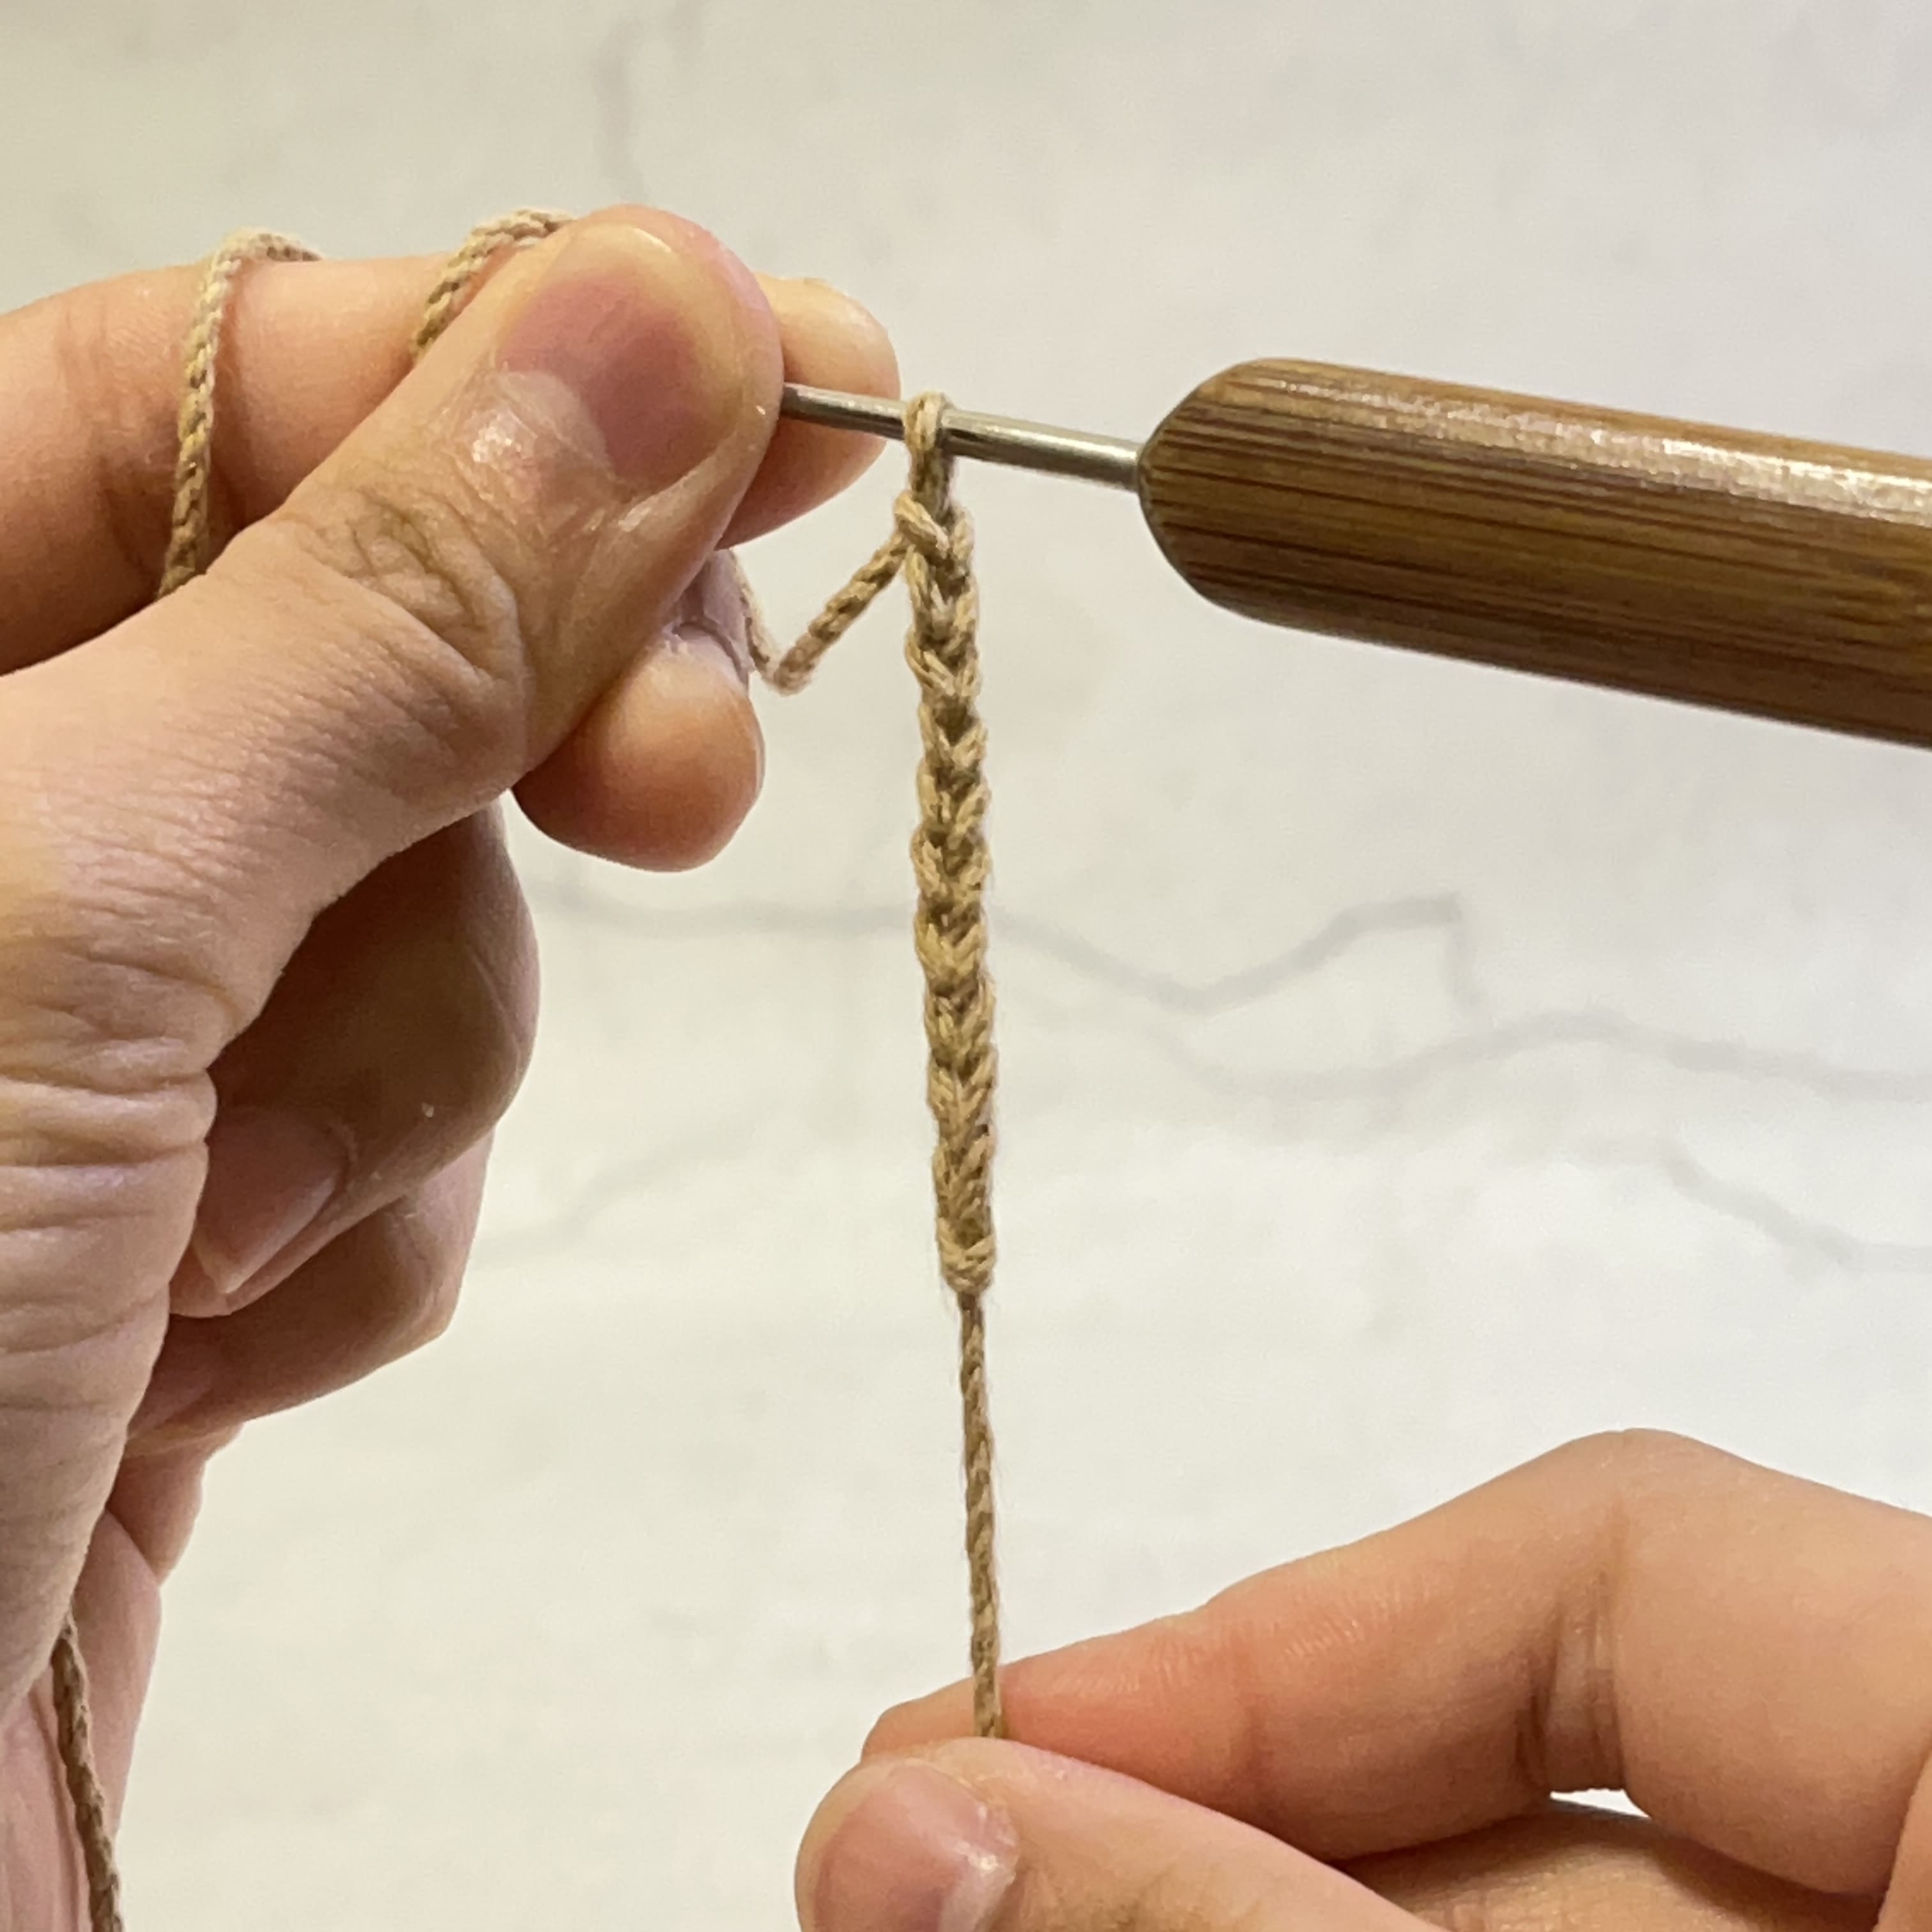
Chain stitch, also known as slip stitch, is the foundation of all crochet stitches. The symbol for chain stitch resembles an “O”, and it’s abbreviated as “ch” in English (for stitches). For beginners, it’s recommended to start with practicing the chain stitch, as it helps in familiarizing with holding the hook and controlling the tension of the yarn.
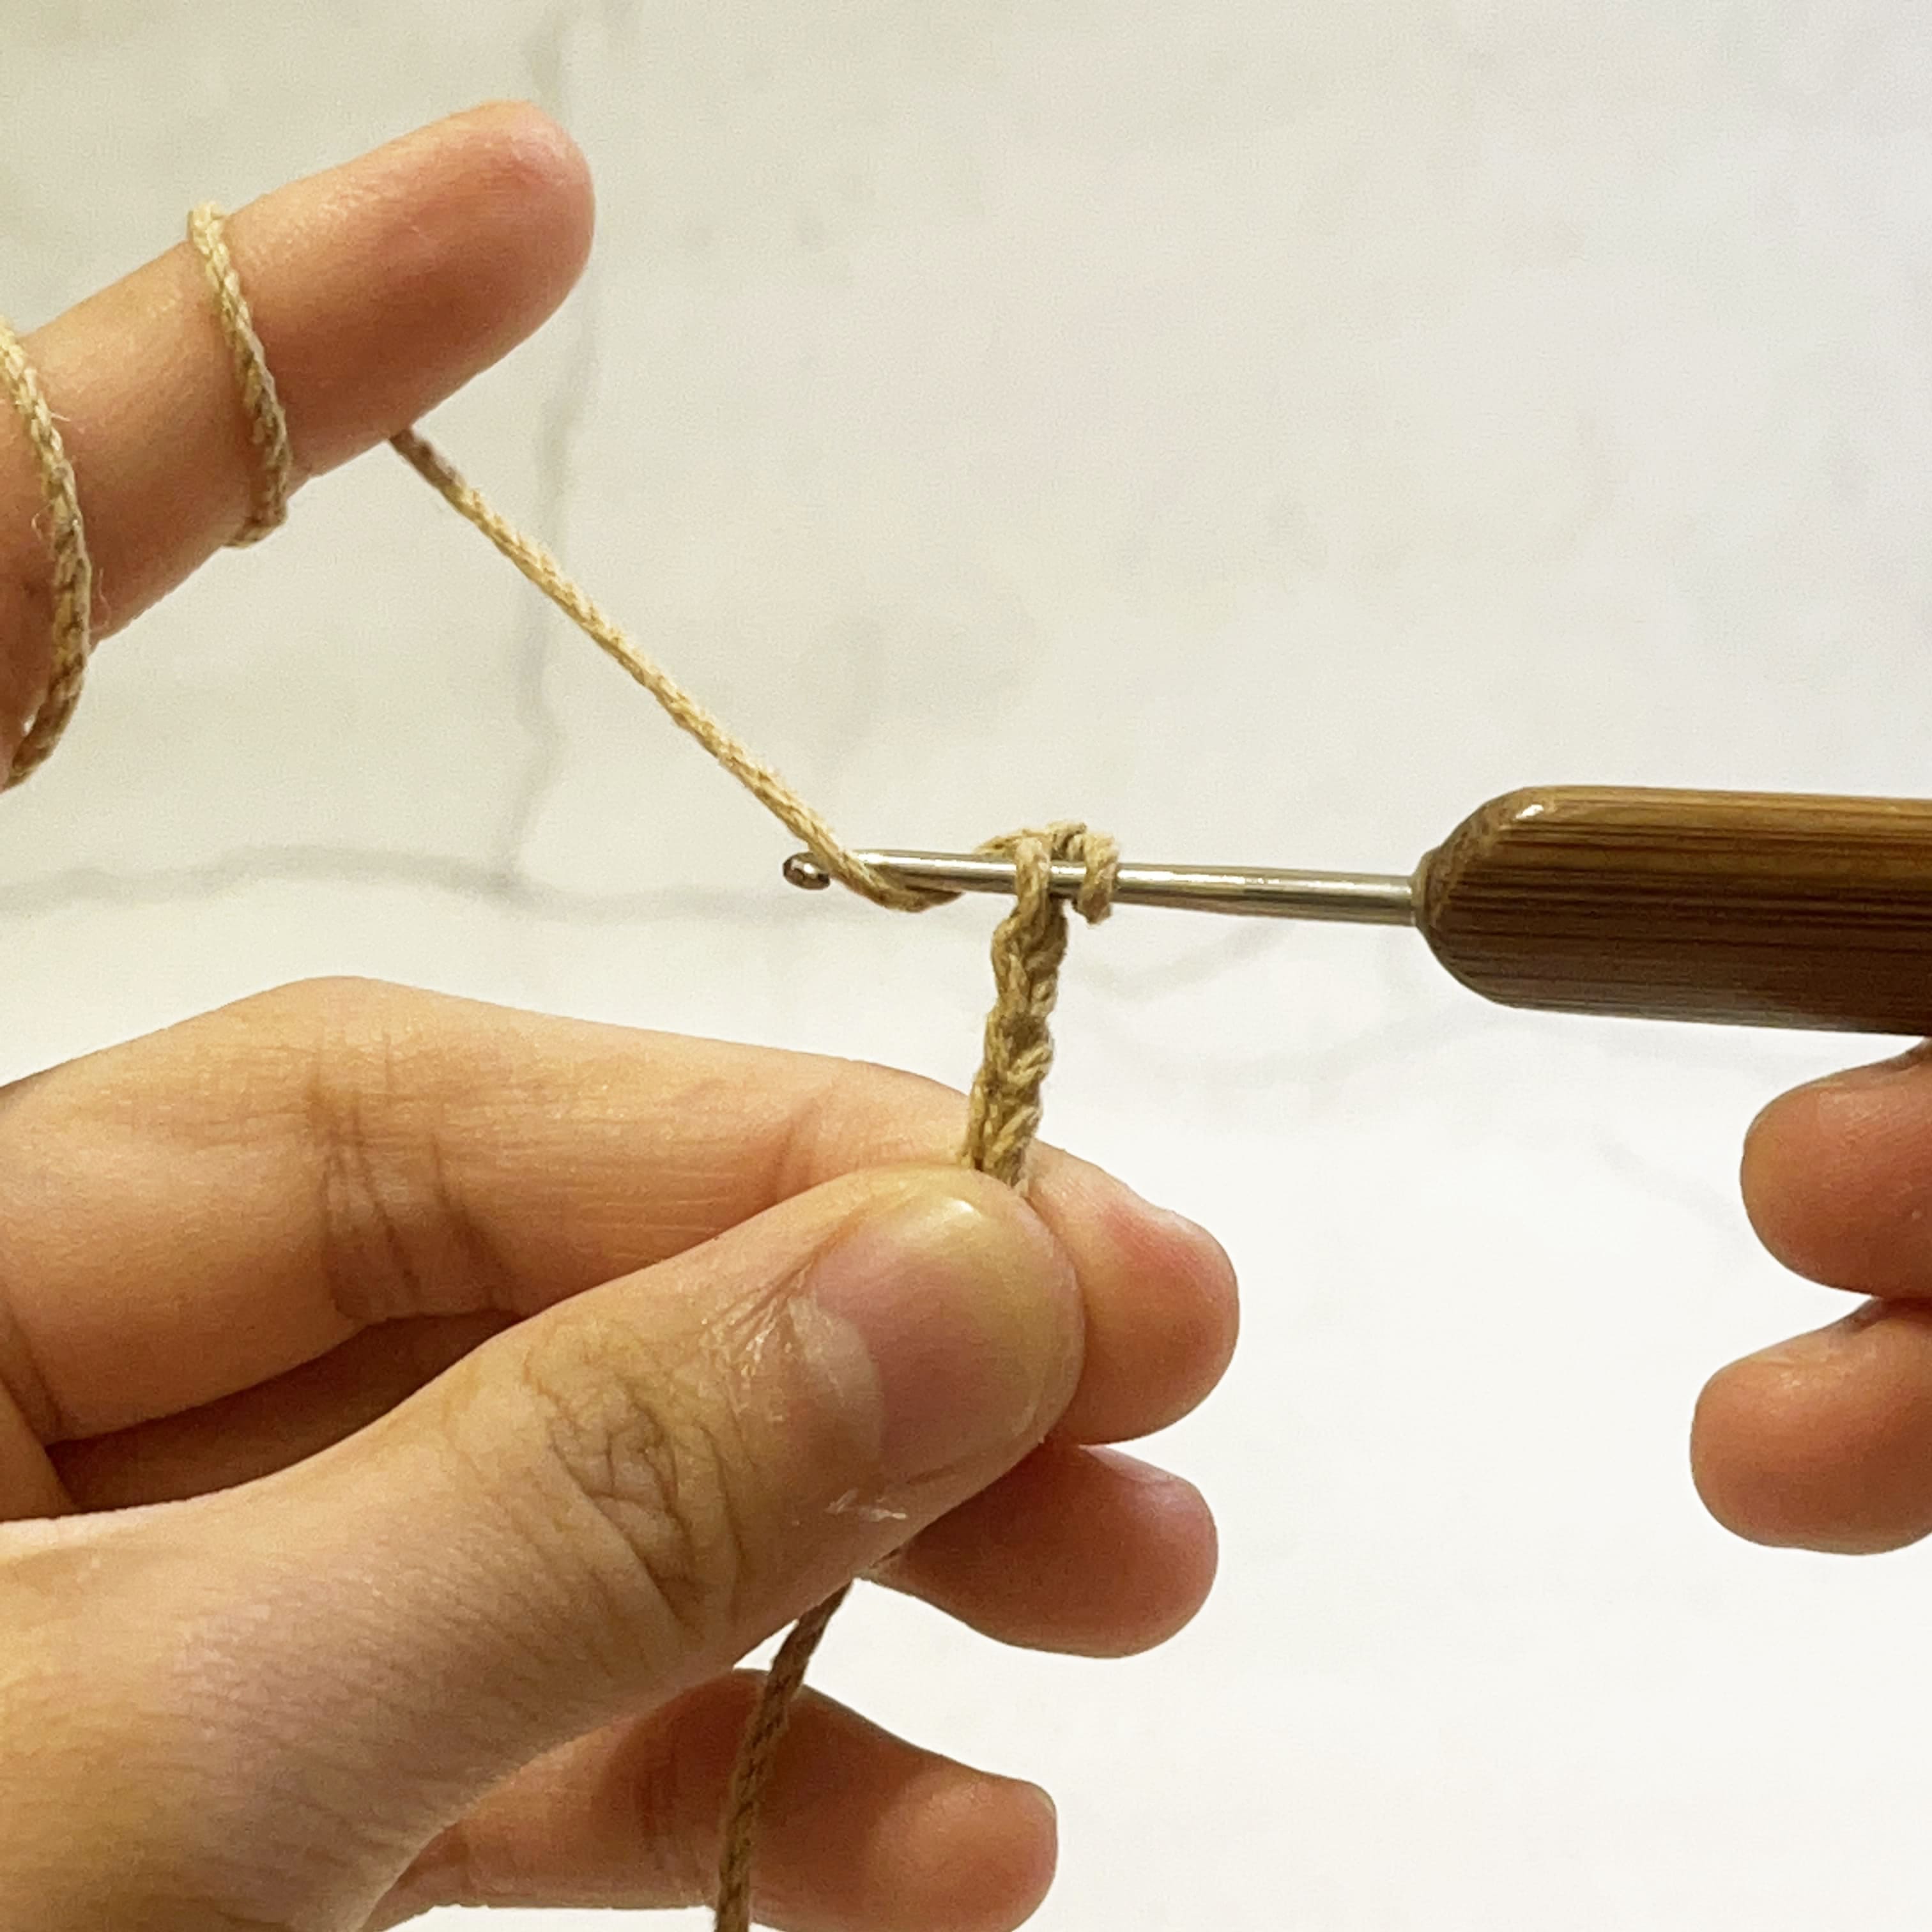
Continuously crocheting multiple chain stitches become a long cord
Basic Stitch 2: Single Crochet
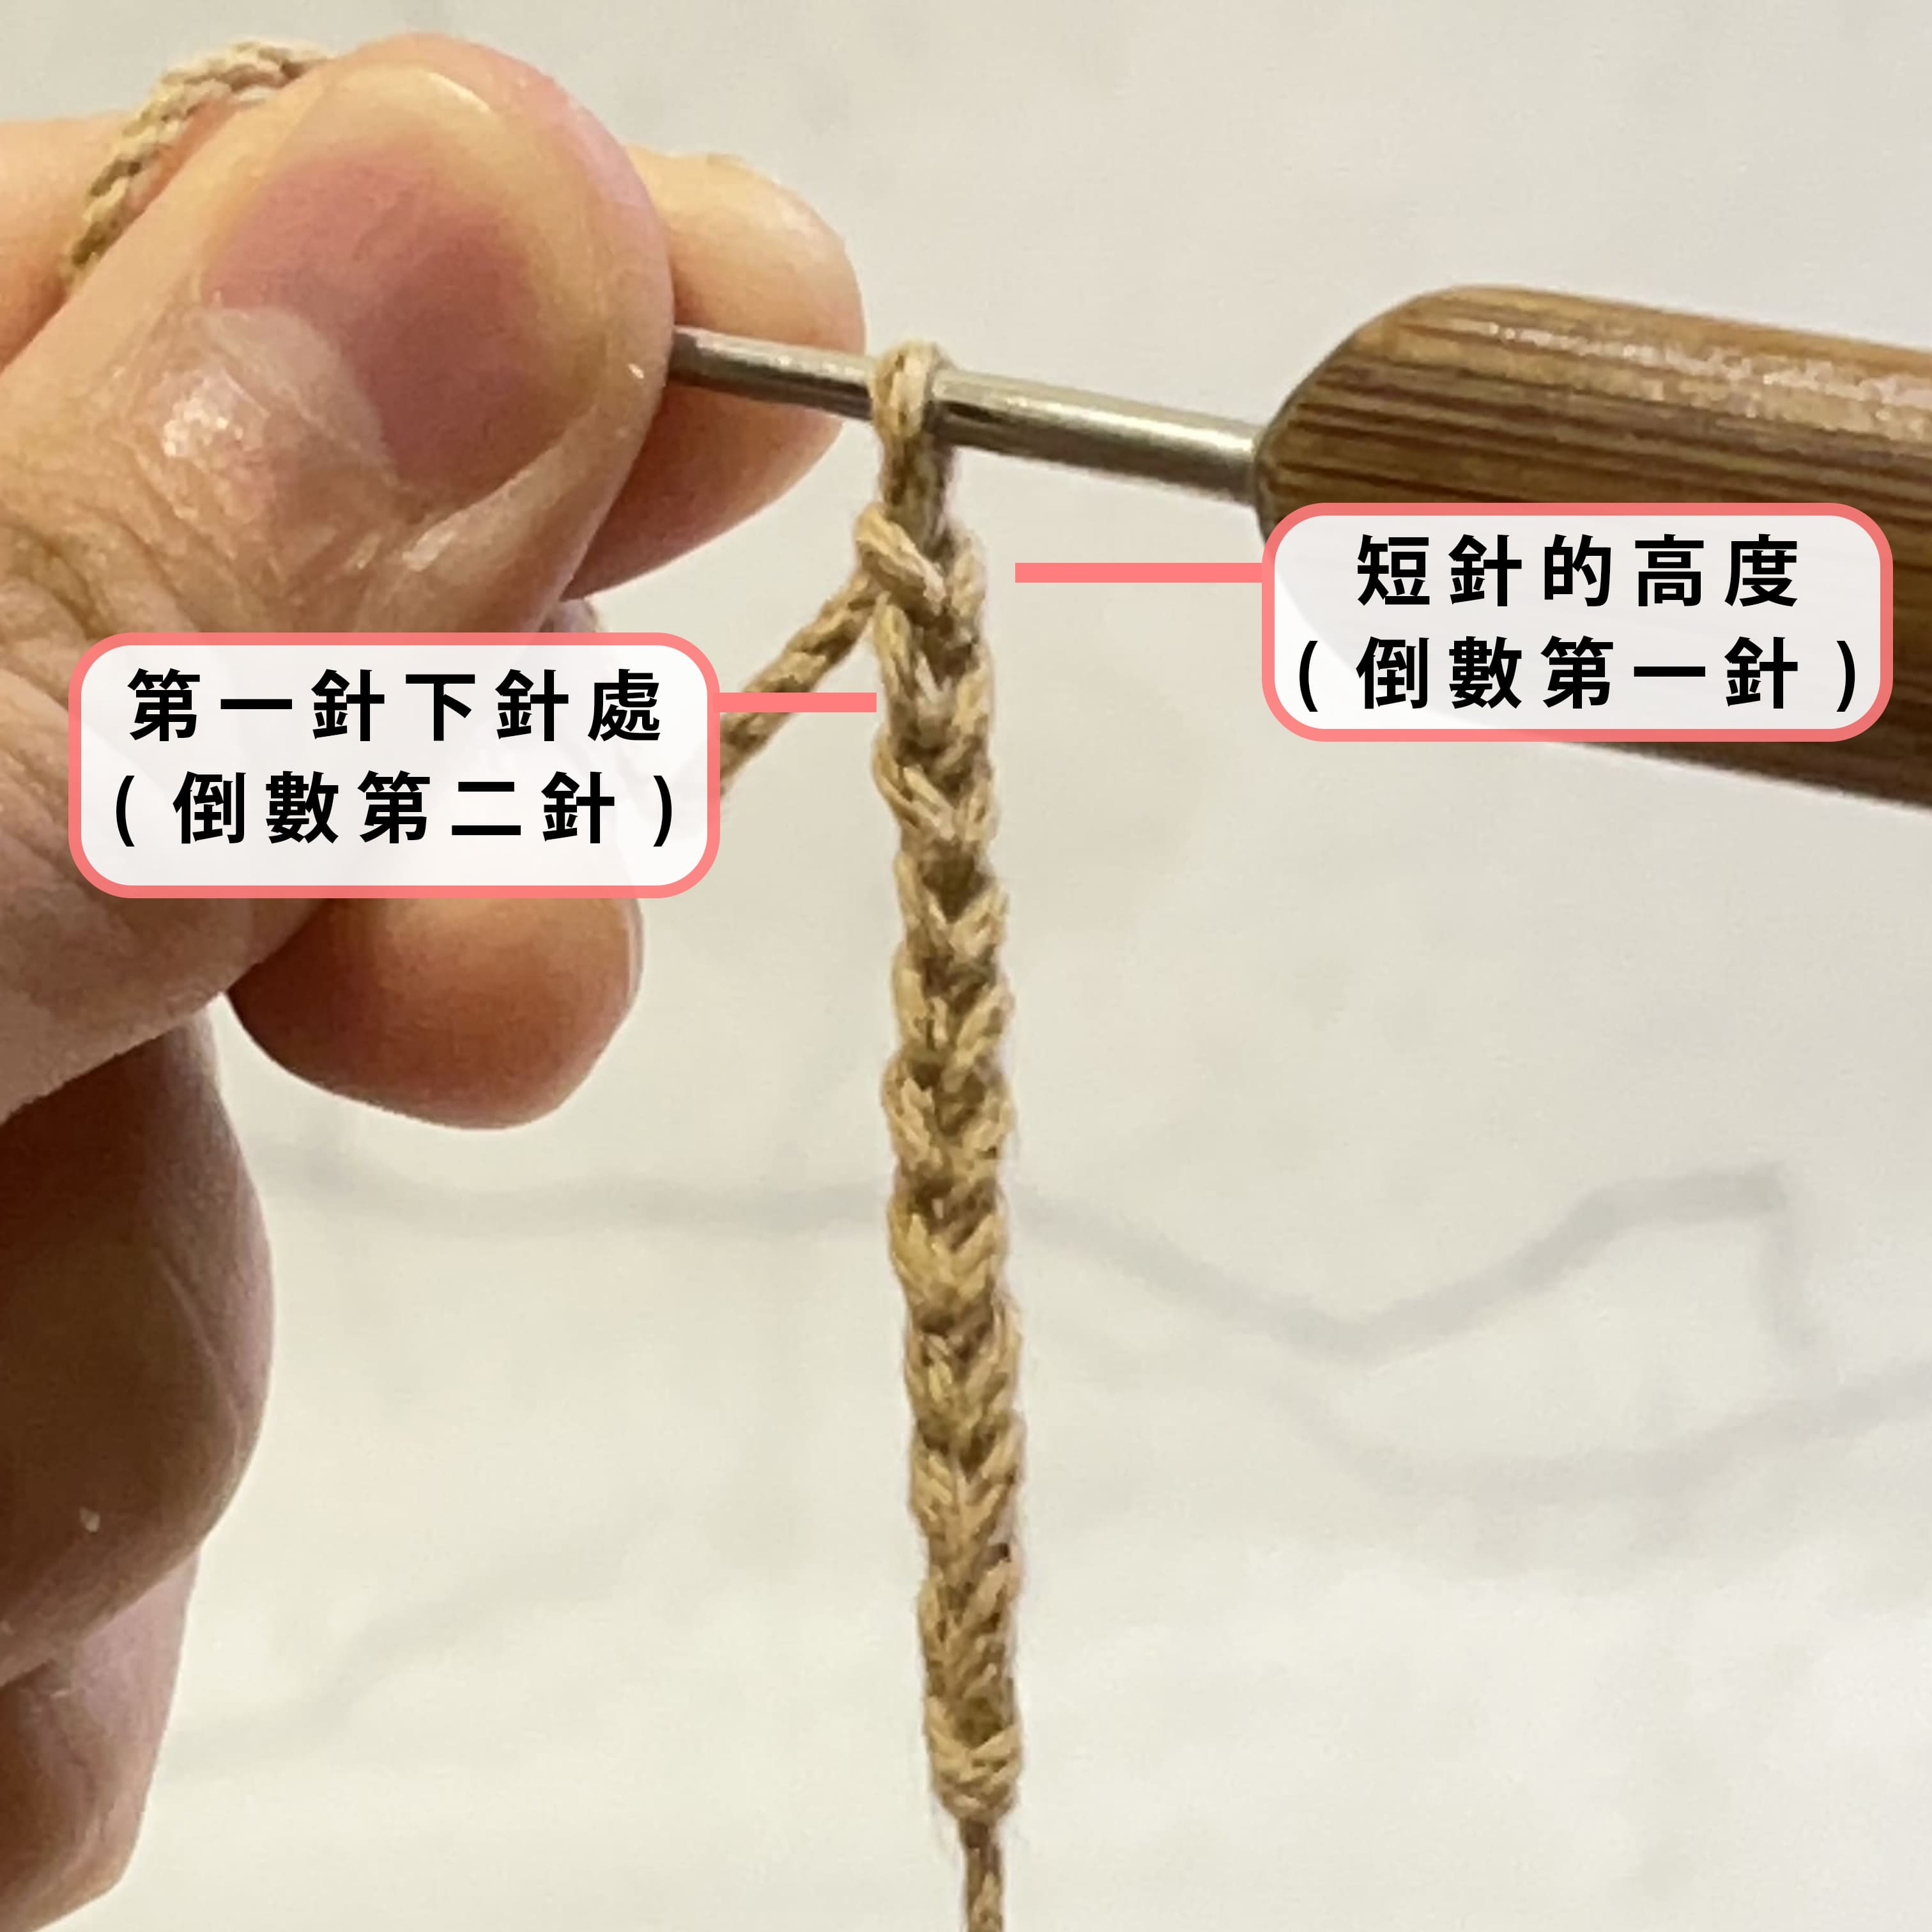
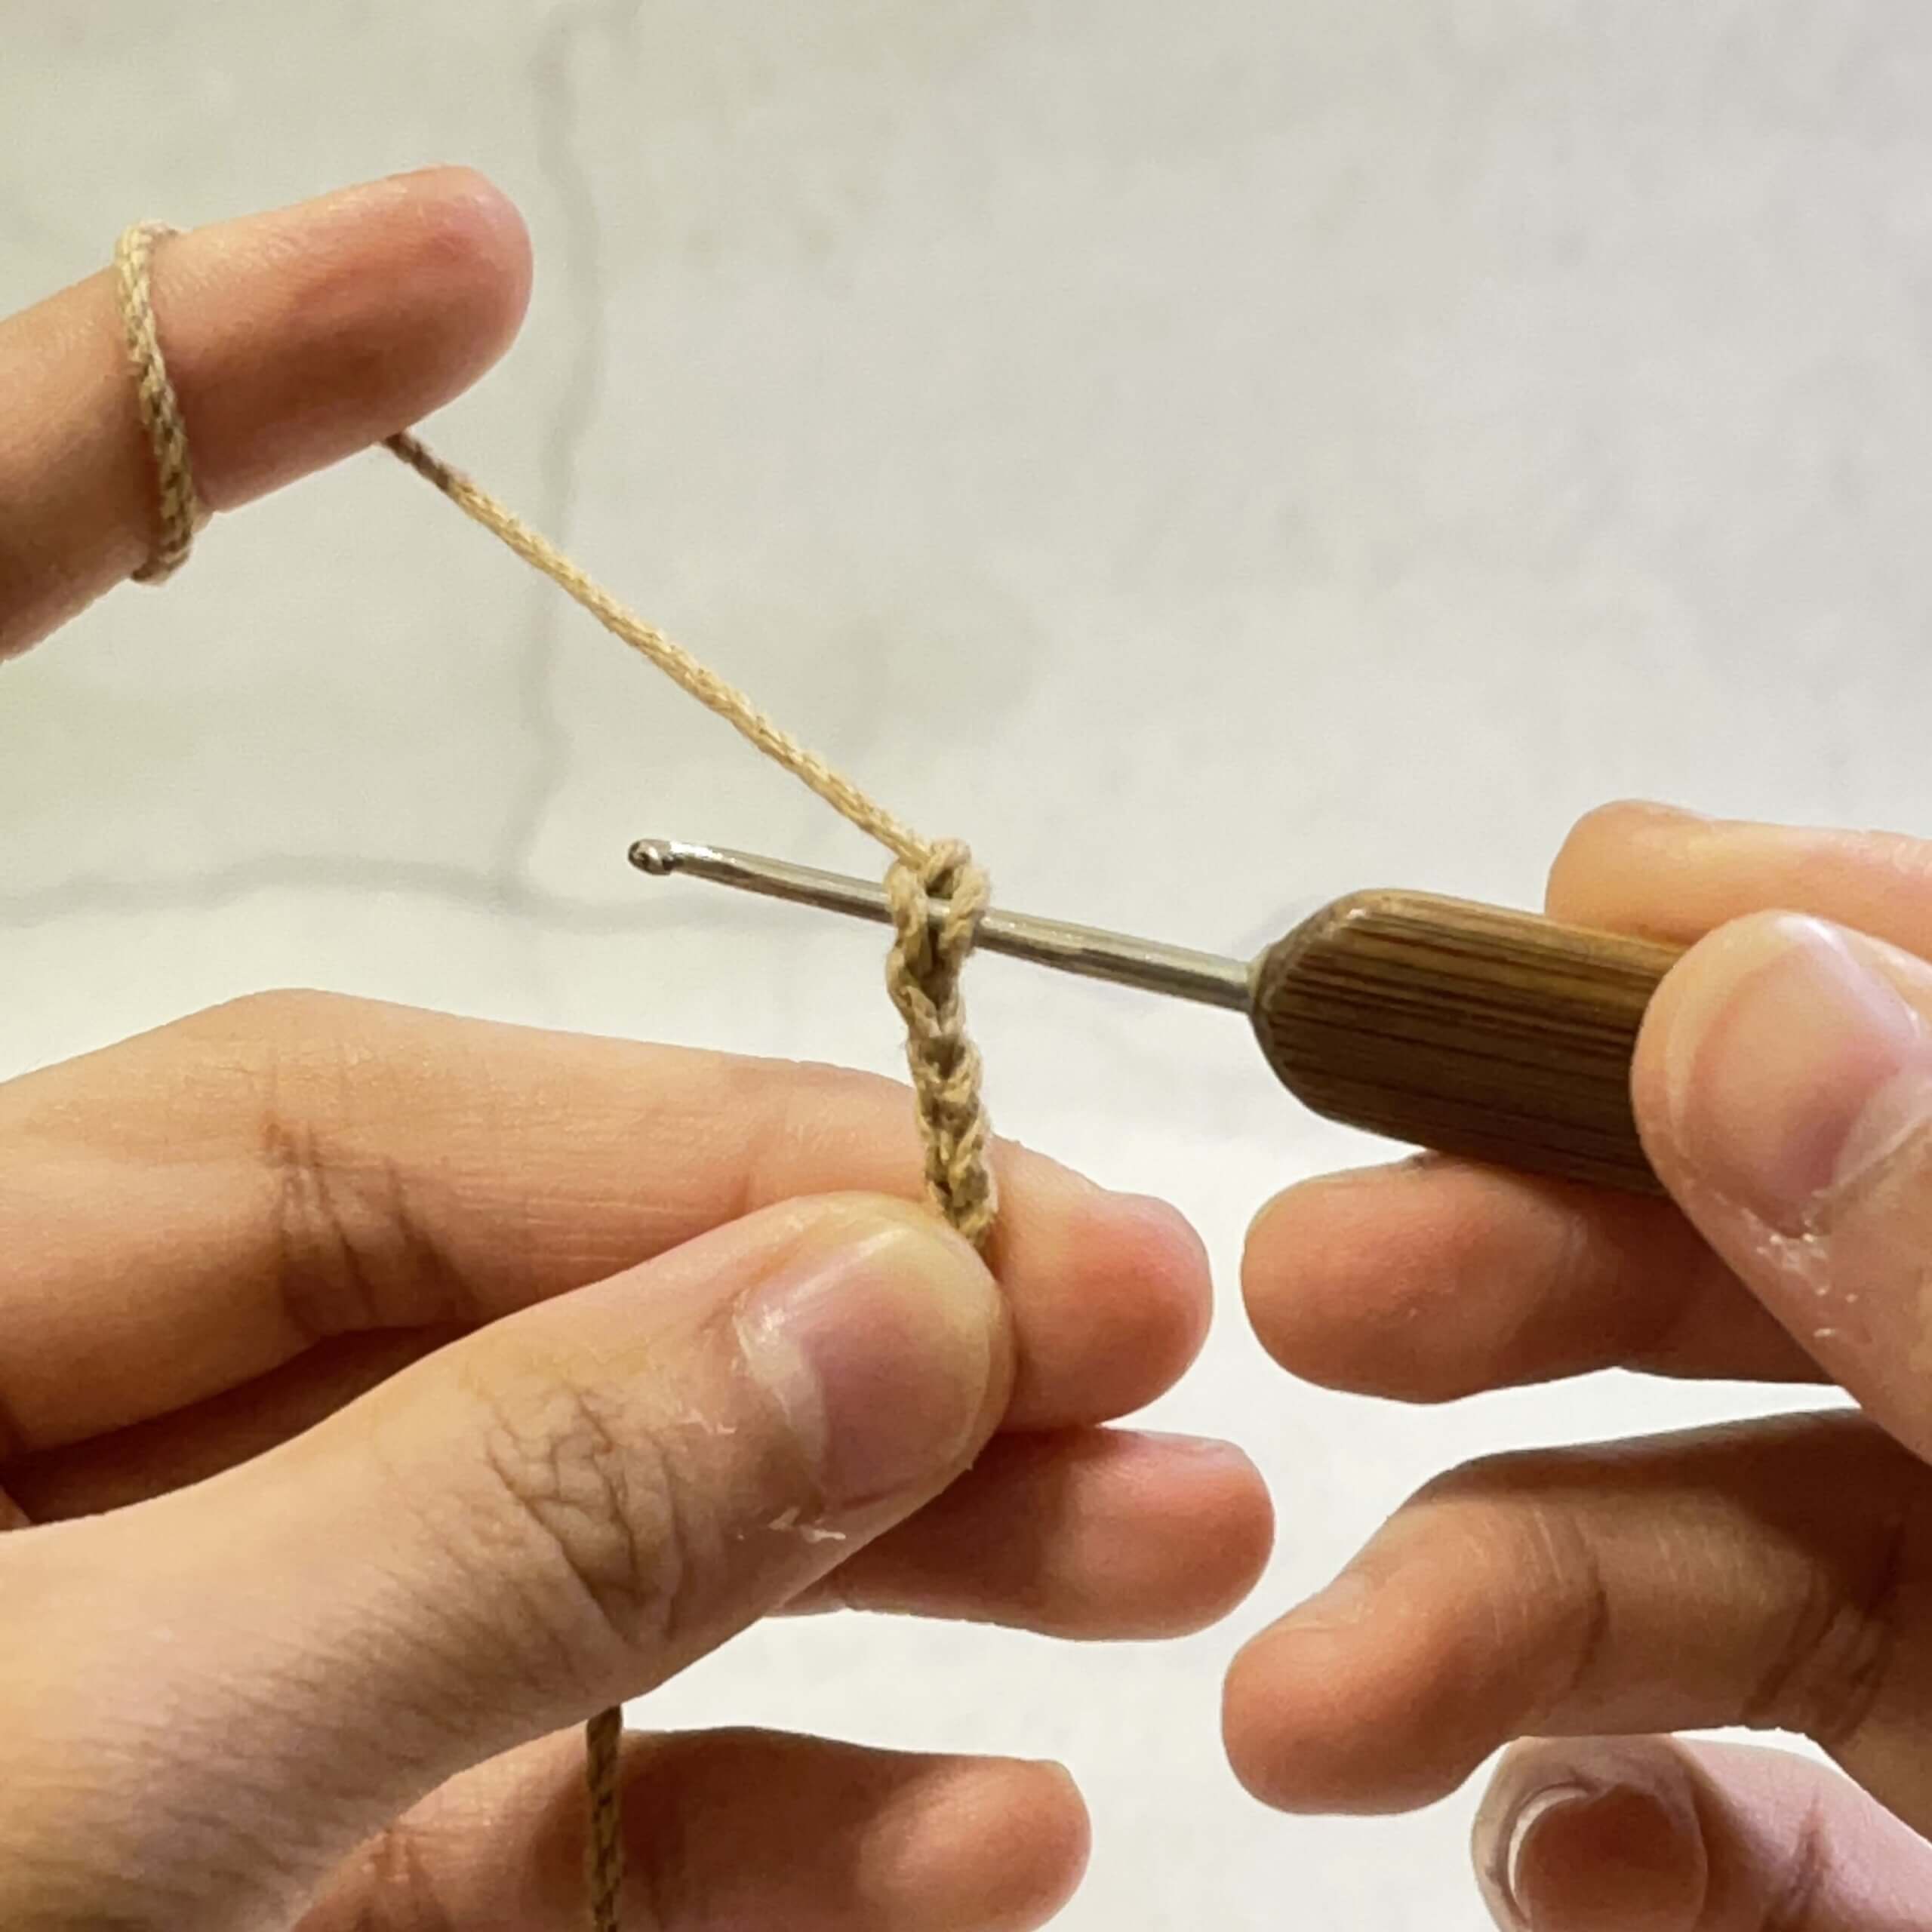
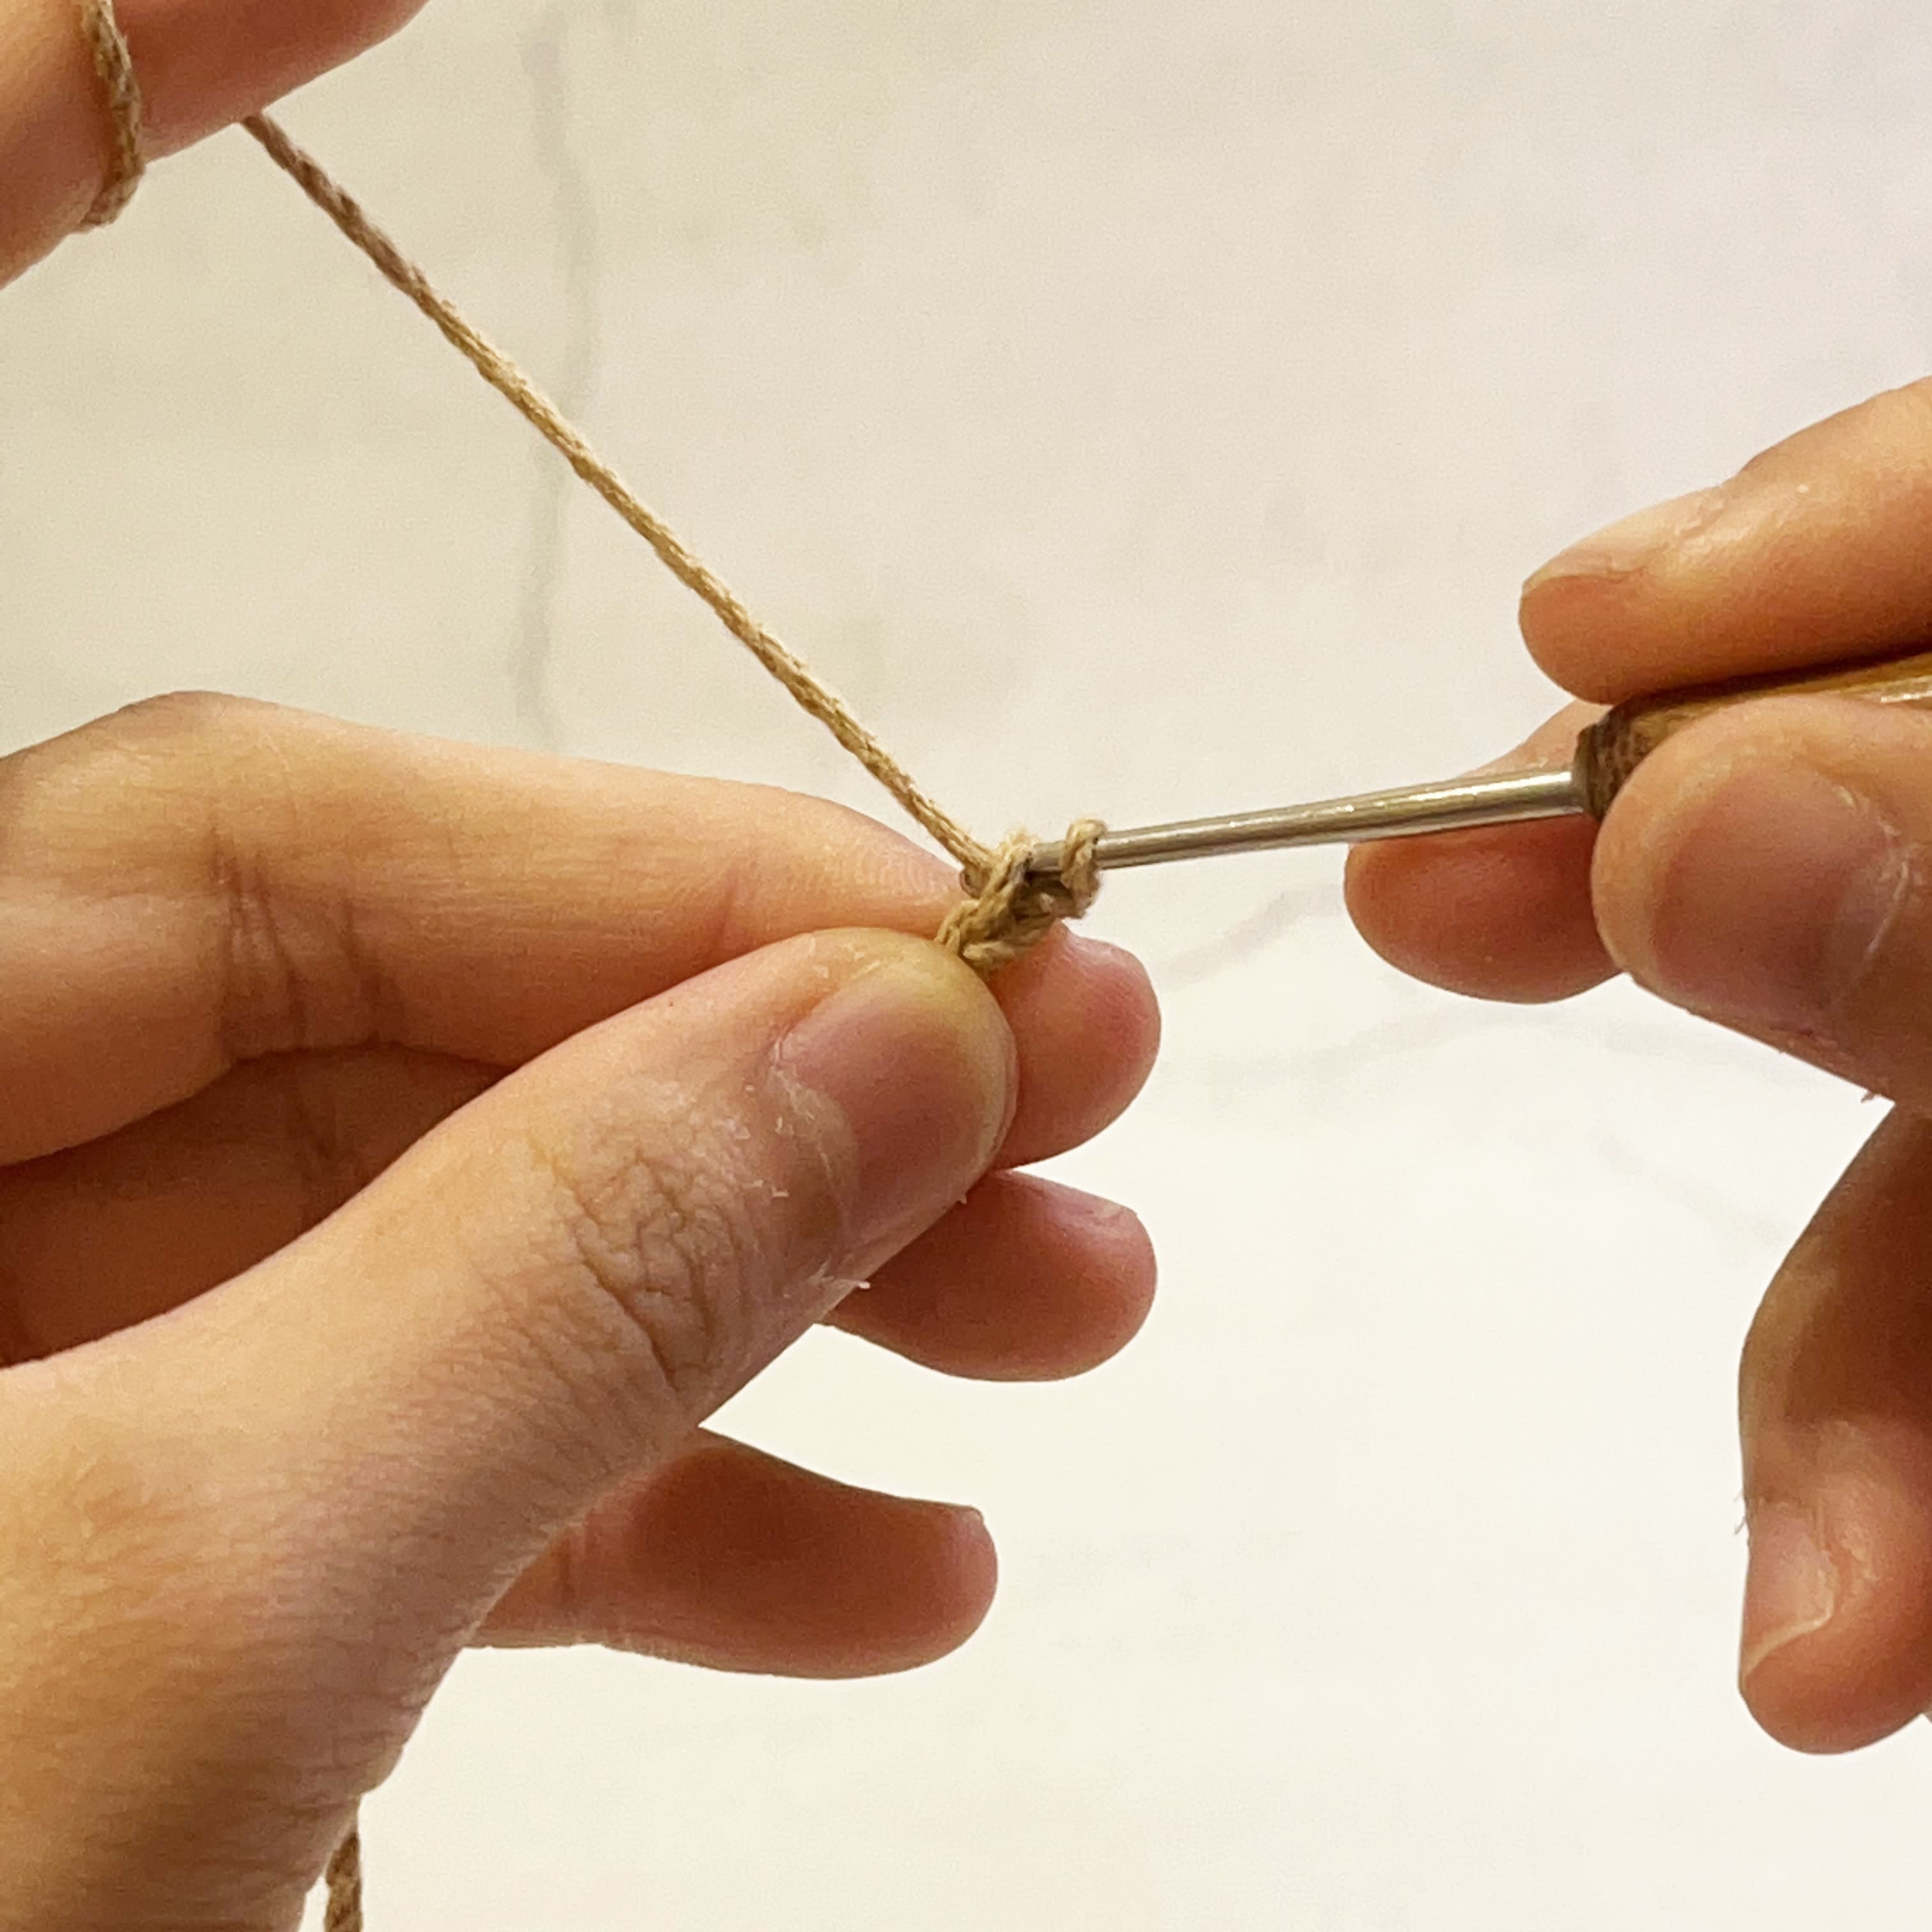
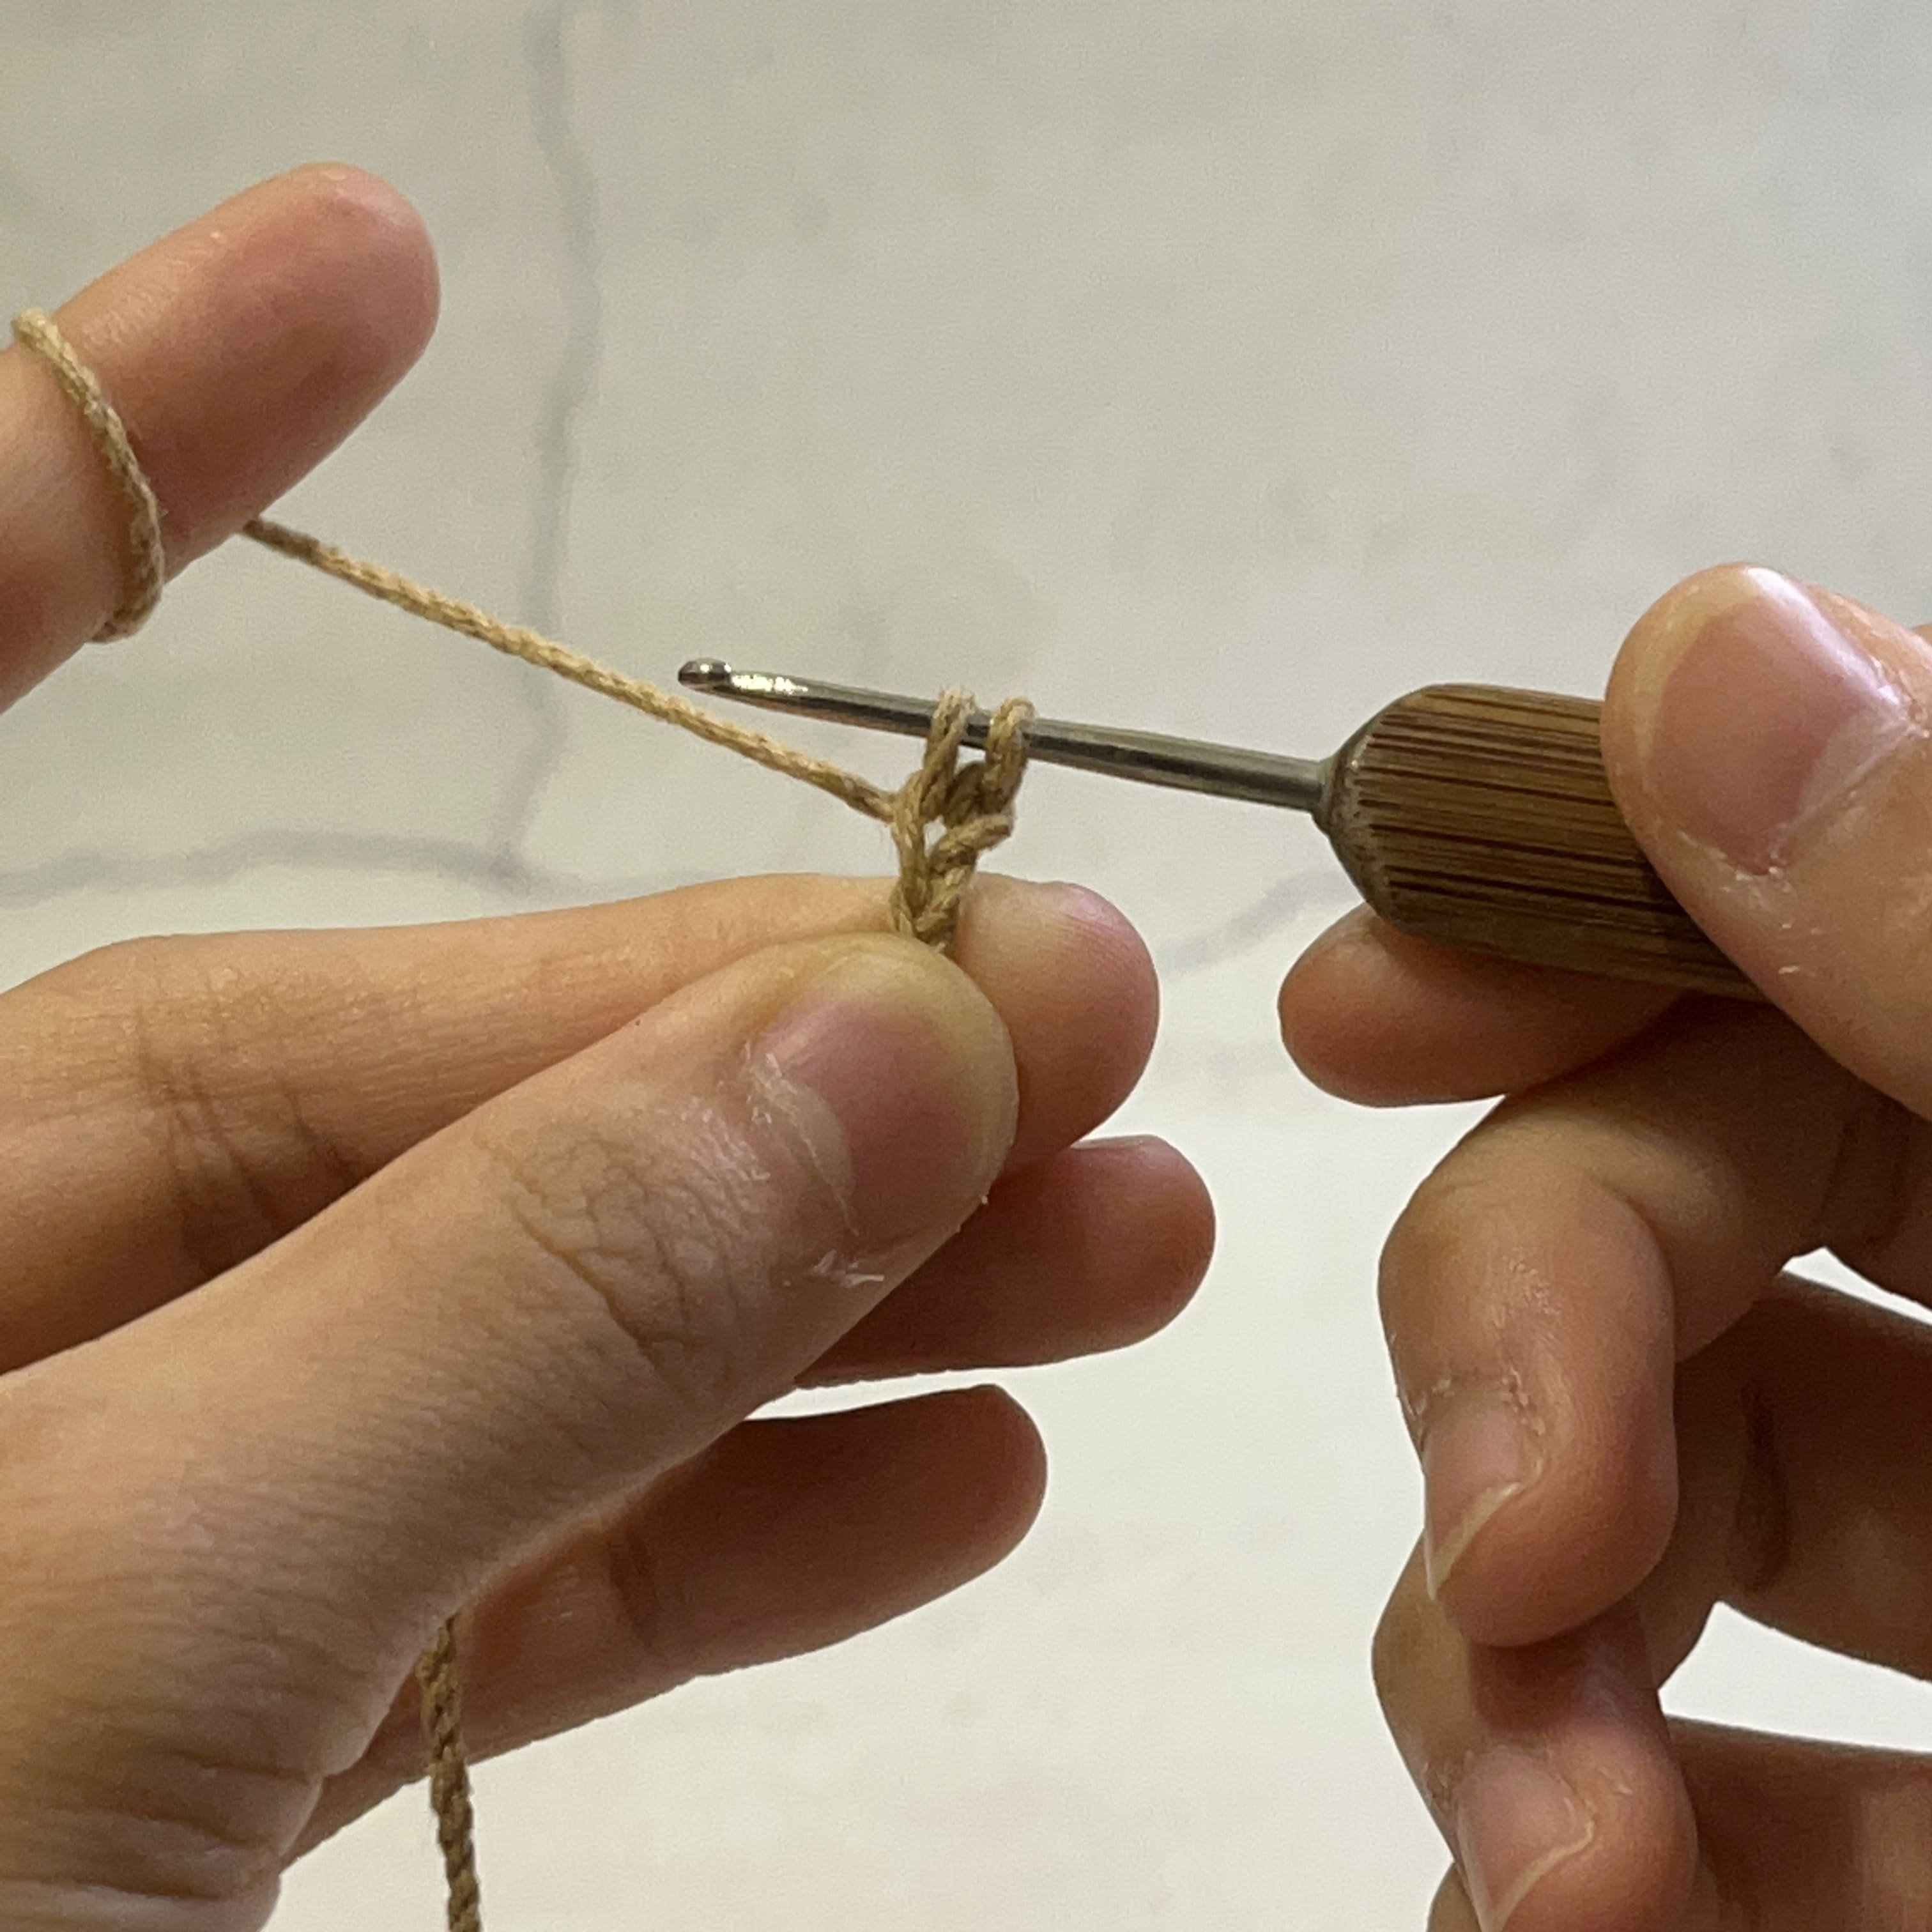
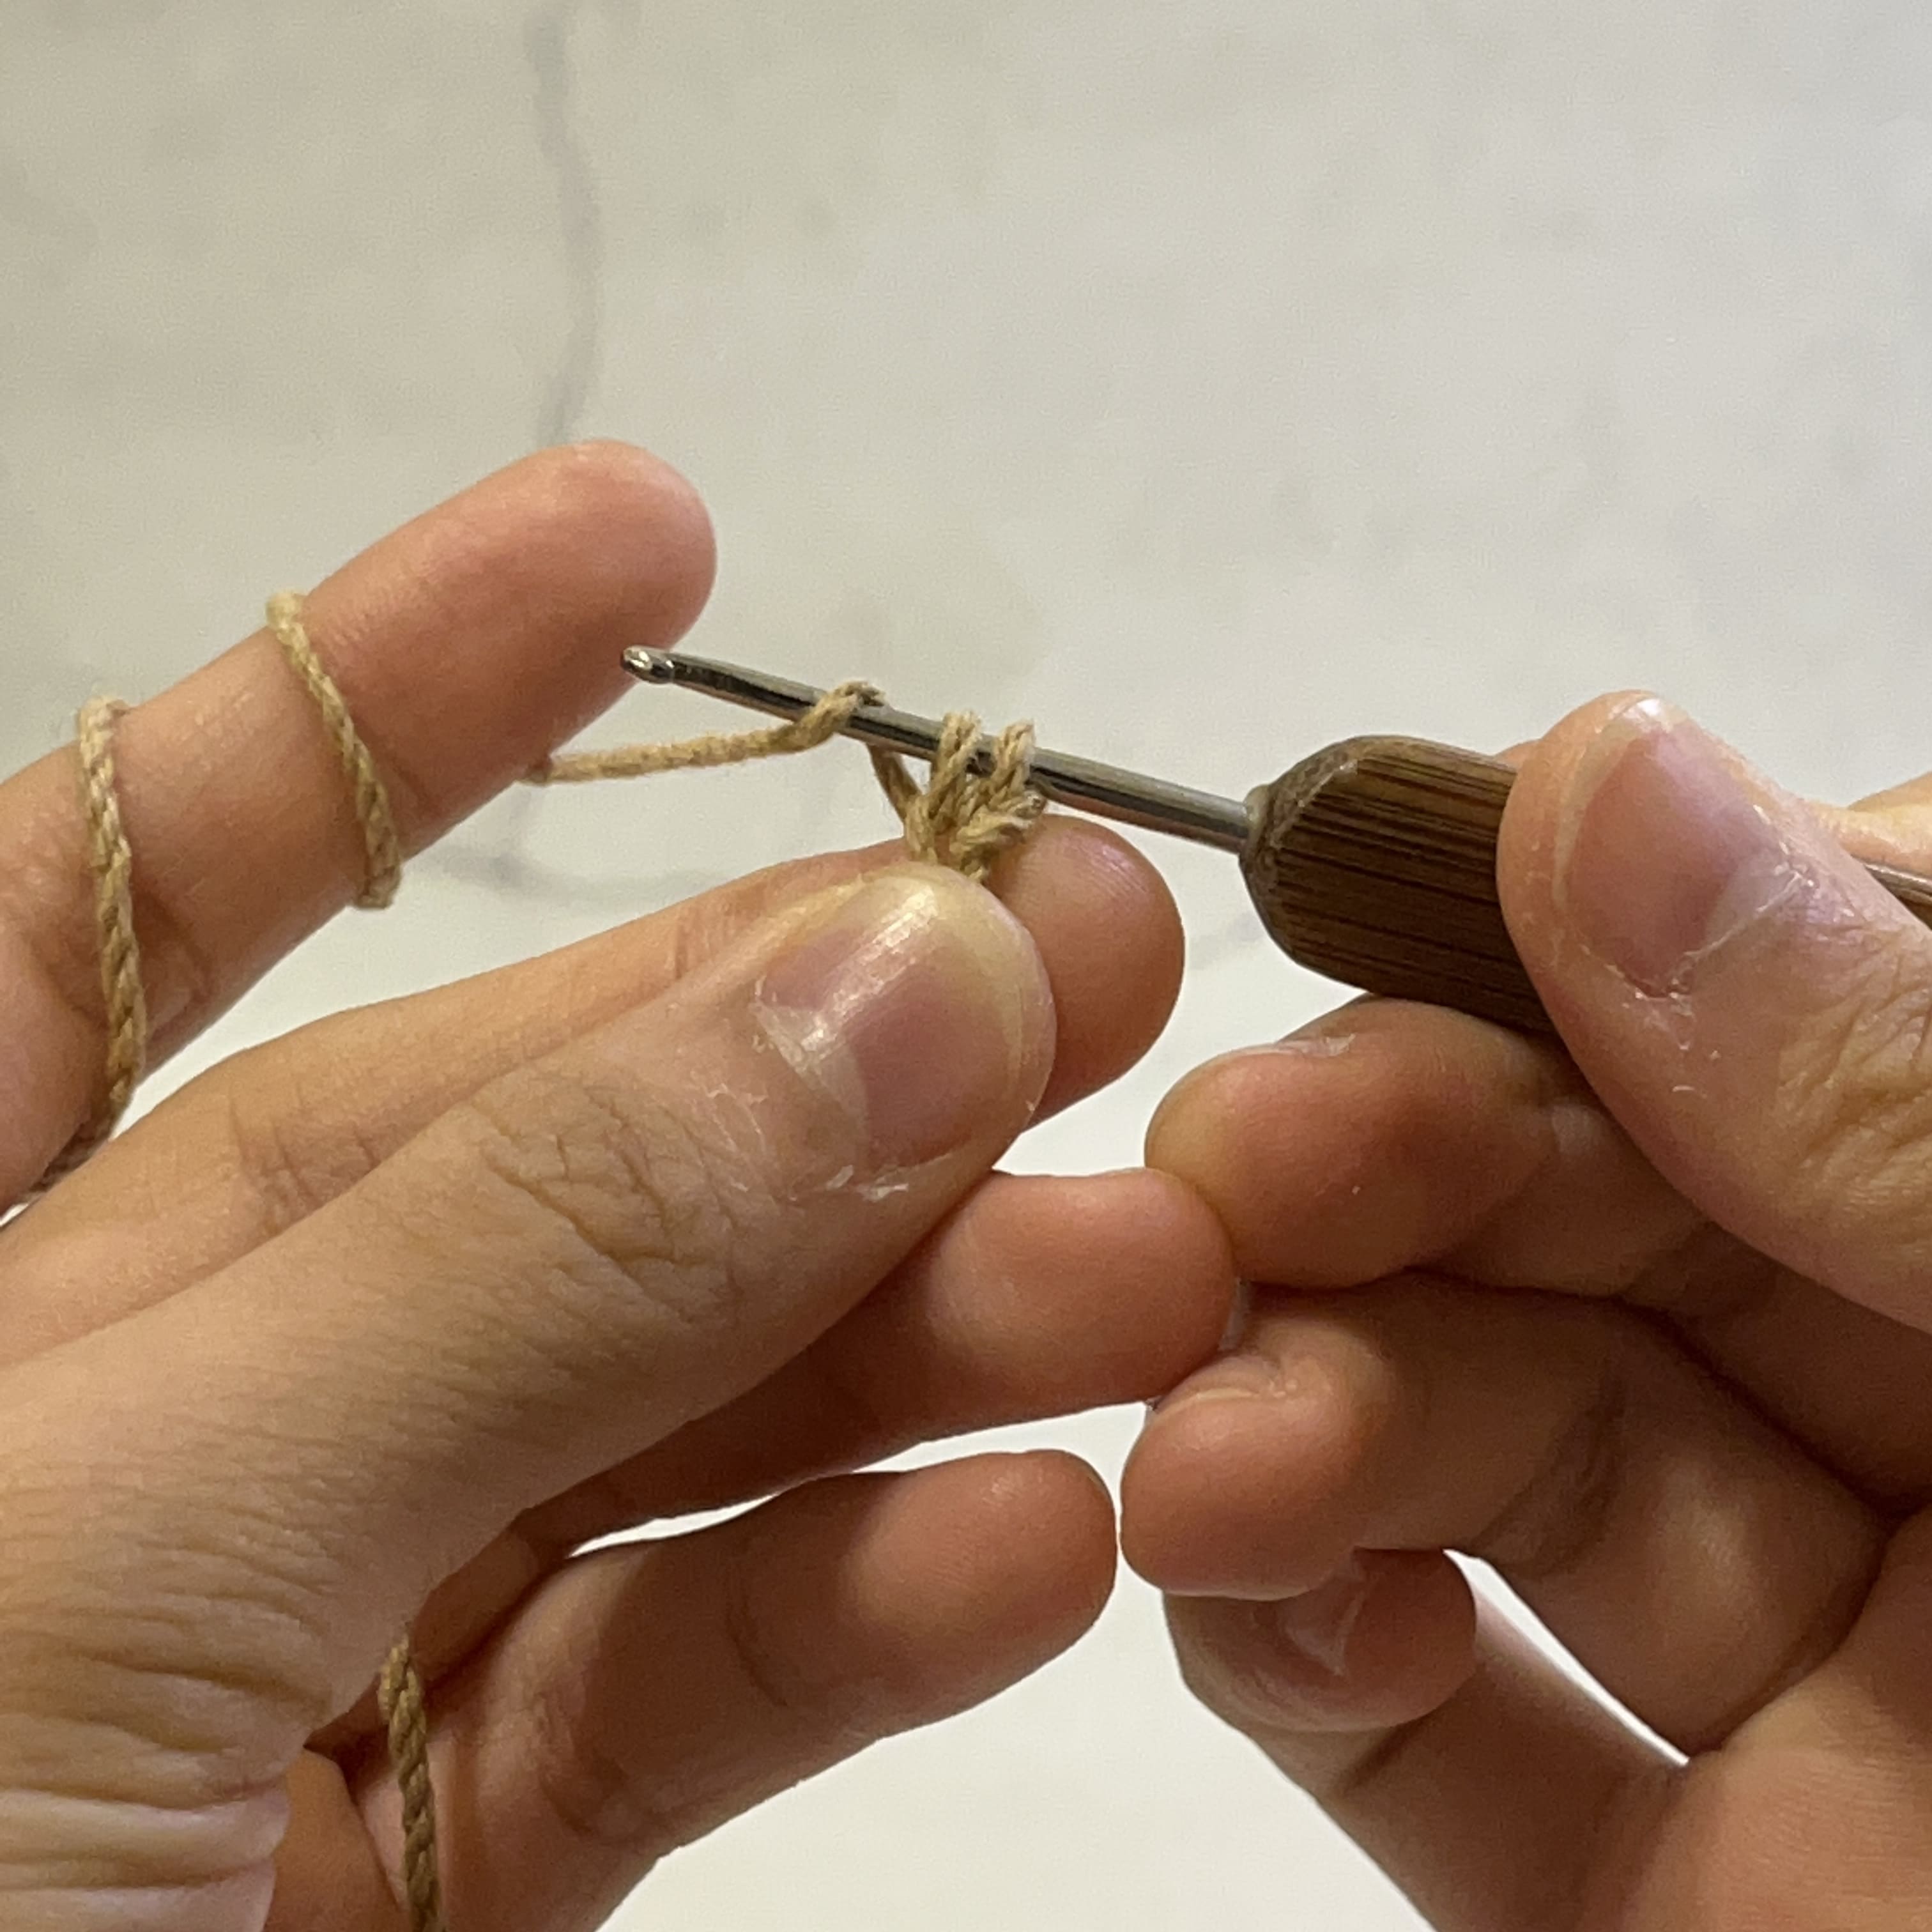
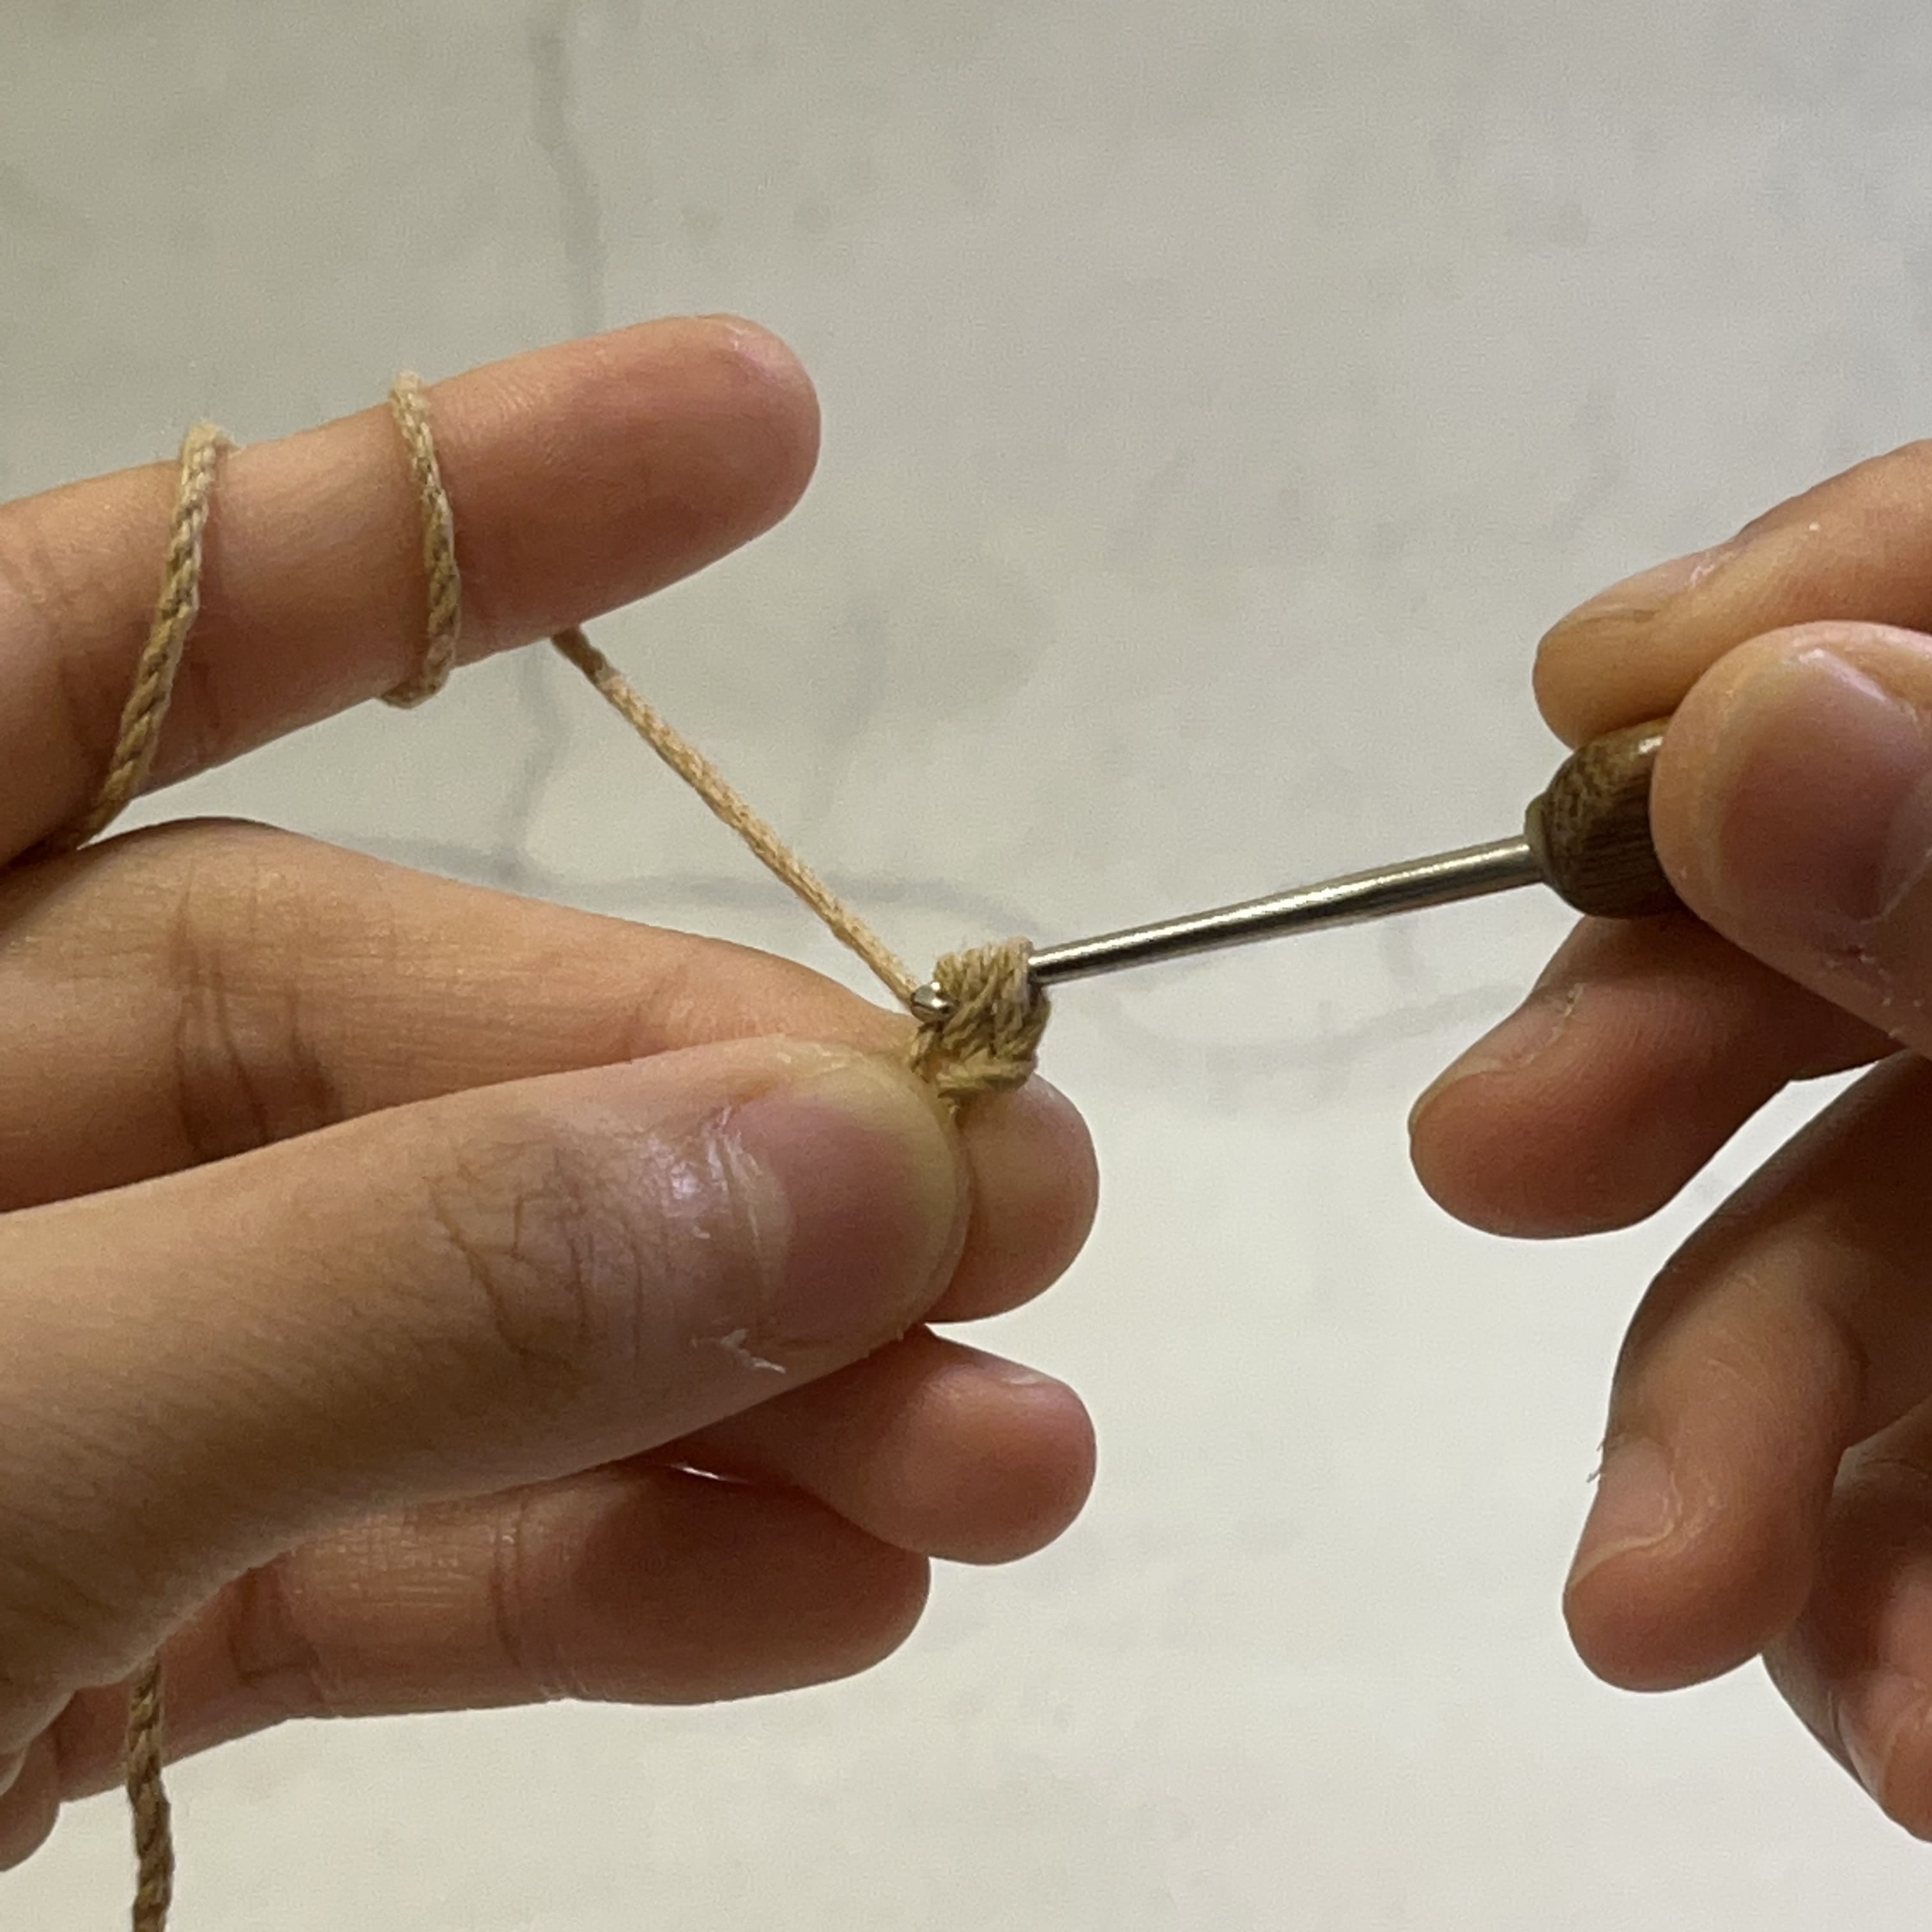
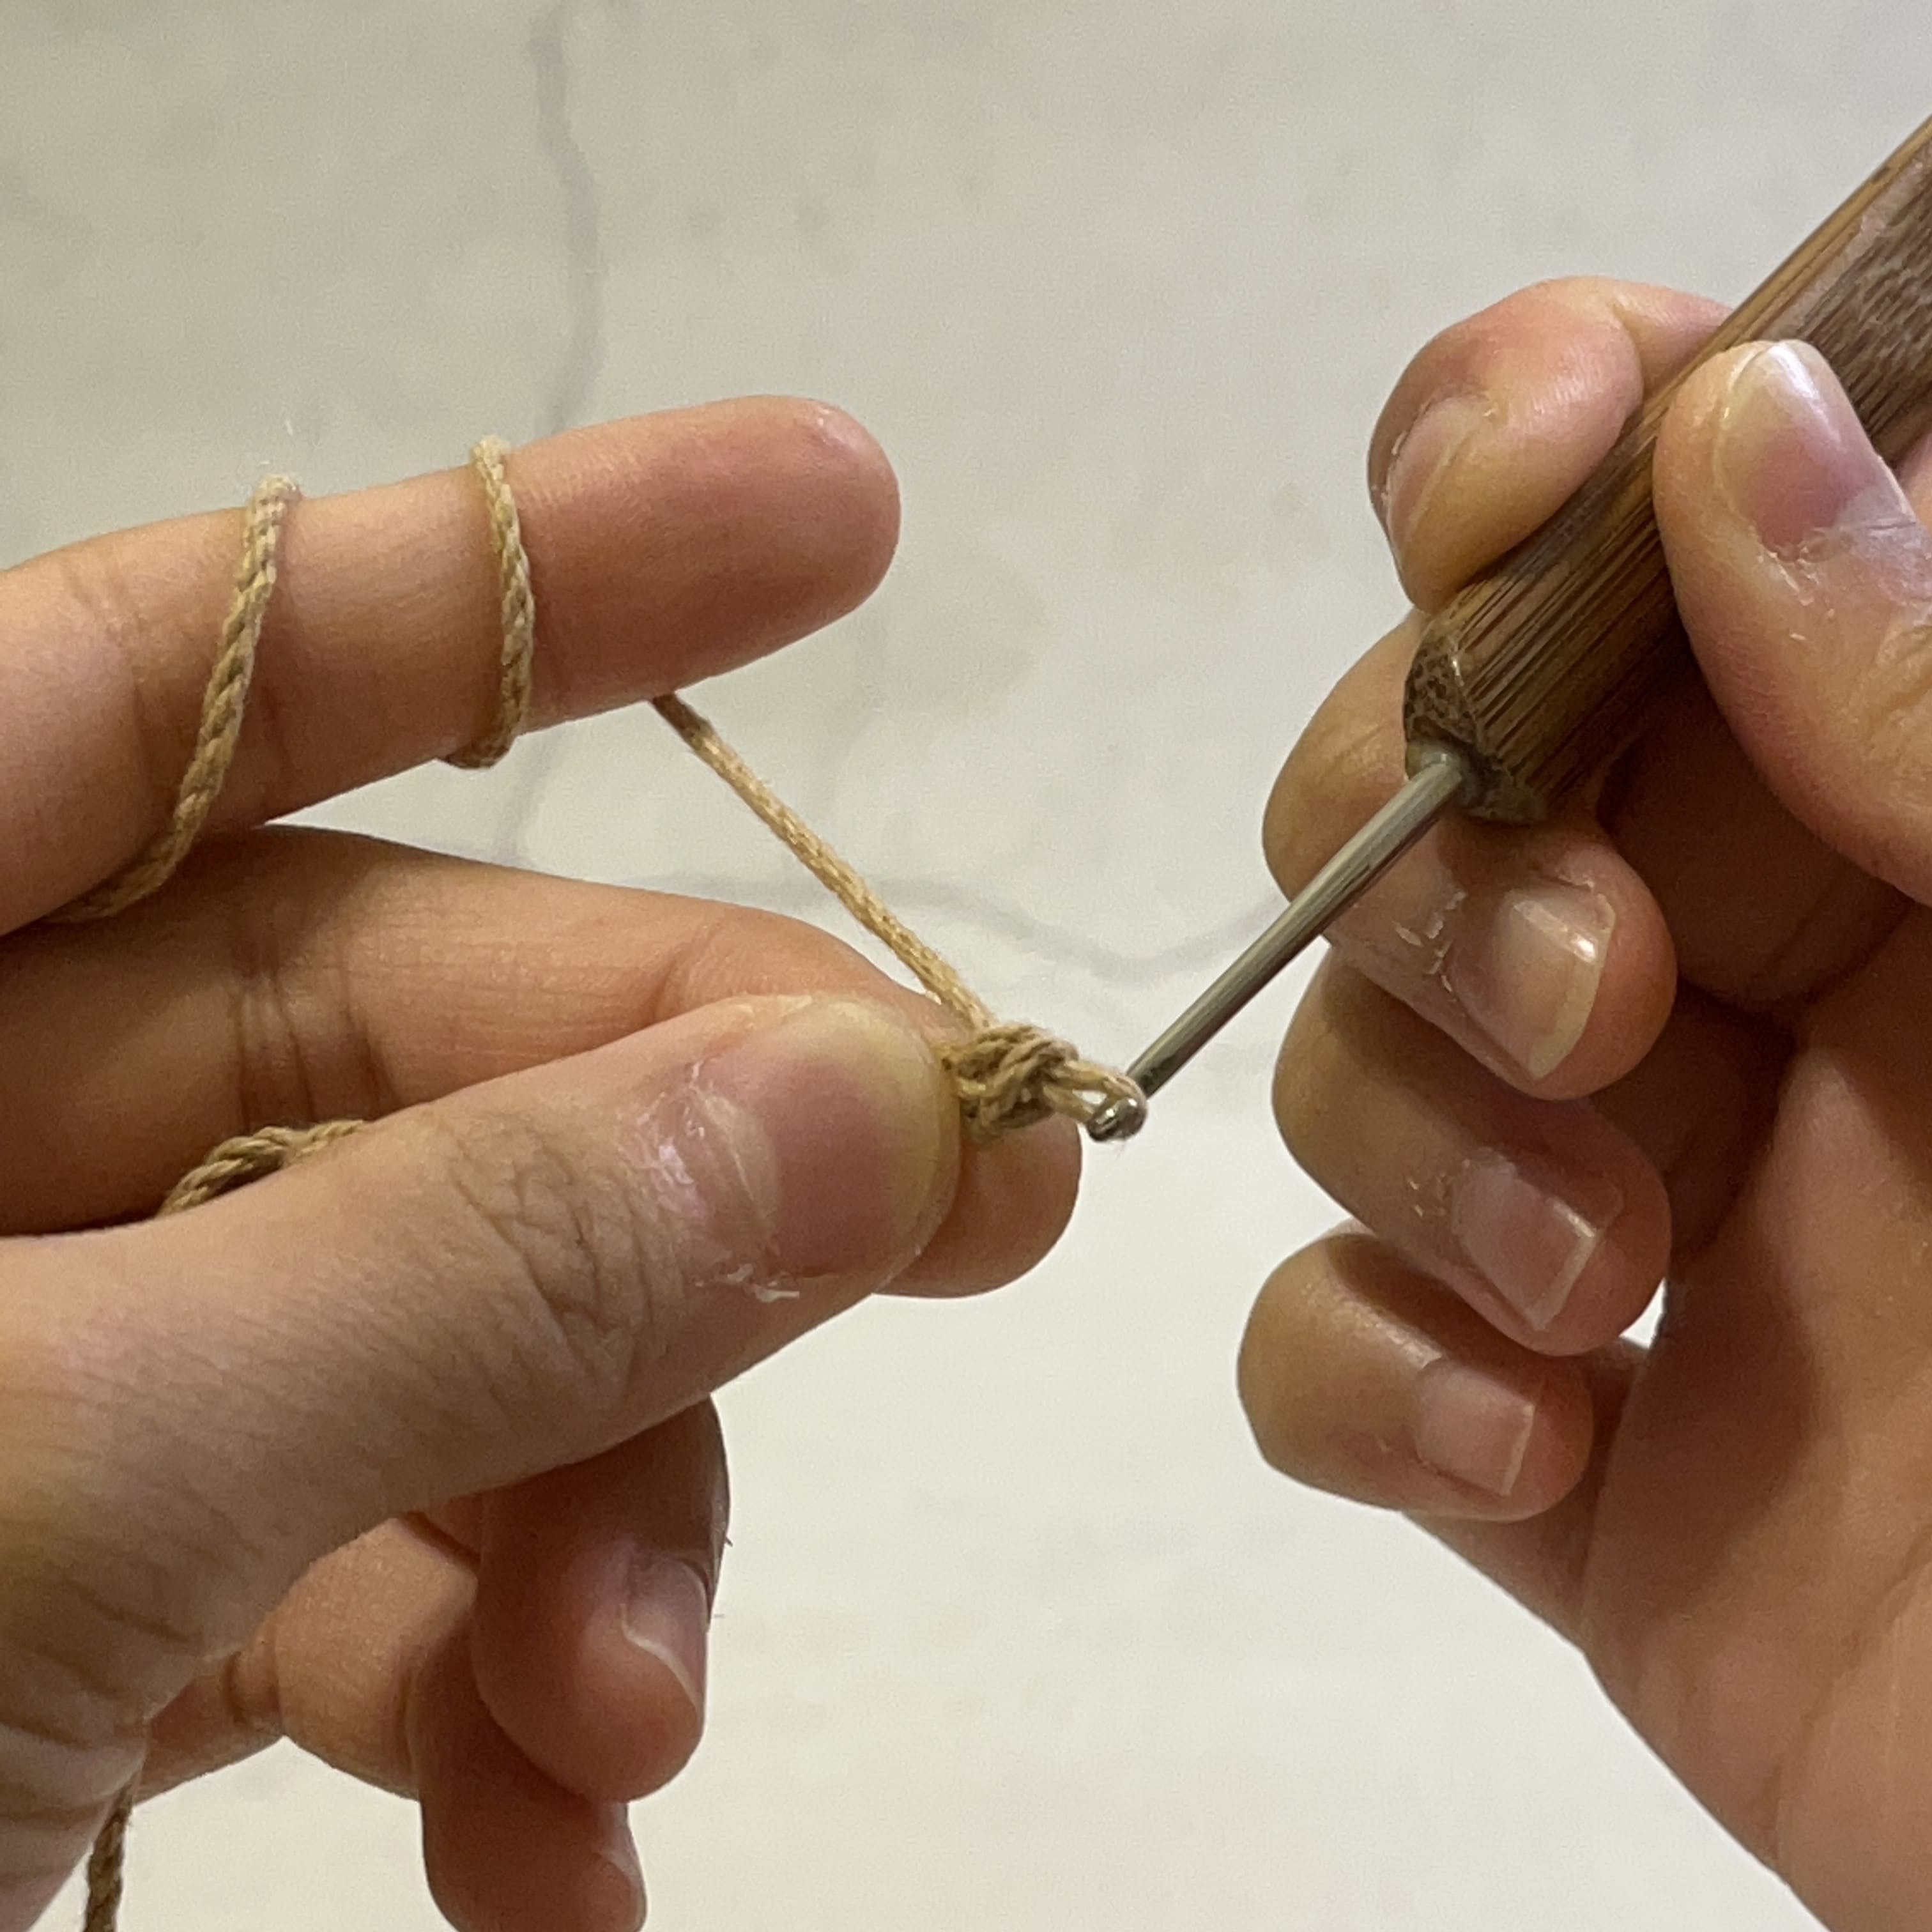
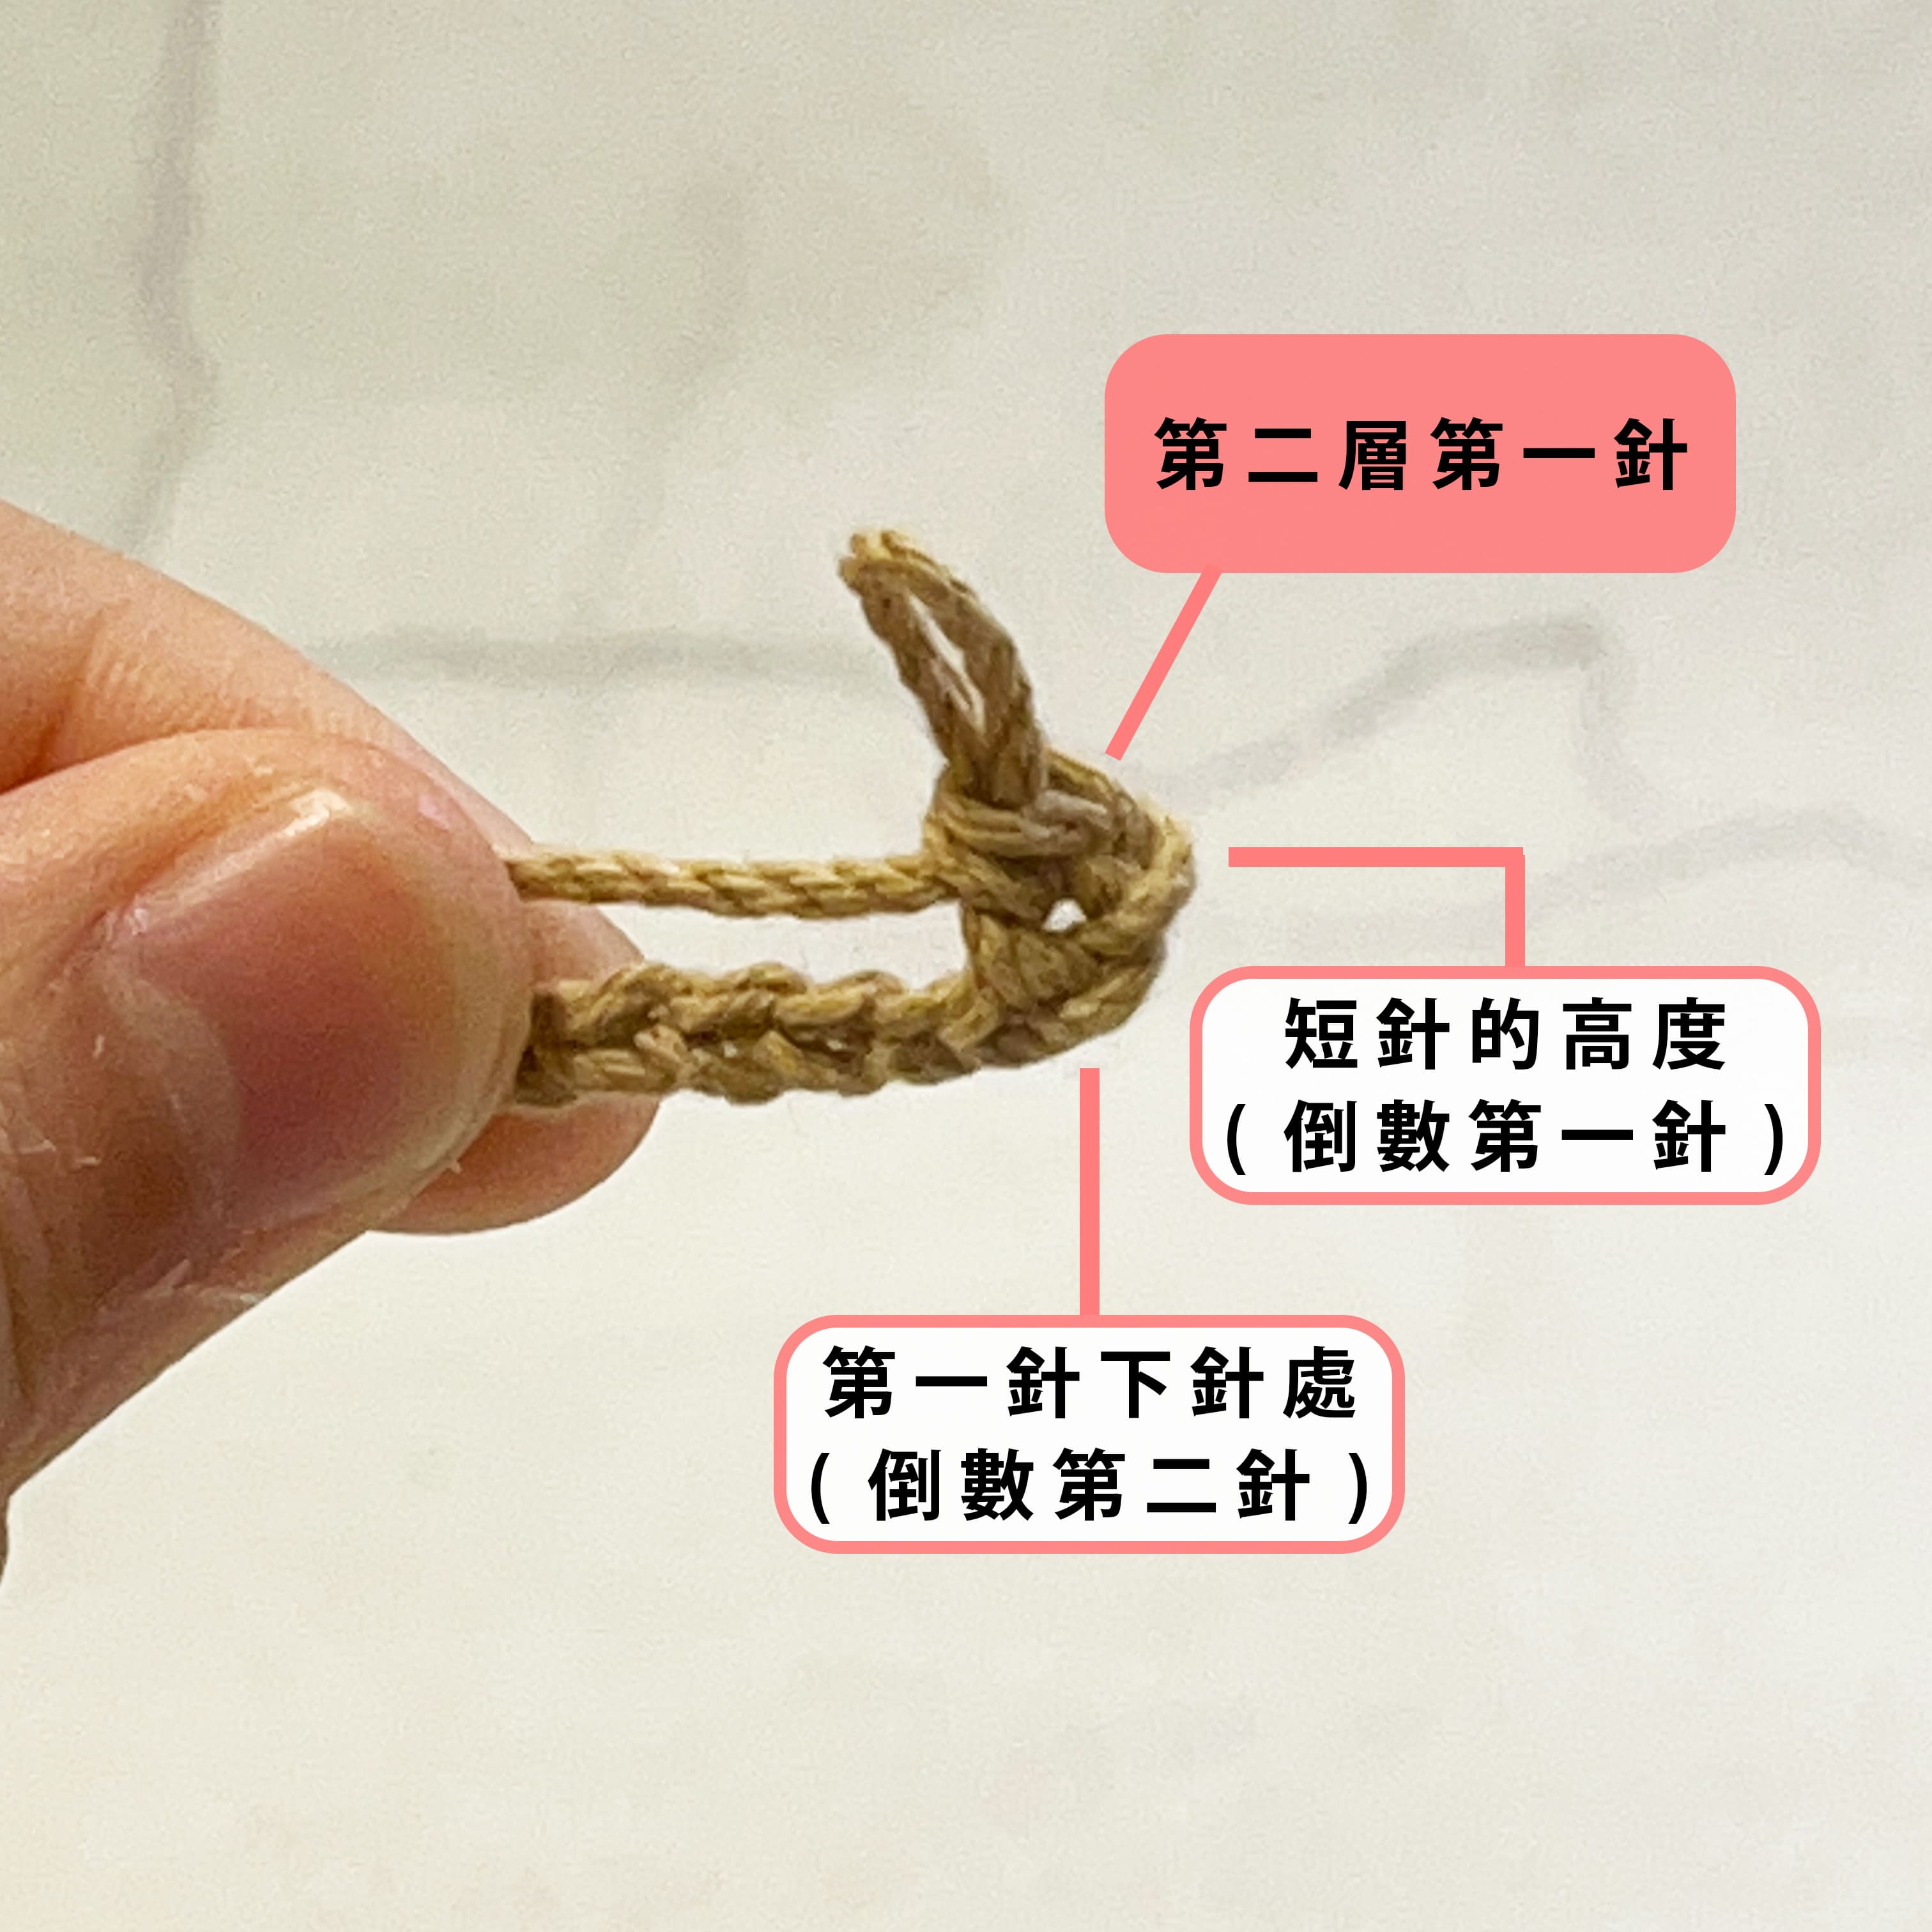
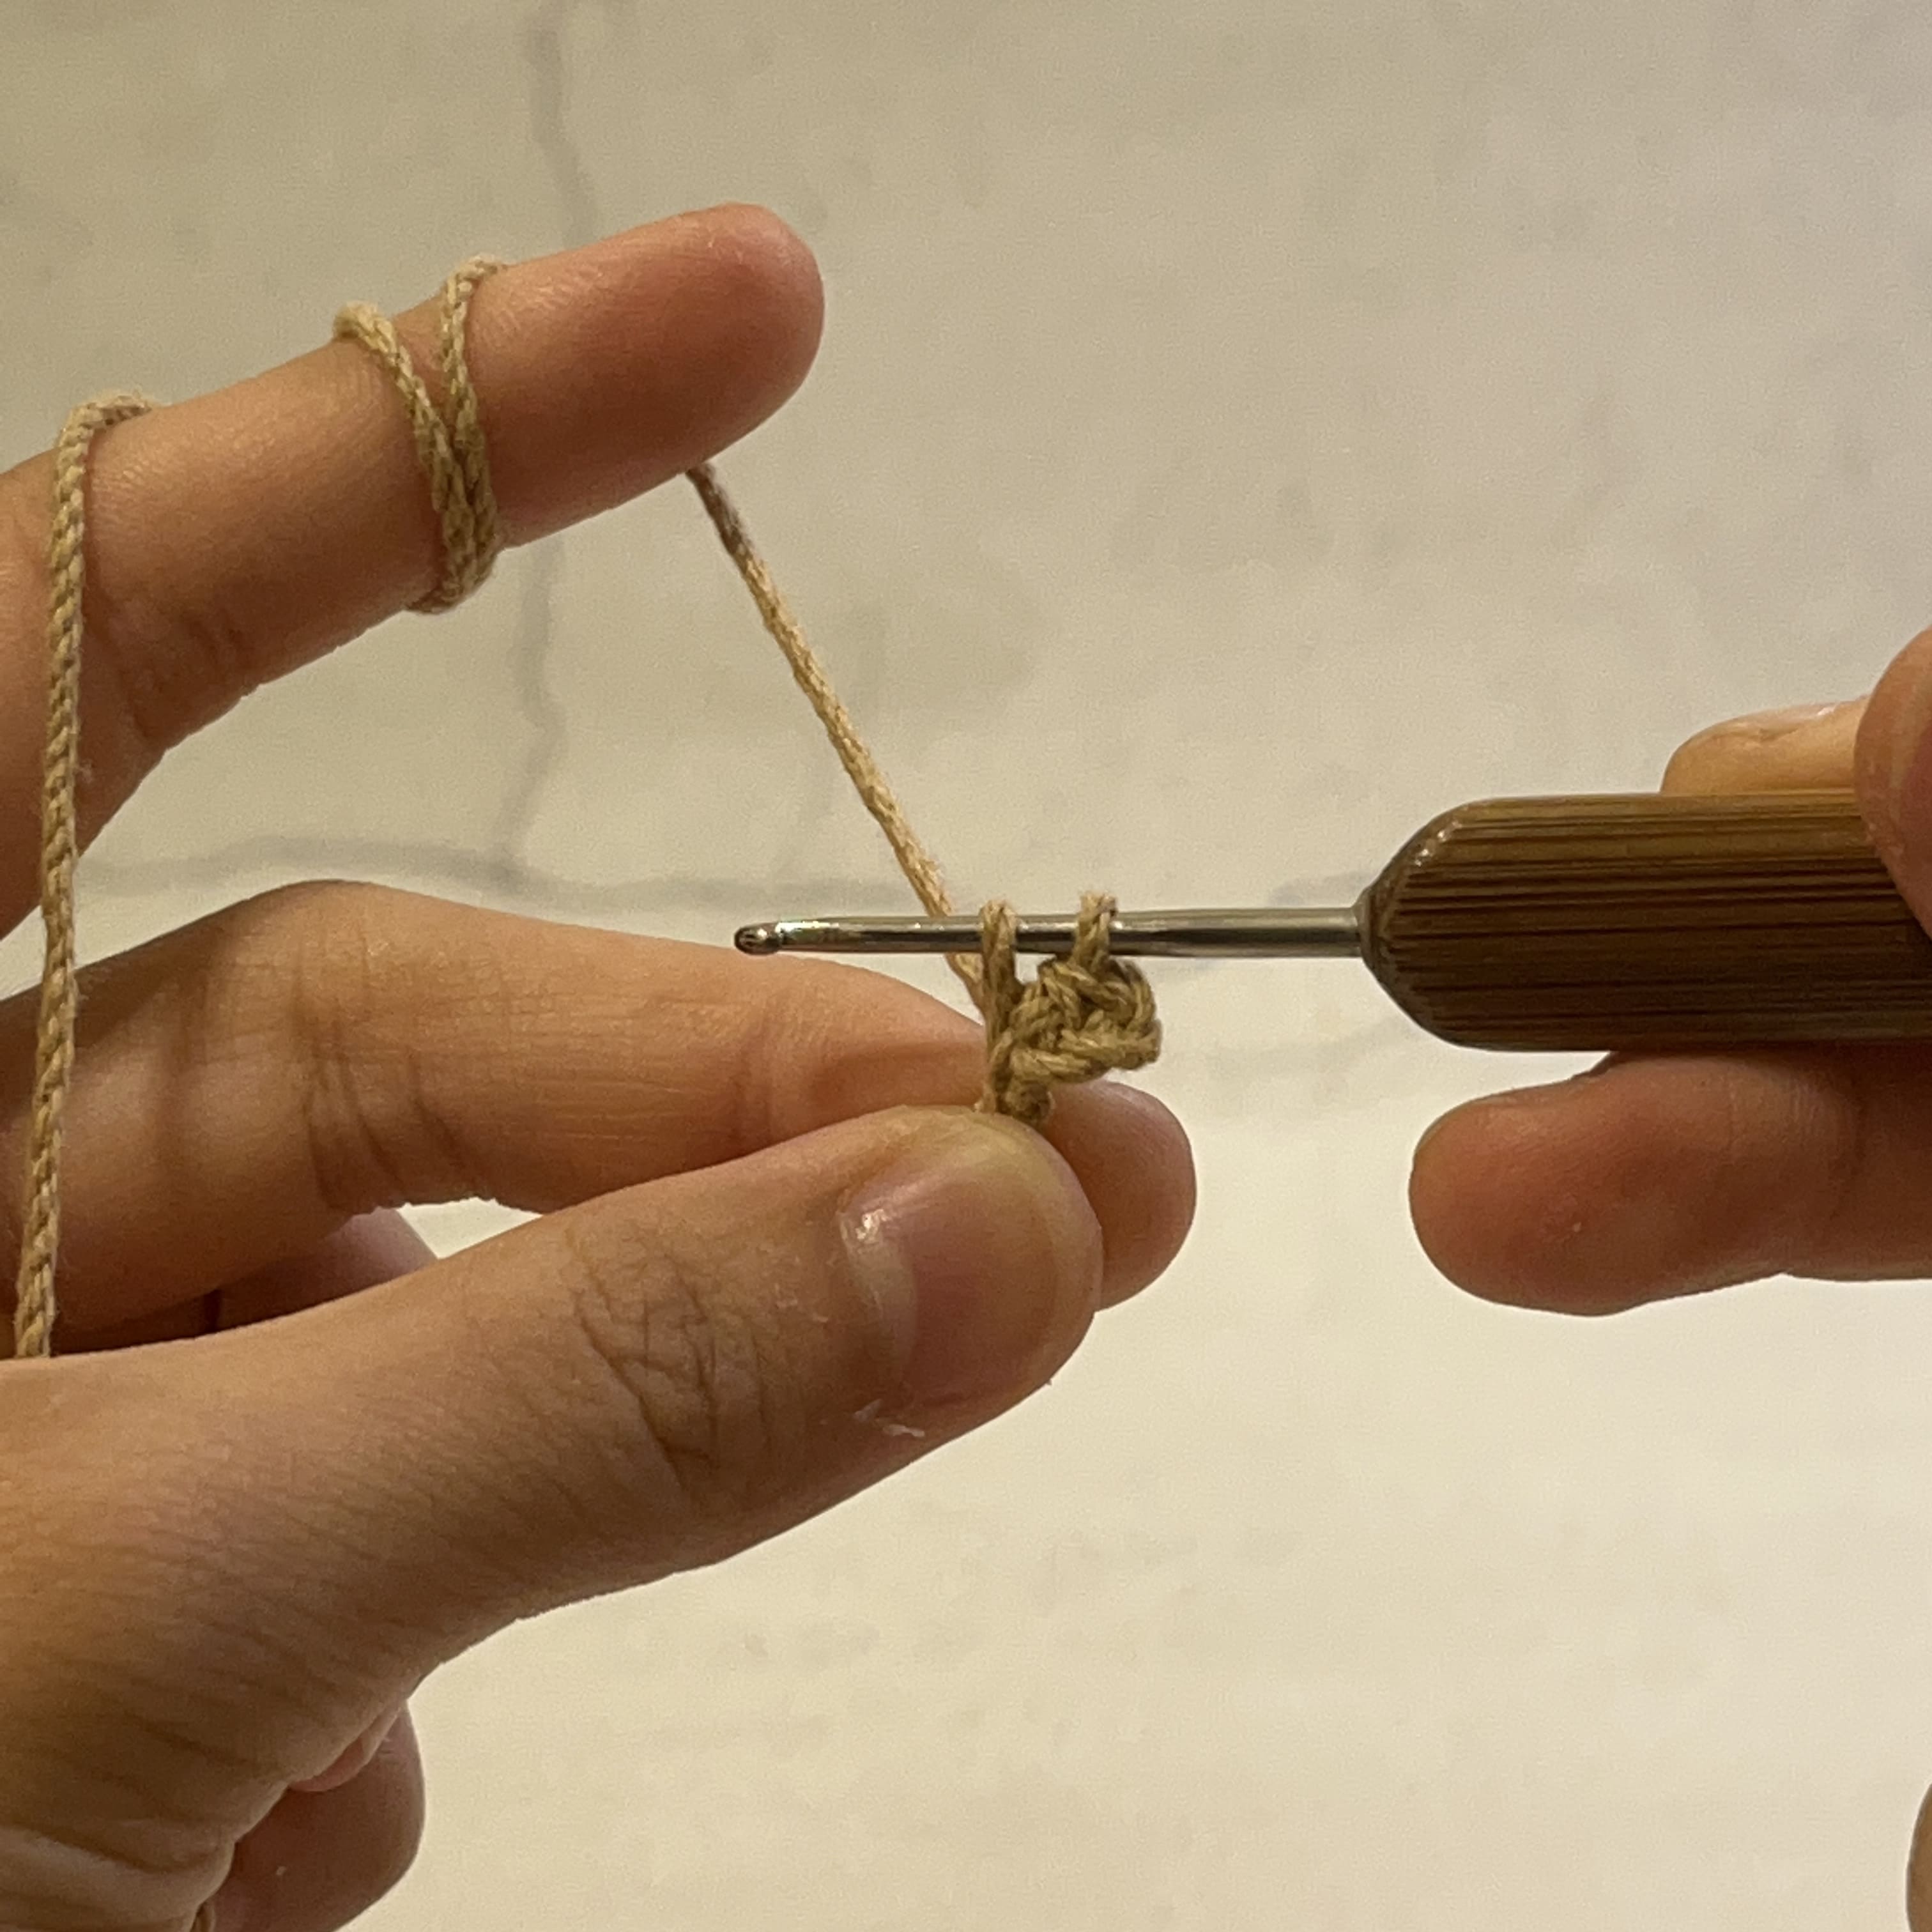
In crochet diagrams, the symbol for single crochet is typically represented by either “+” or “X”, and its abbreviation in English is “sc” (single crochet). Single crochet is the most frequently used stitch when crocheting dolls and is often combined with other stitches.
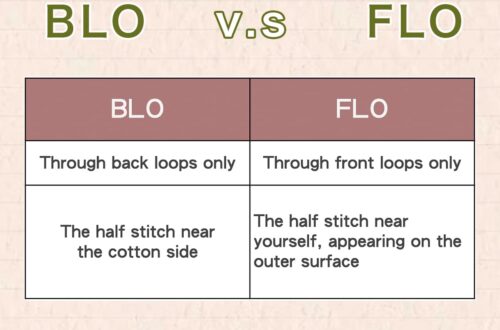
Additional note for Step 2: It’s essential to pay attention that when making single crochet stitches, you should hook through both loops each time! However, there are also techniques where you only hook through one loop, known as back loop only (BLO) and front loop only (FLO). For more details, you can refer to the article on How to make BLO and FLO .
How to Make Chain Stitch(es)
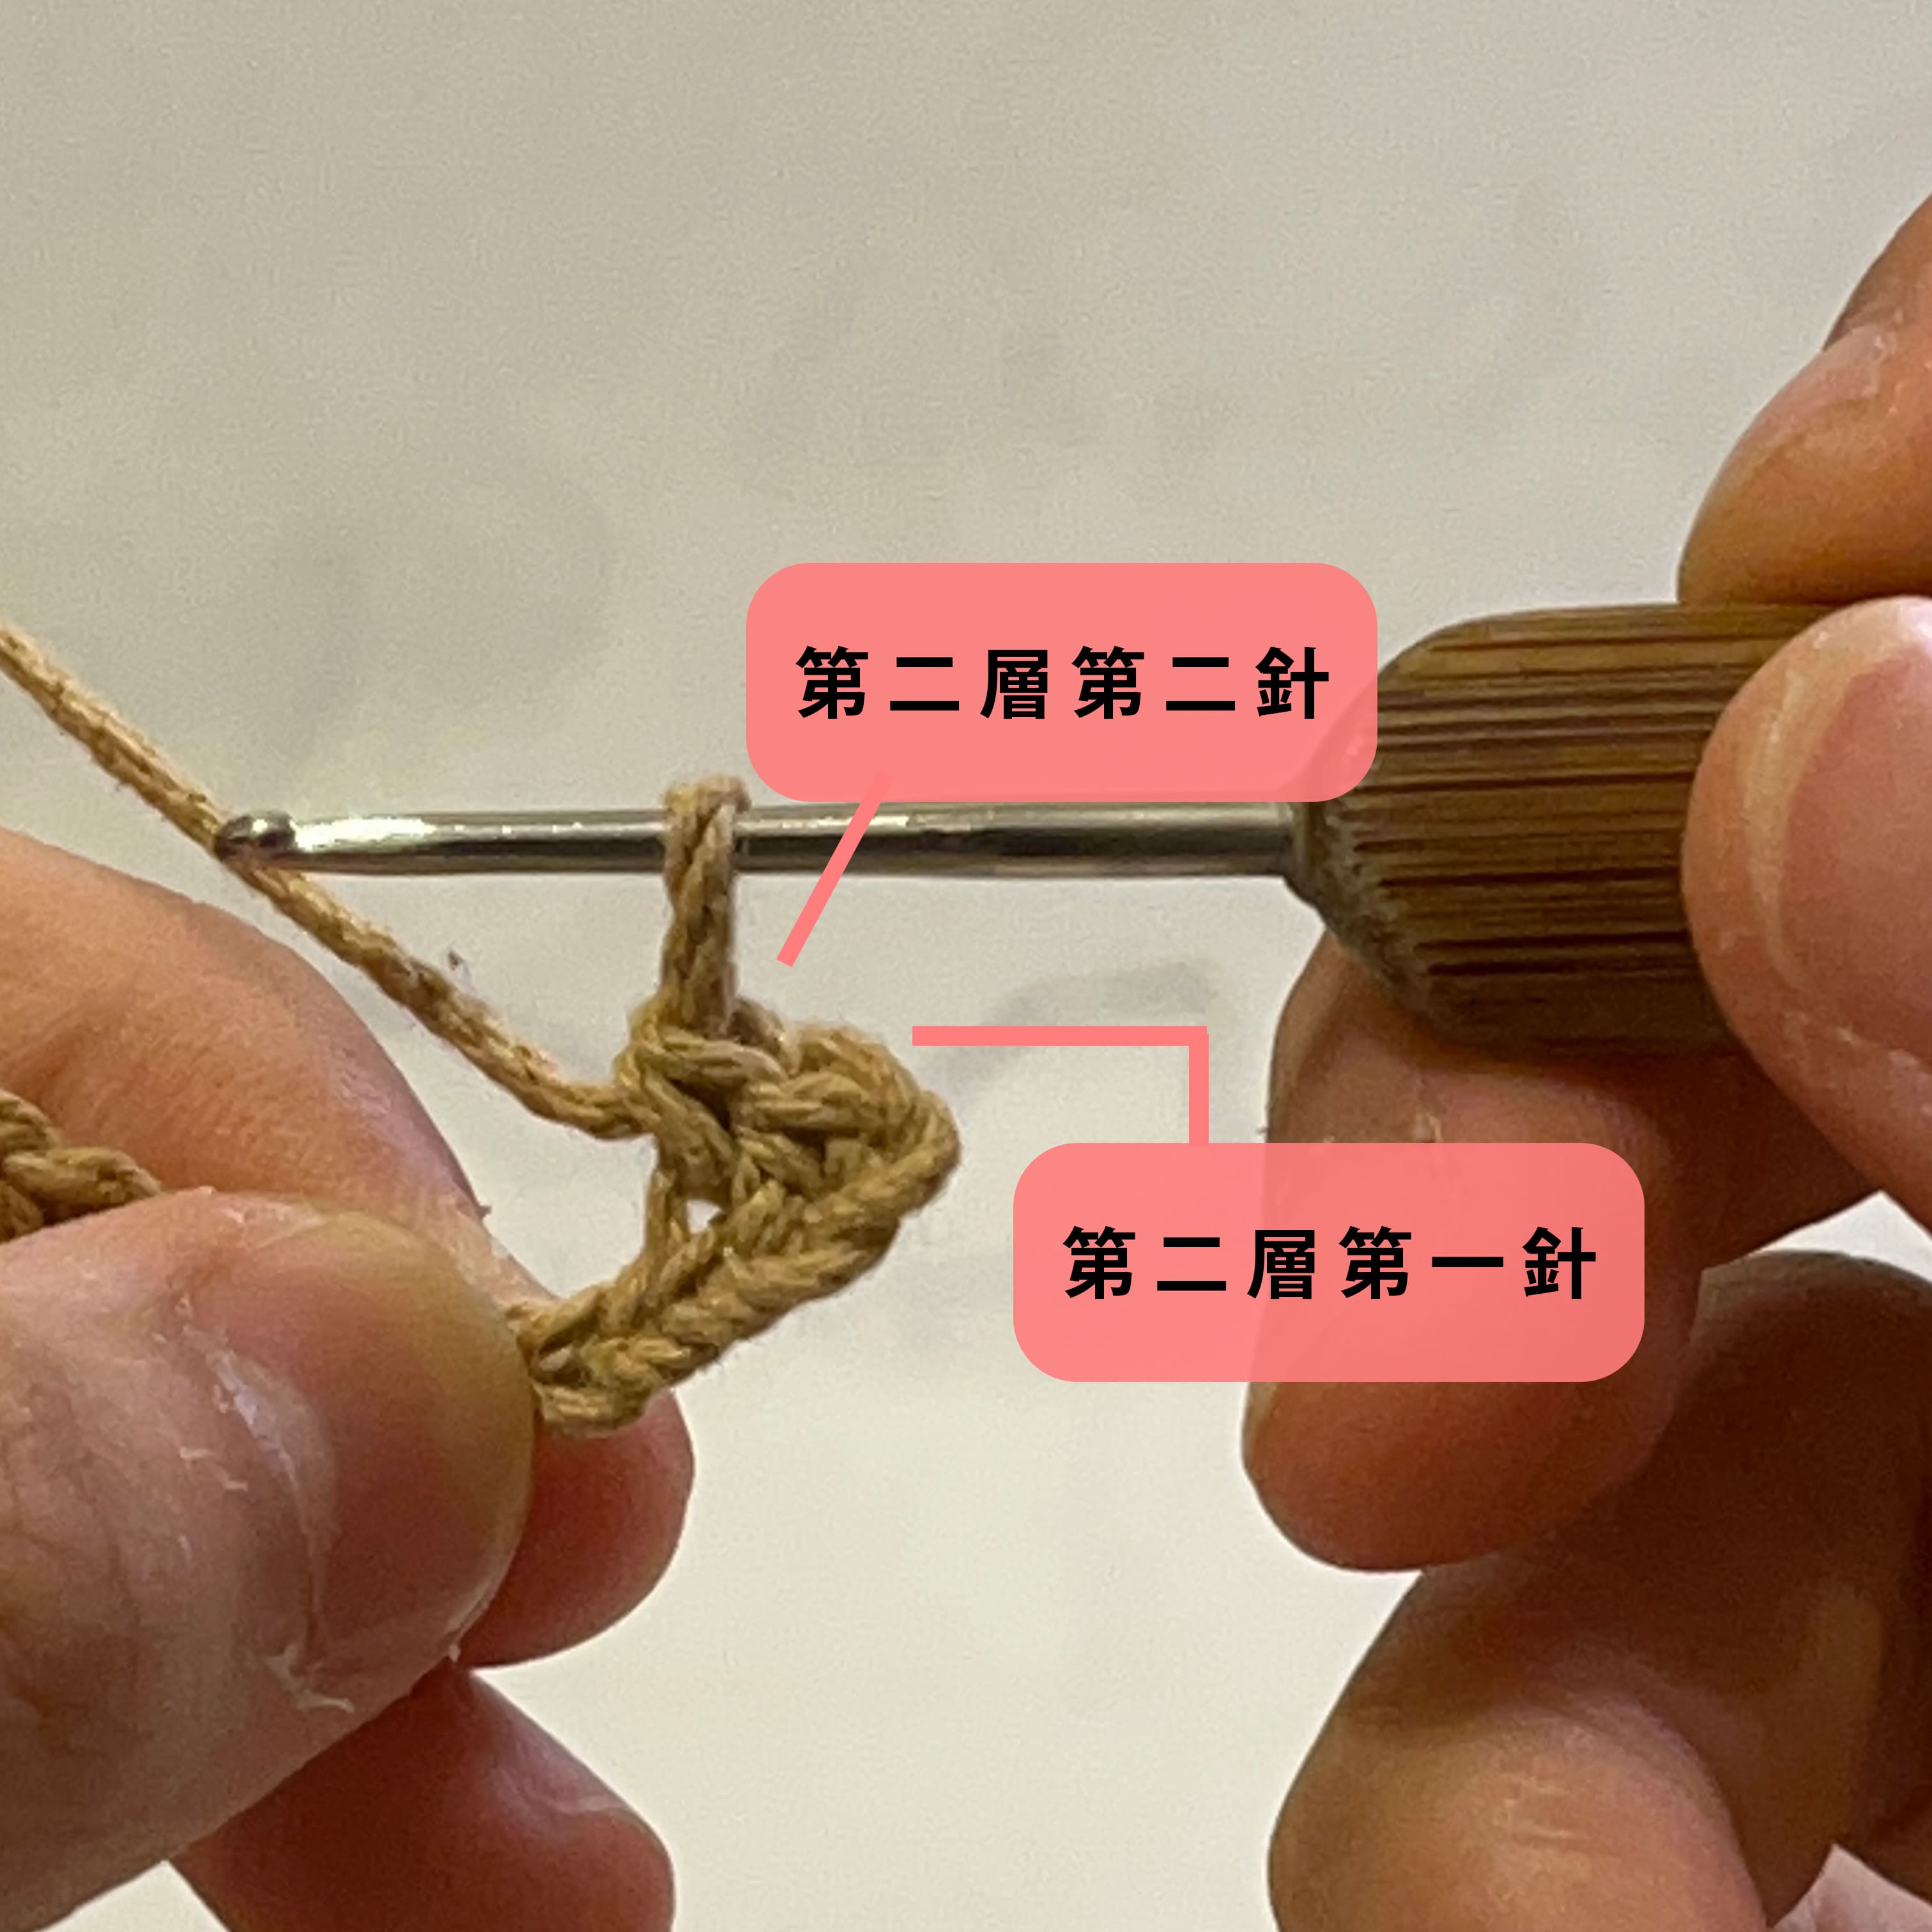
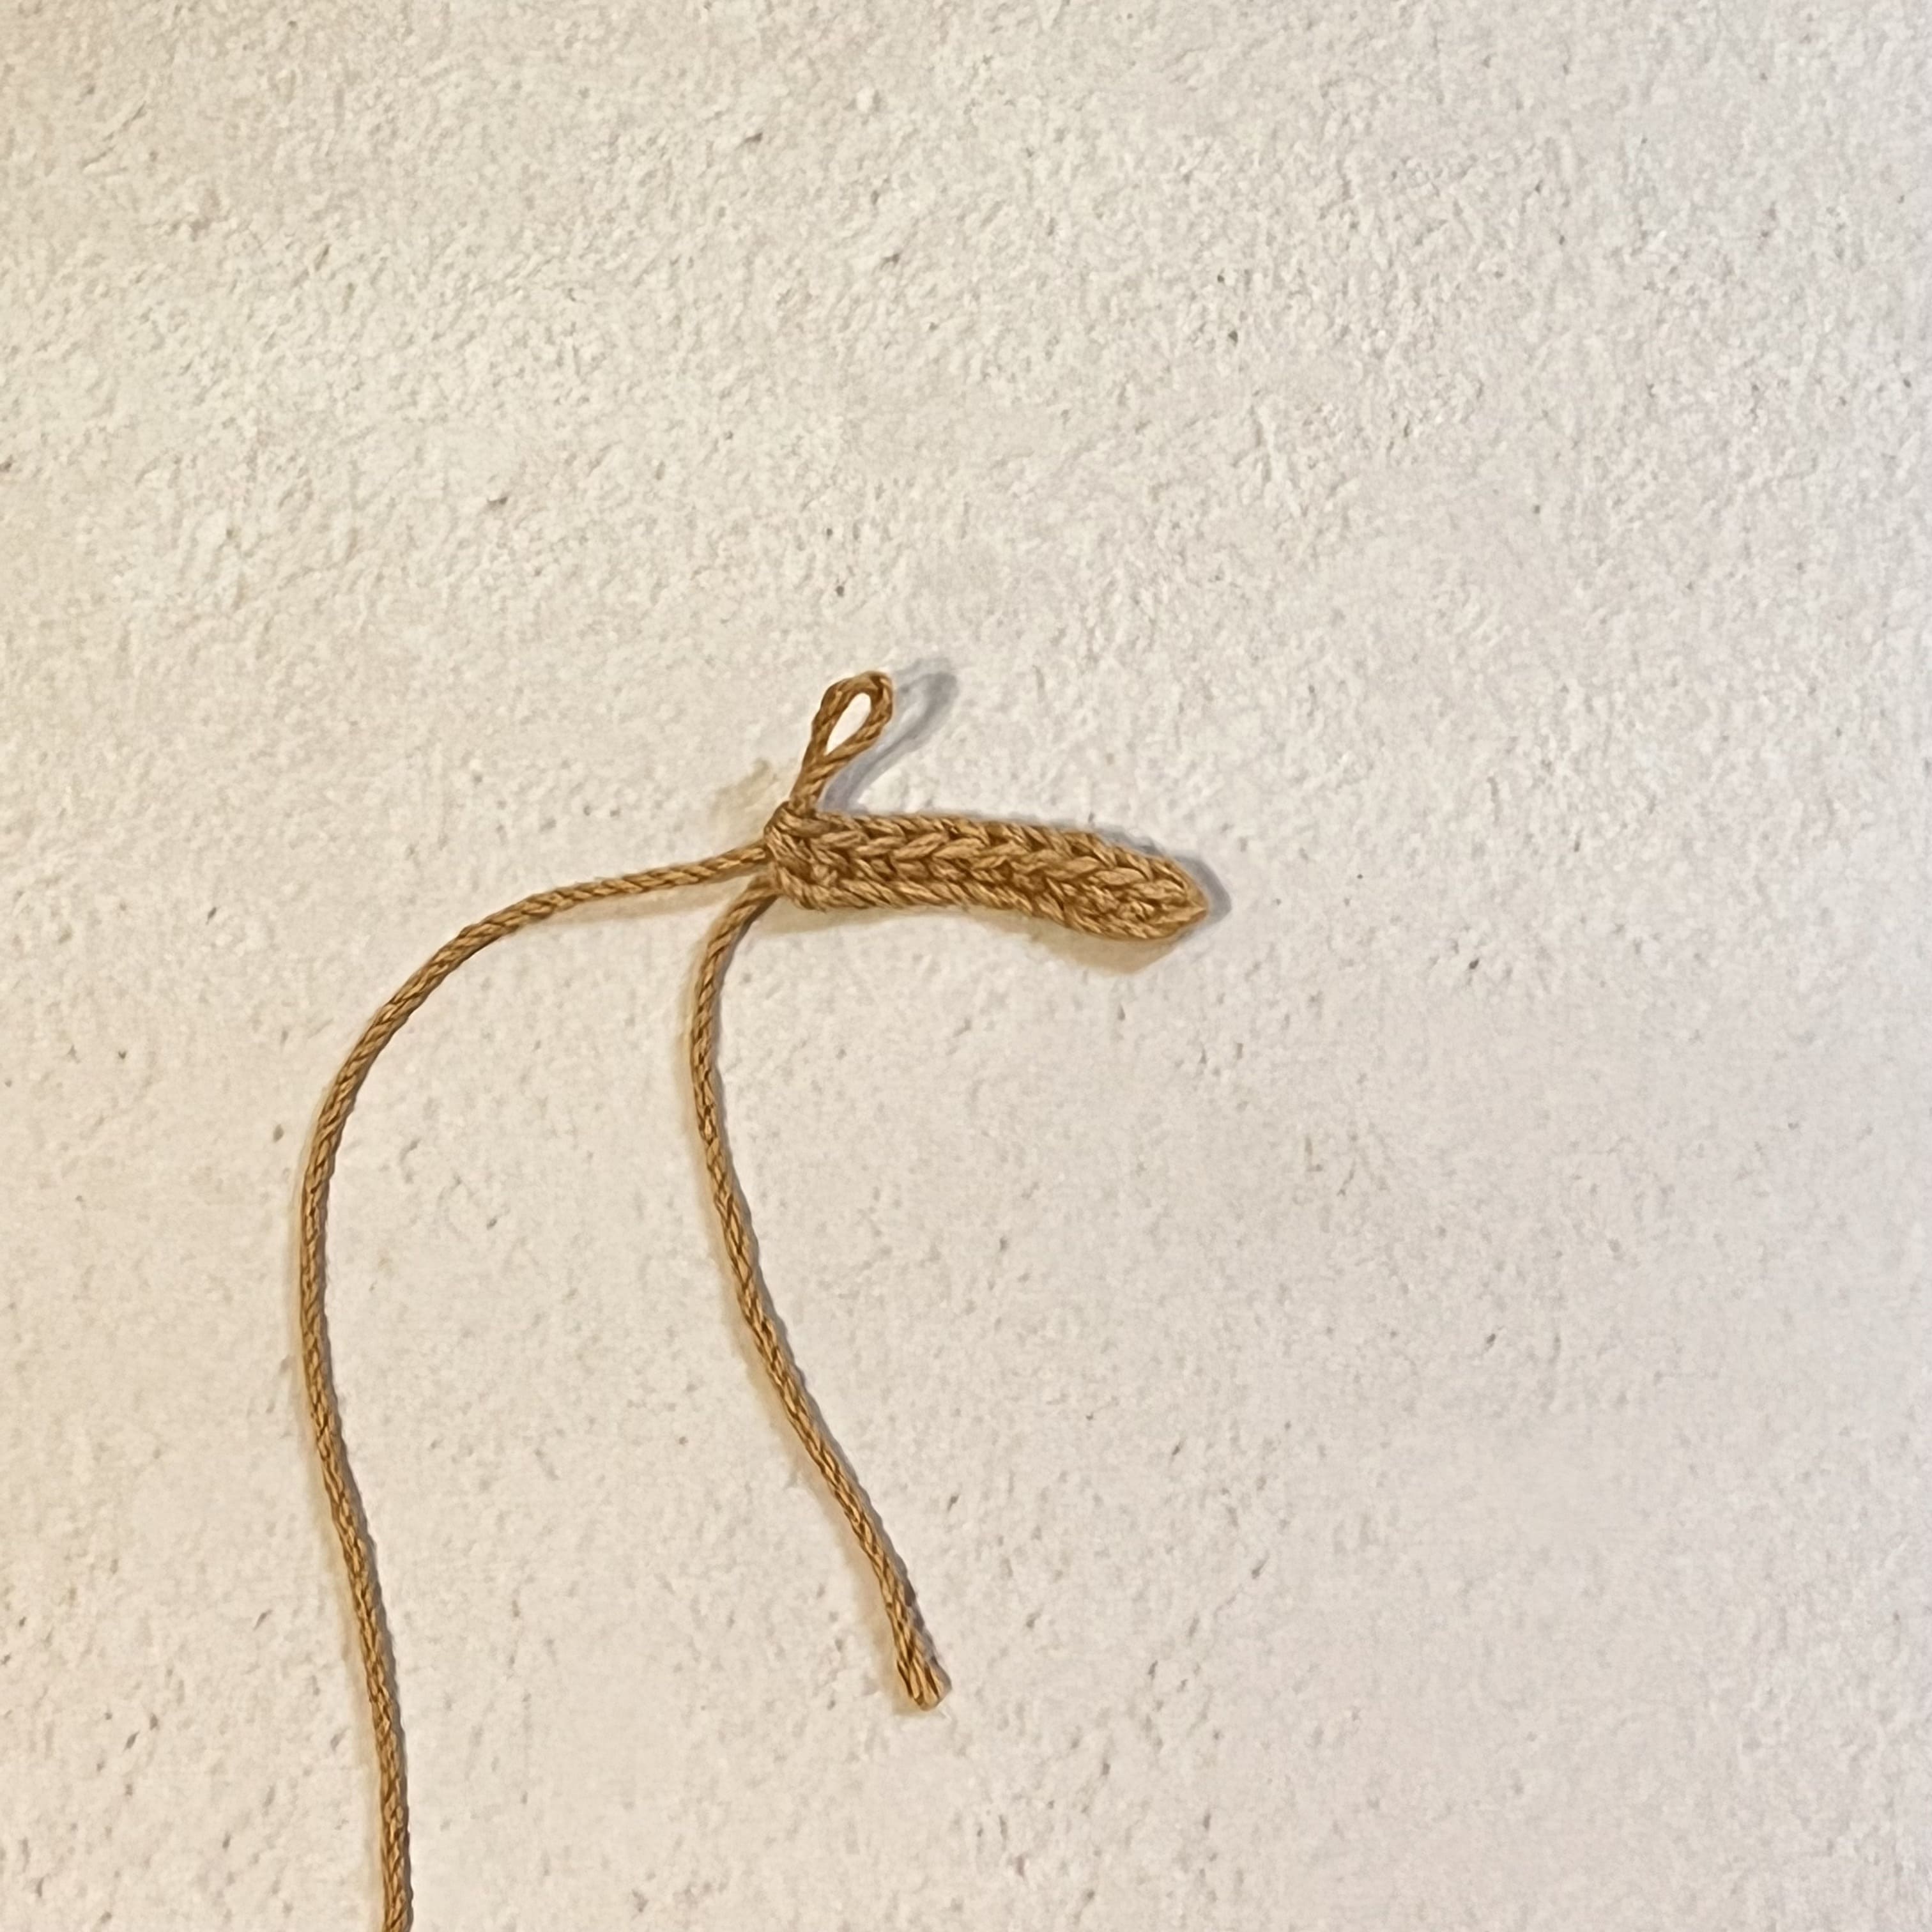
Adding Single Crochet Stitches After Continuous Chain Stitch Crocheting
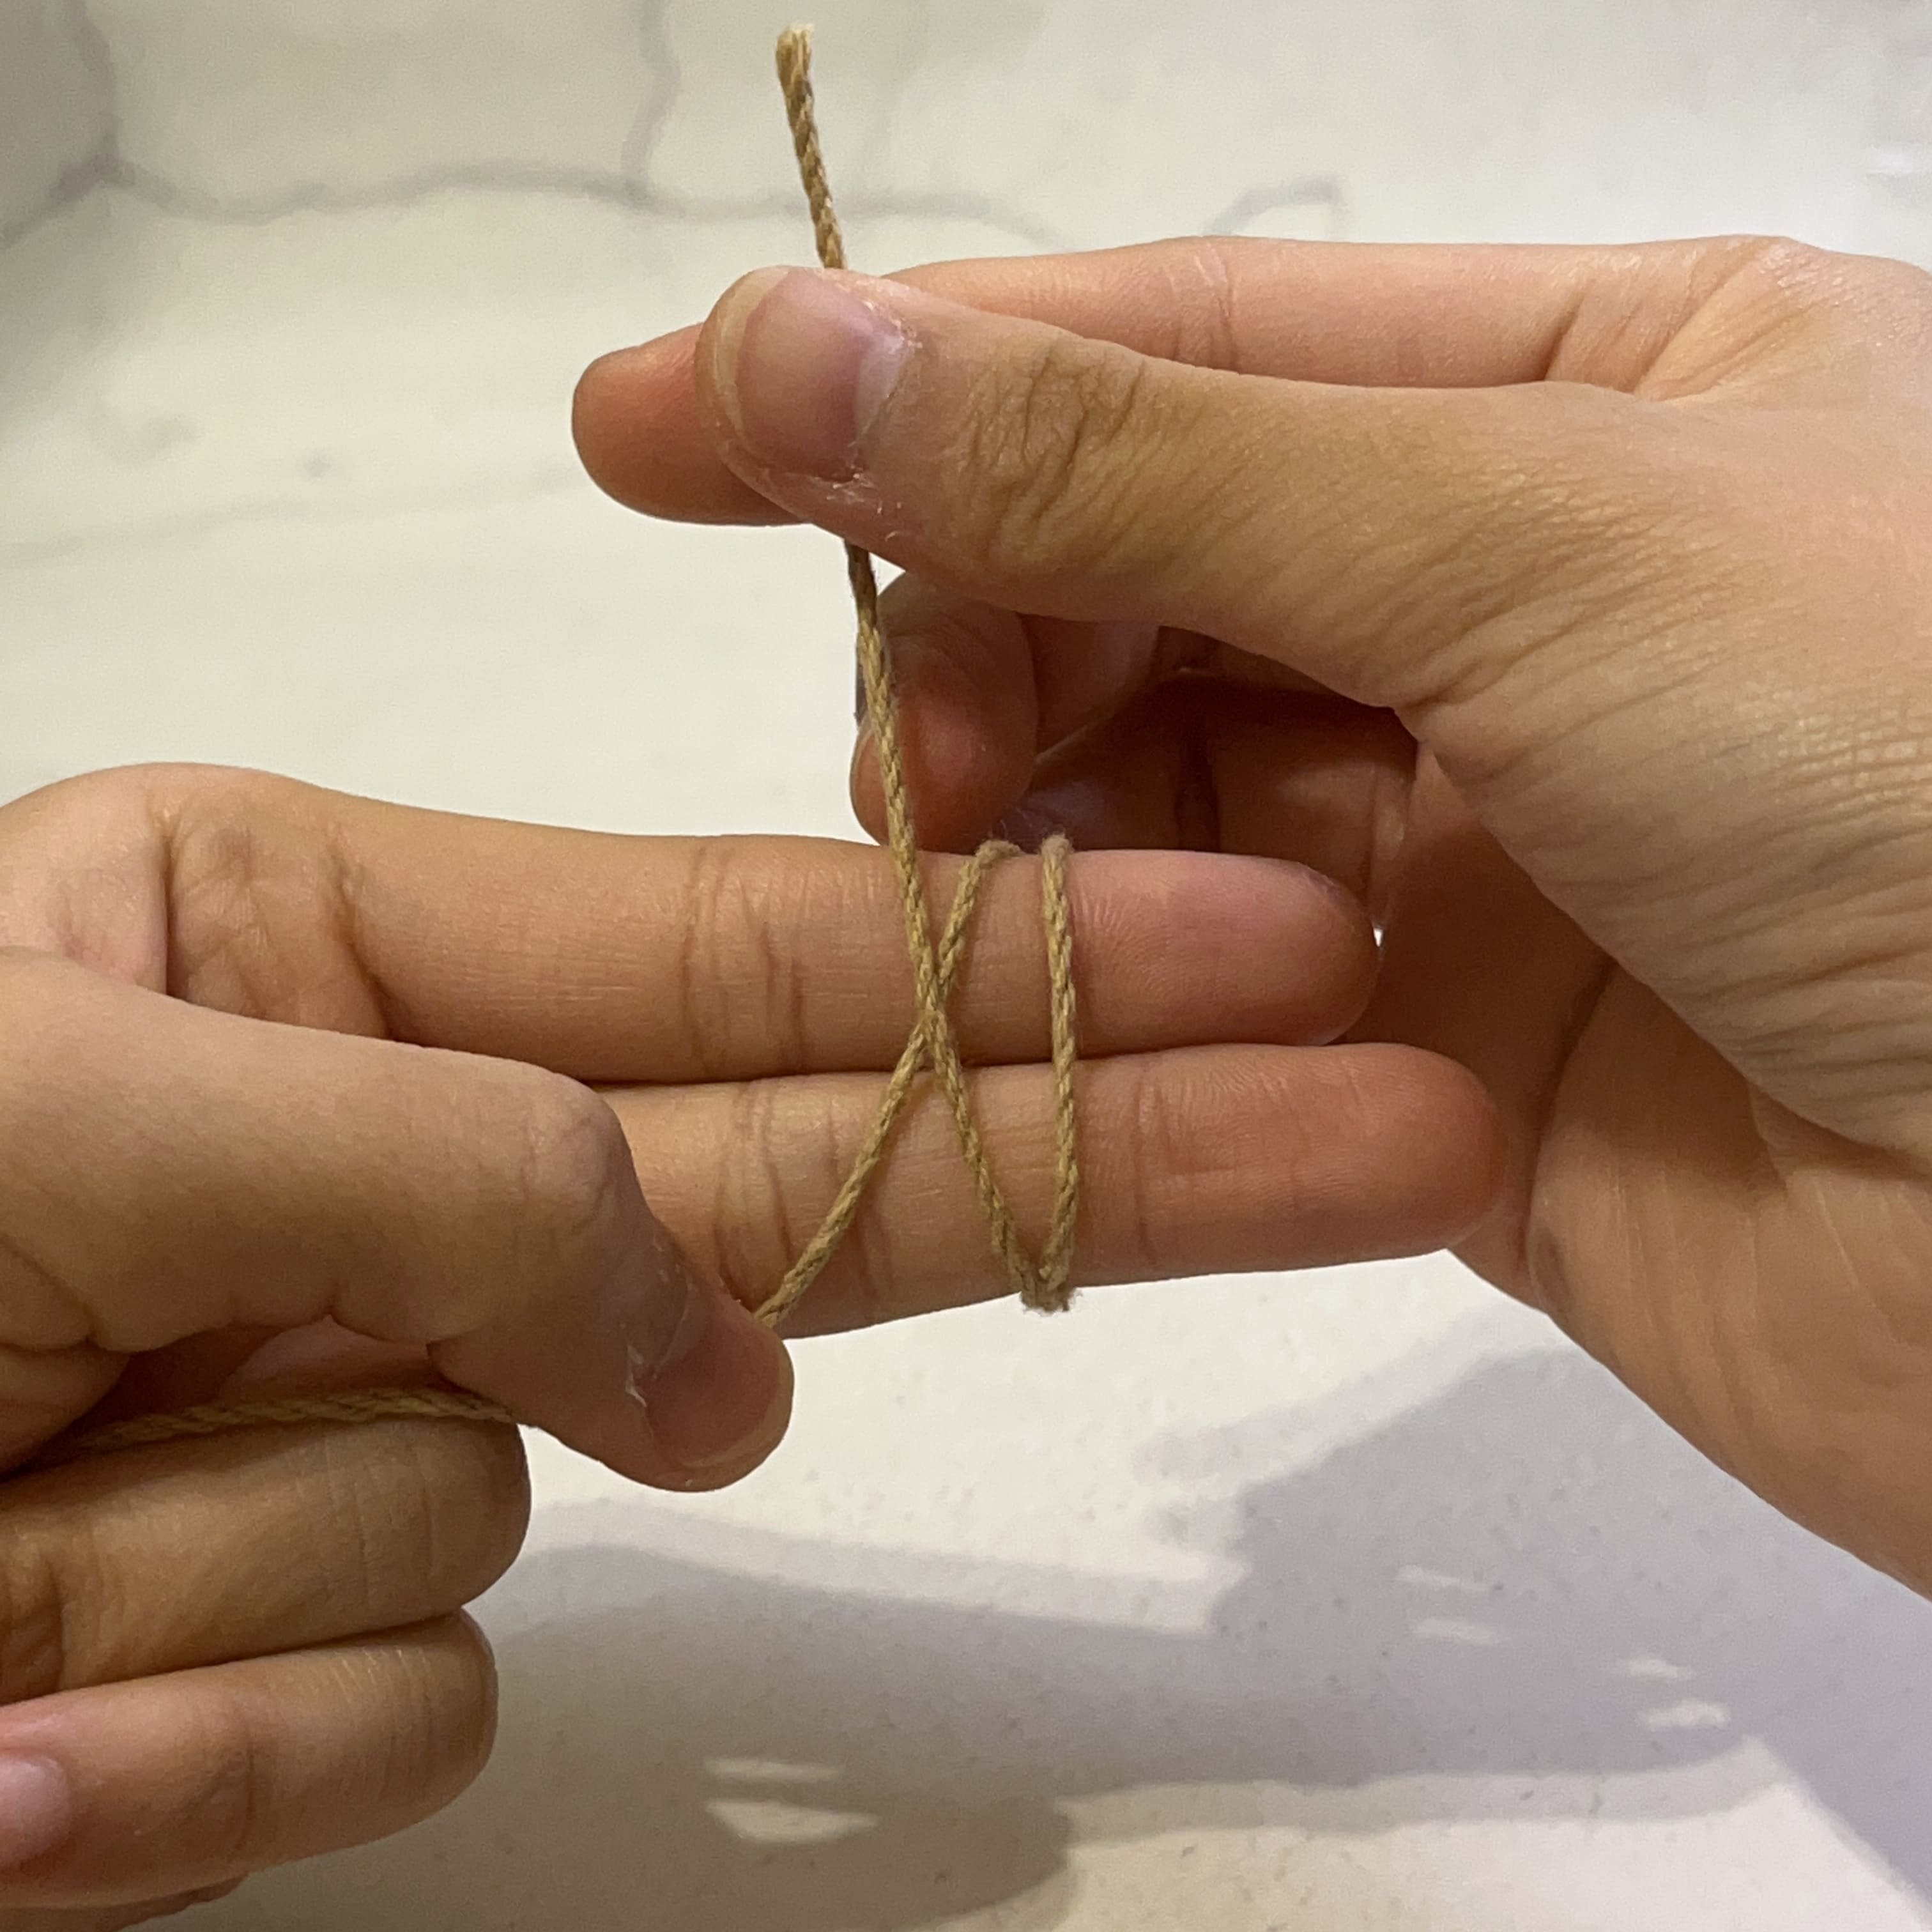
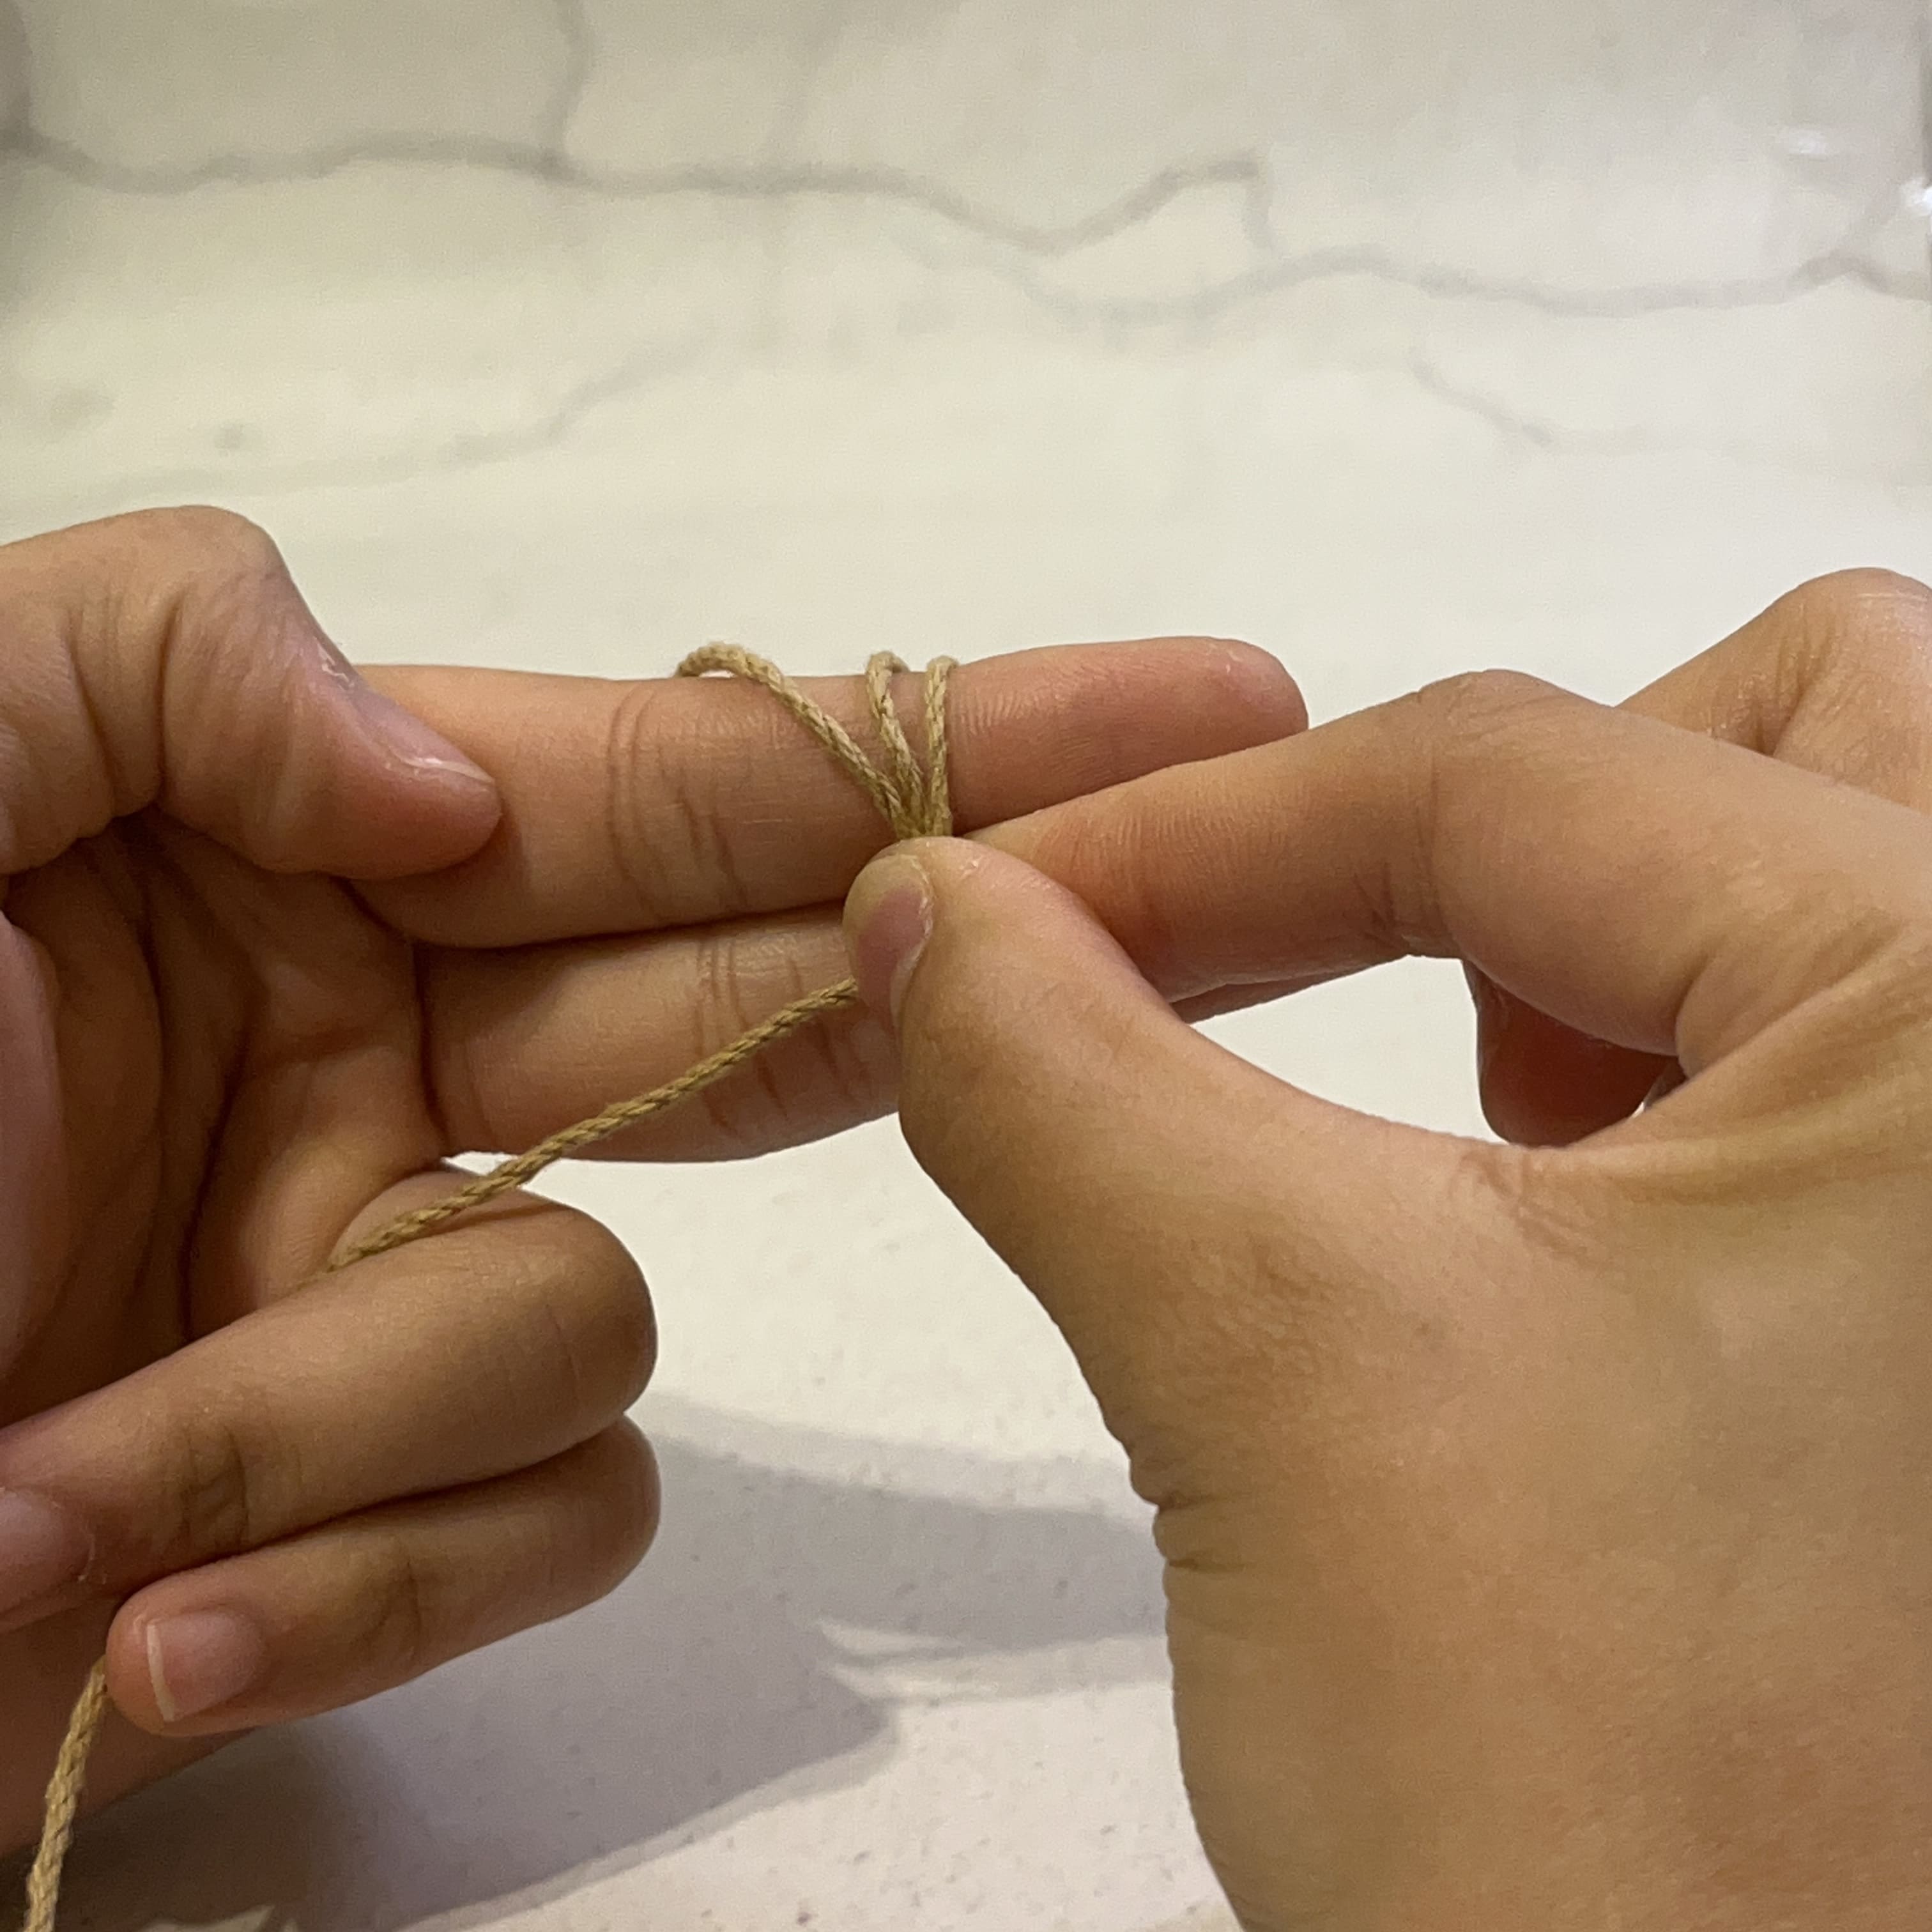
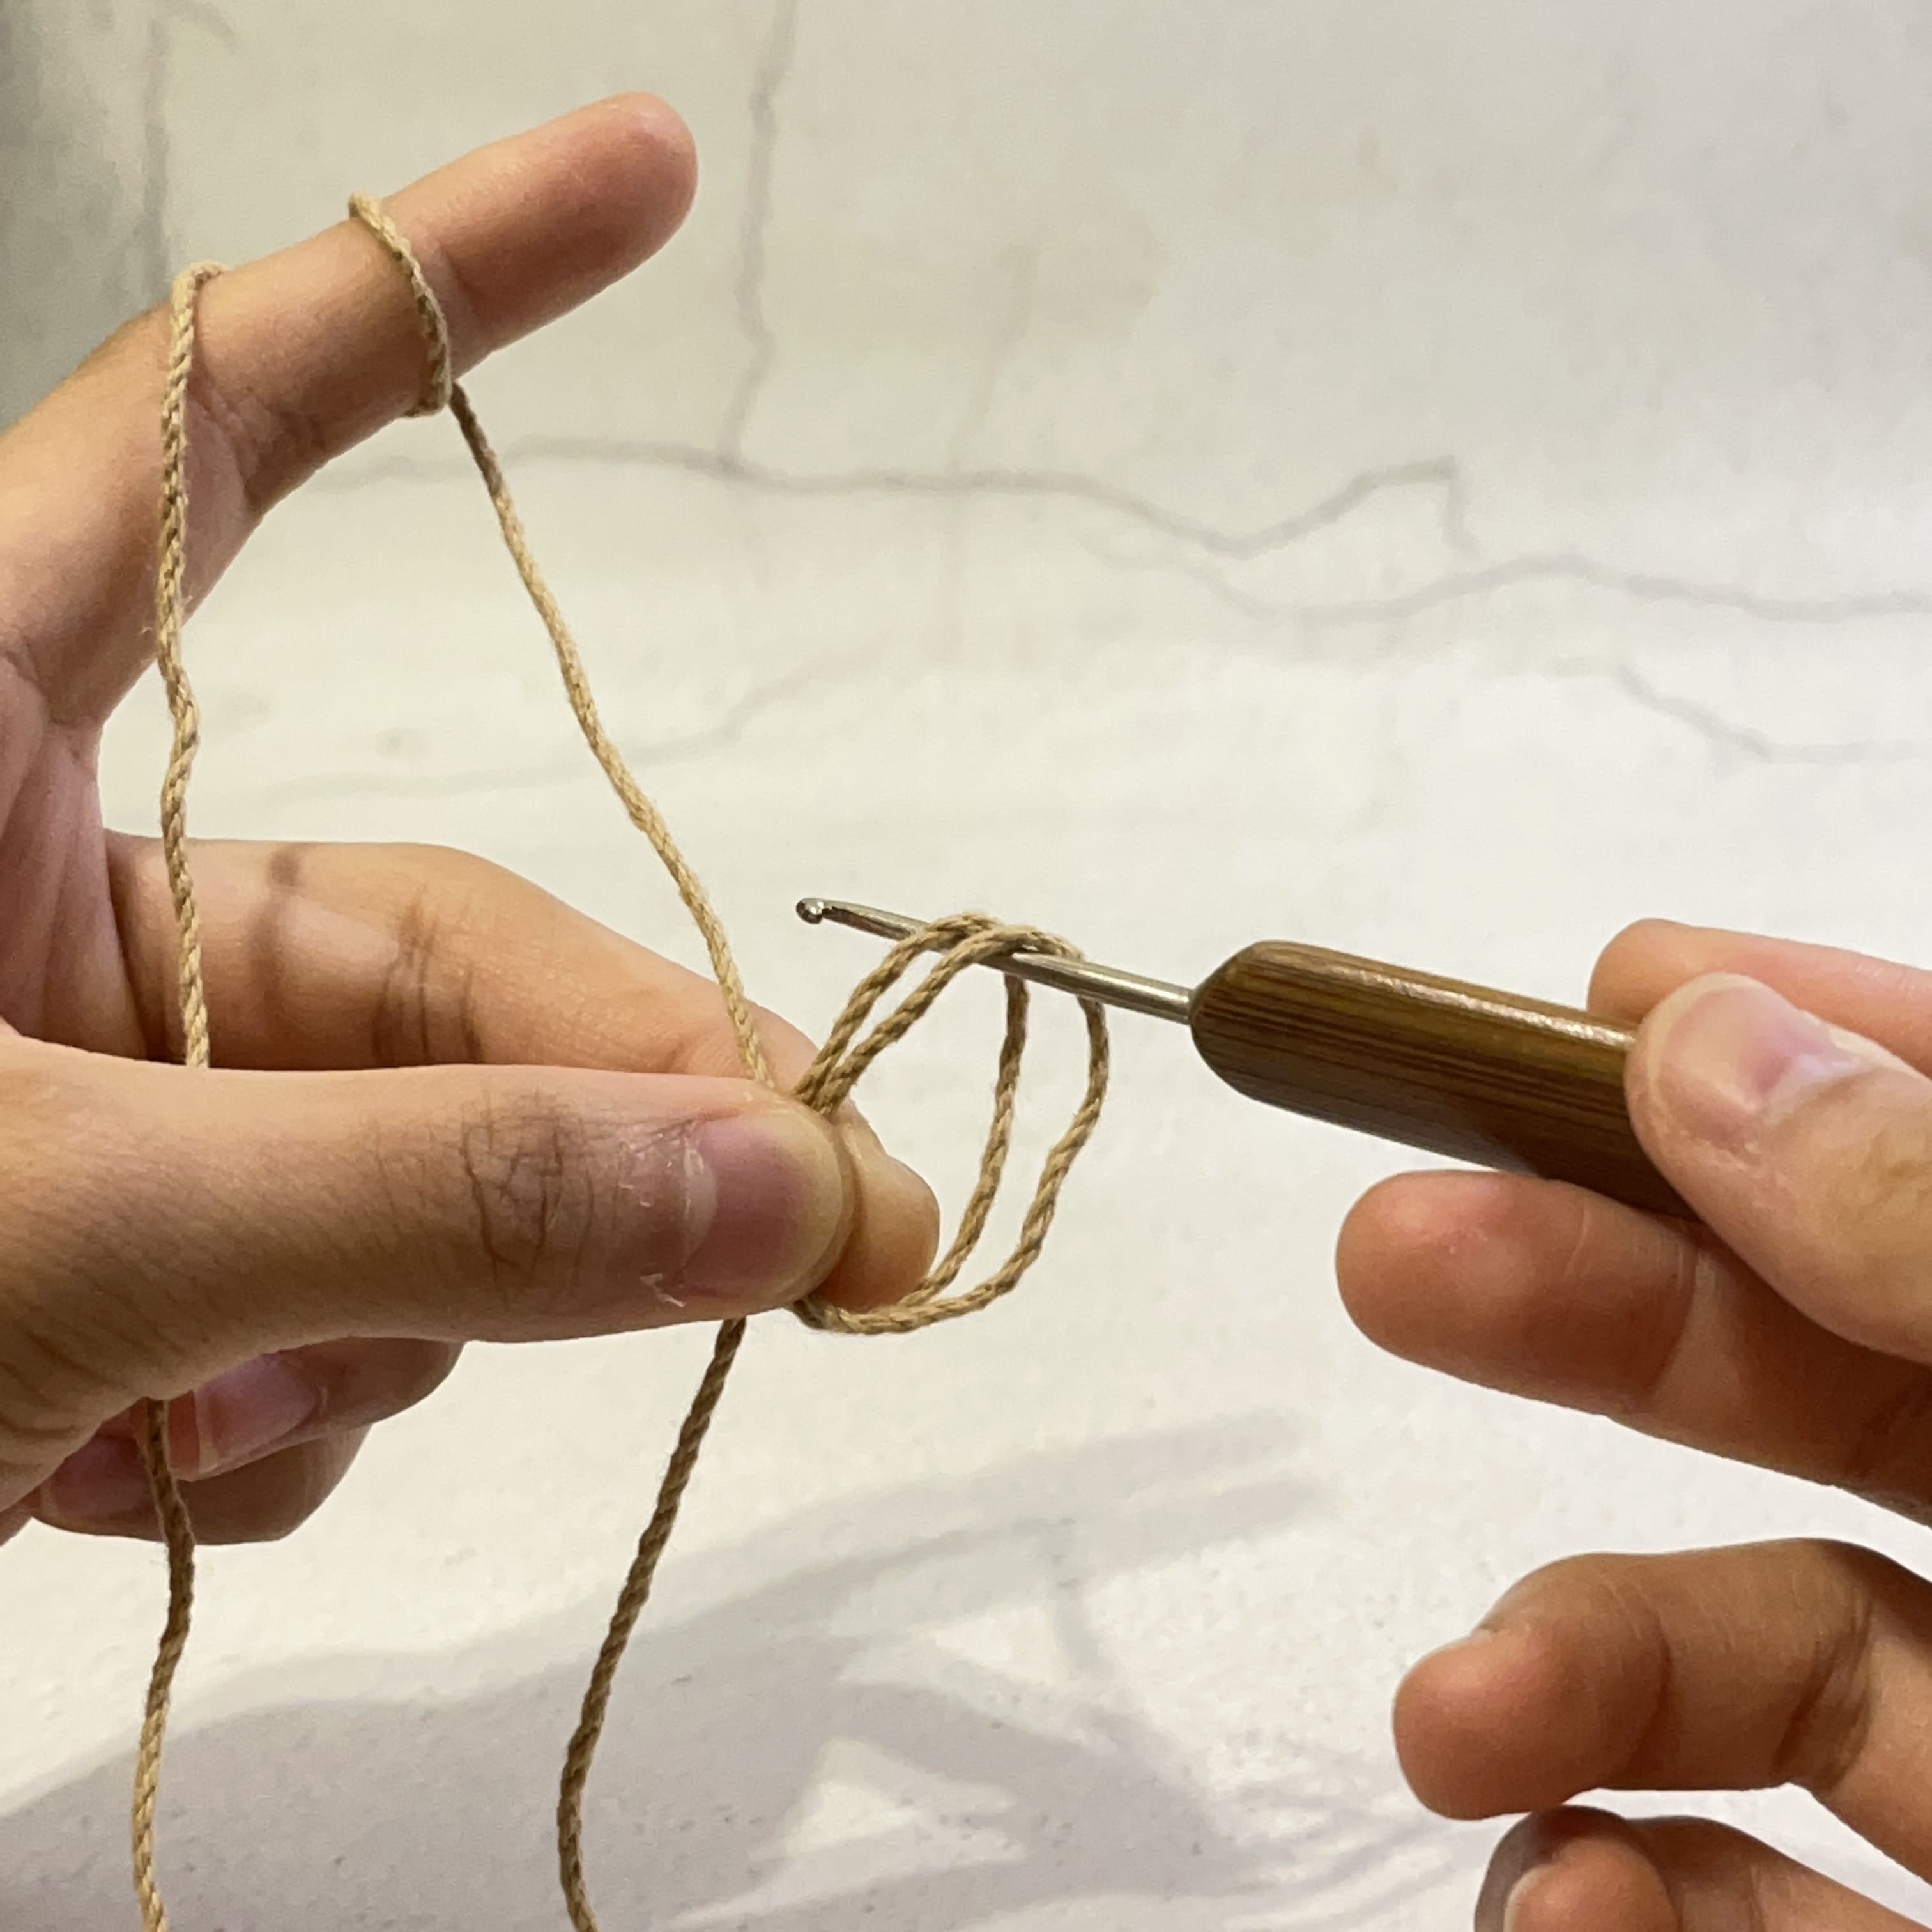
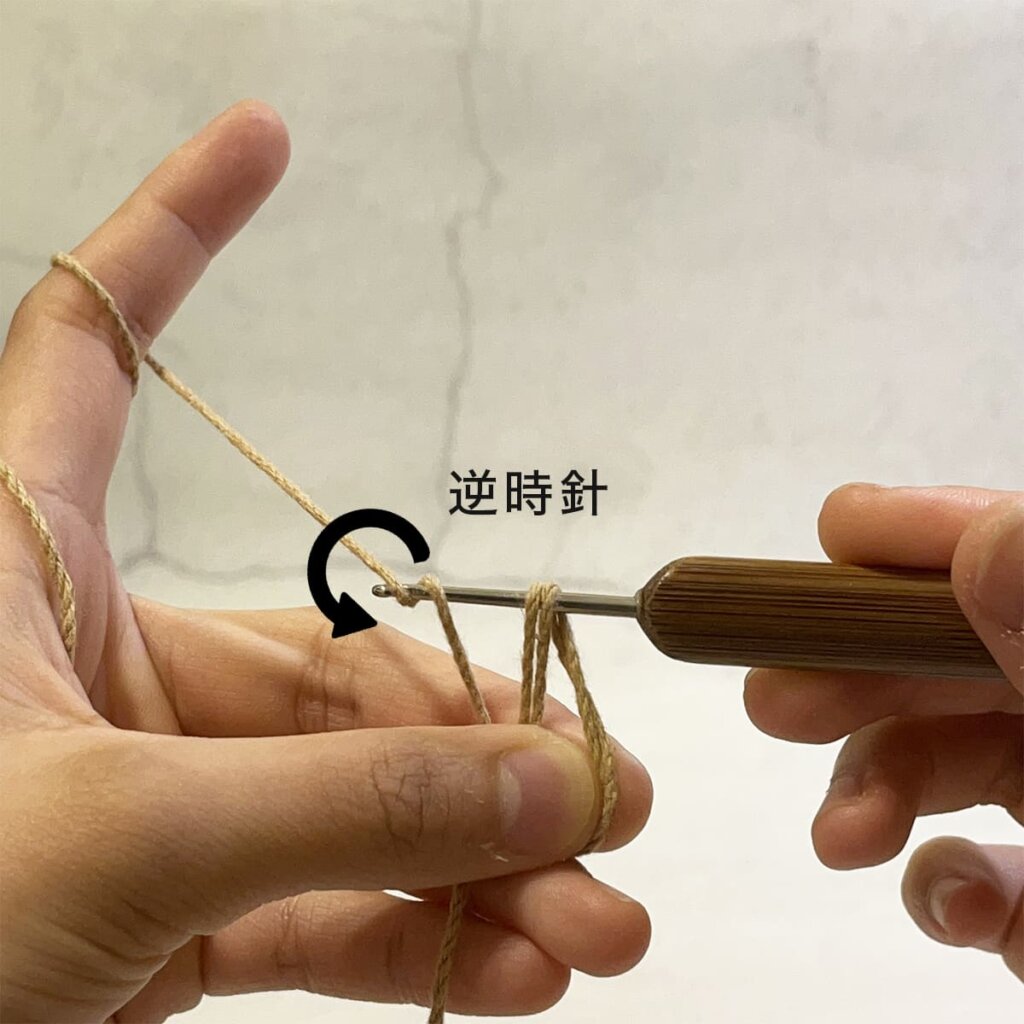
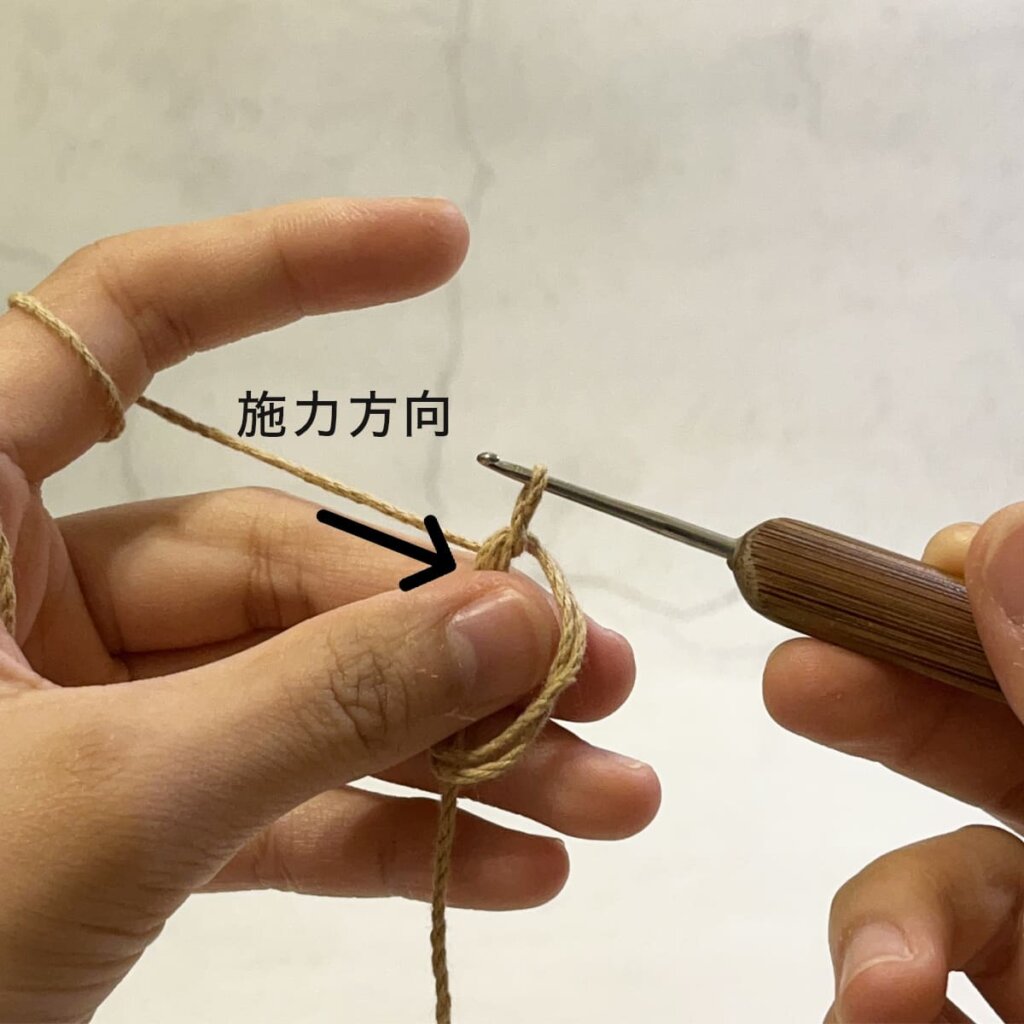
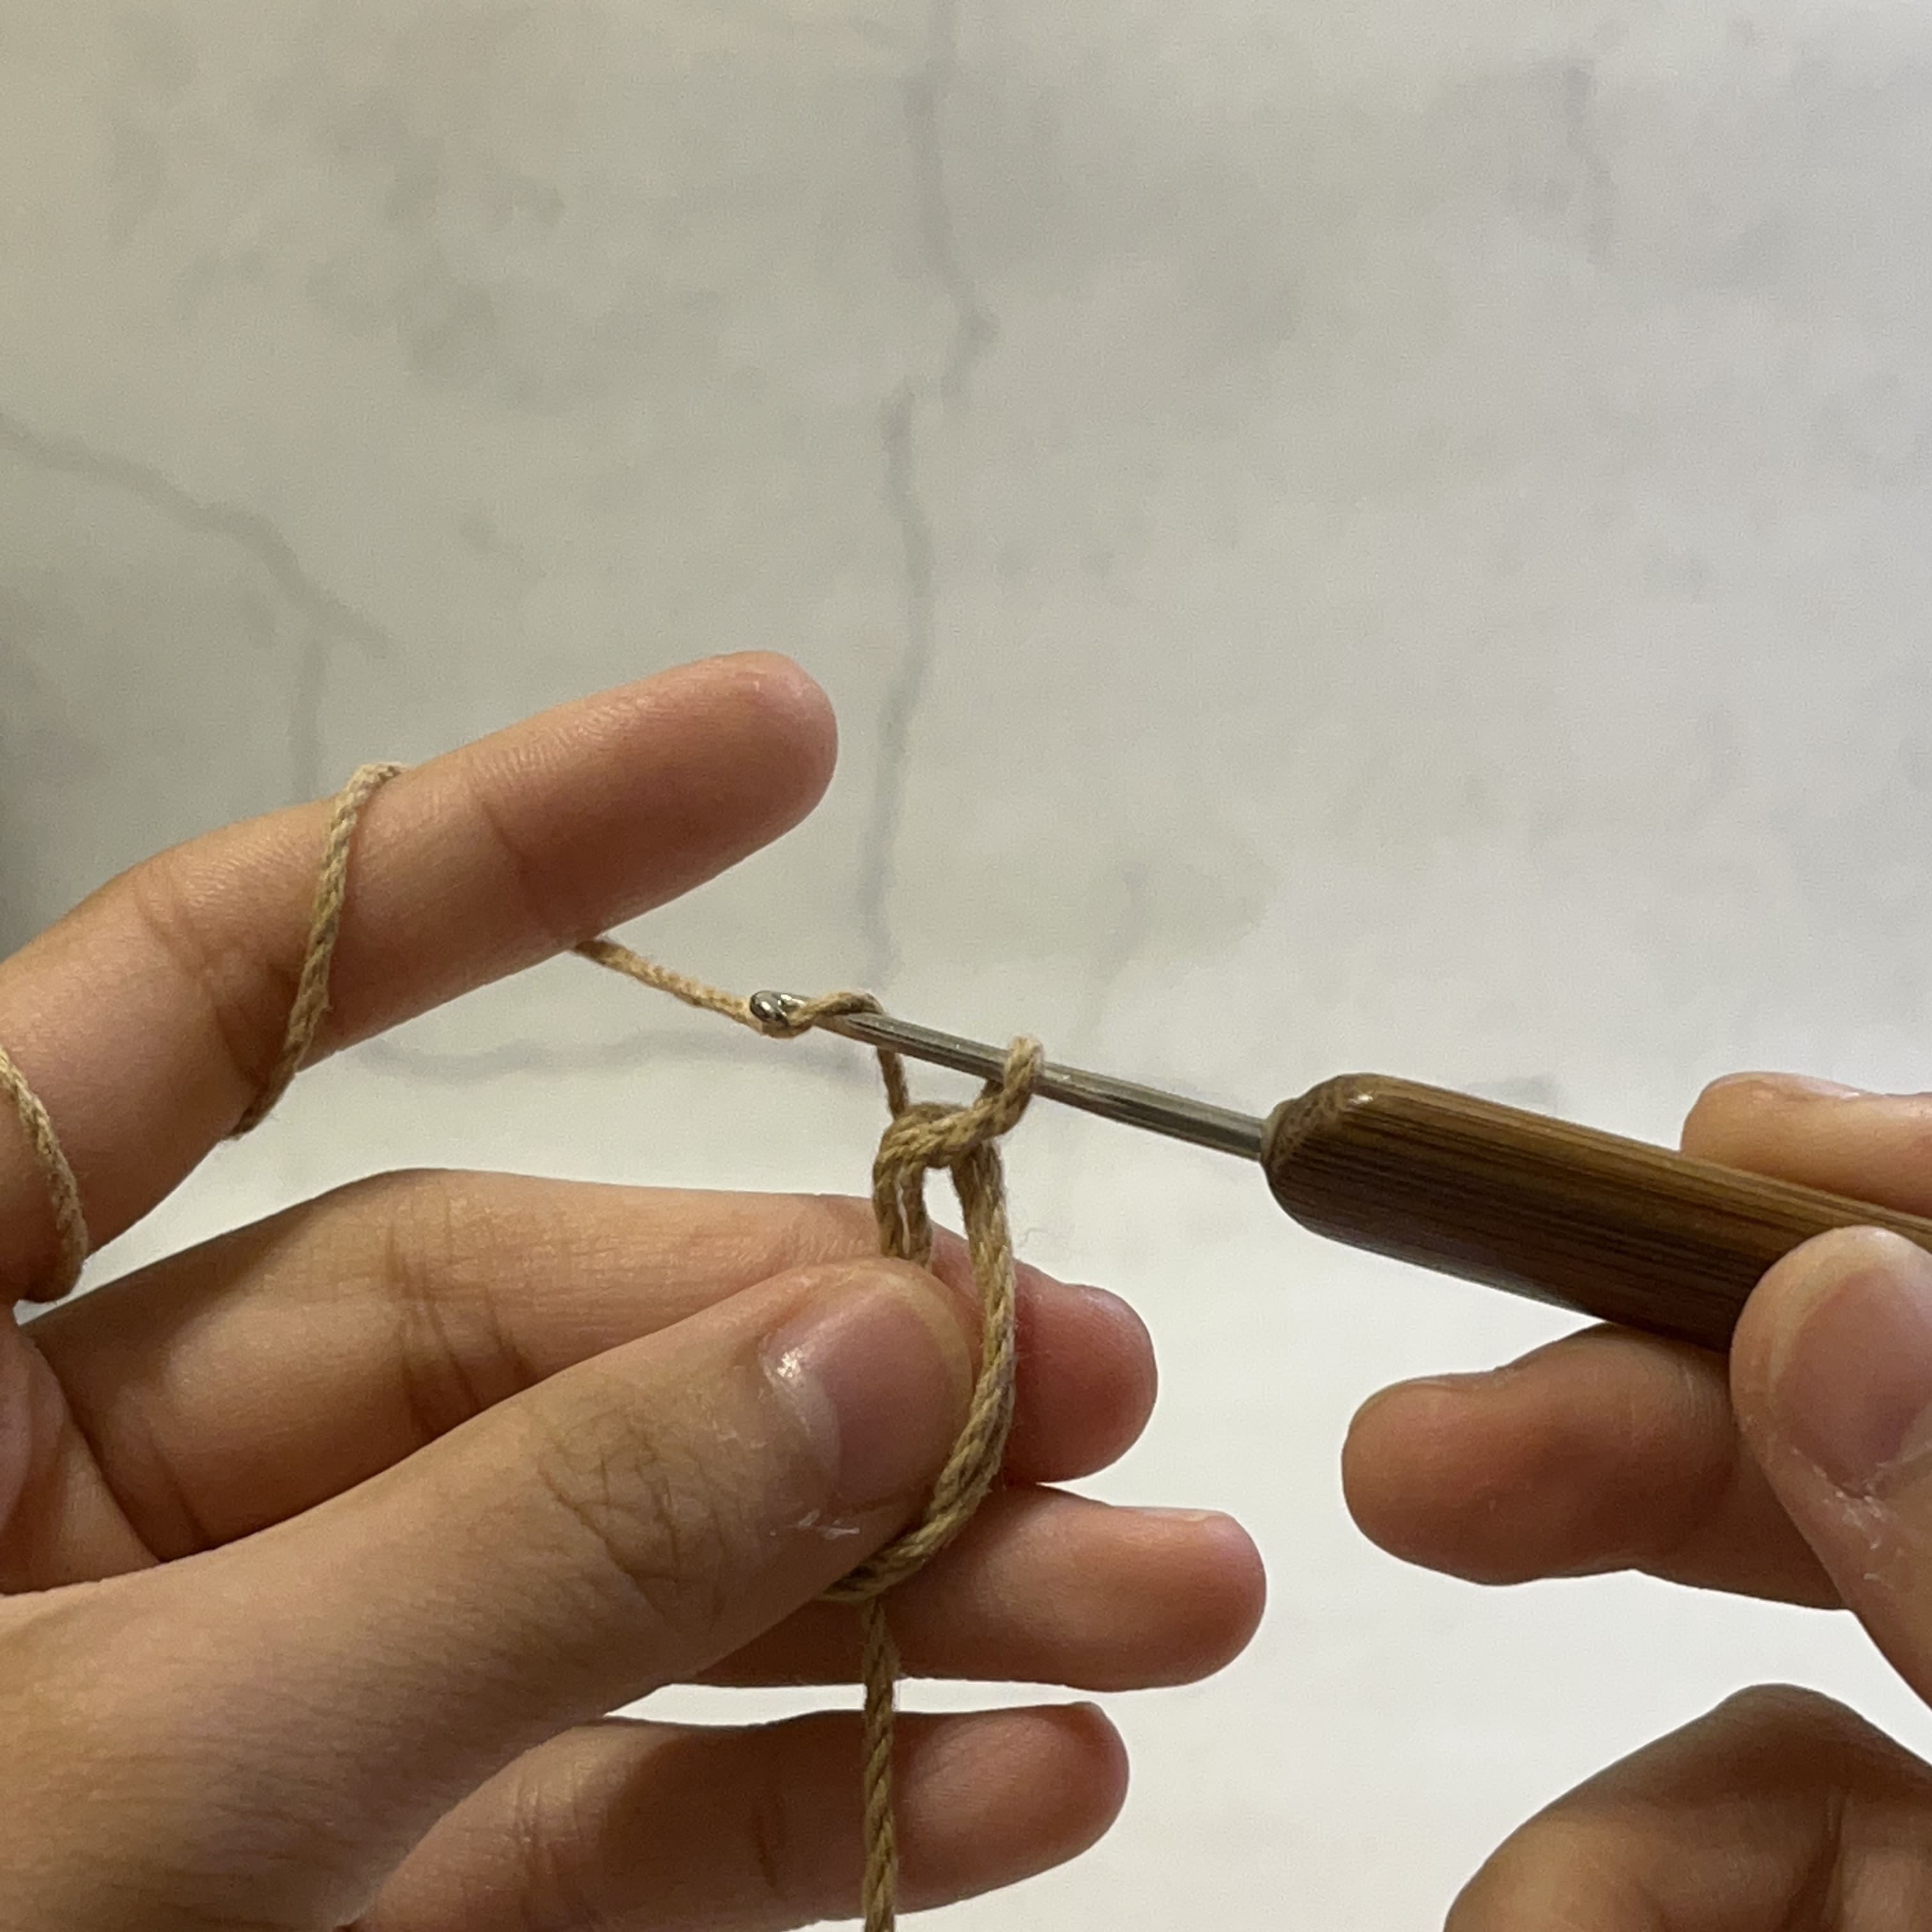
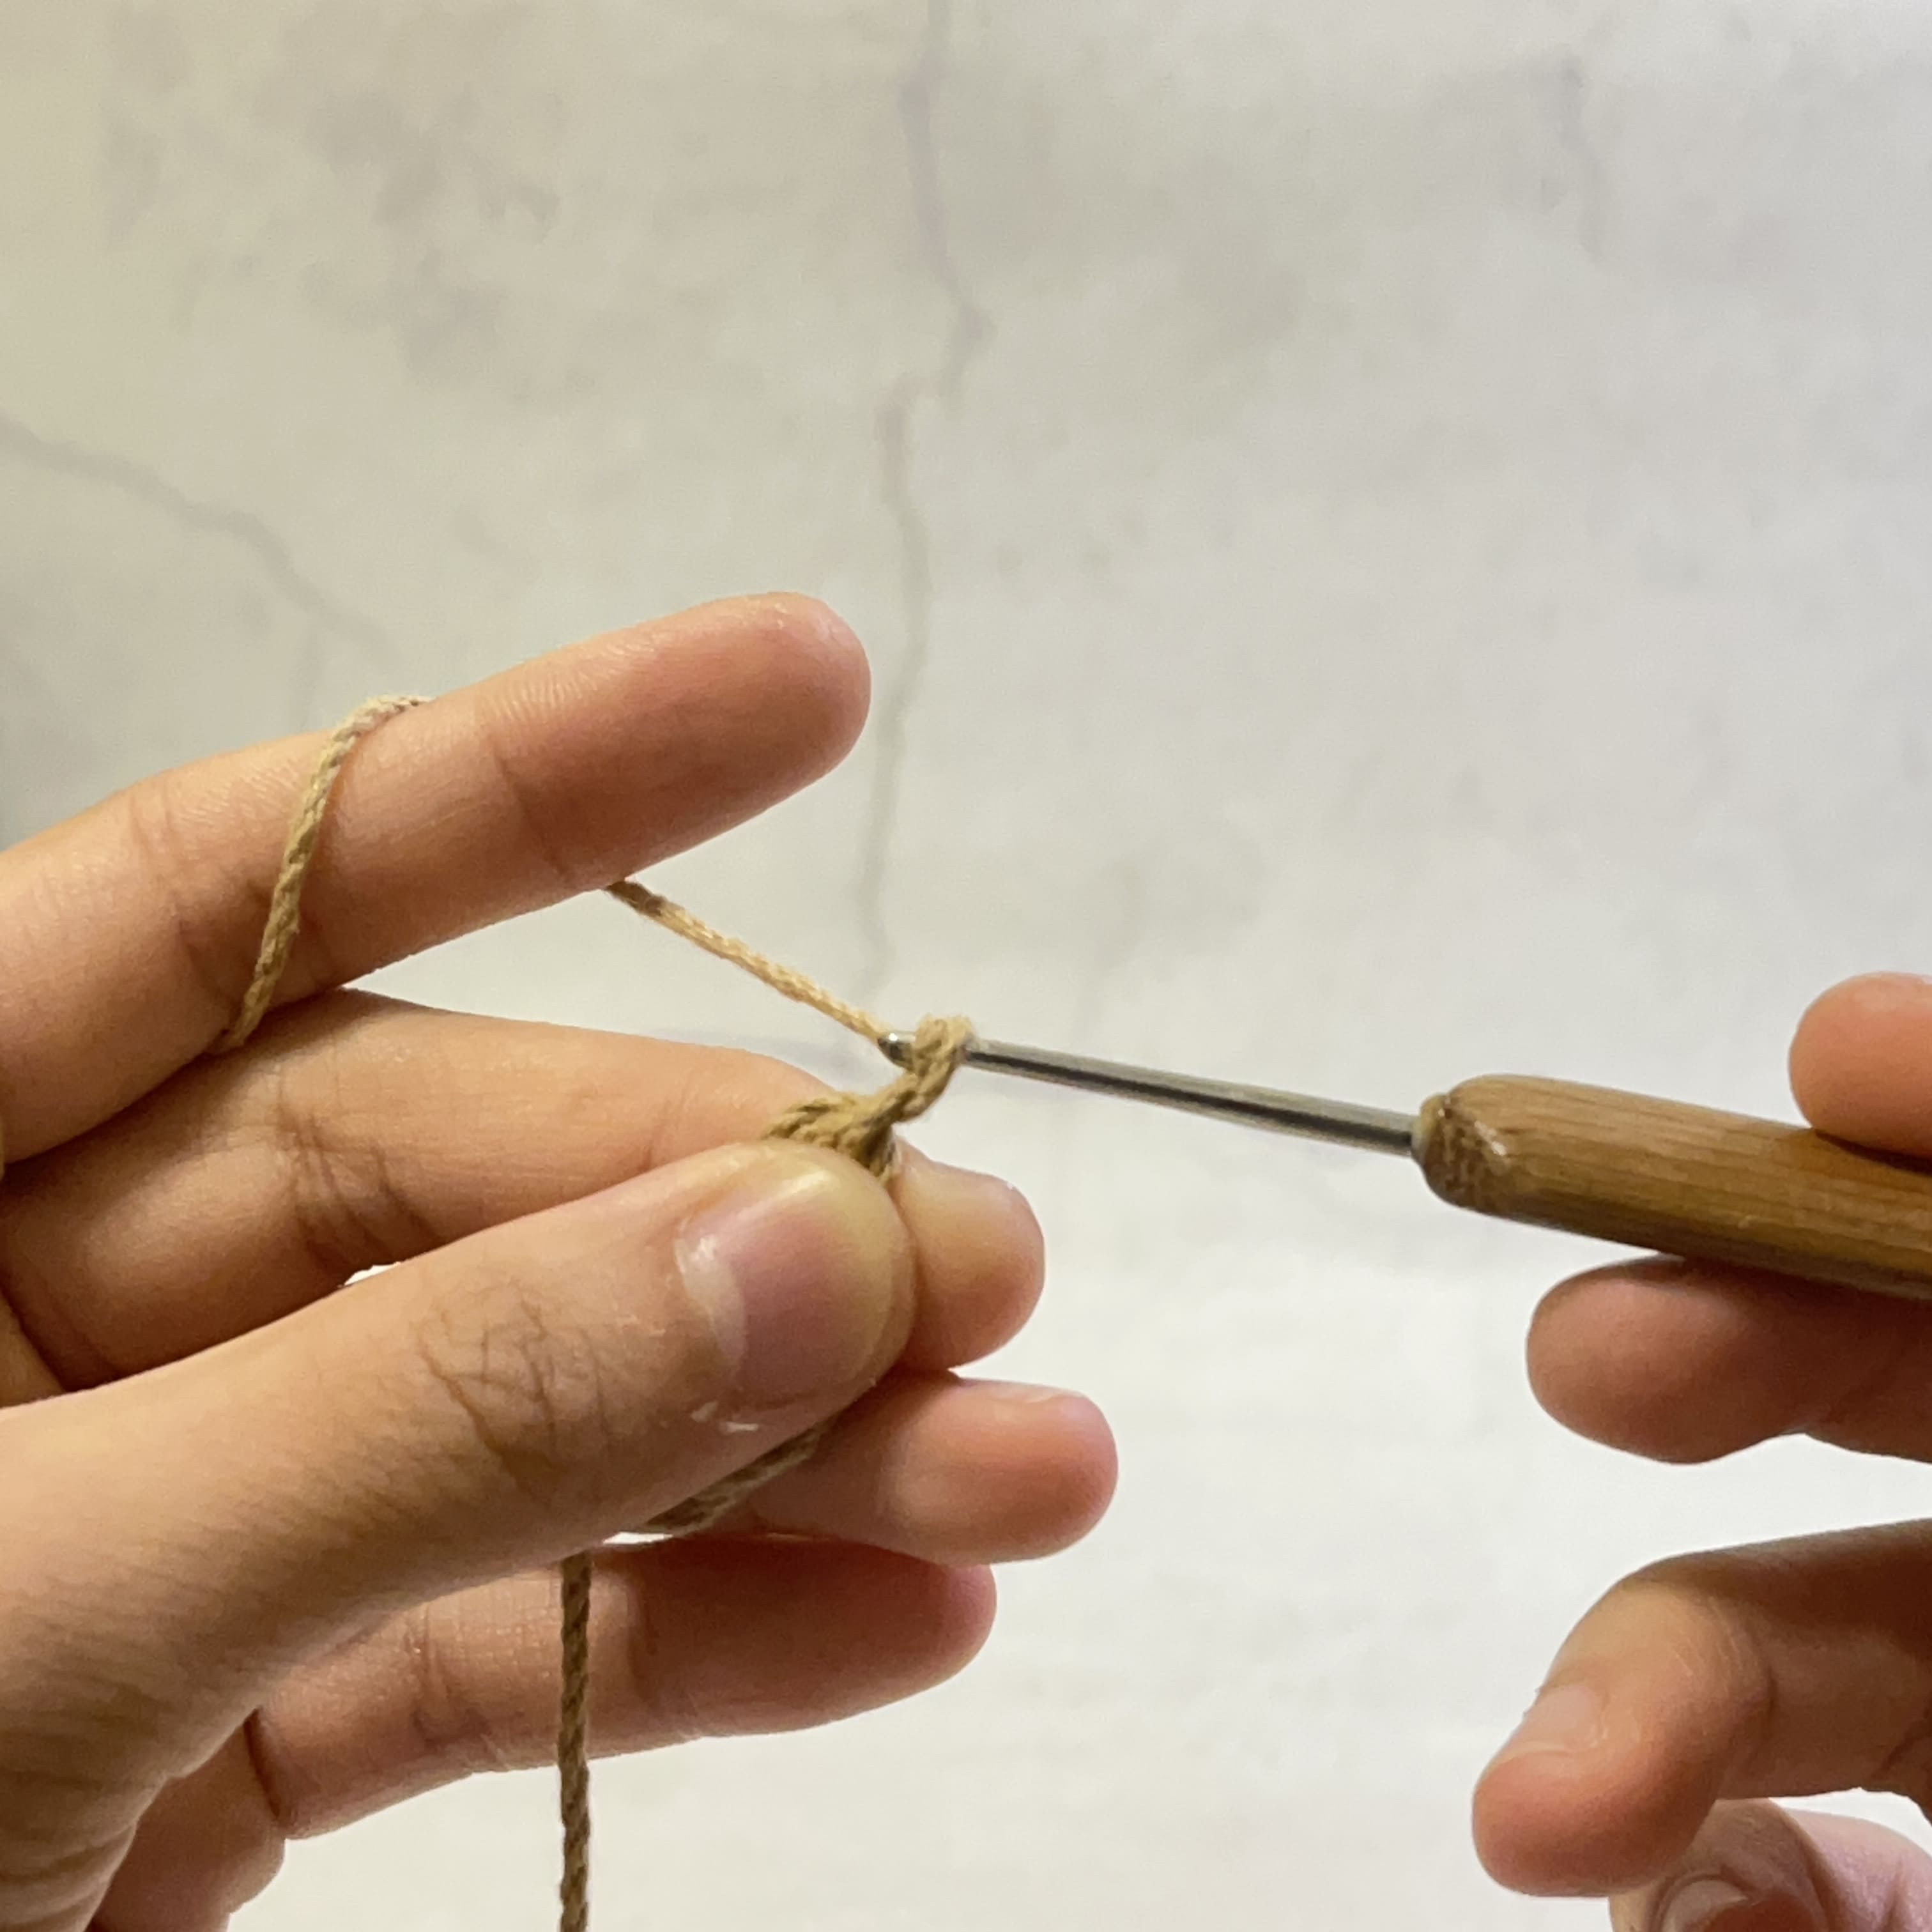
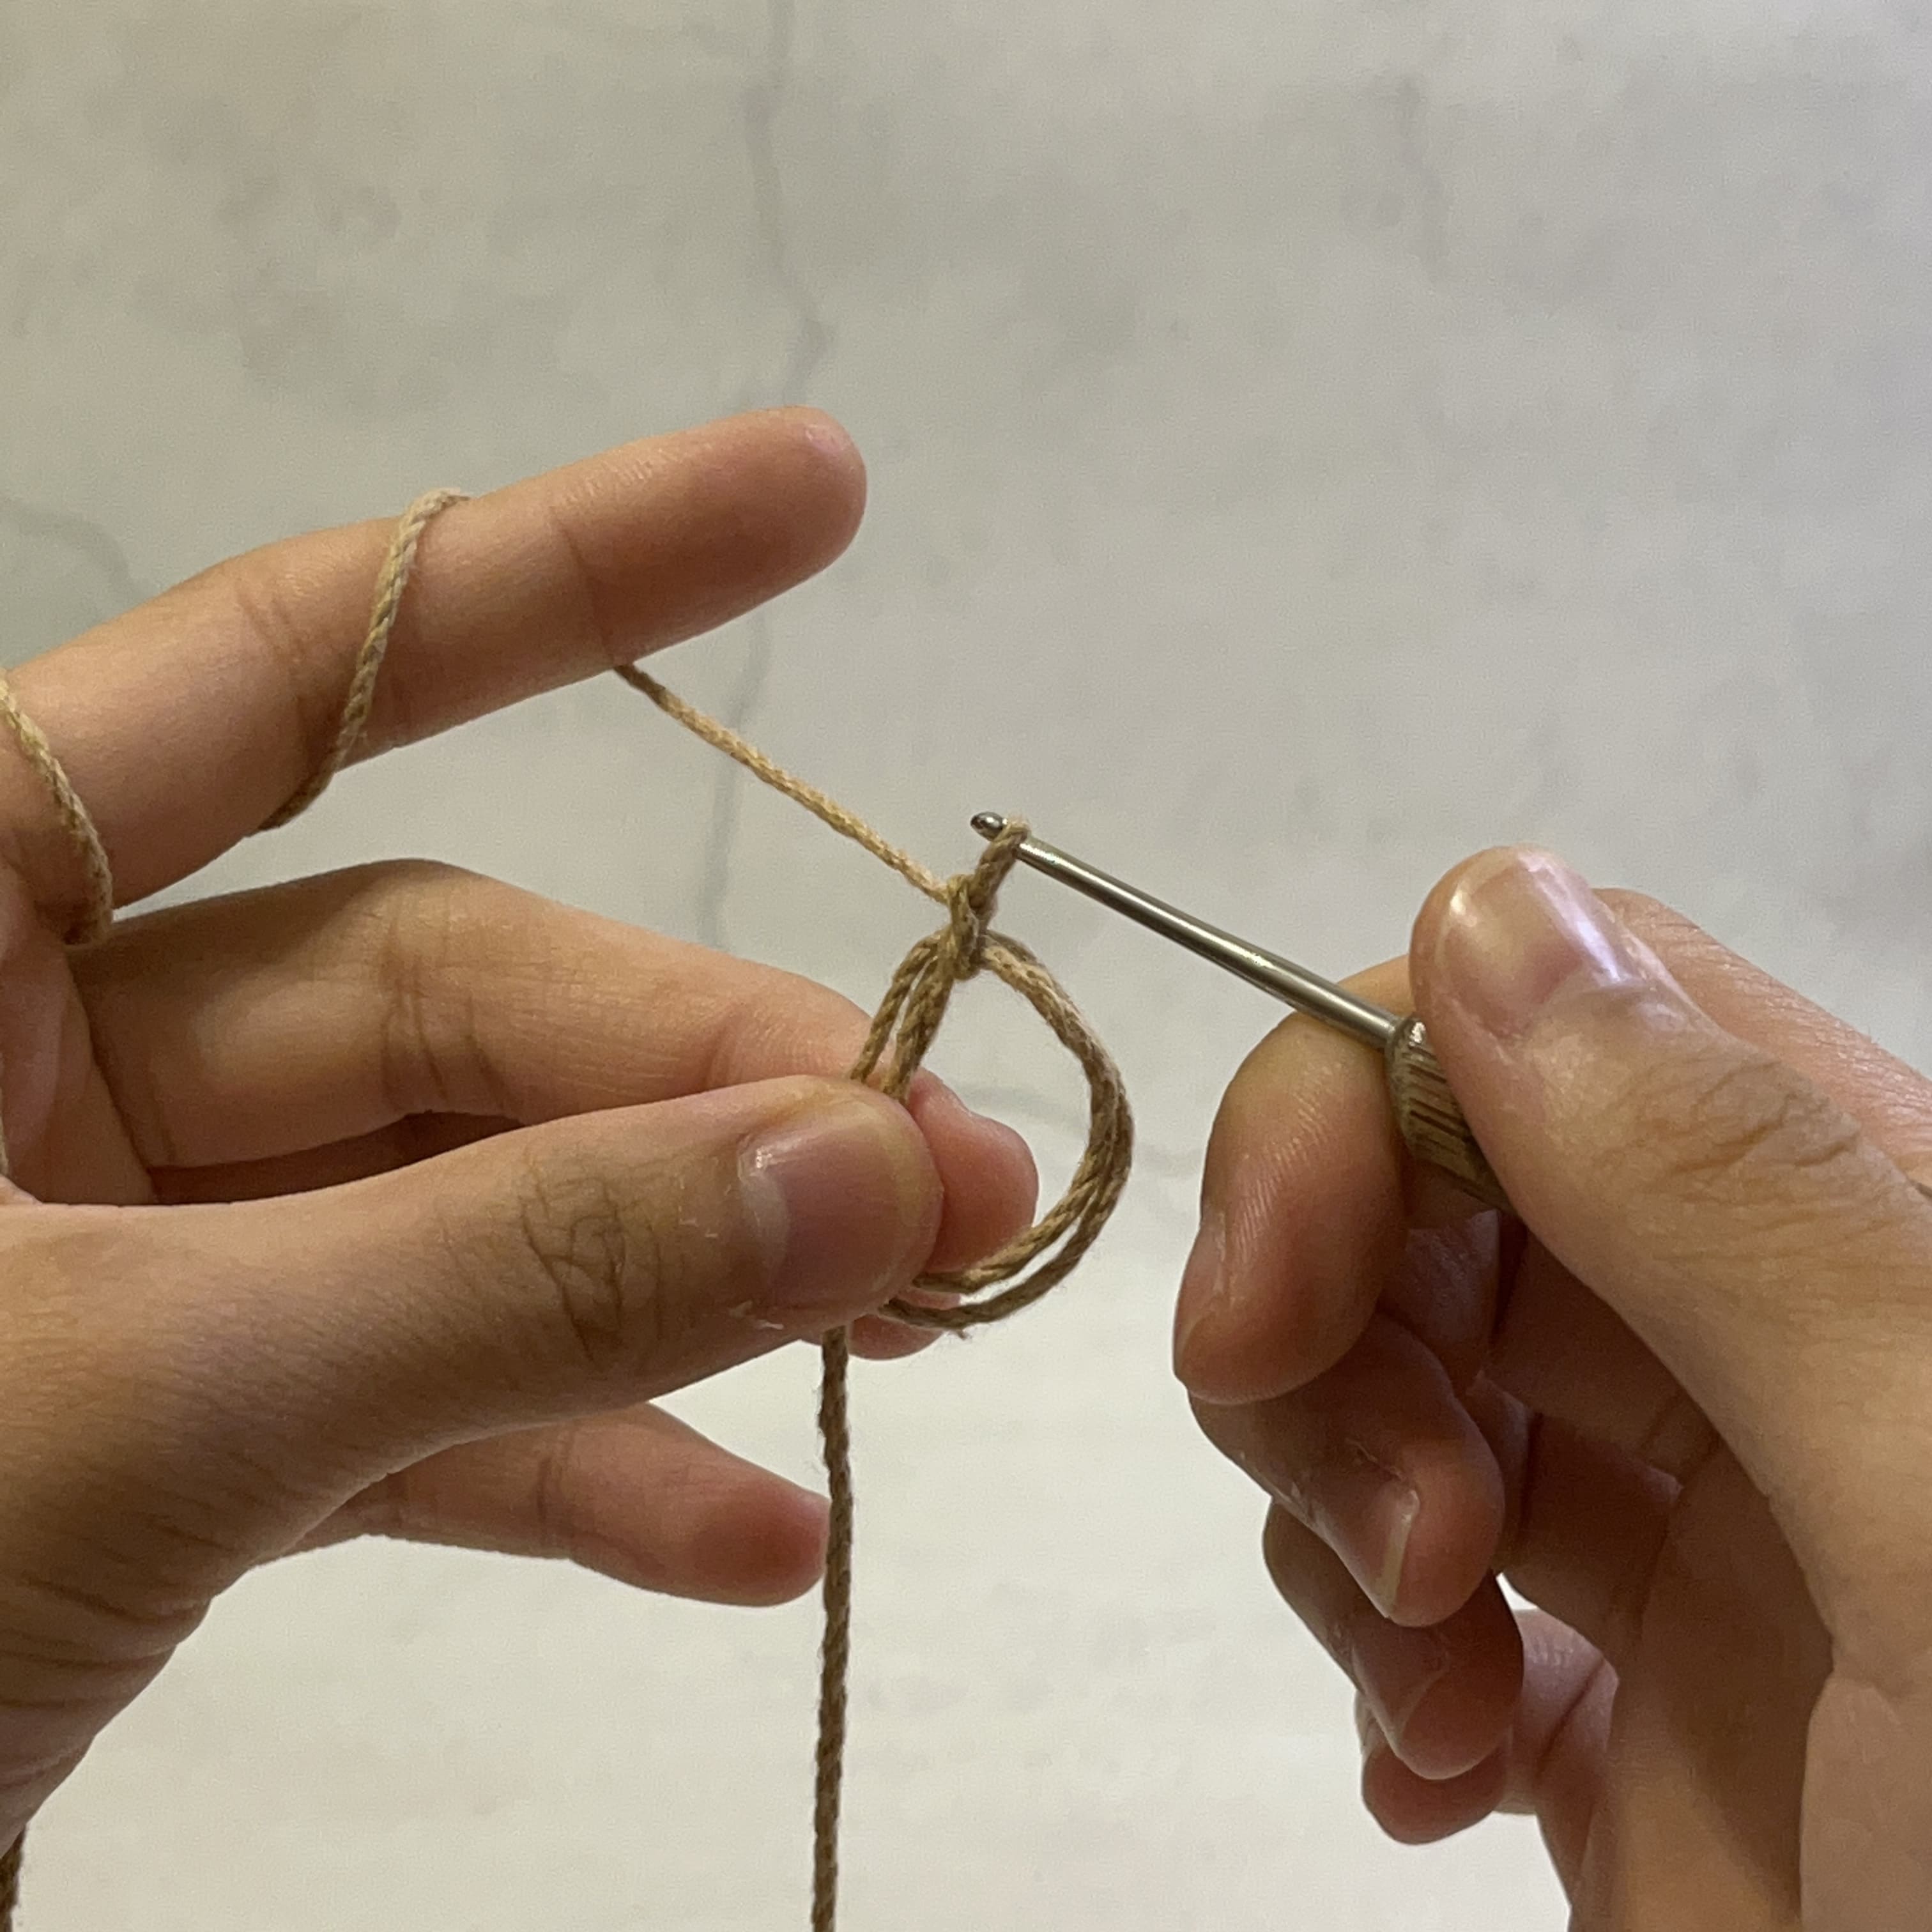
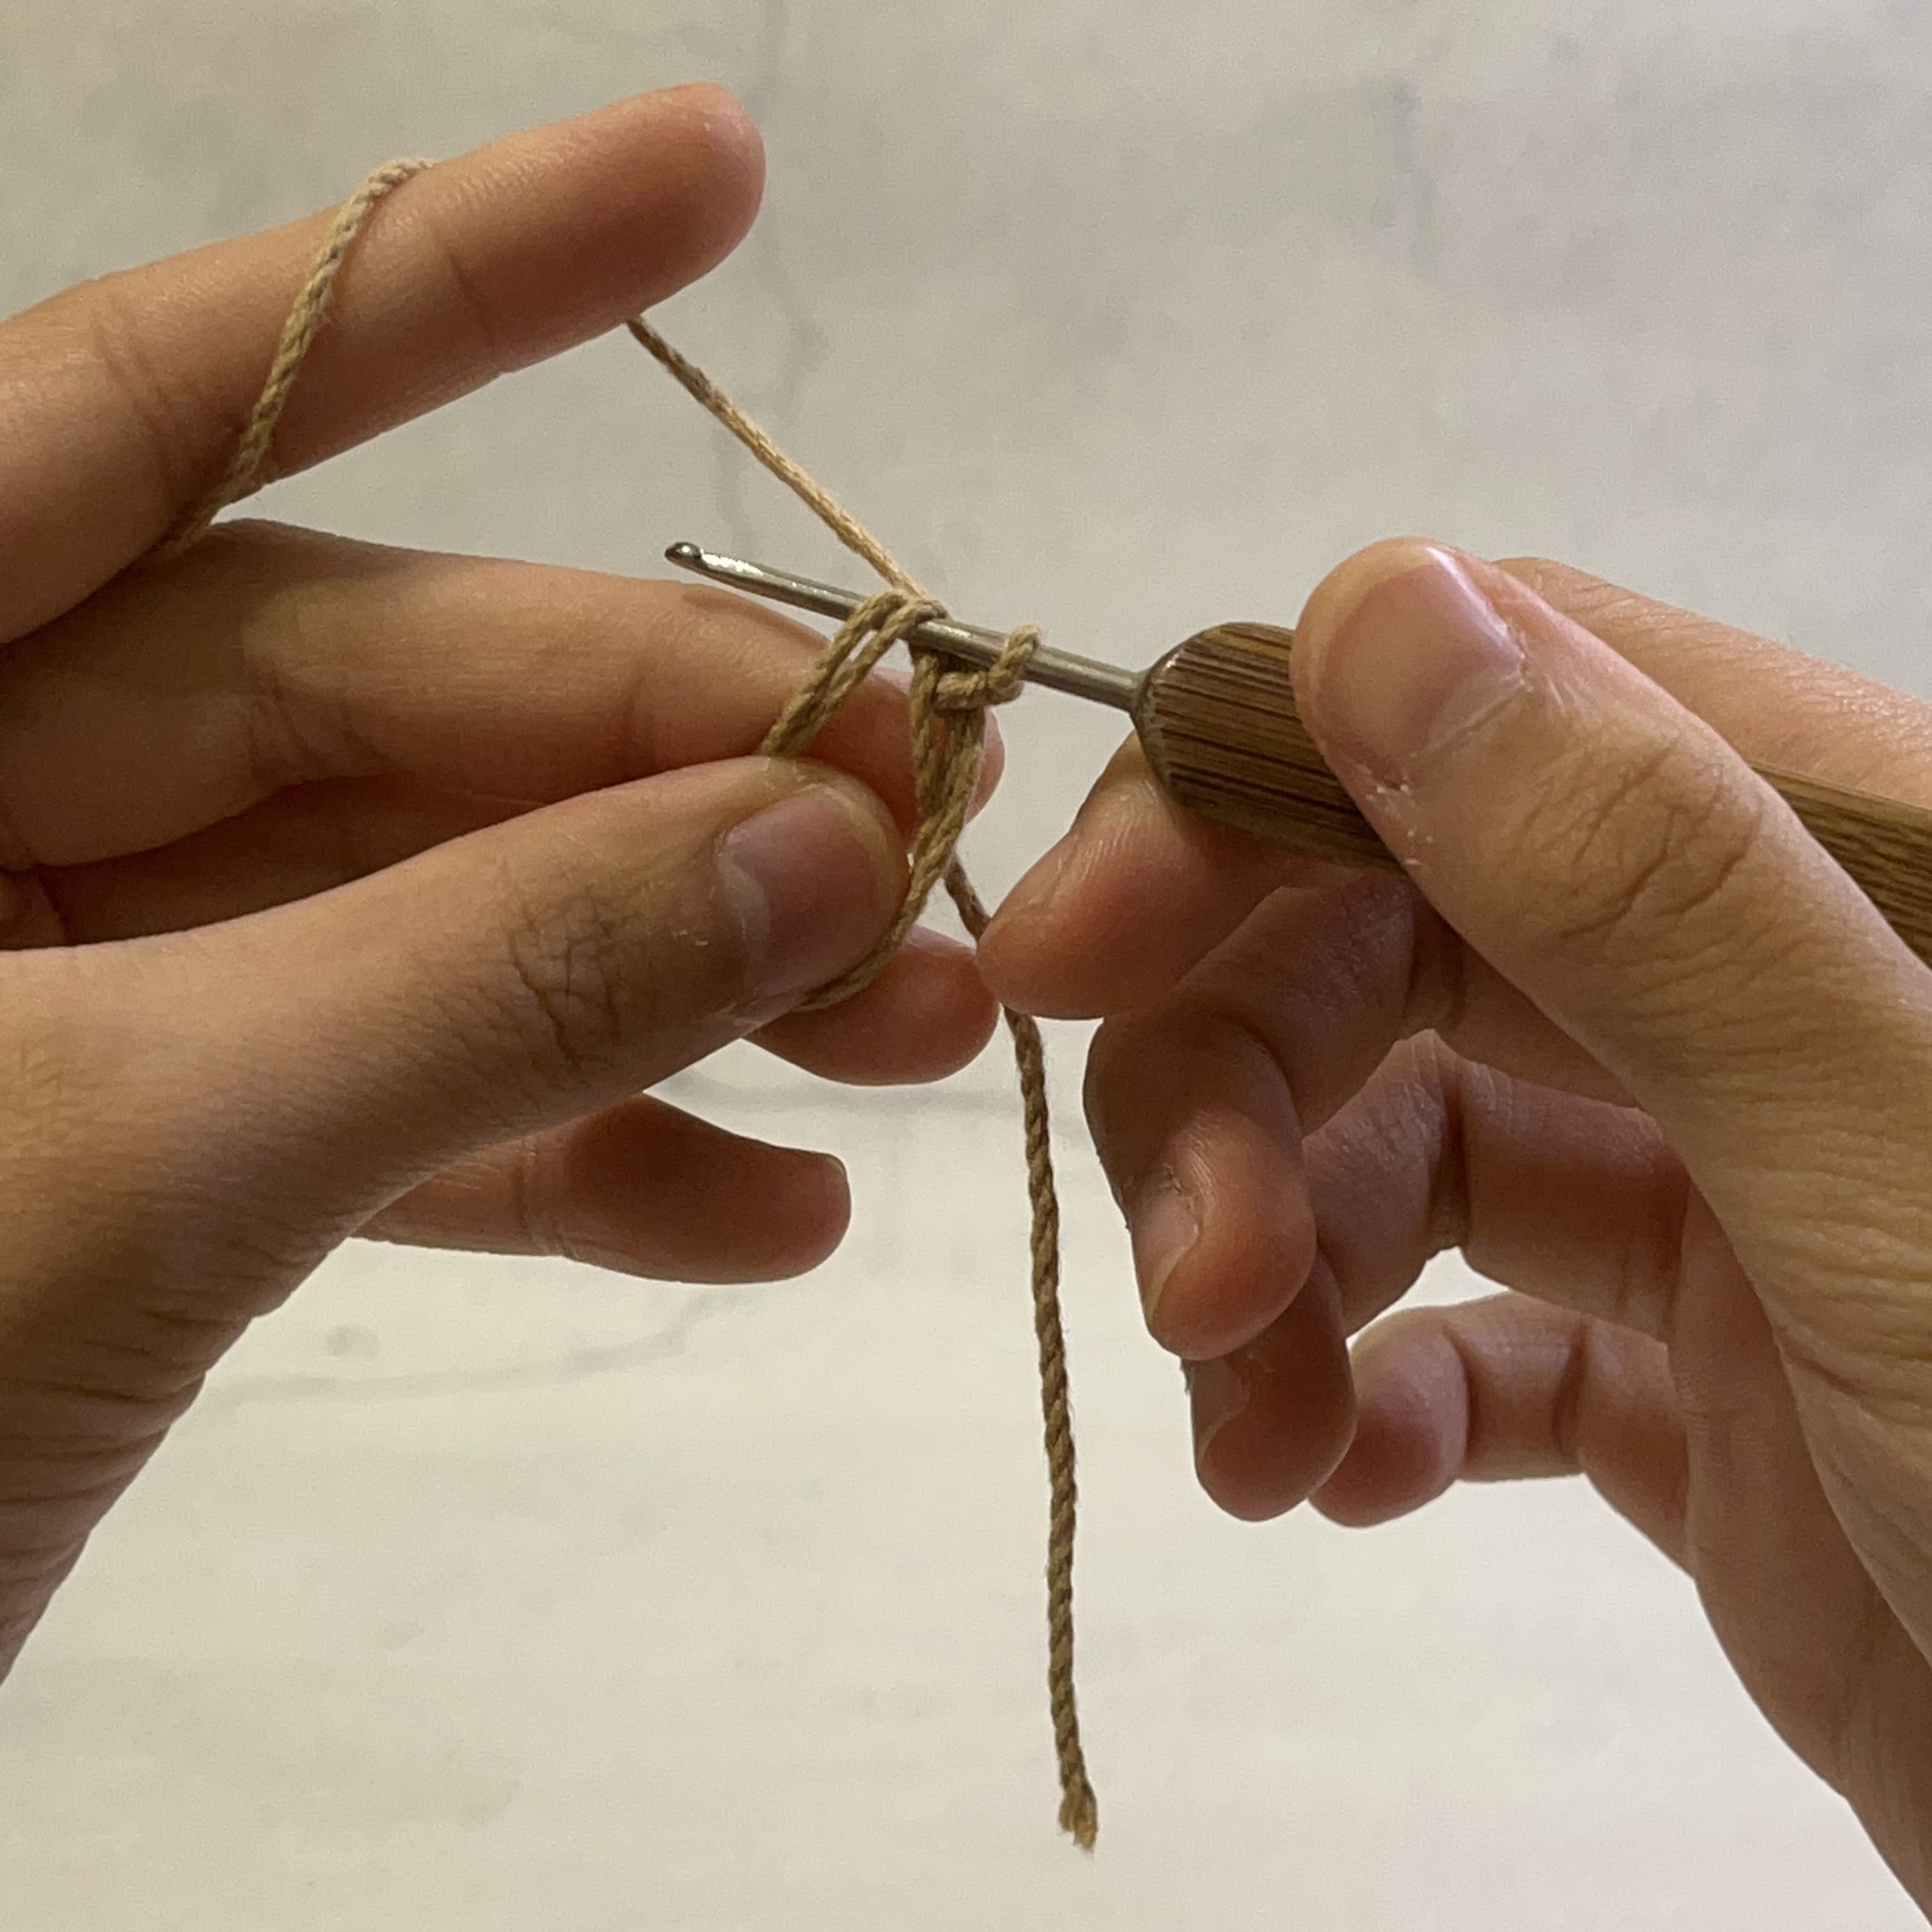
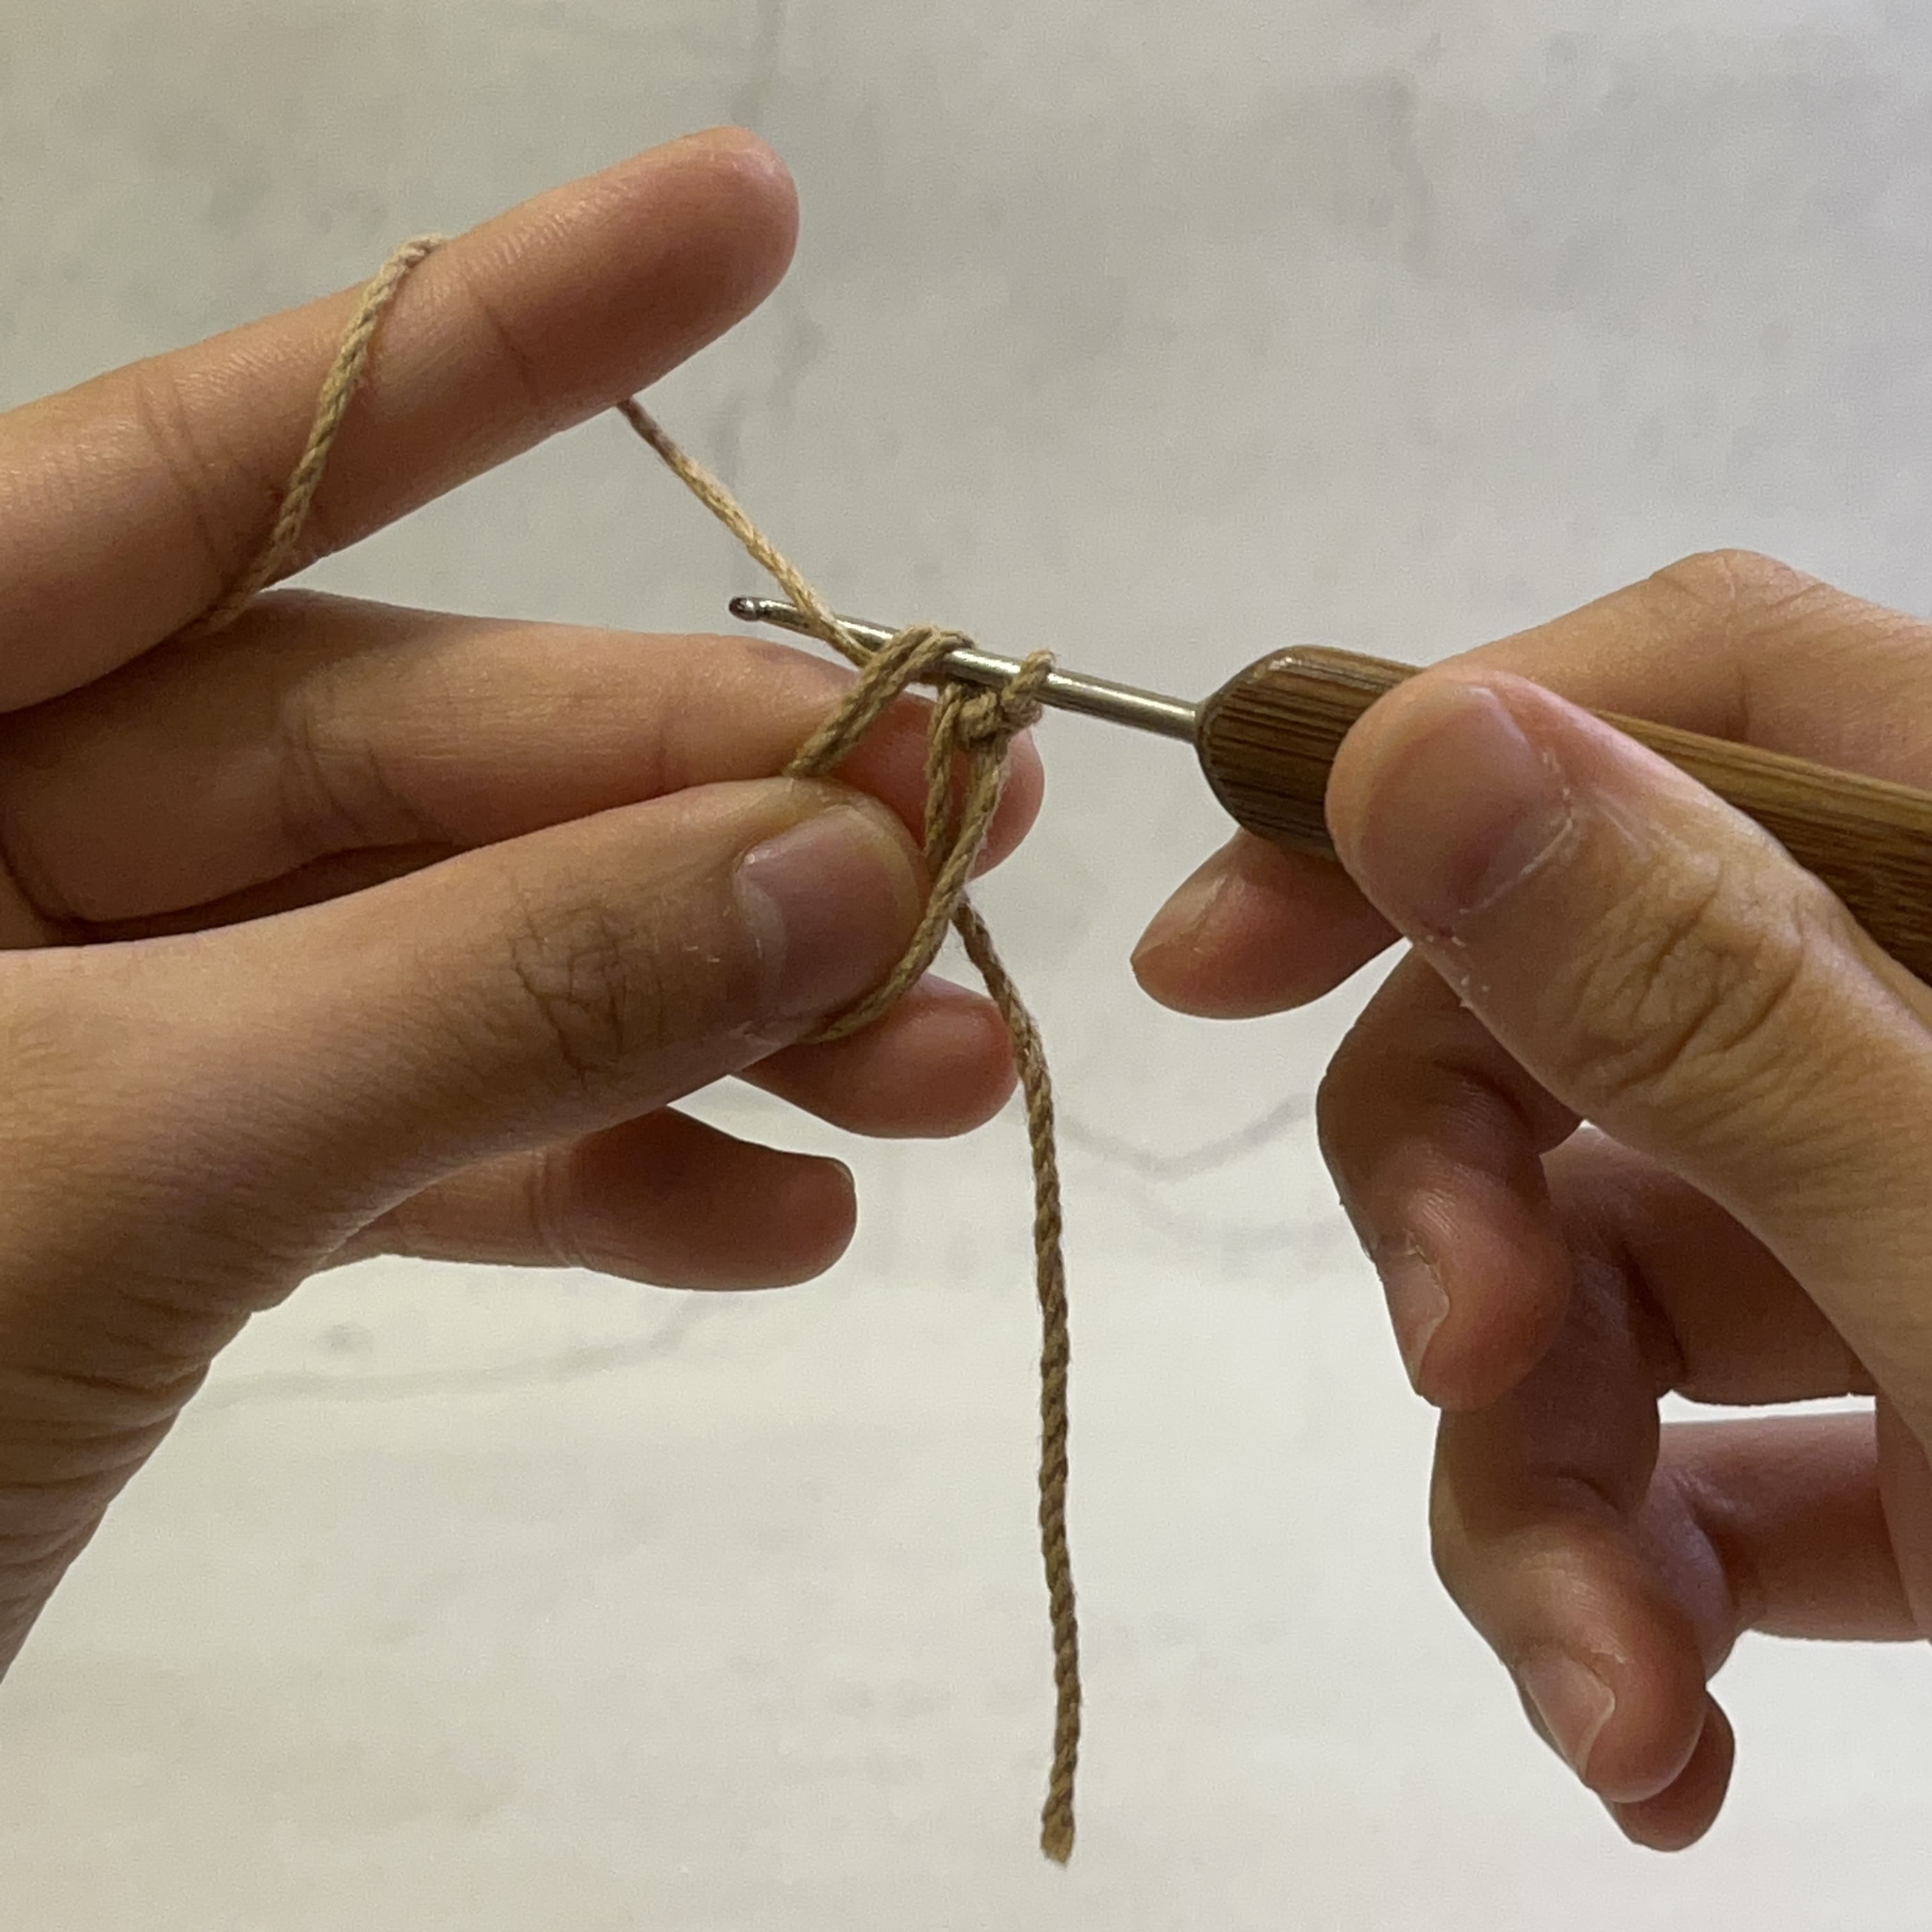
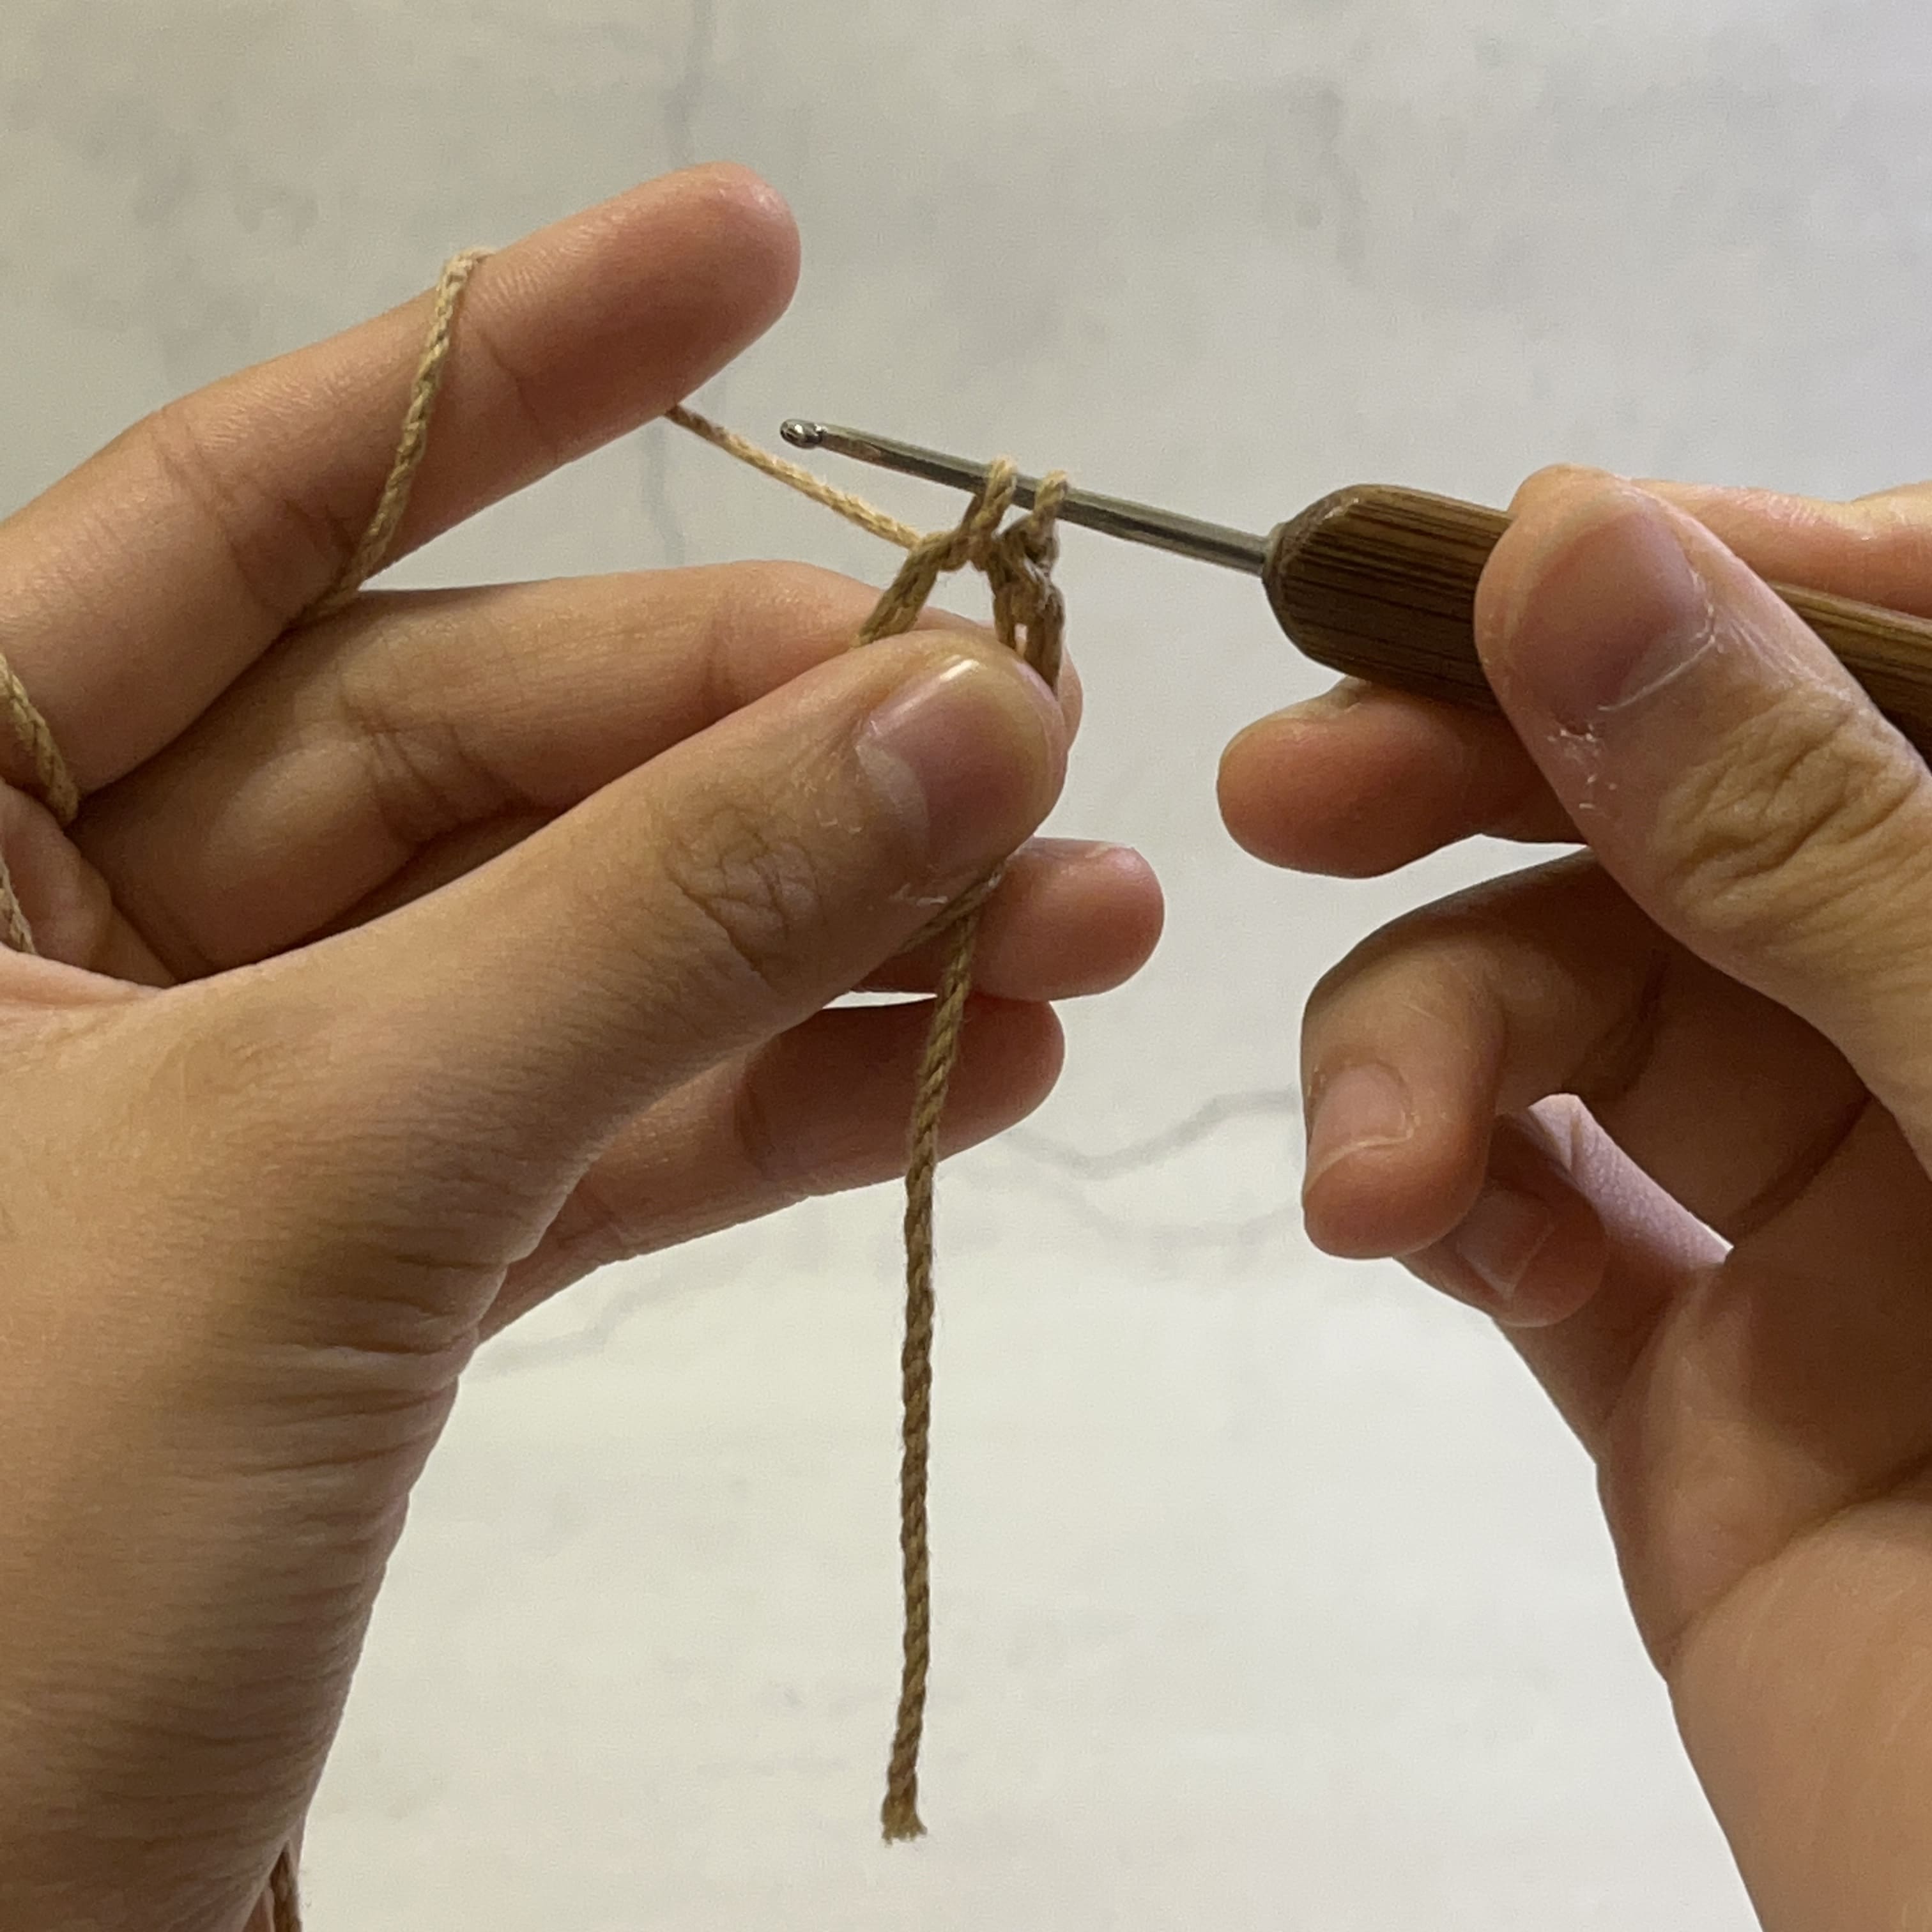
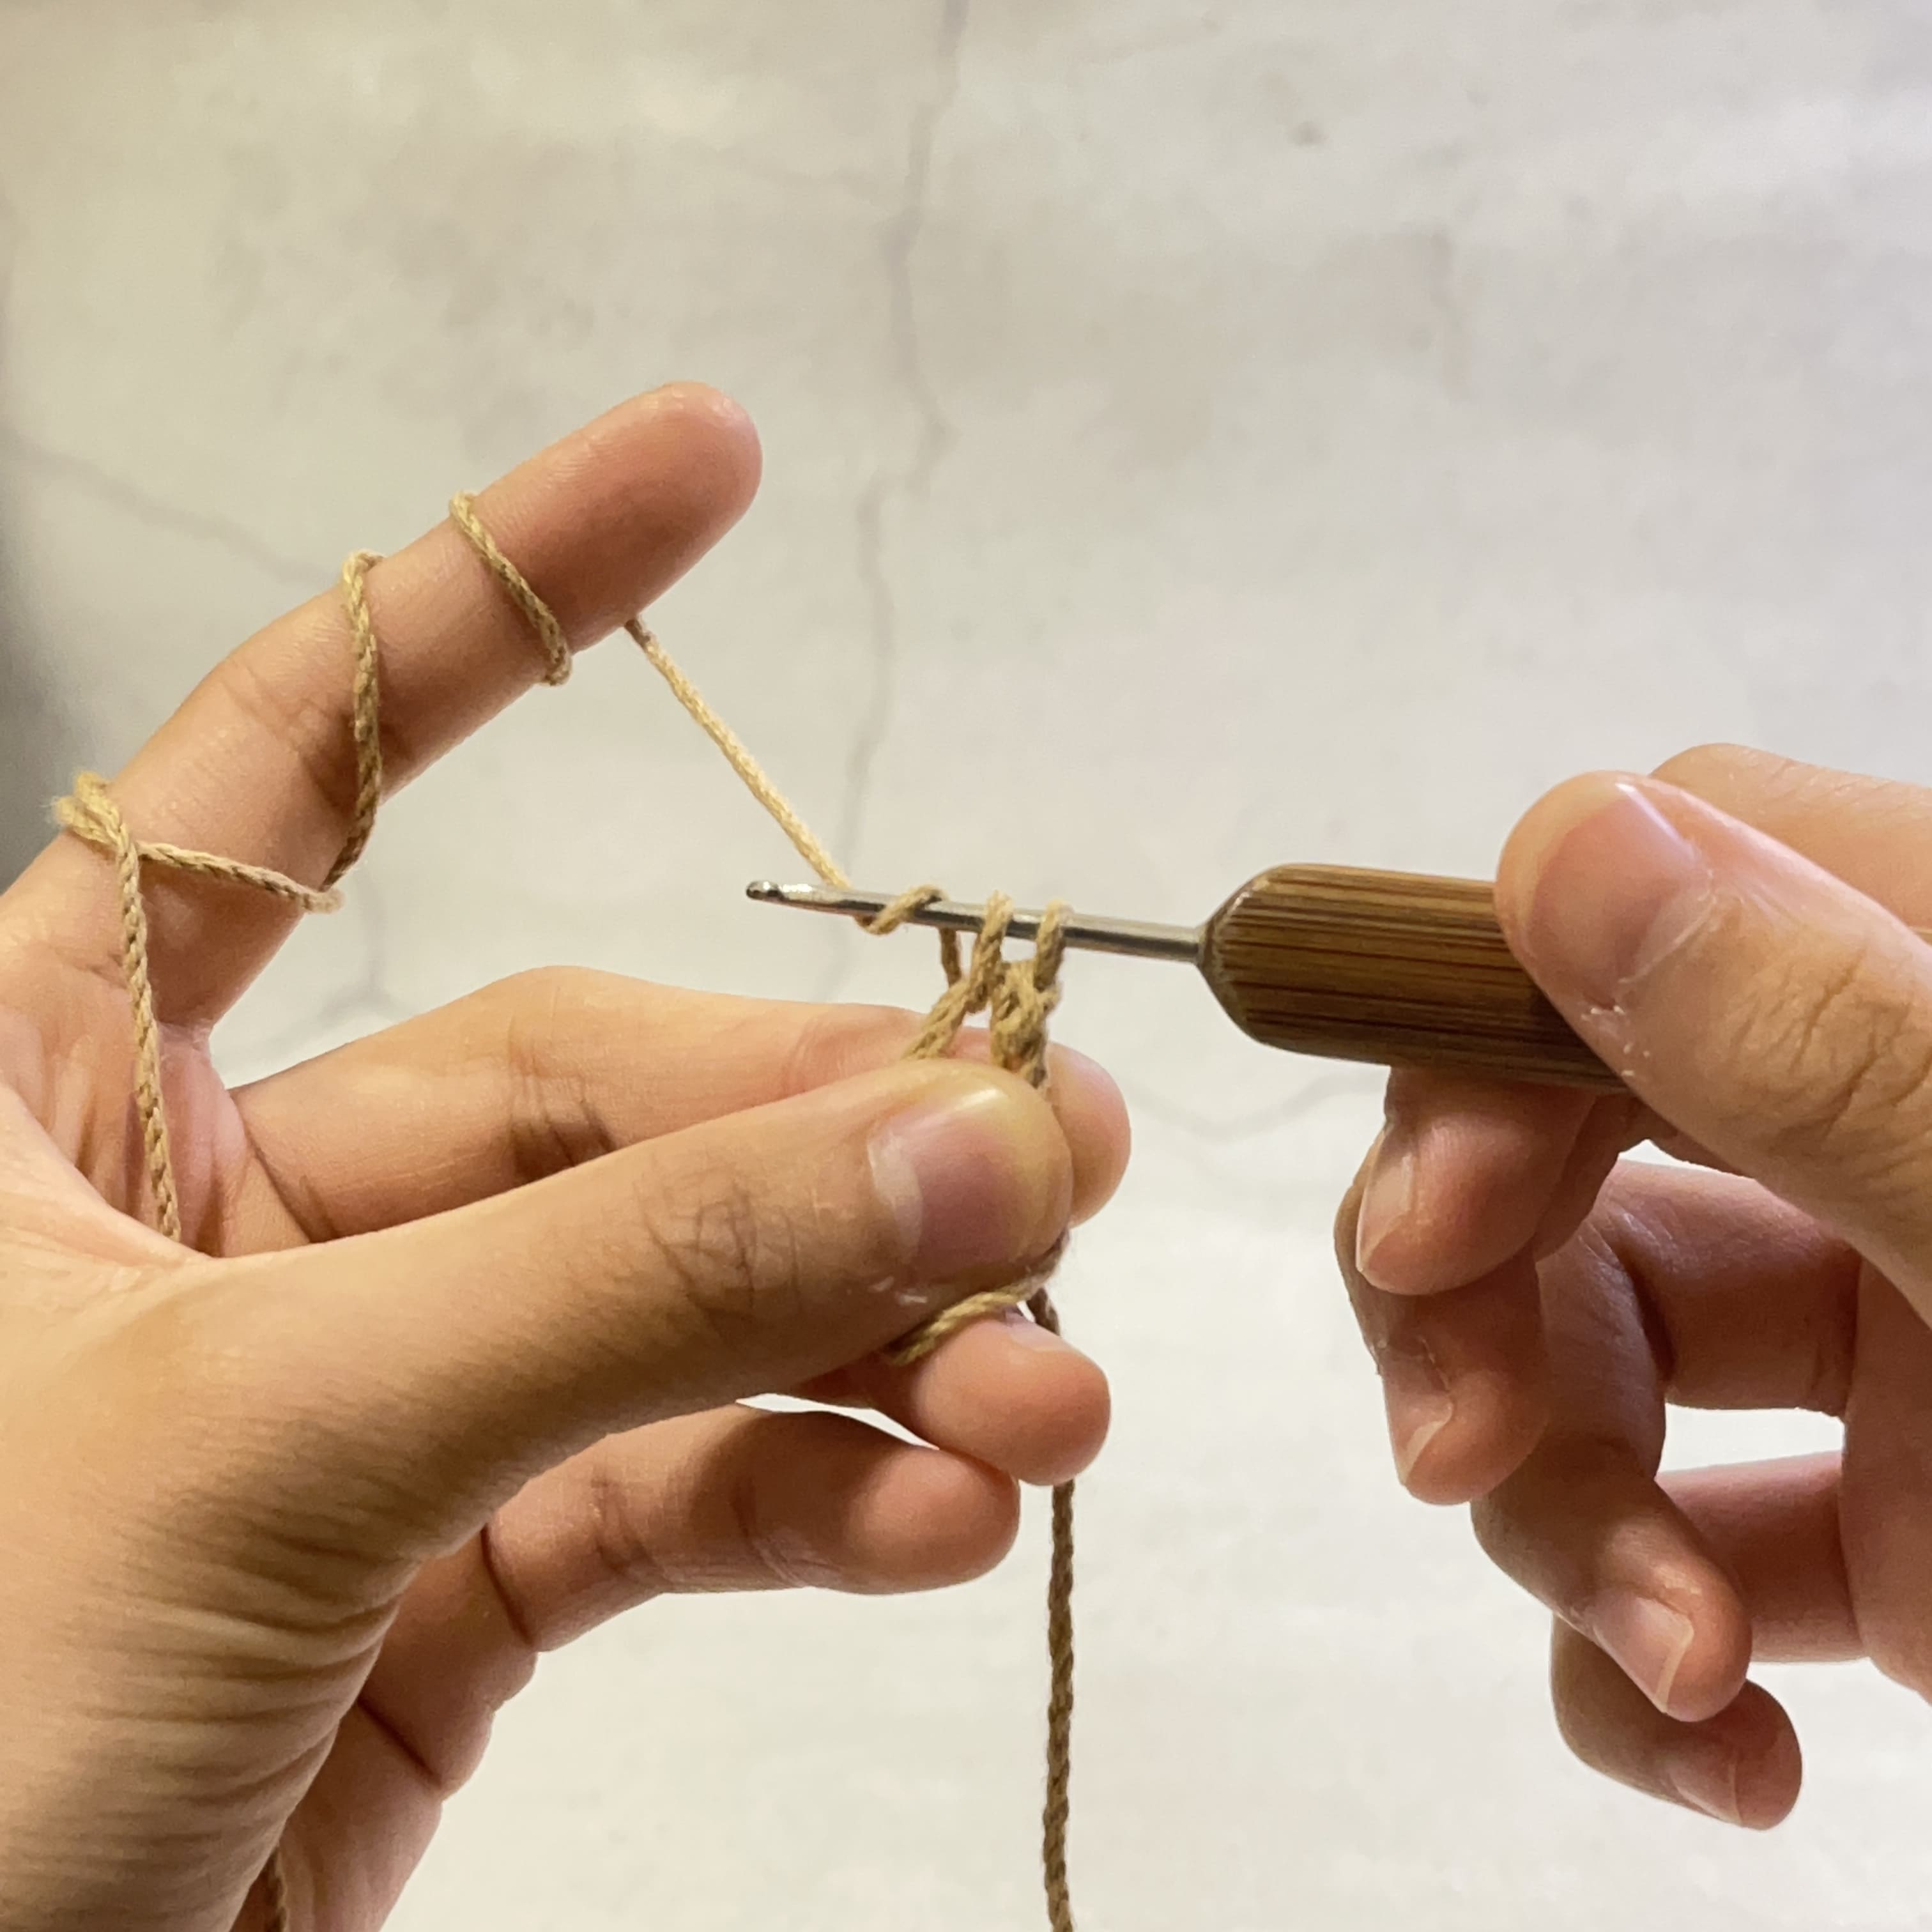
Basic Stitch 3: Magic Ring
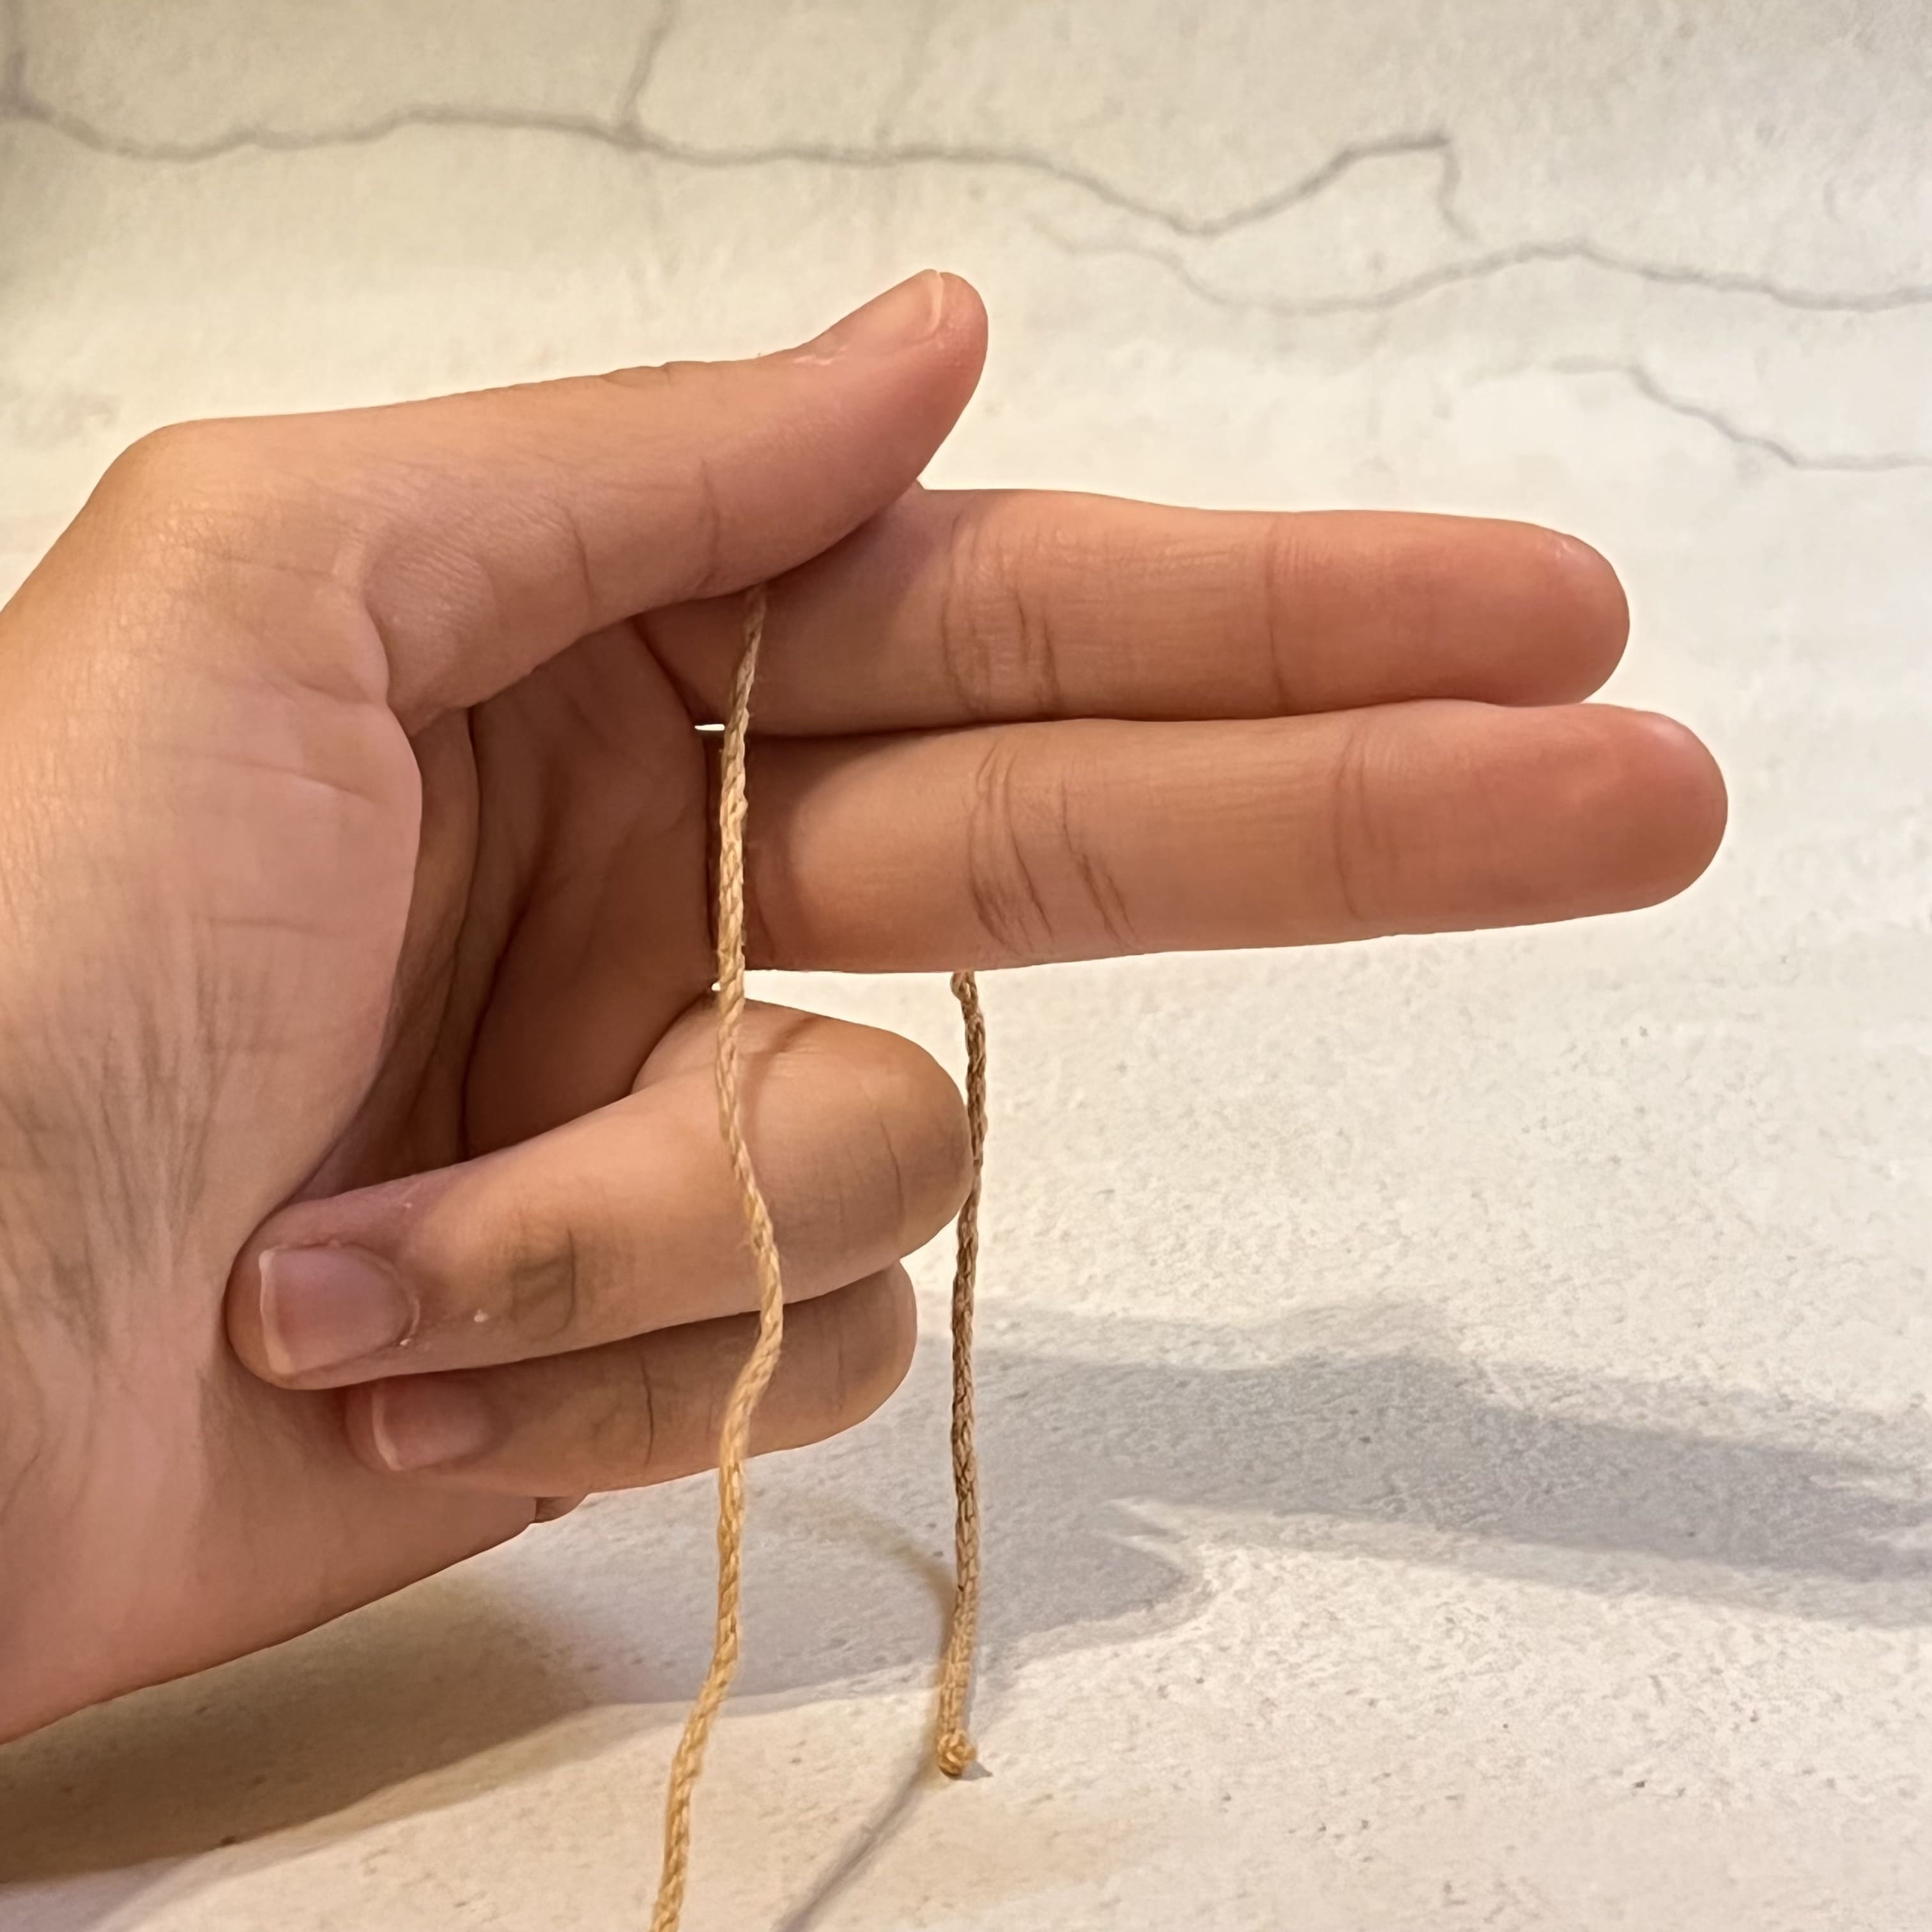
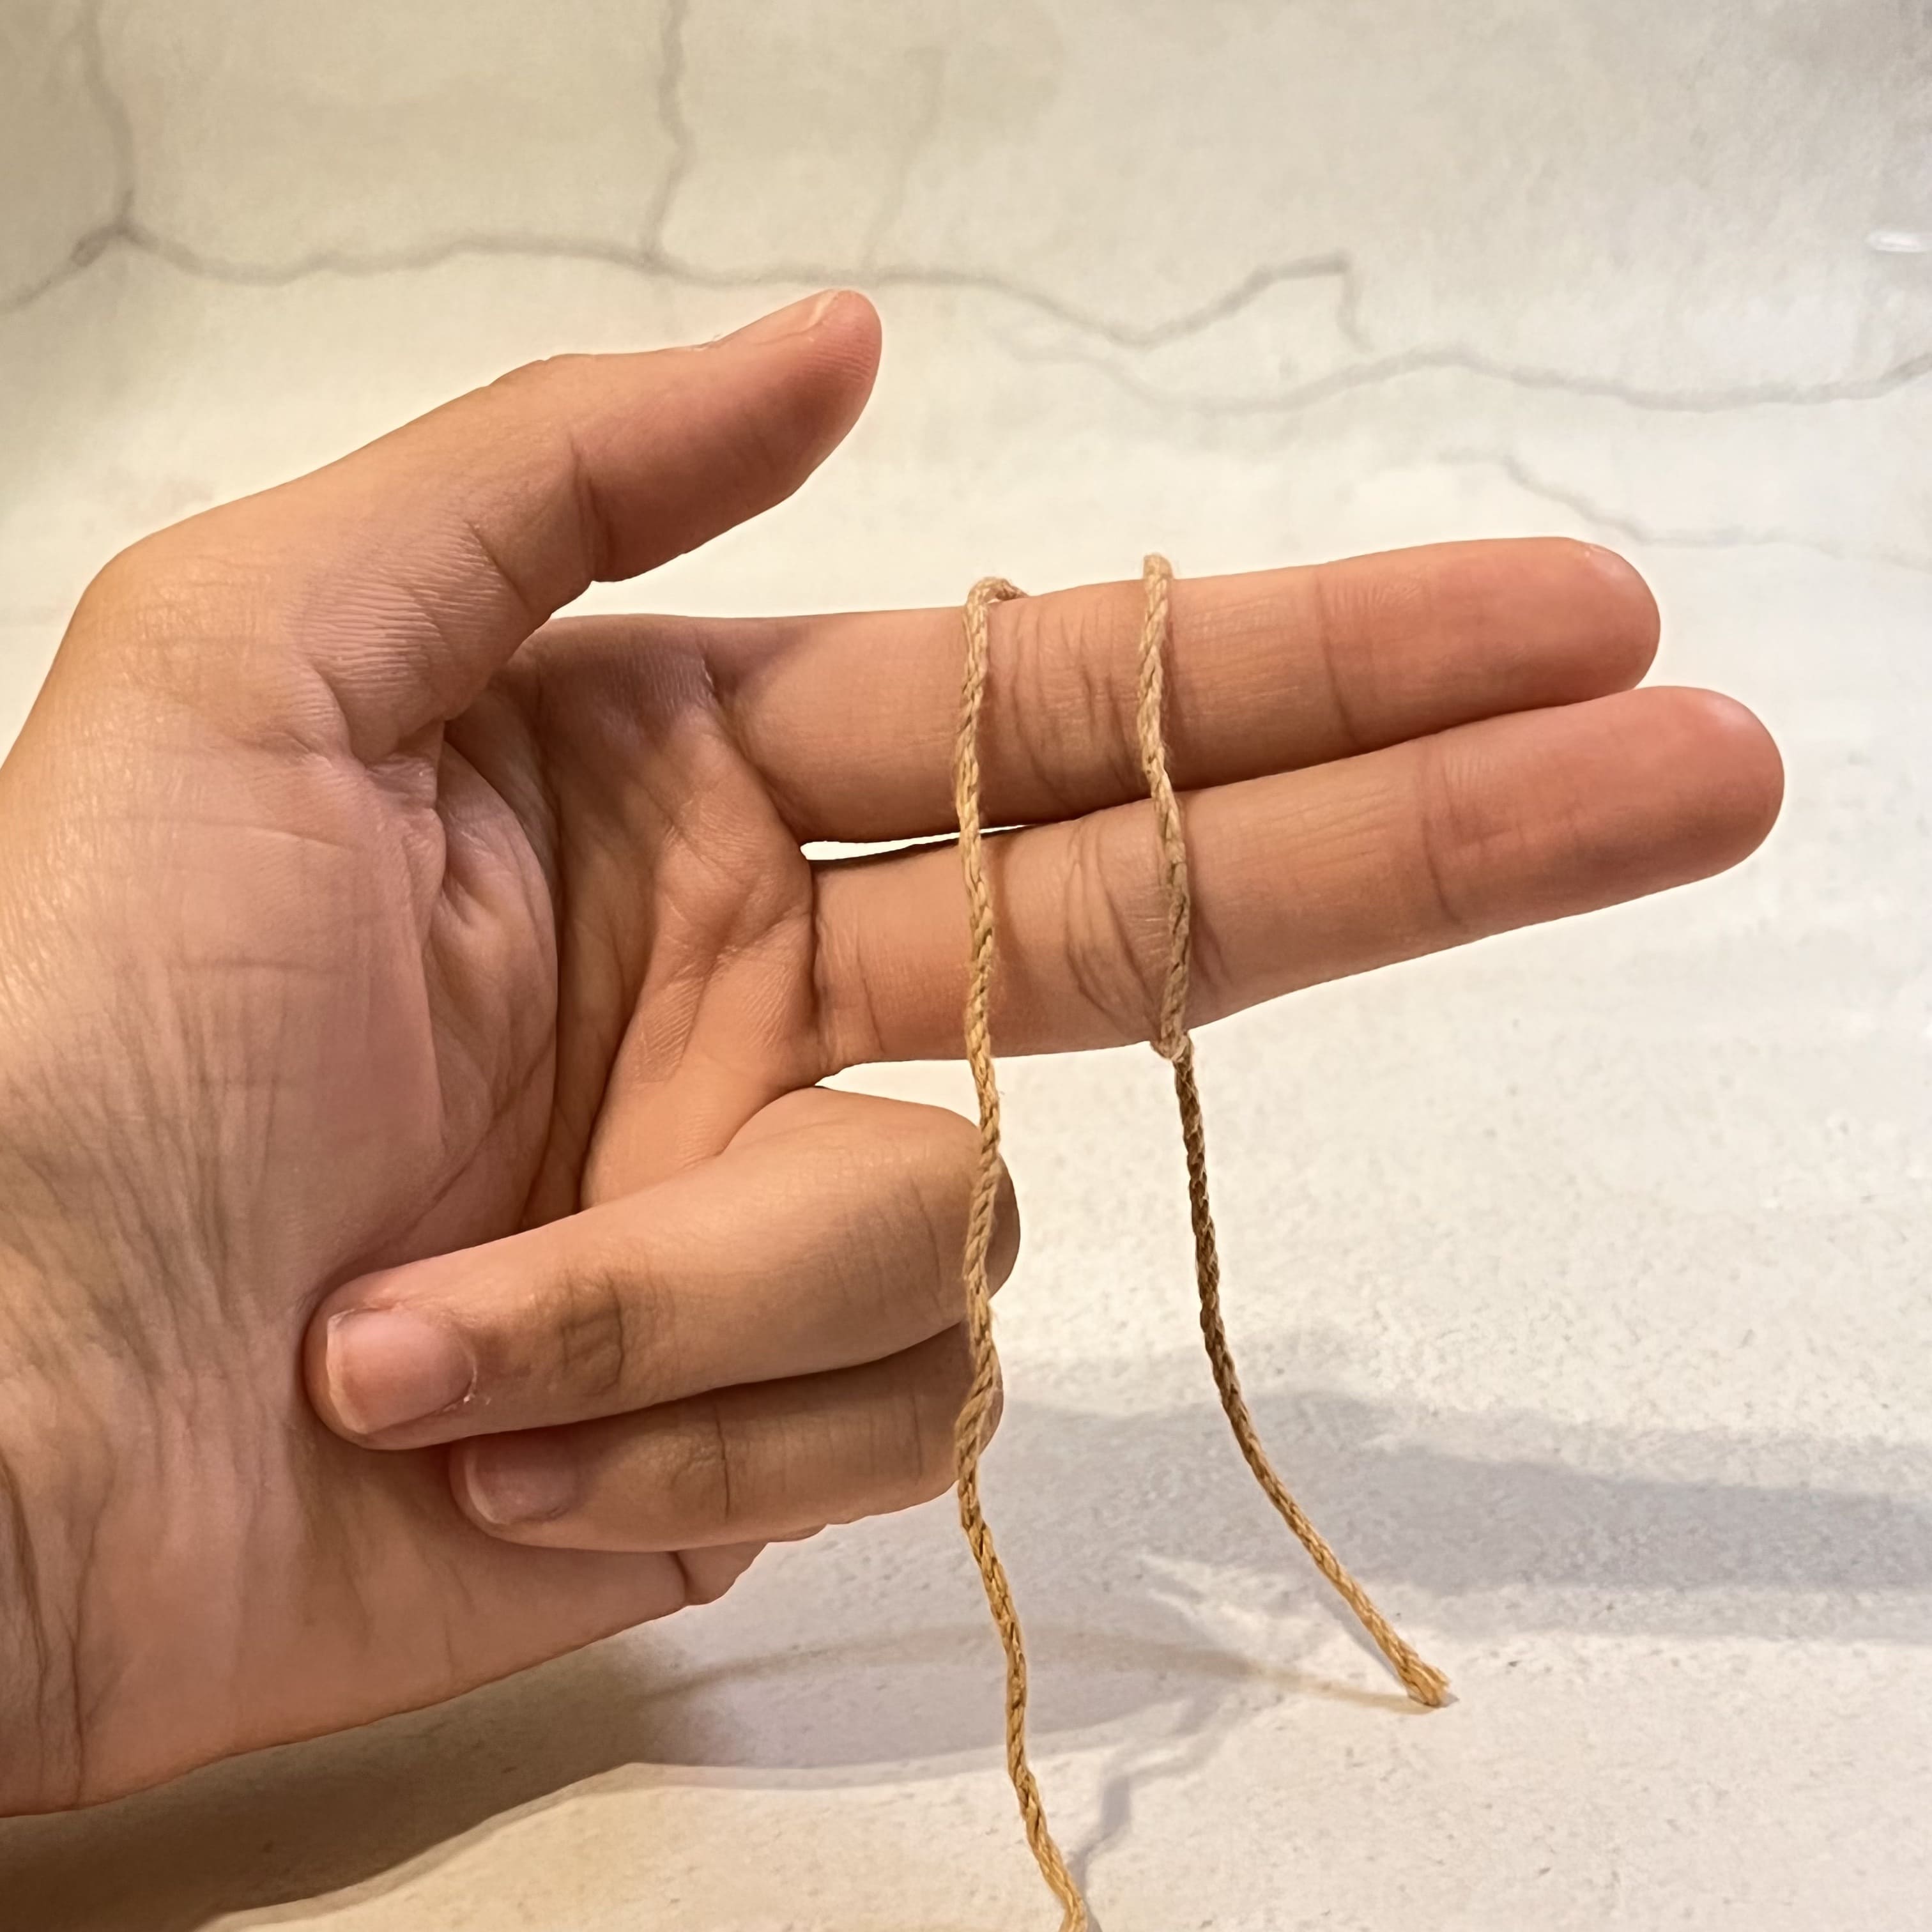
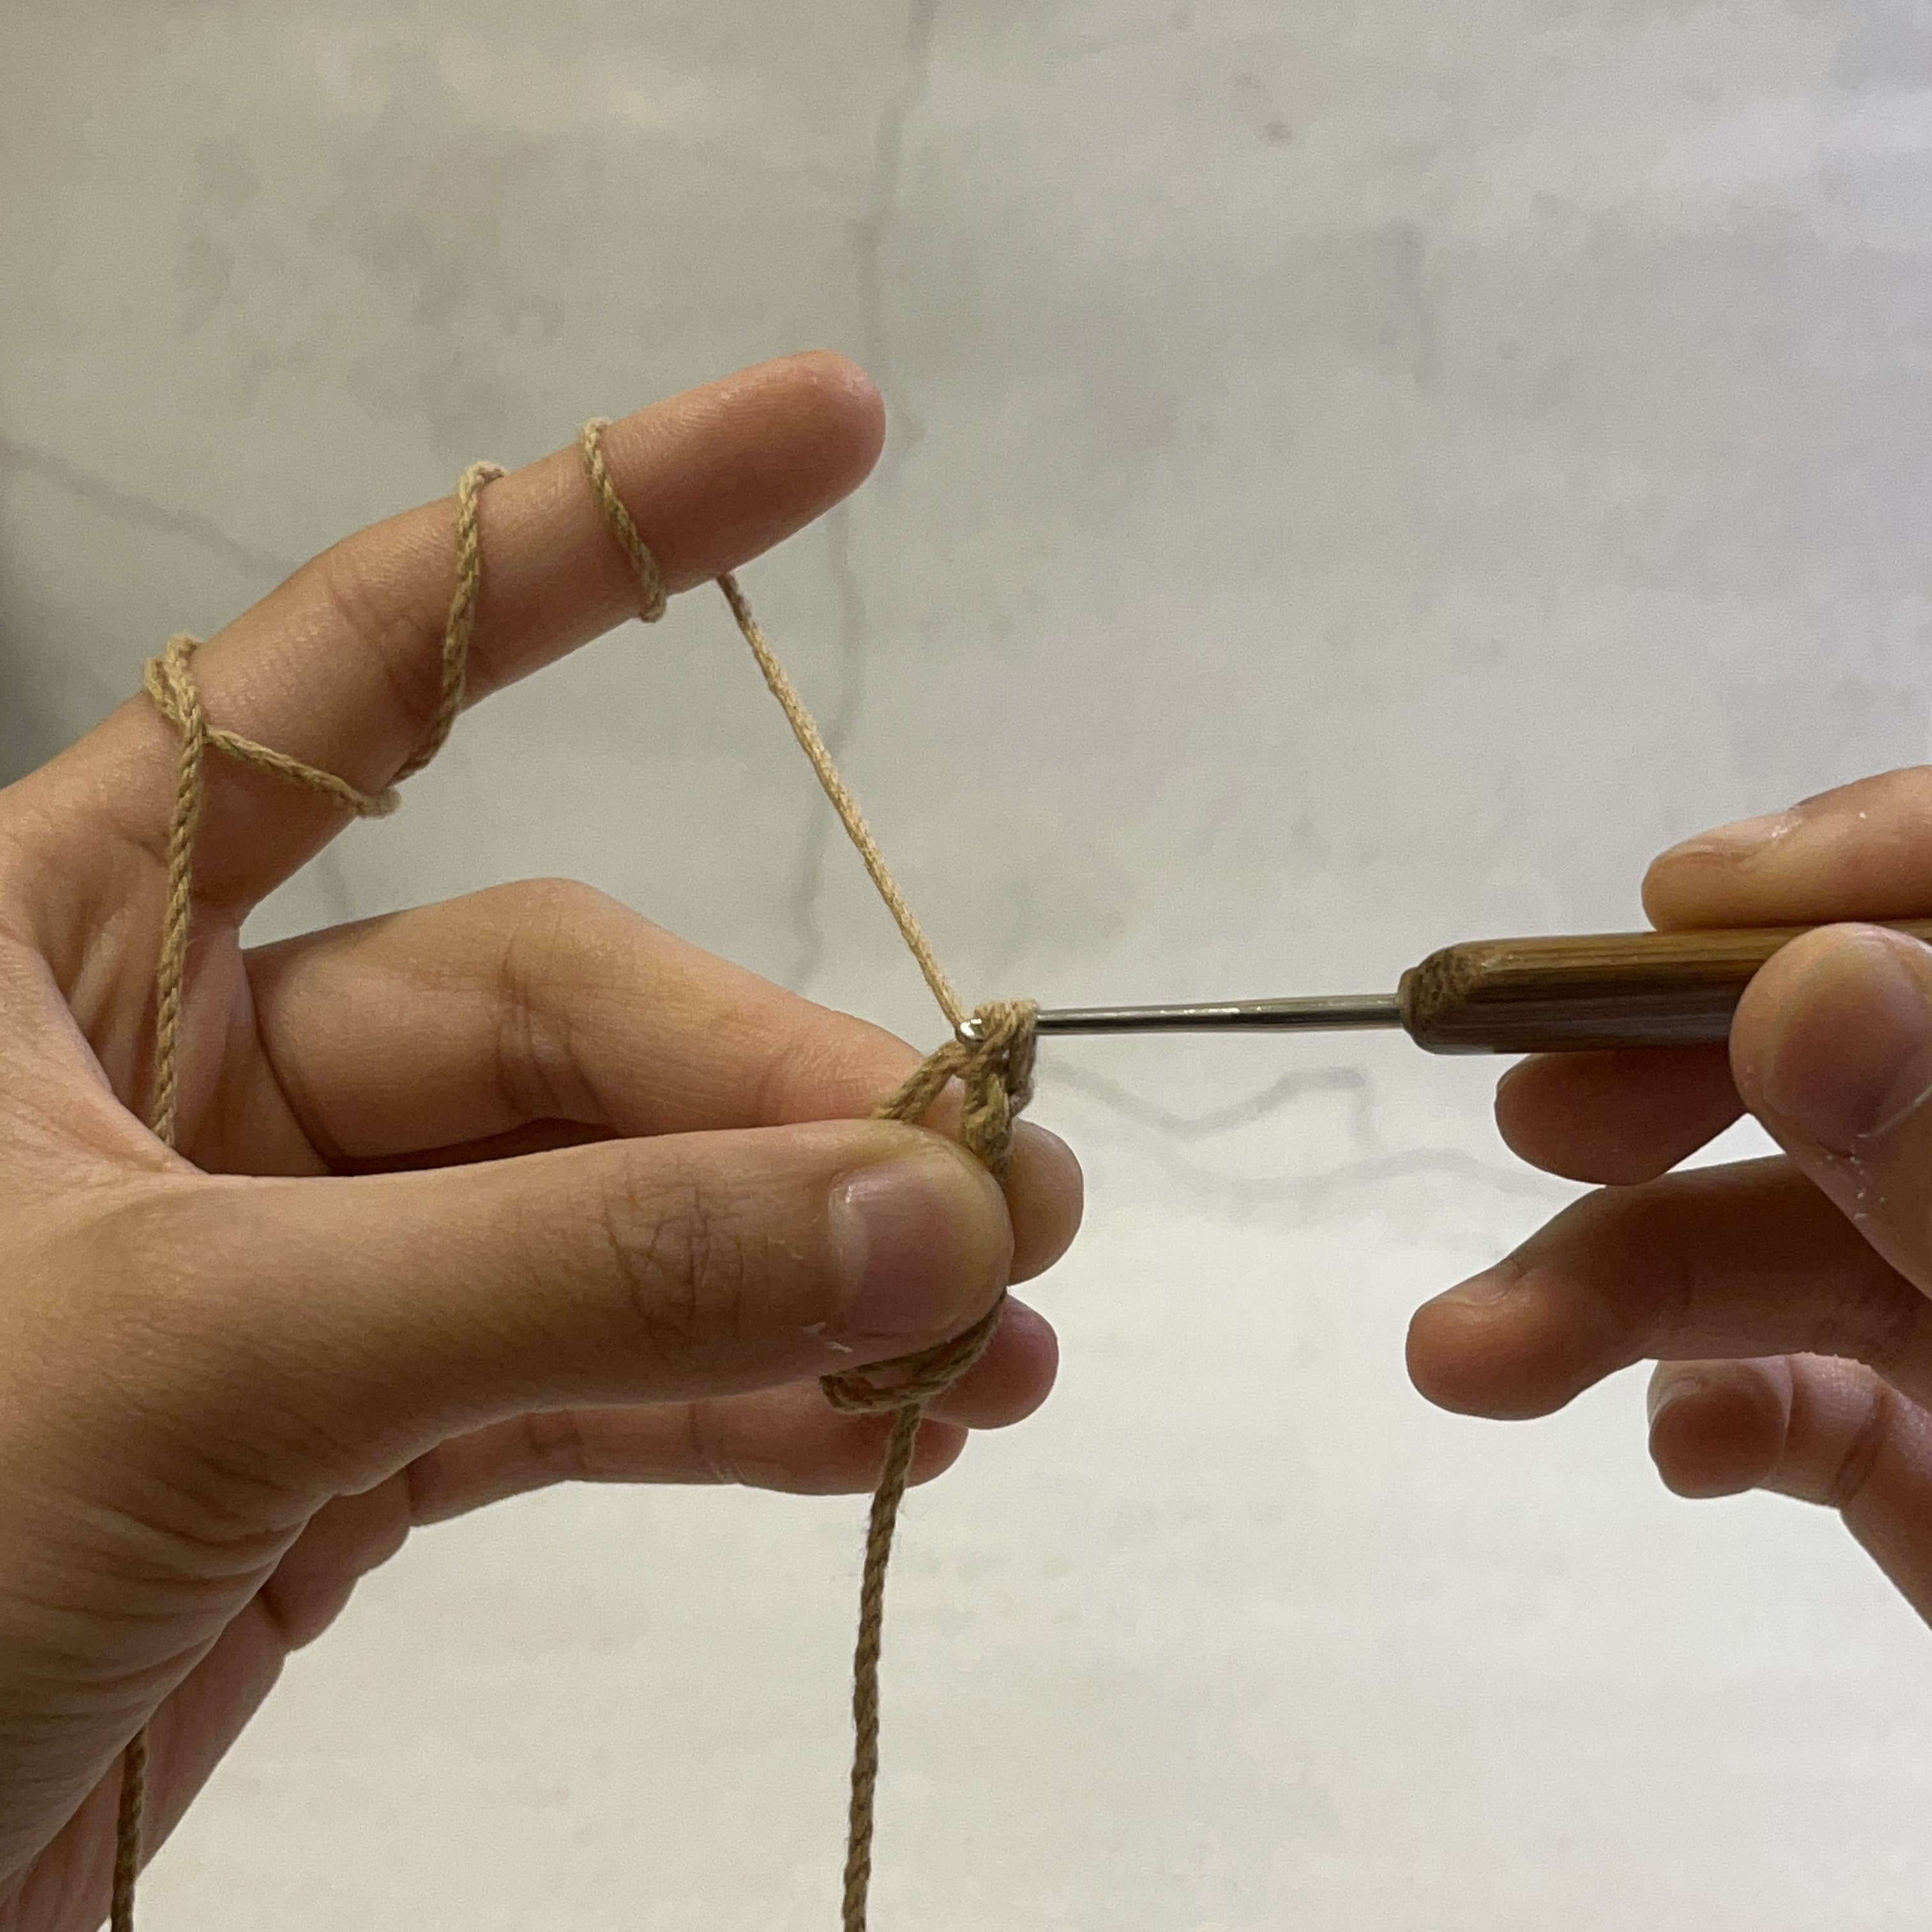
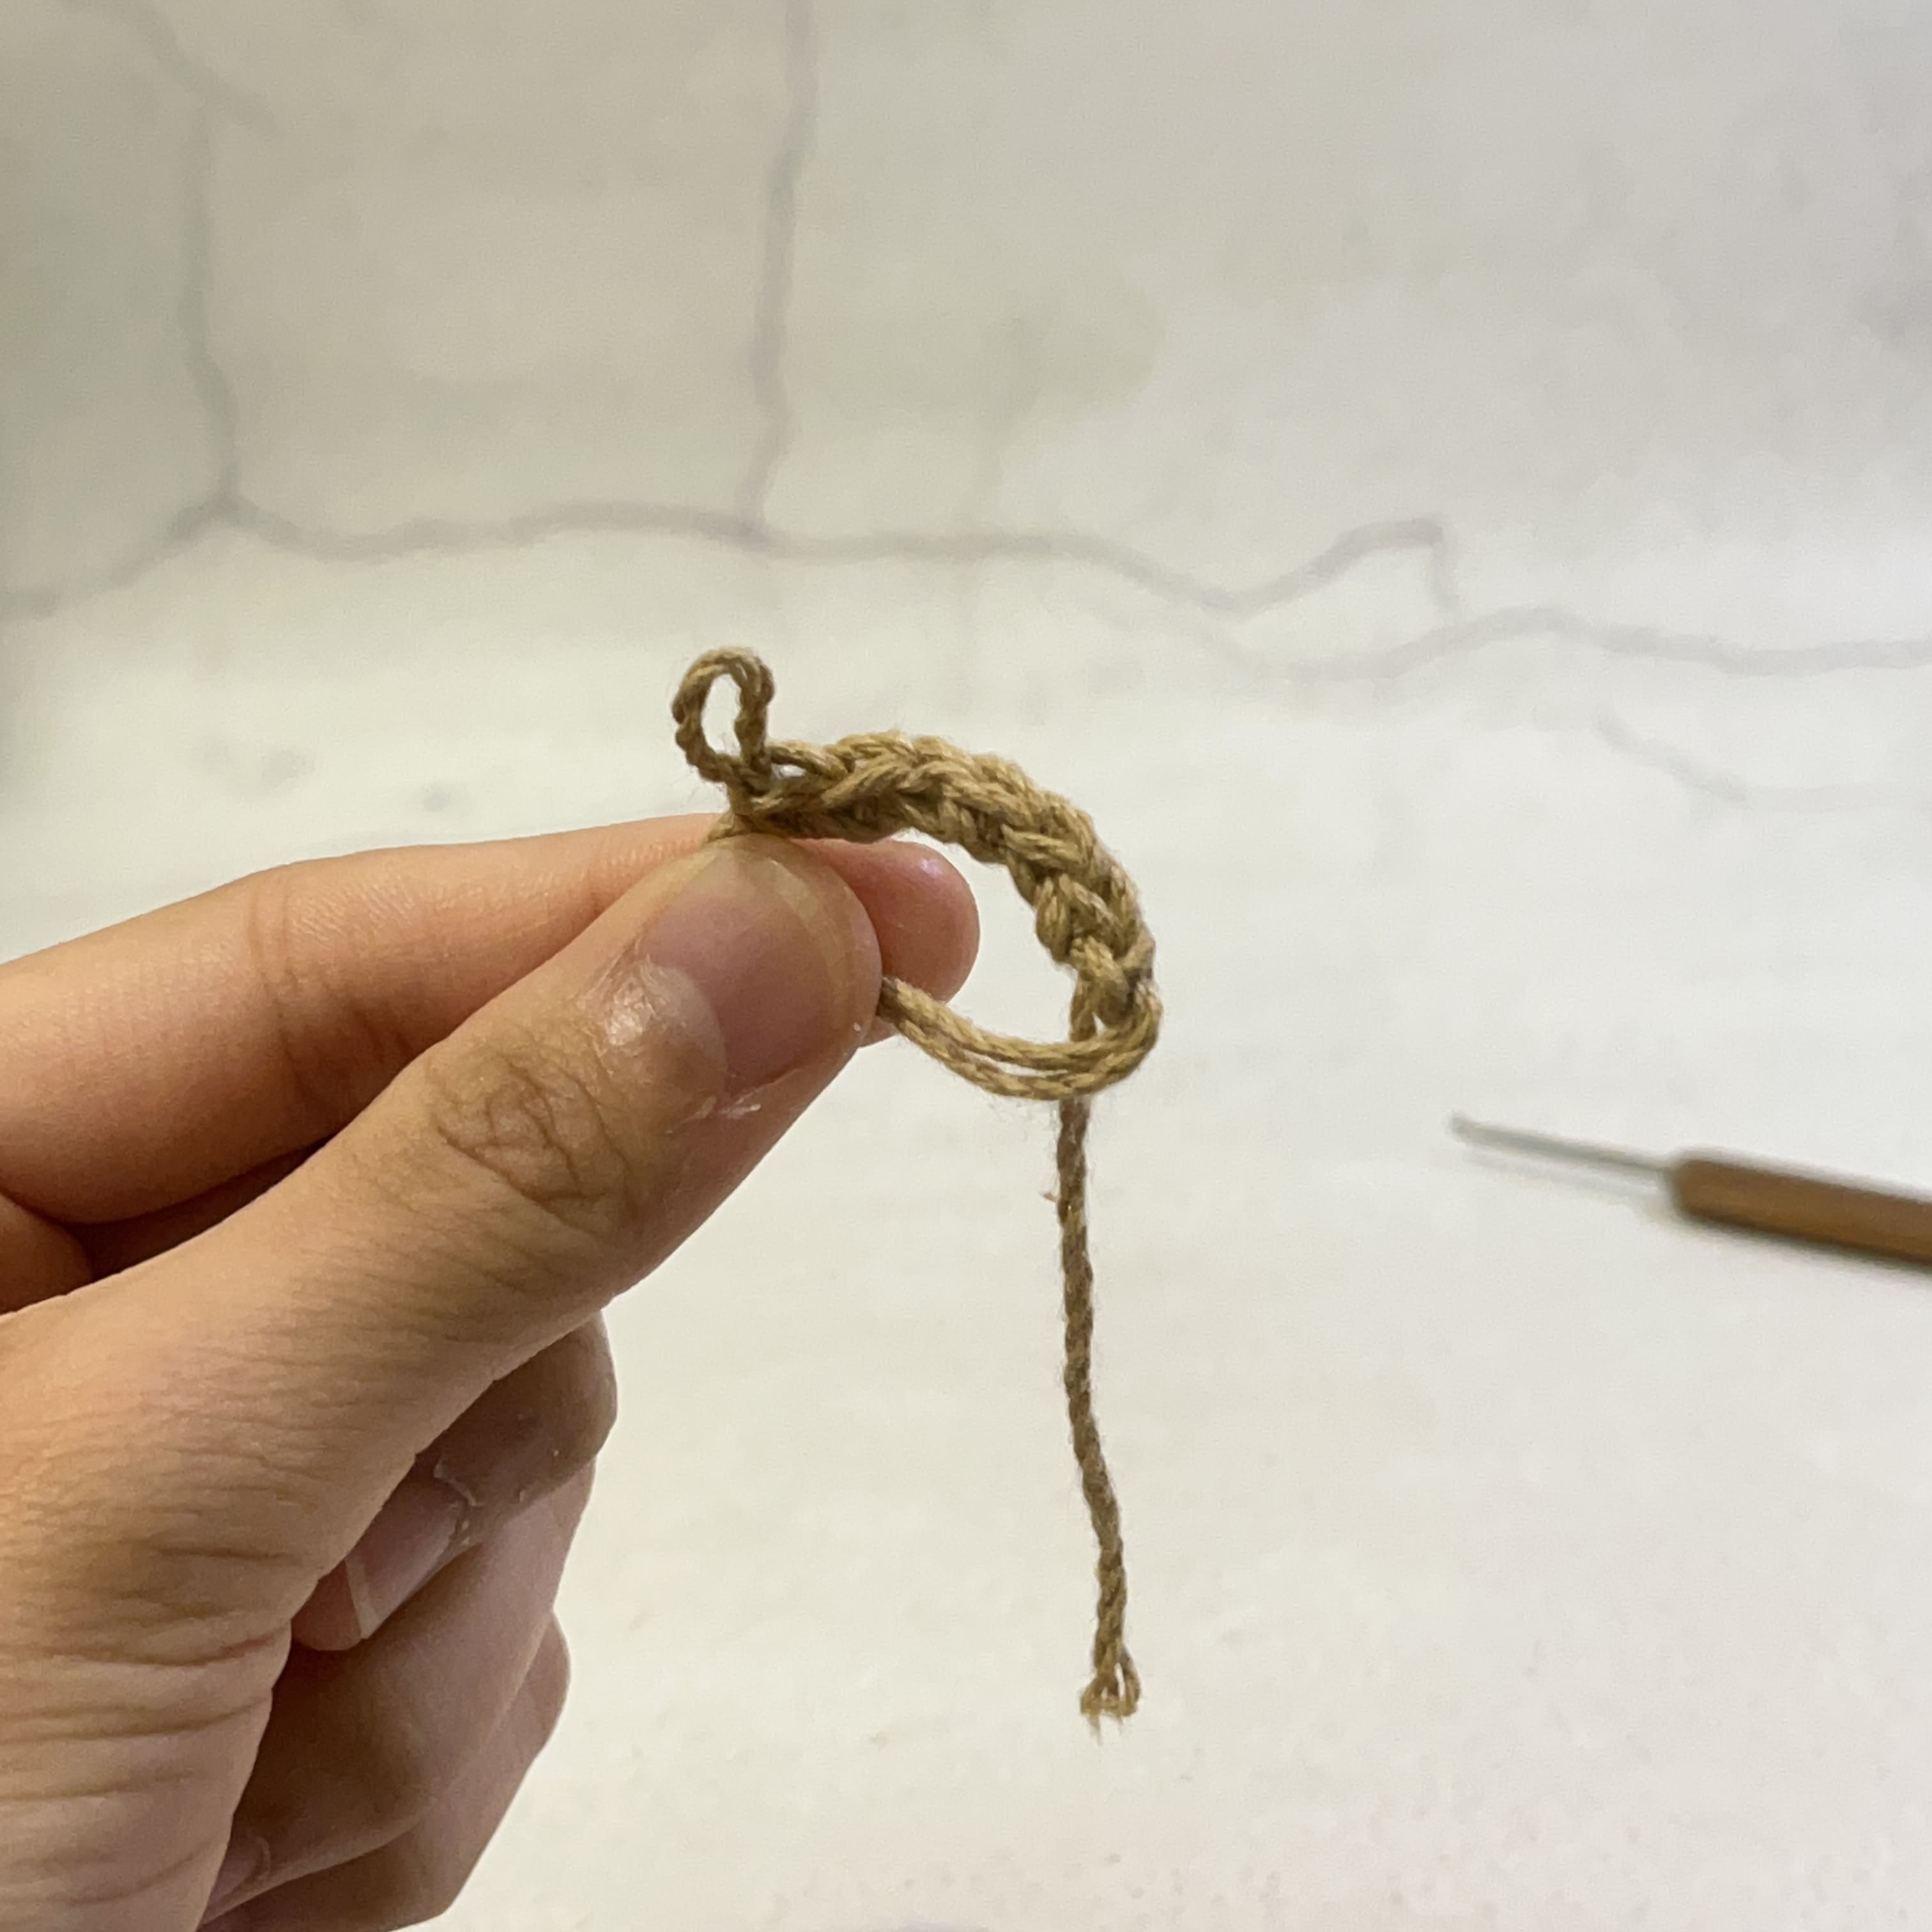
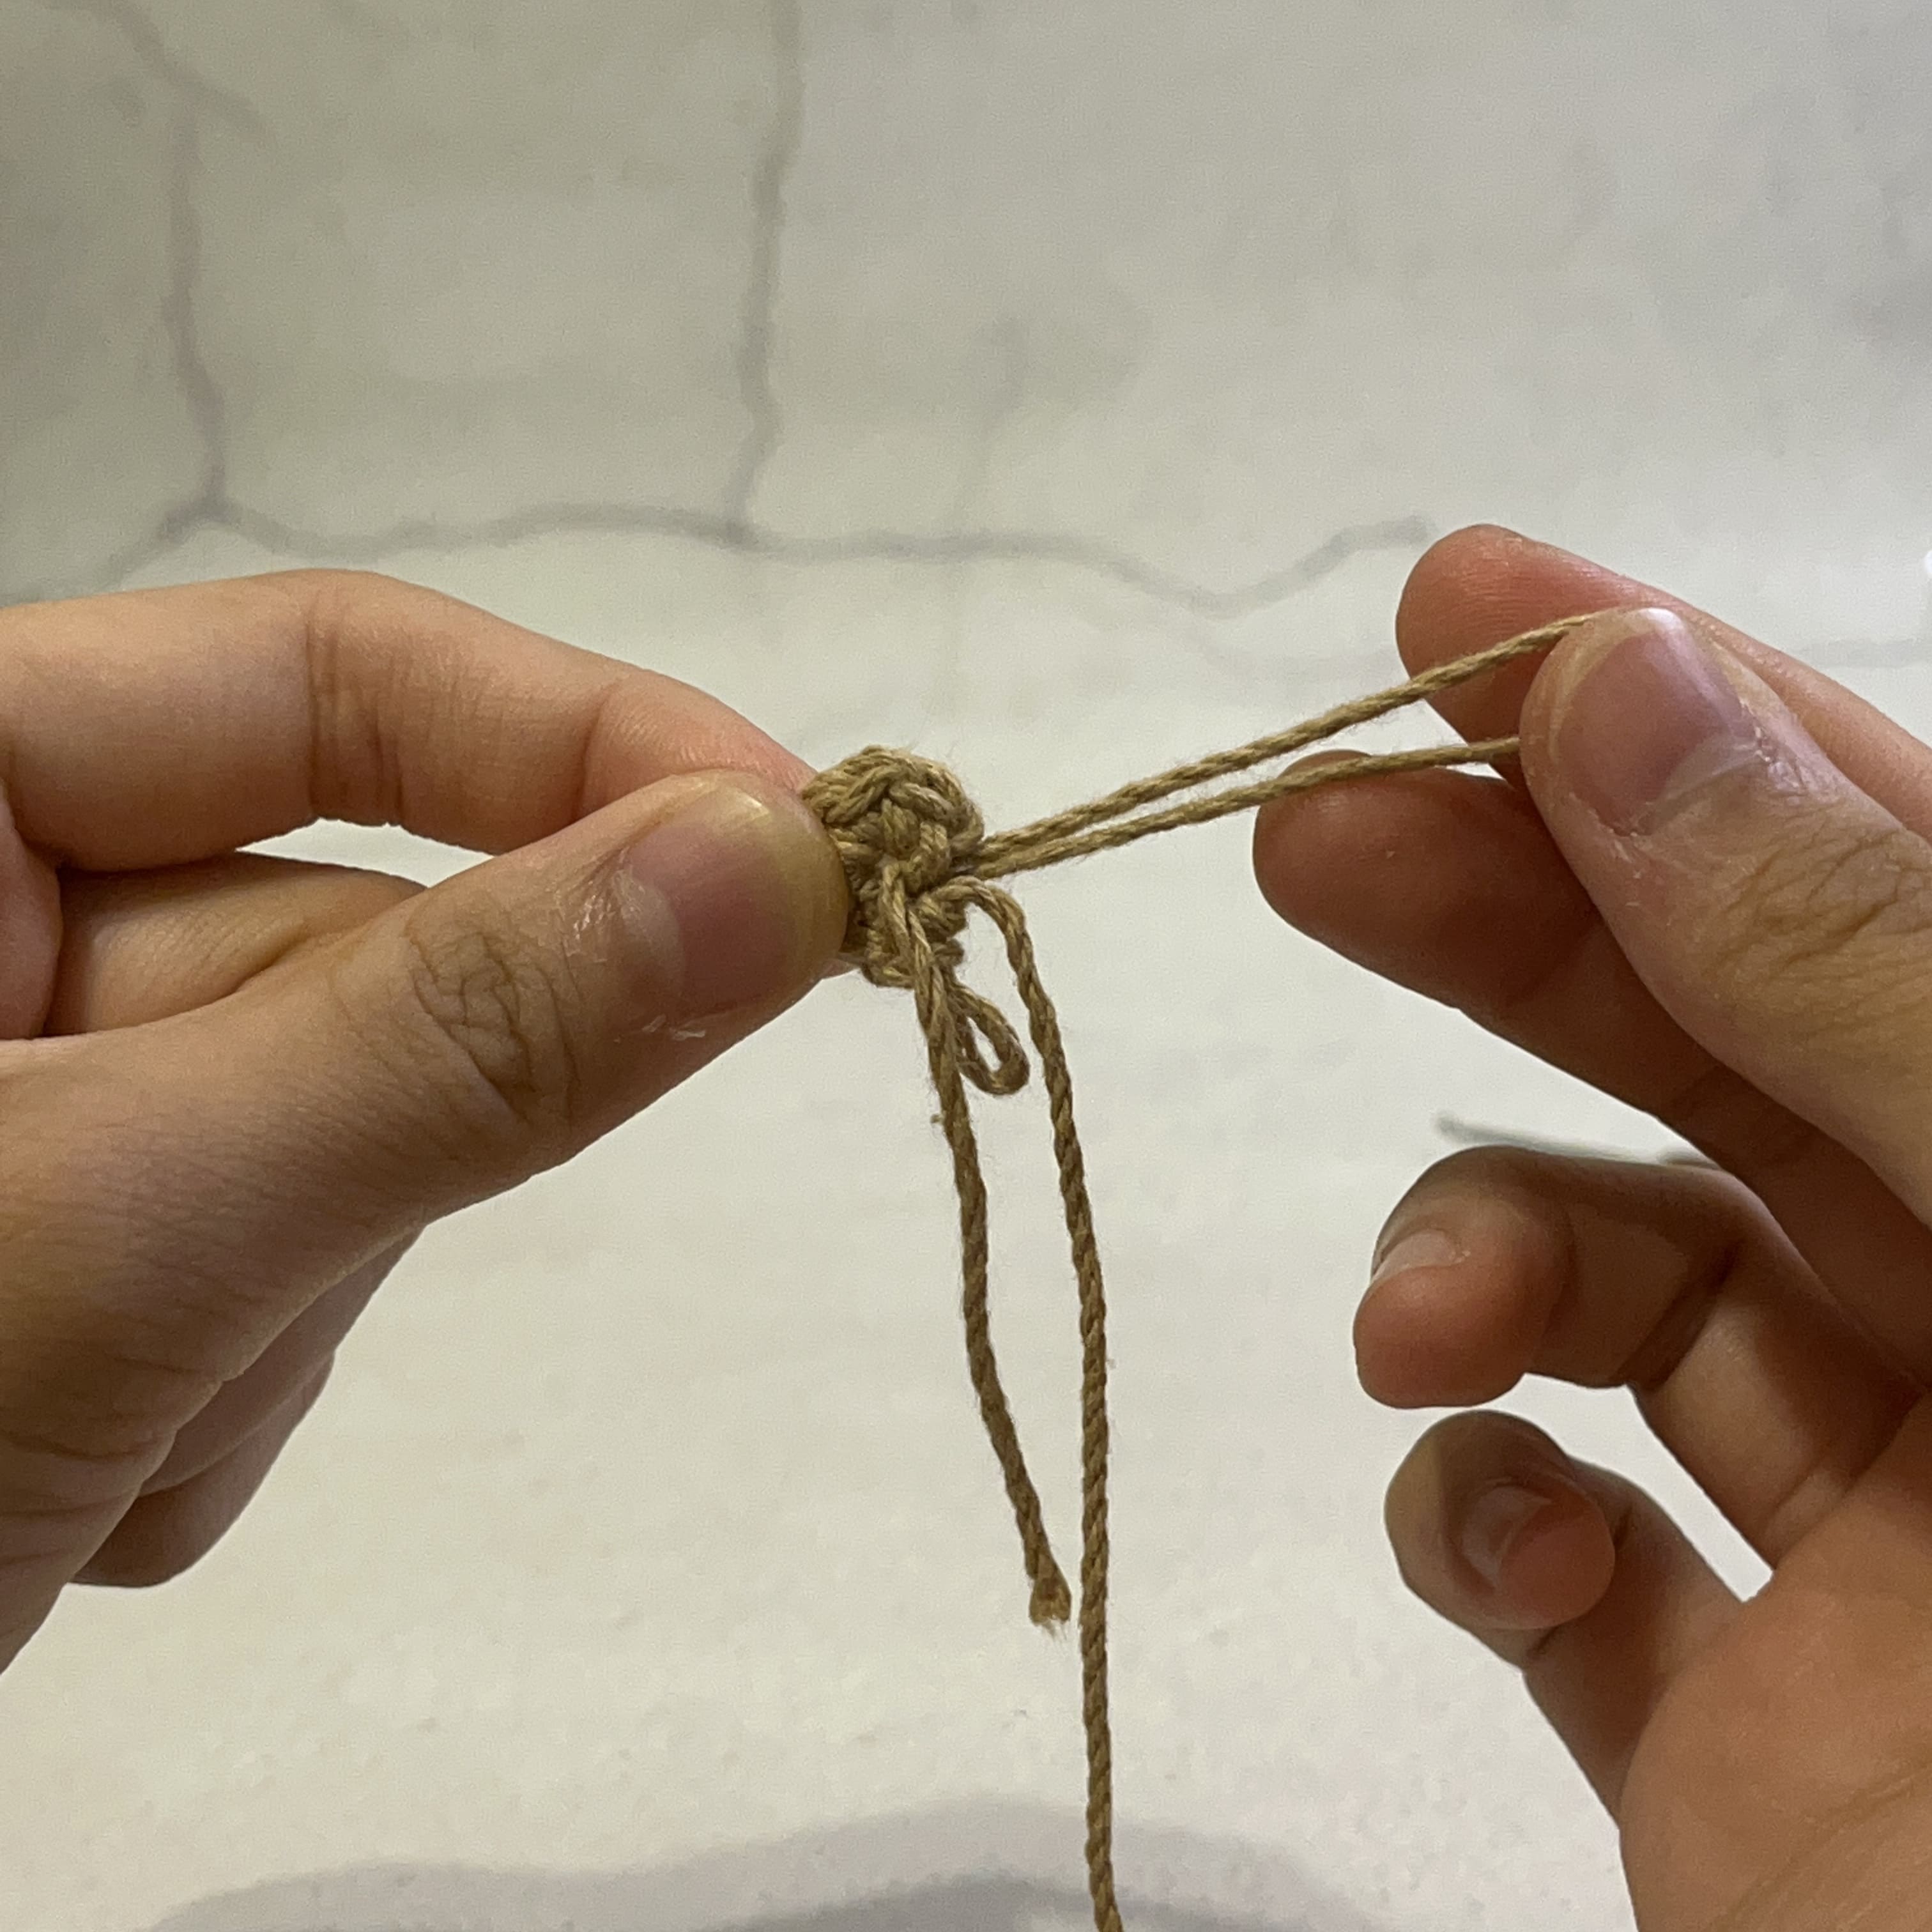
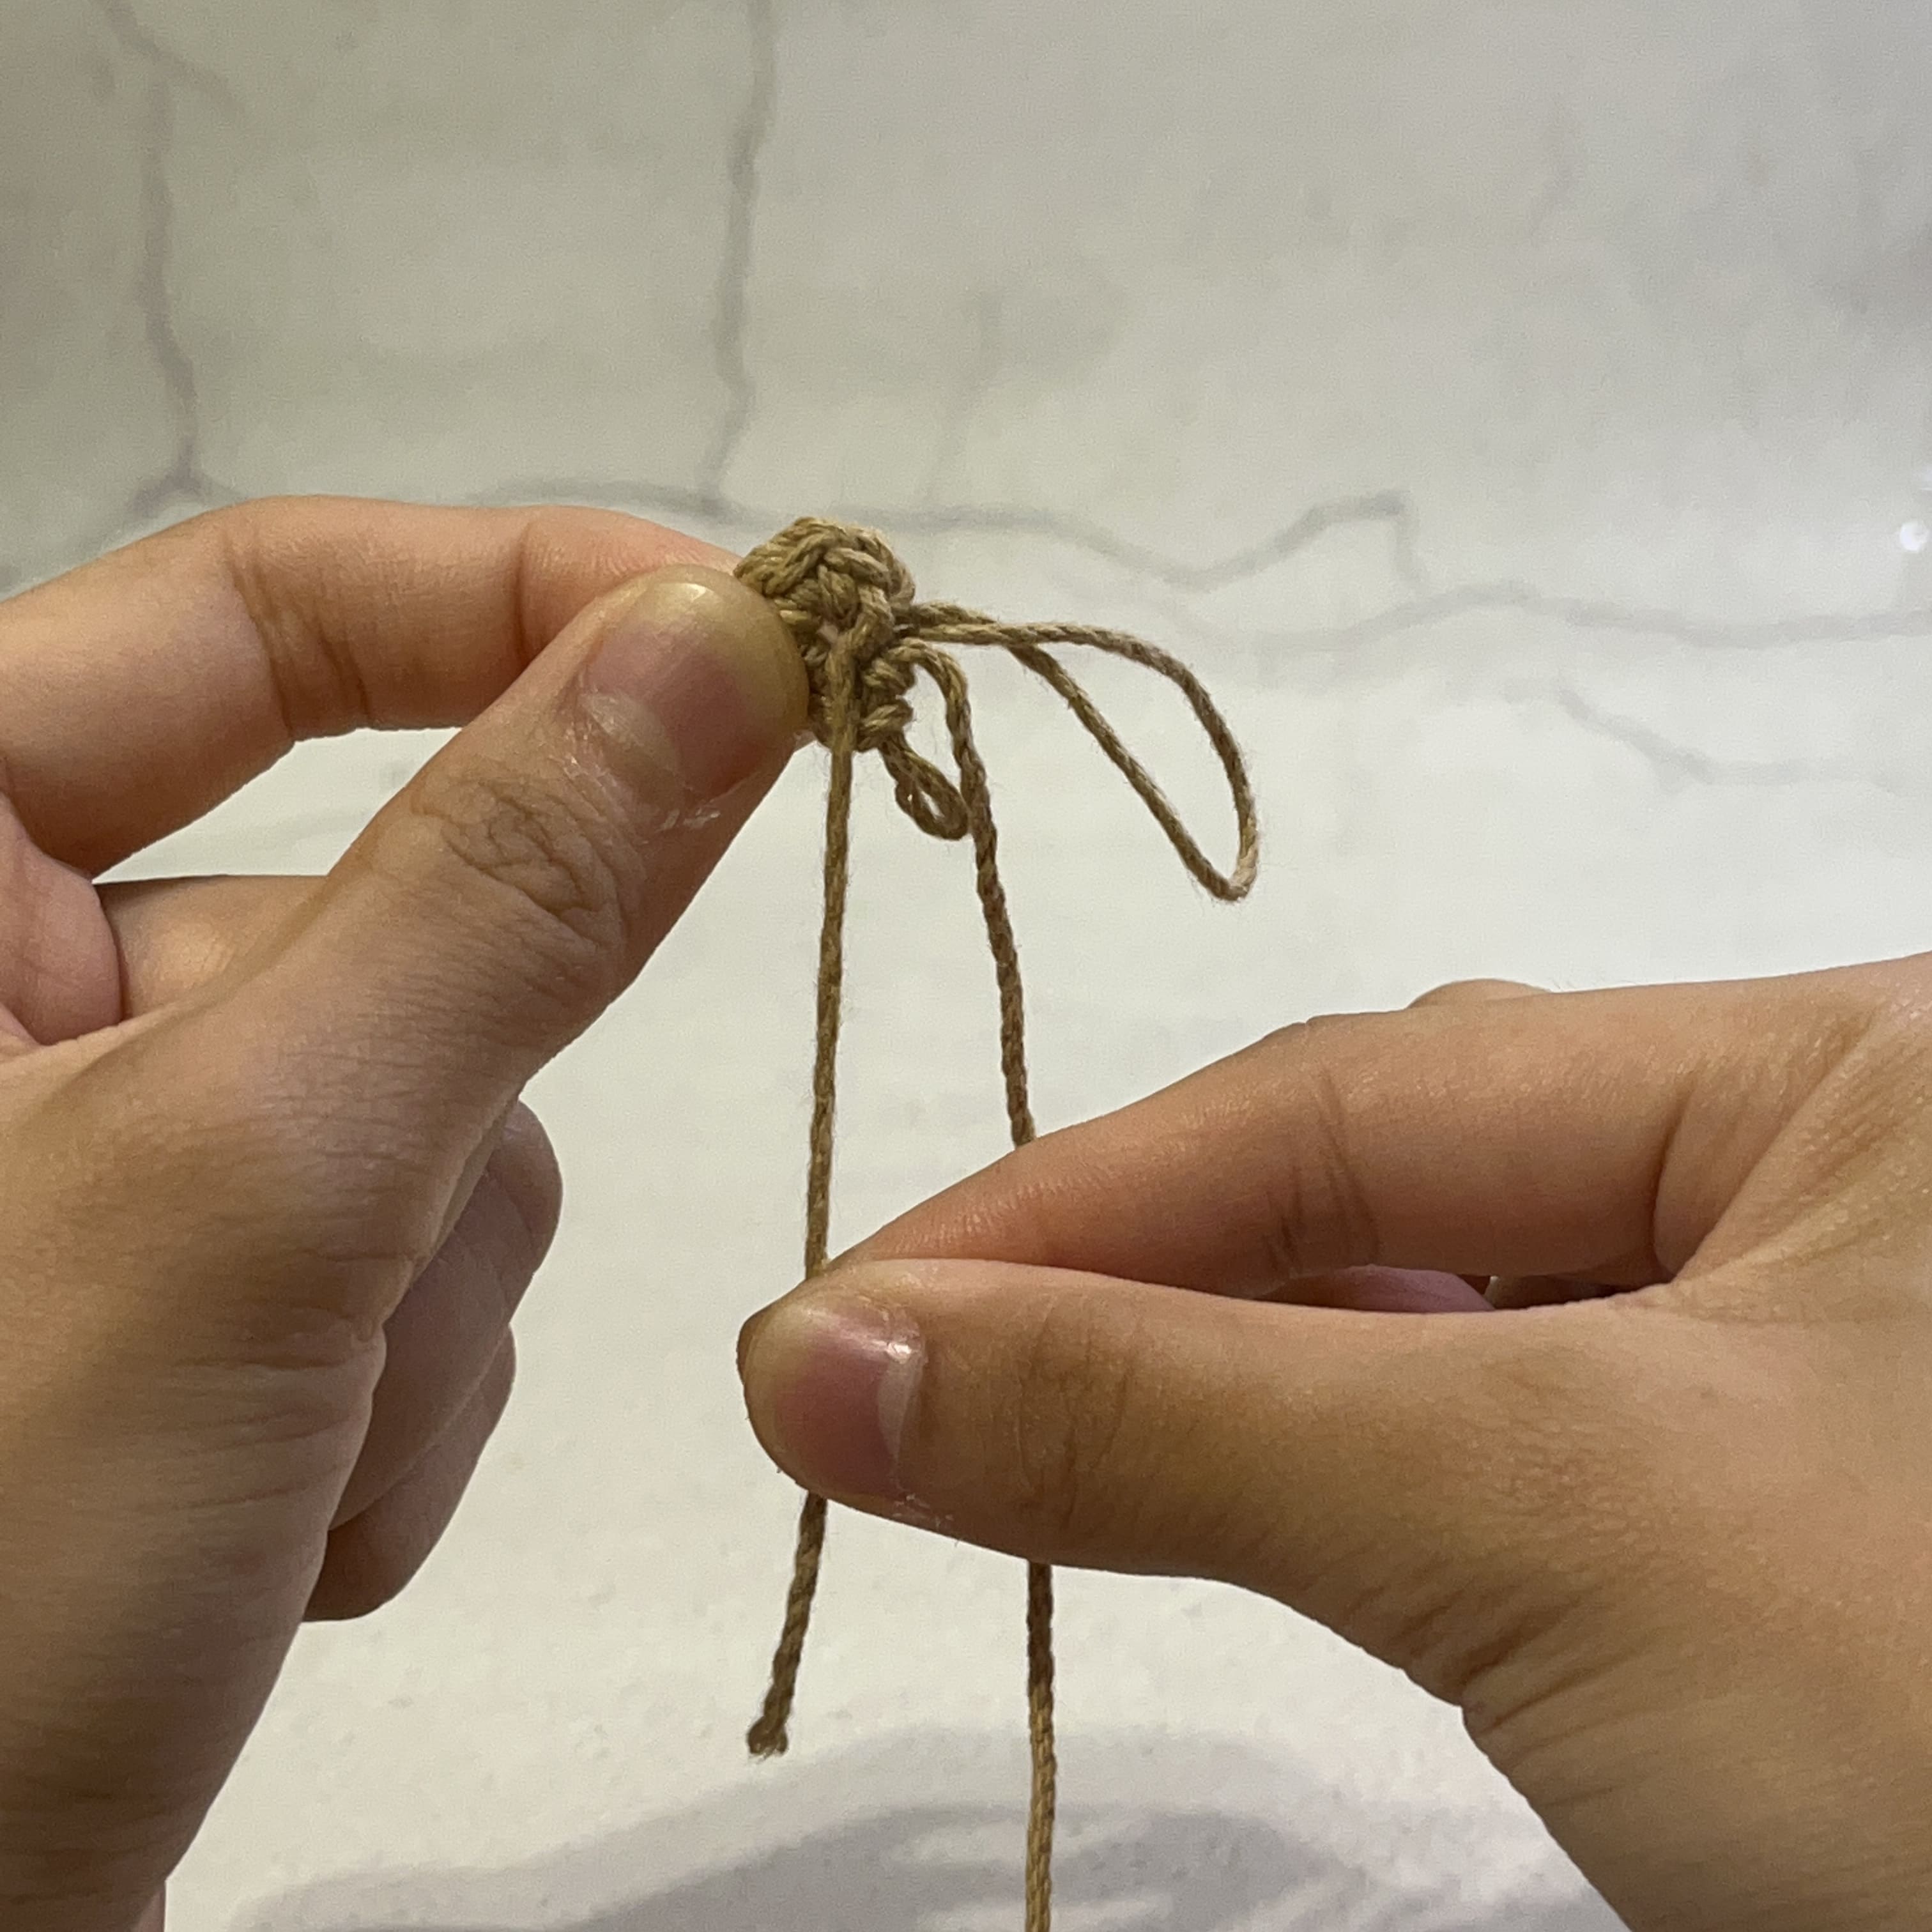
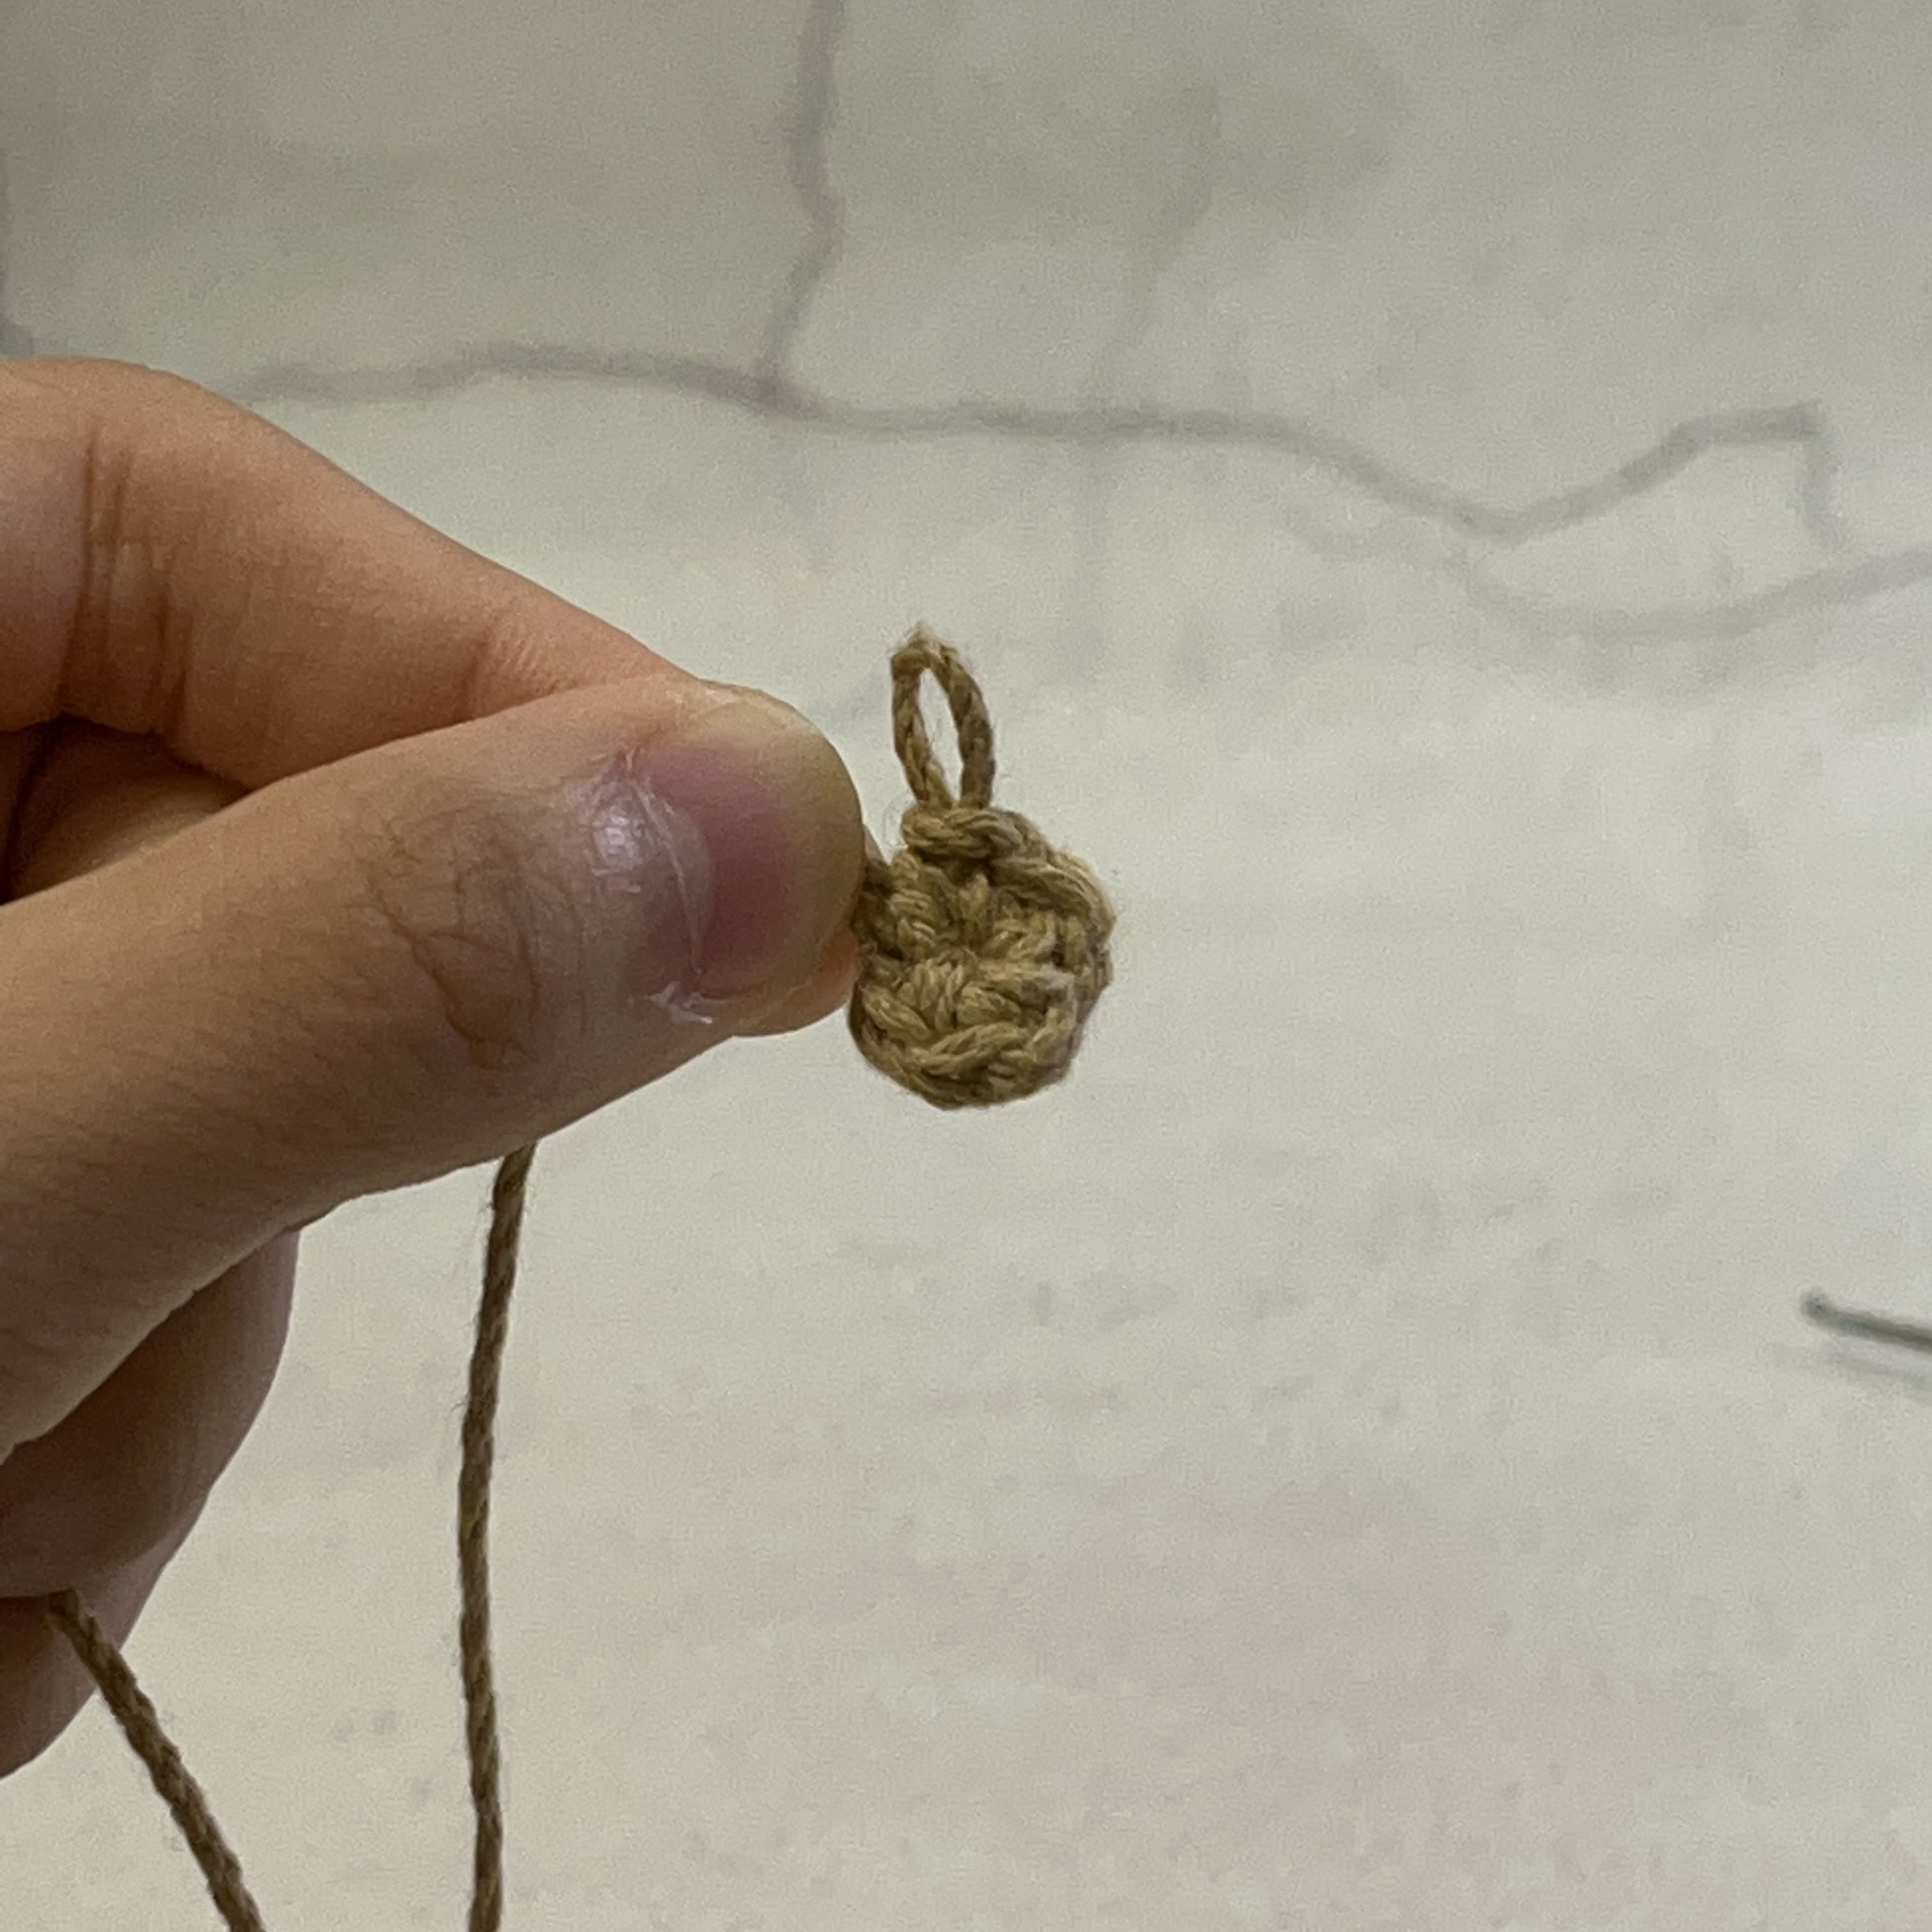
The magic ring, abbreviated as “MR,” lives up to its enchanting name. In crocheting three-dimensional dolls, the magic ring is an extremely common starting technique. Subsequently, by increasing stitches, it forms a circular shape, or when combined with increases and decreases, it creates a spherical shape.
How to Crochet a Magic Ring

Basic Stitch 4: Single Crochet Increase
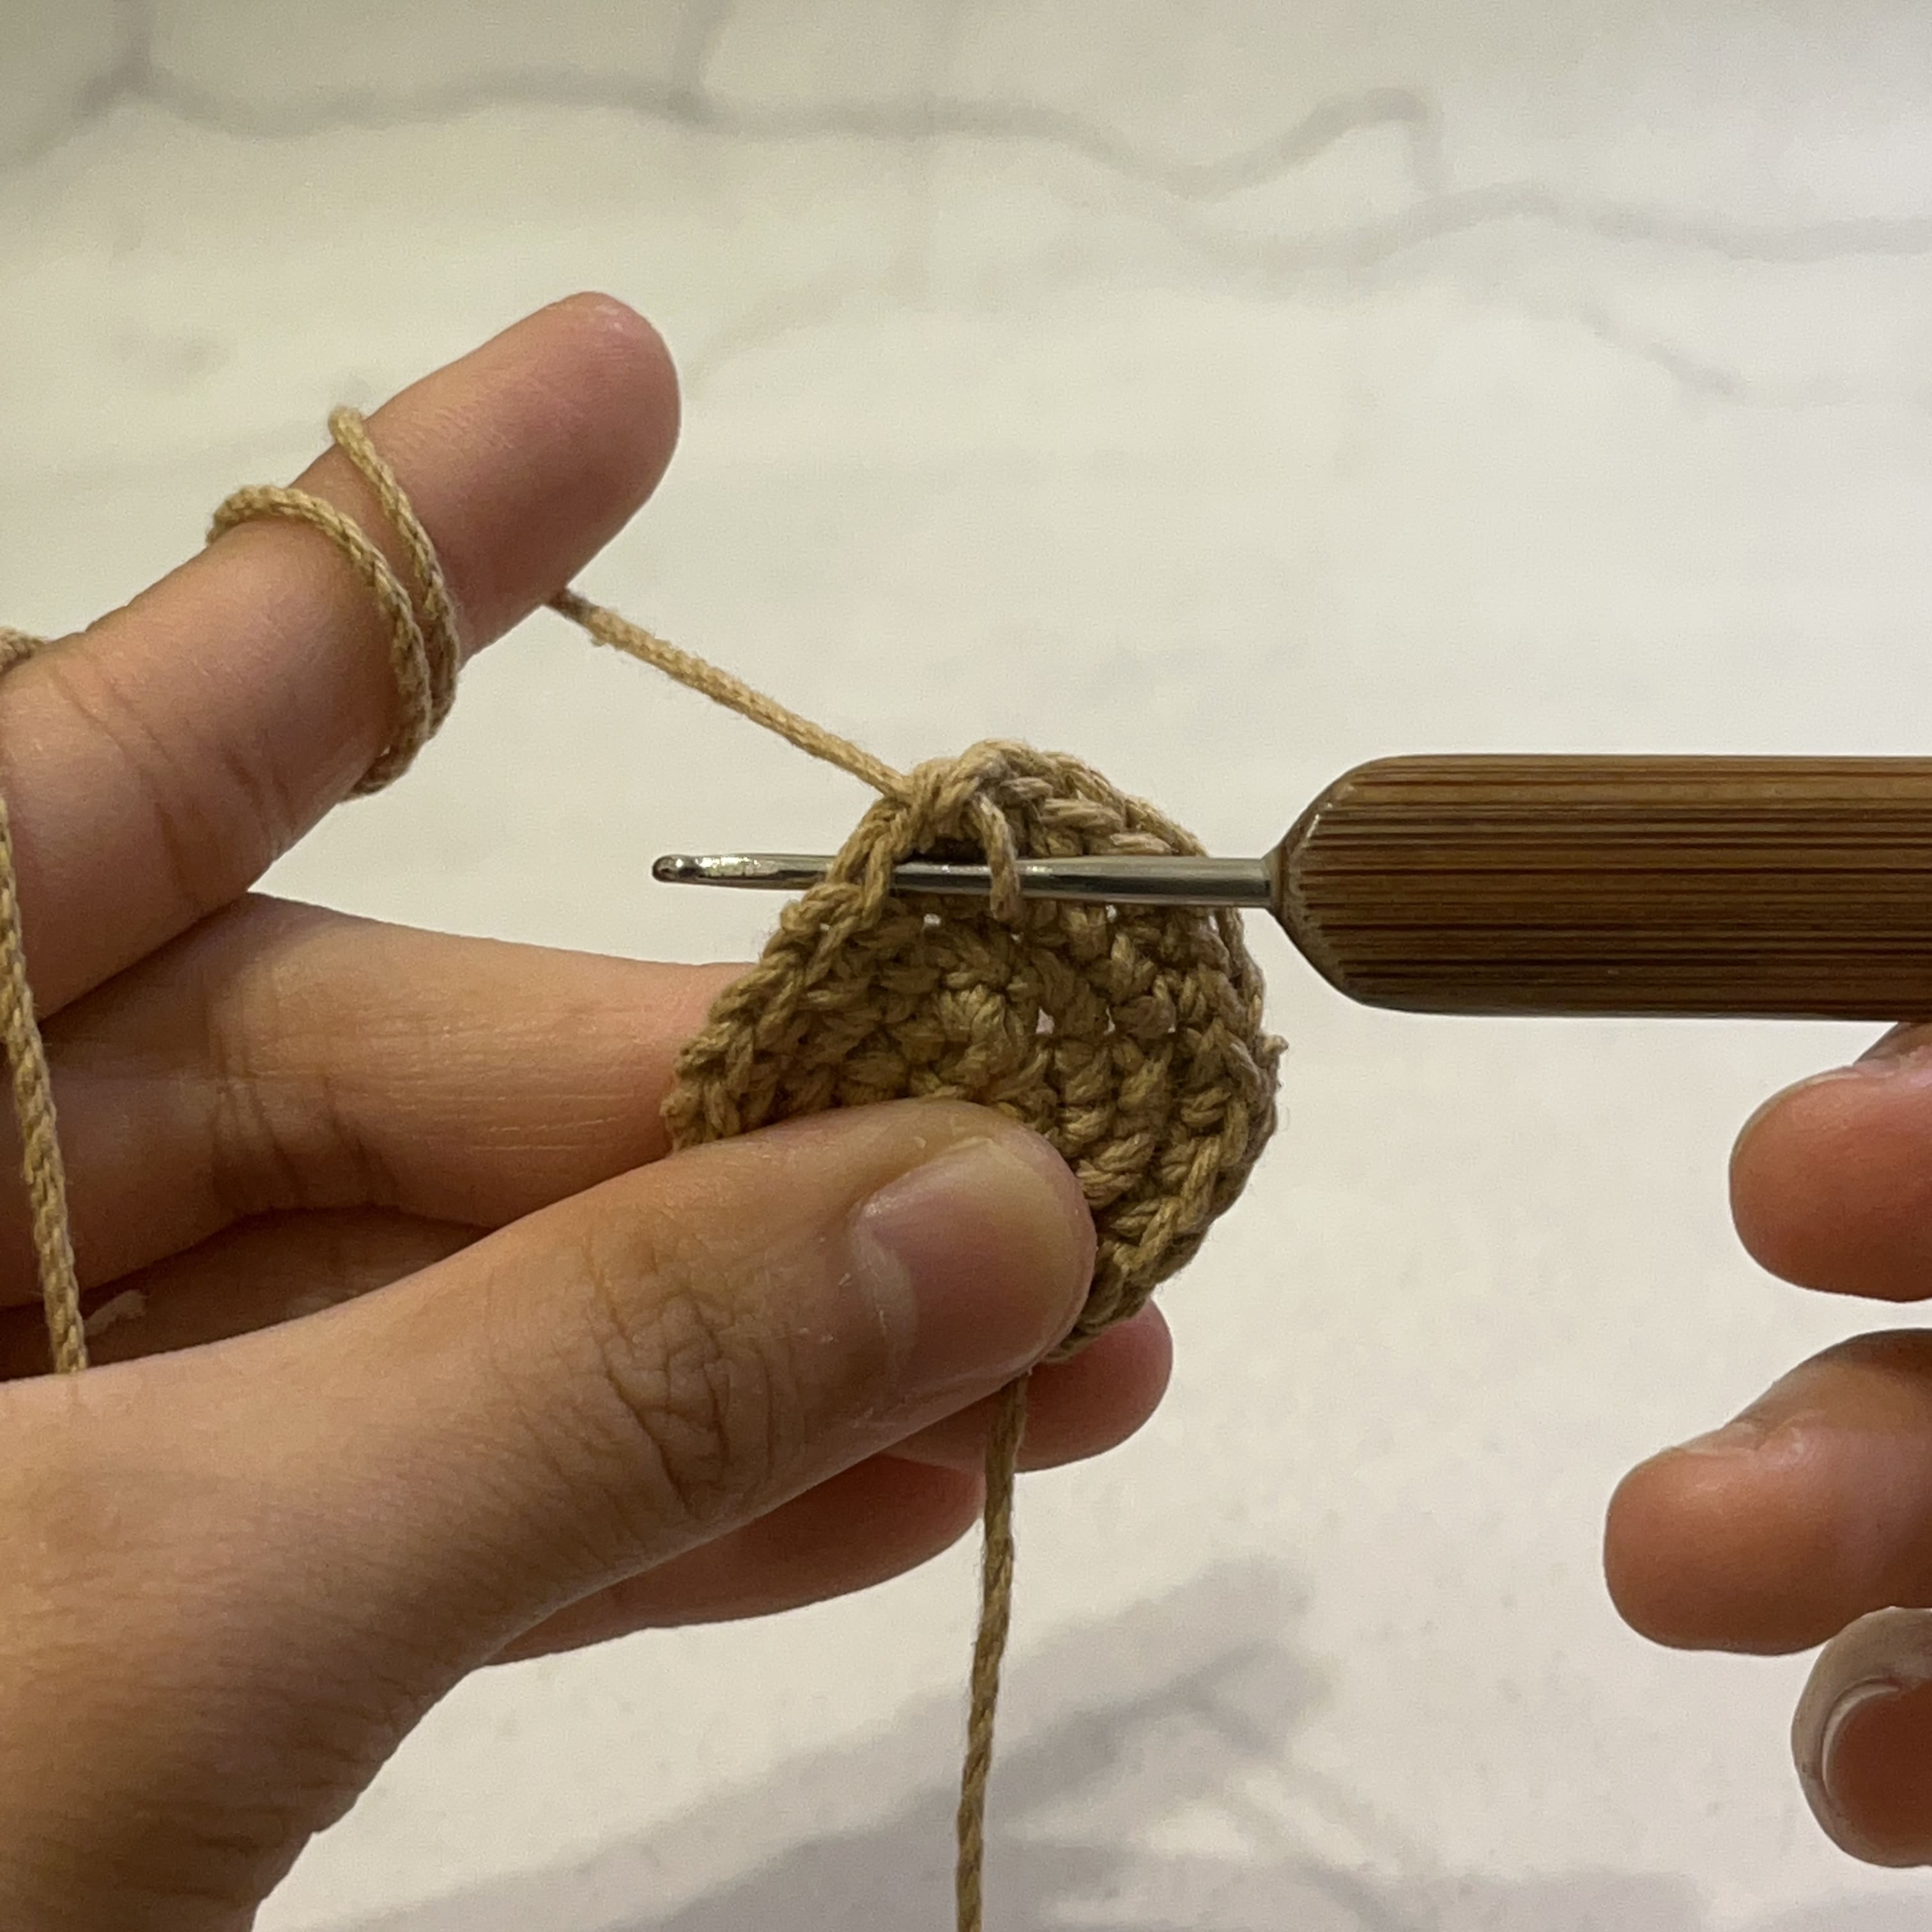
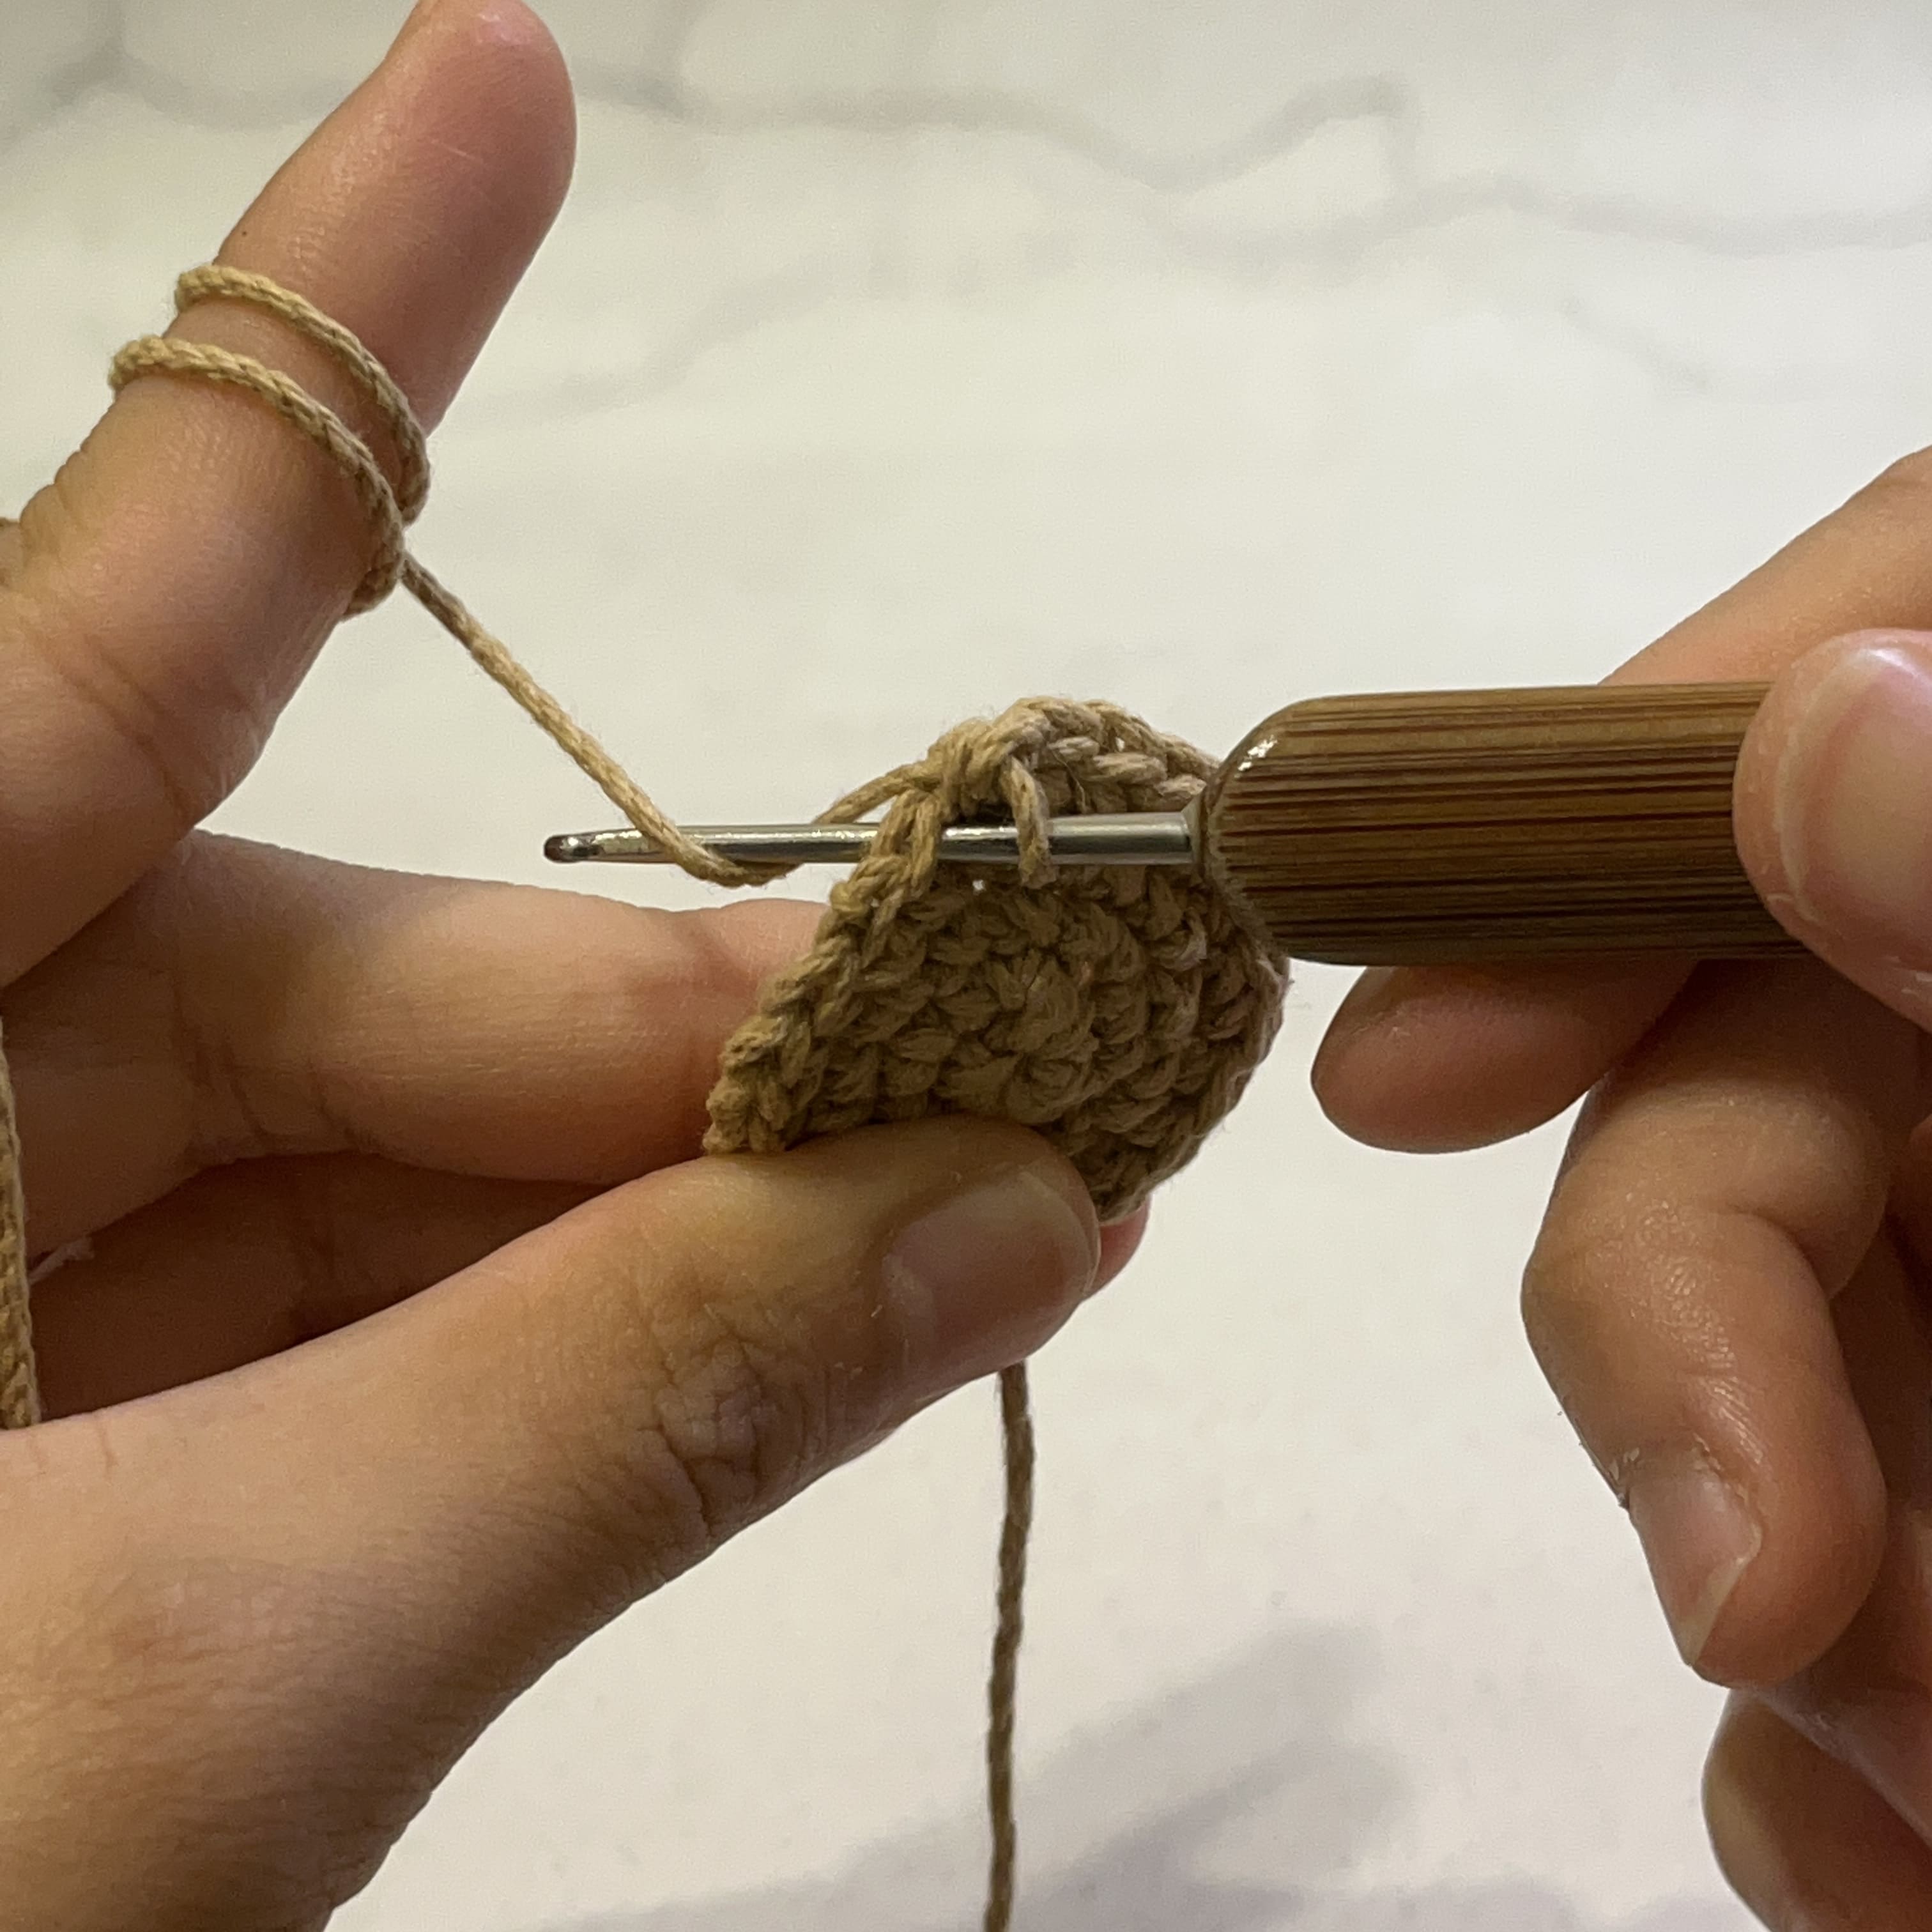
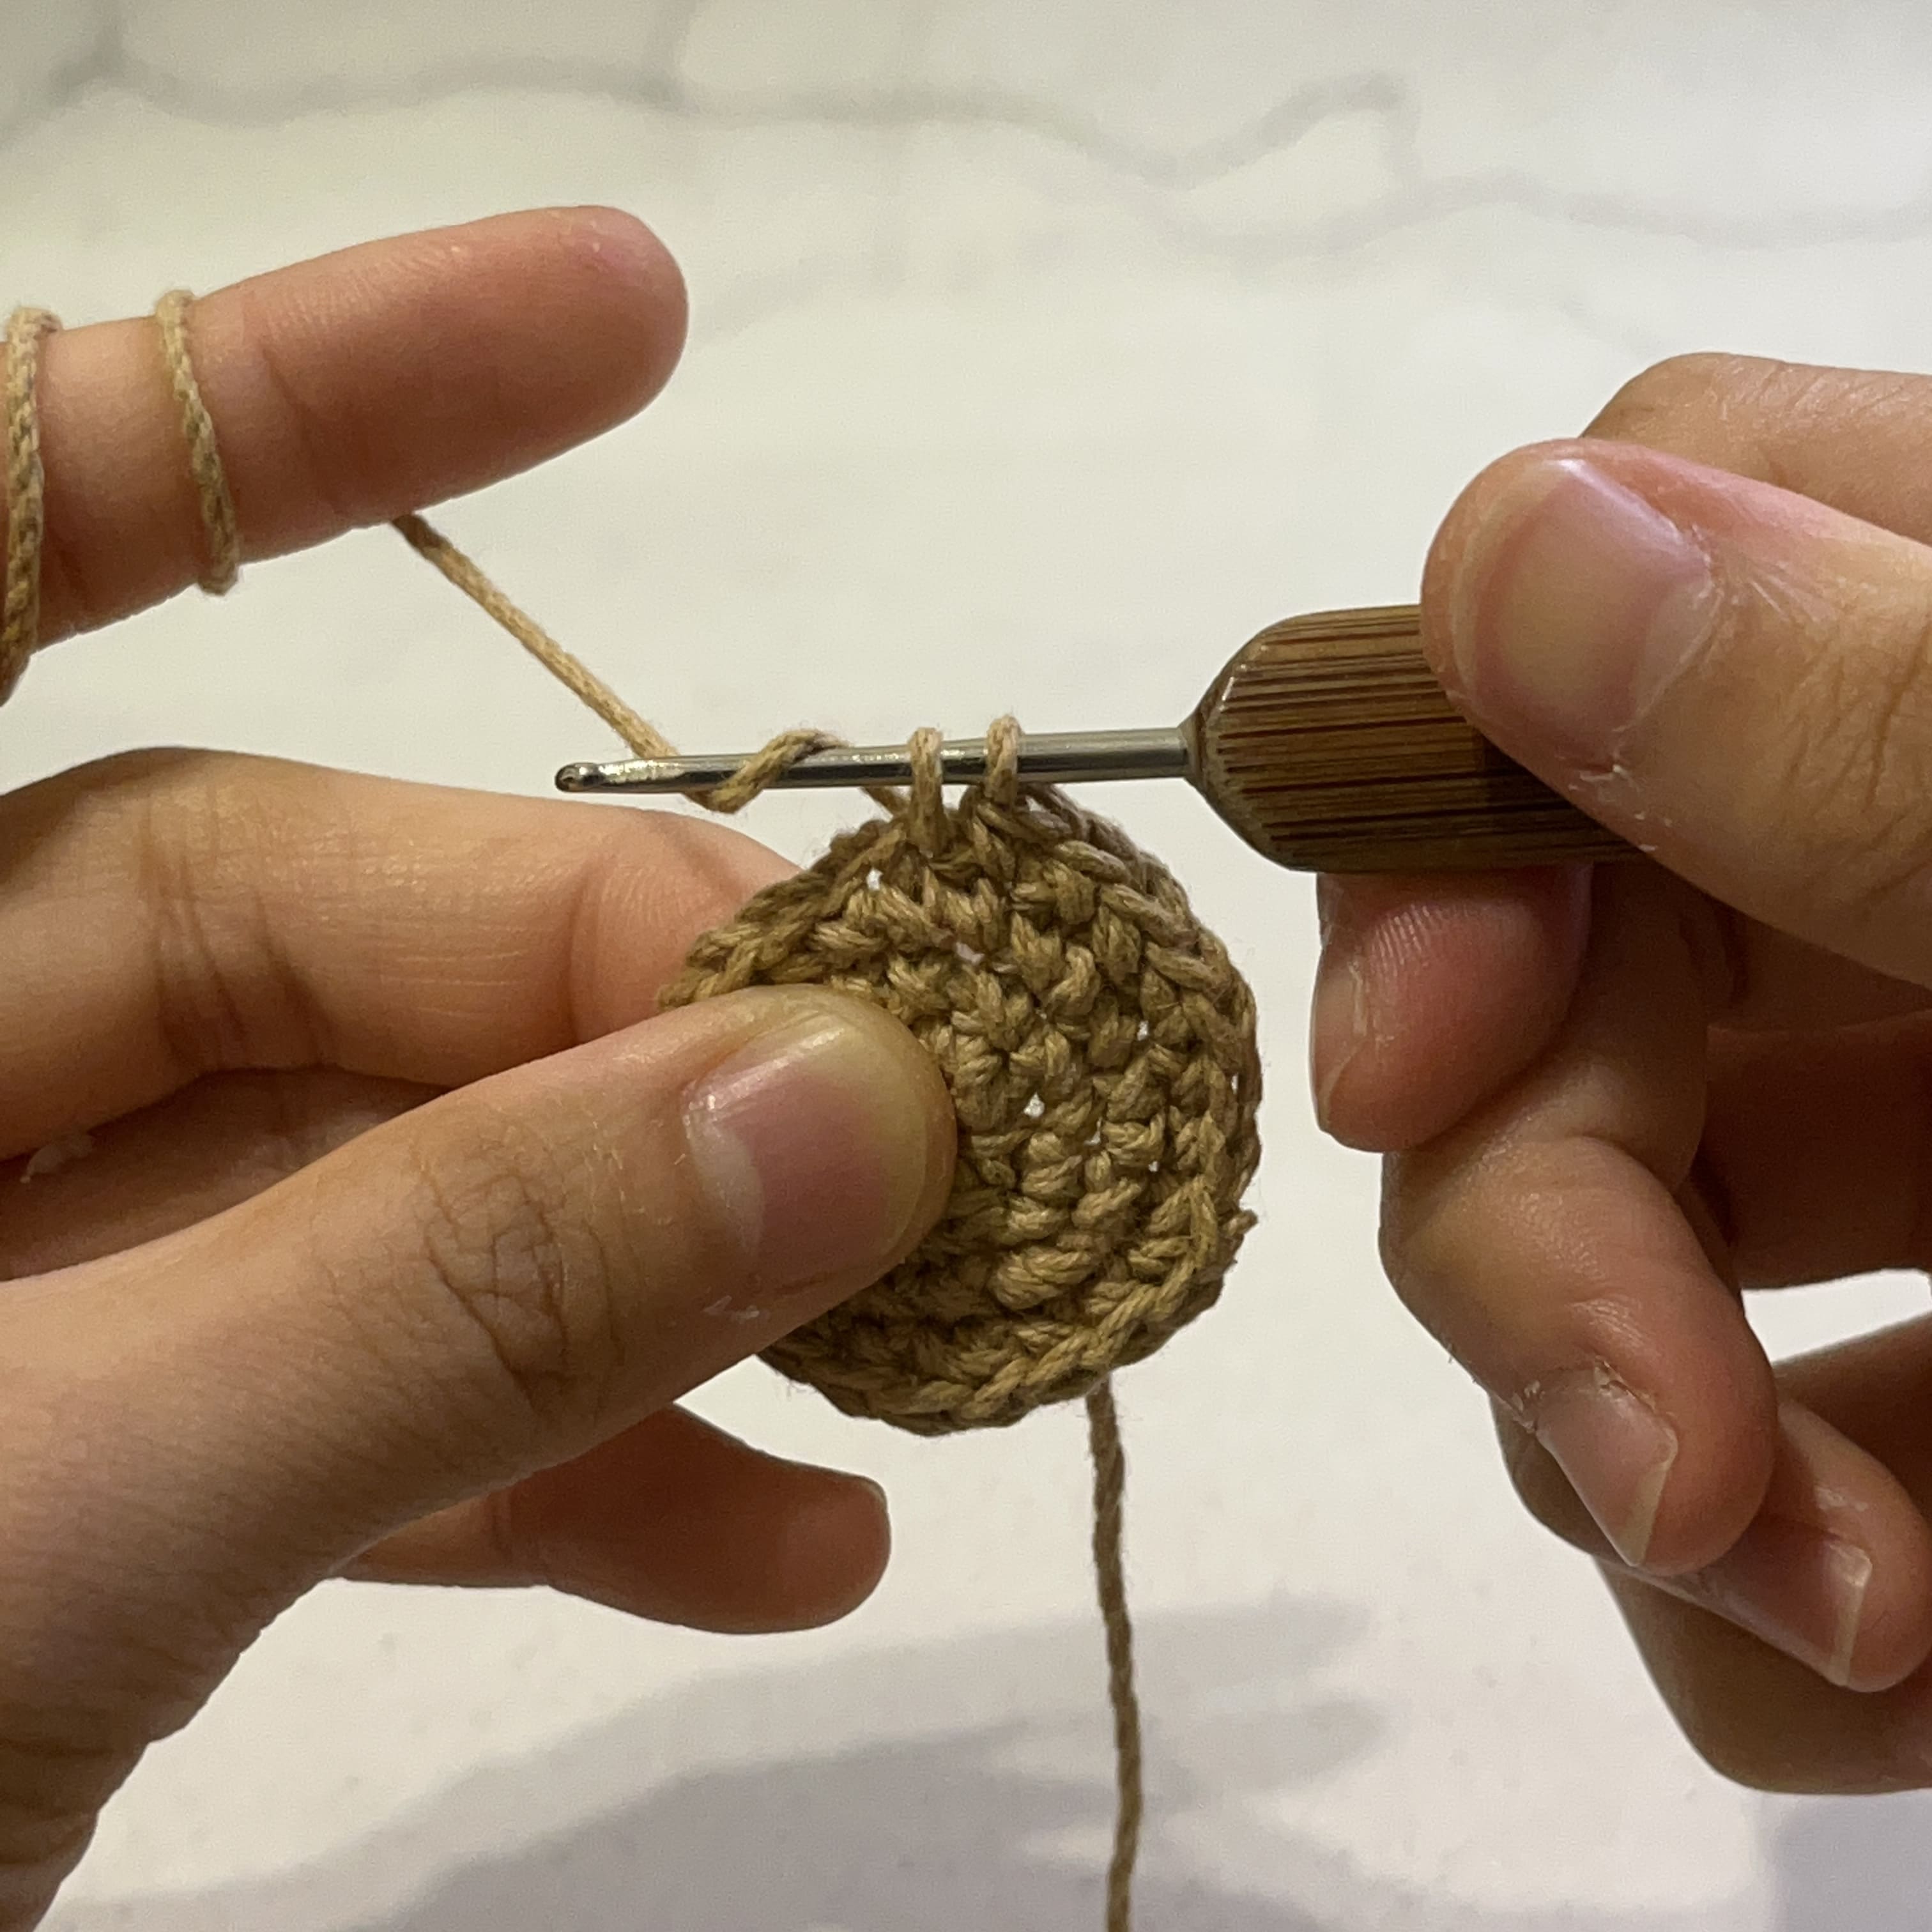
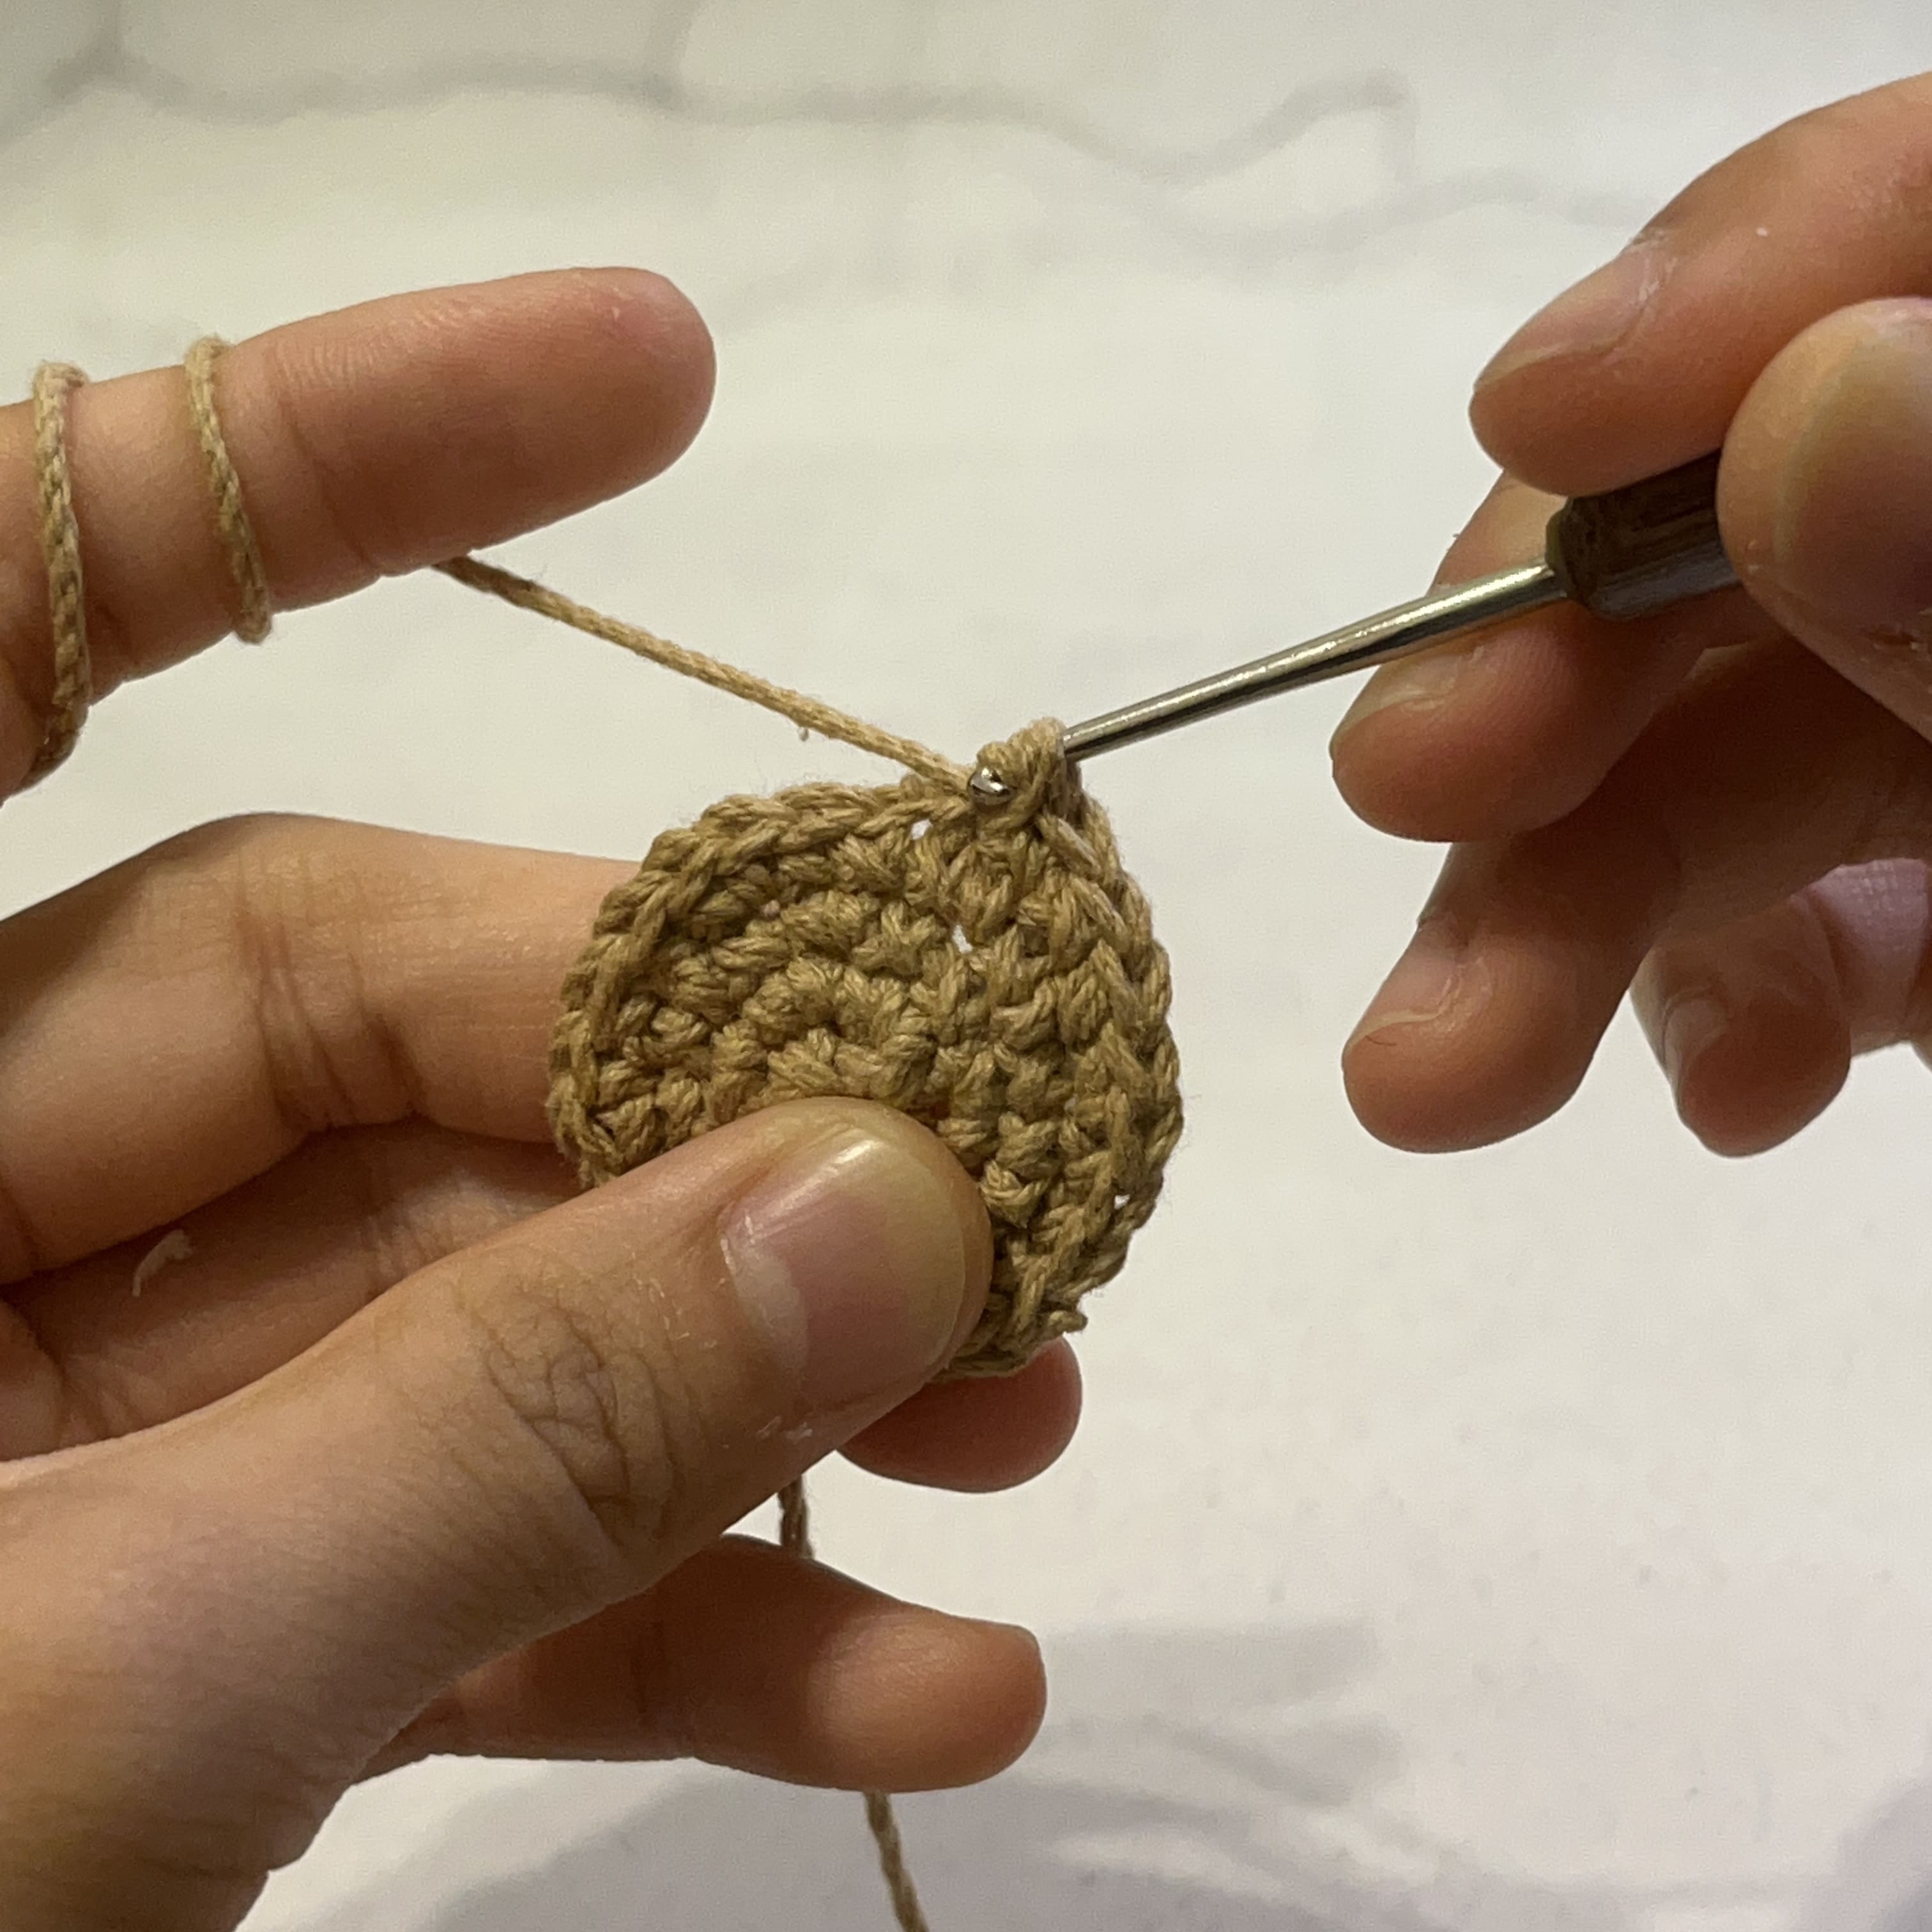
A common single crochet increase involves crocheting two single crochet stitches into one stitch space, thereby altering the shape of the fabric. The symbol for increase is “V”, and its English abbreviation is “Inc” (Increase). Additionally, depending on the project requirements, there may be instances of half double crochet increase, double crochet increase, and so forth.
How to Make Single Crochet Increase
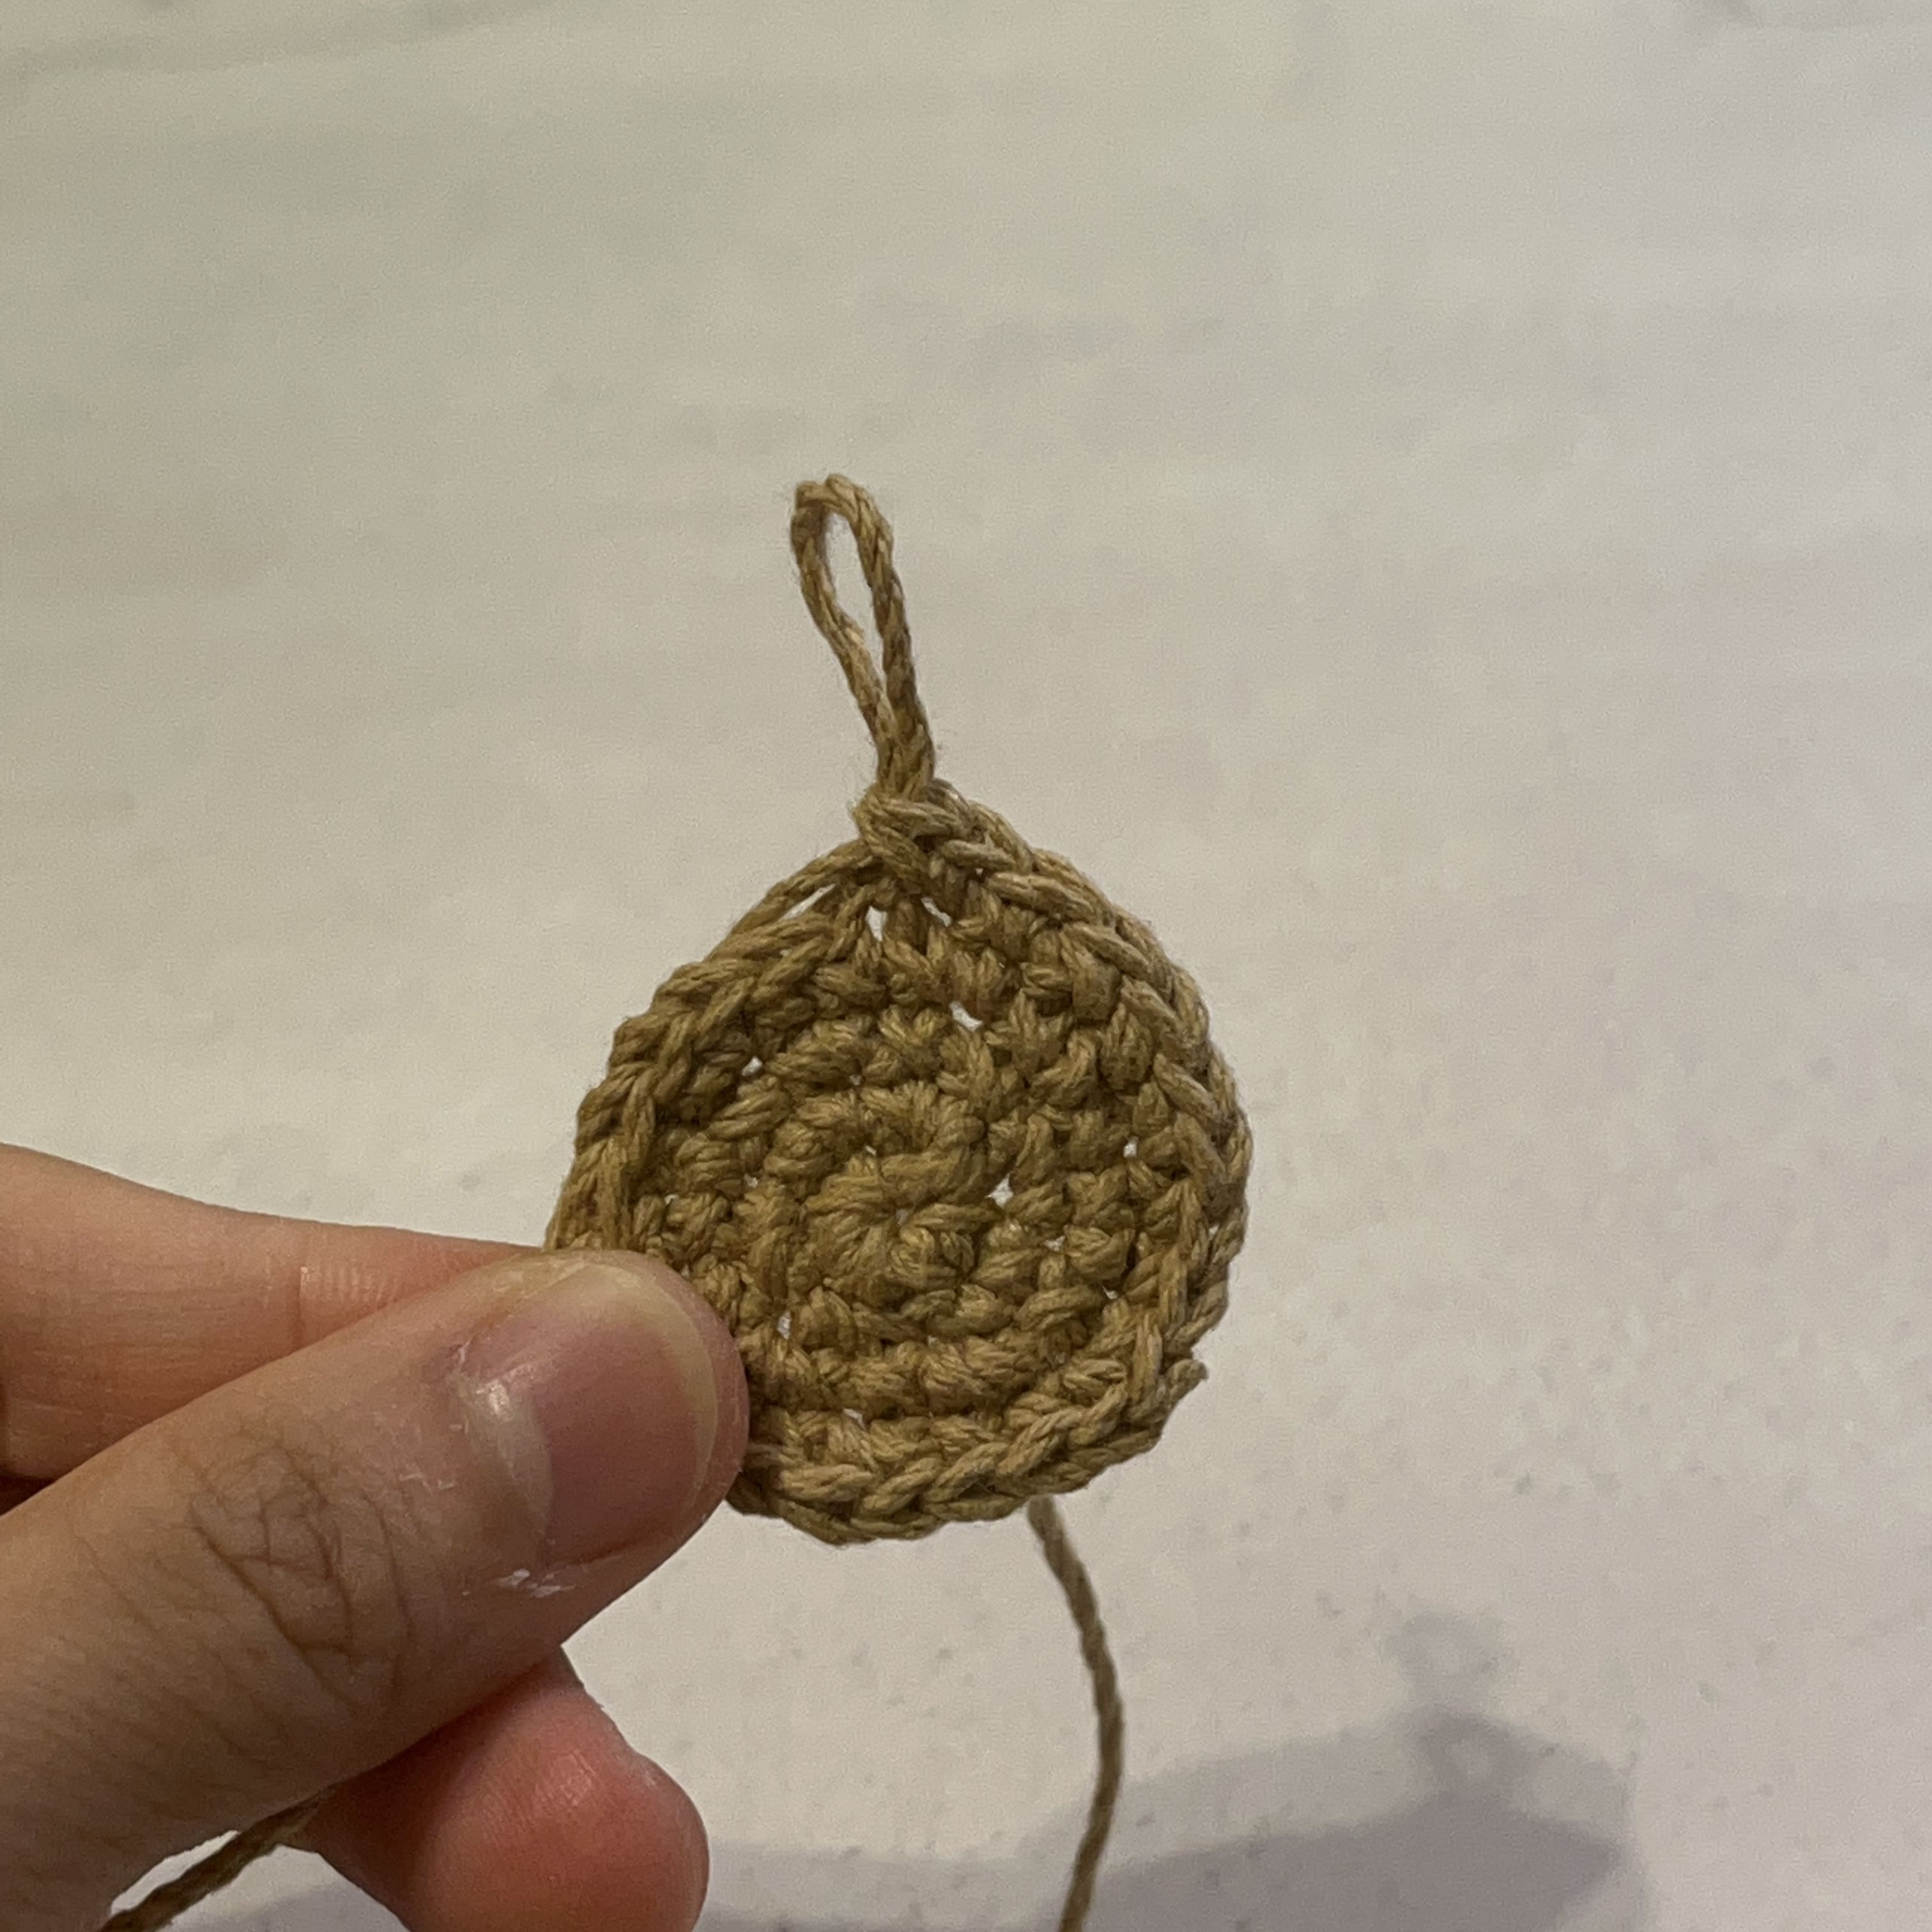
Basic Stitch 5: Single Crochet Decrease
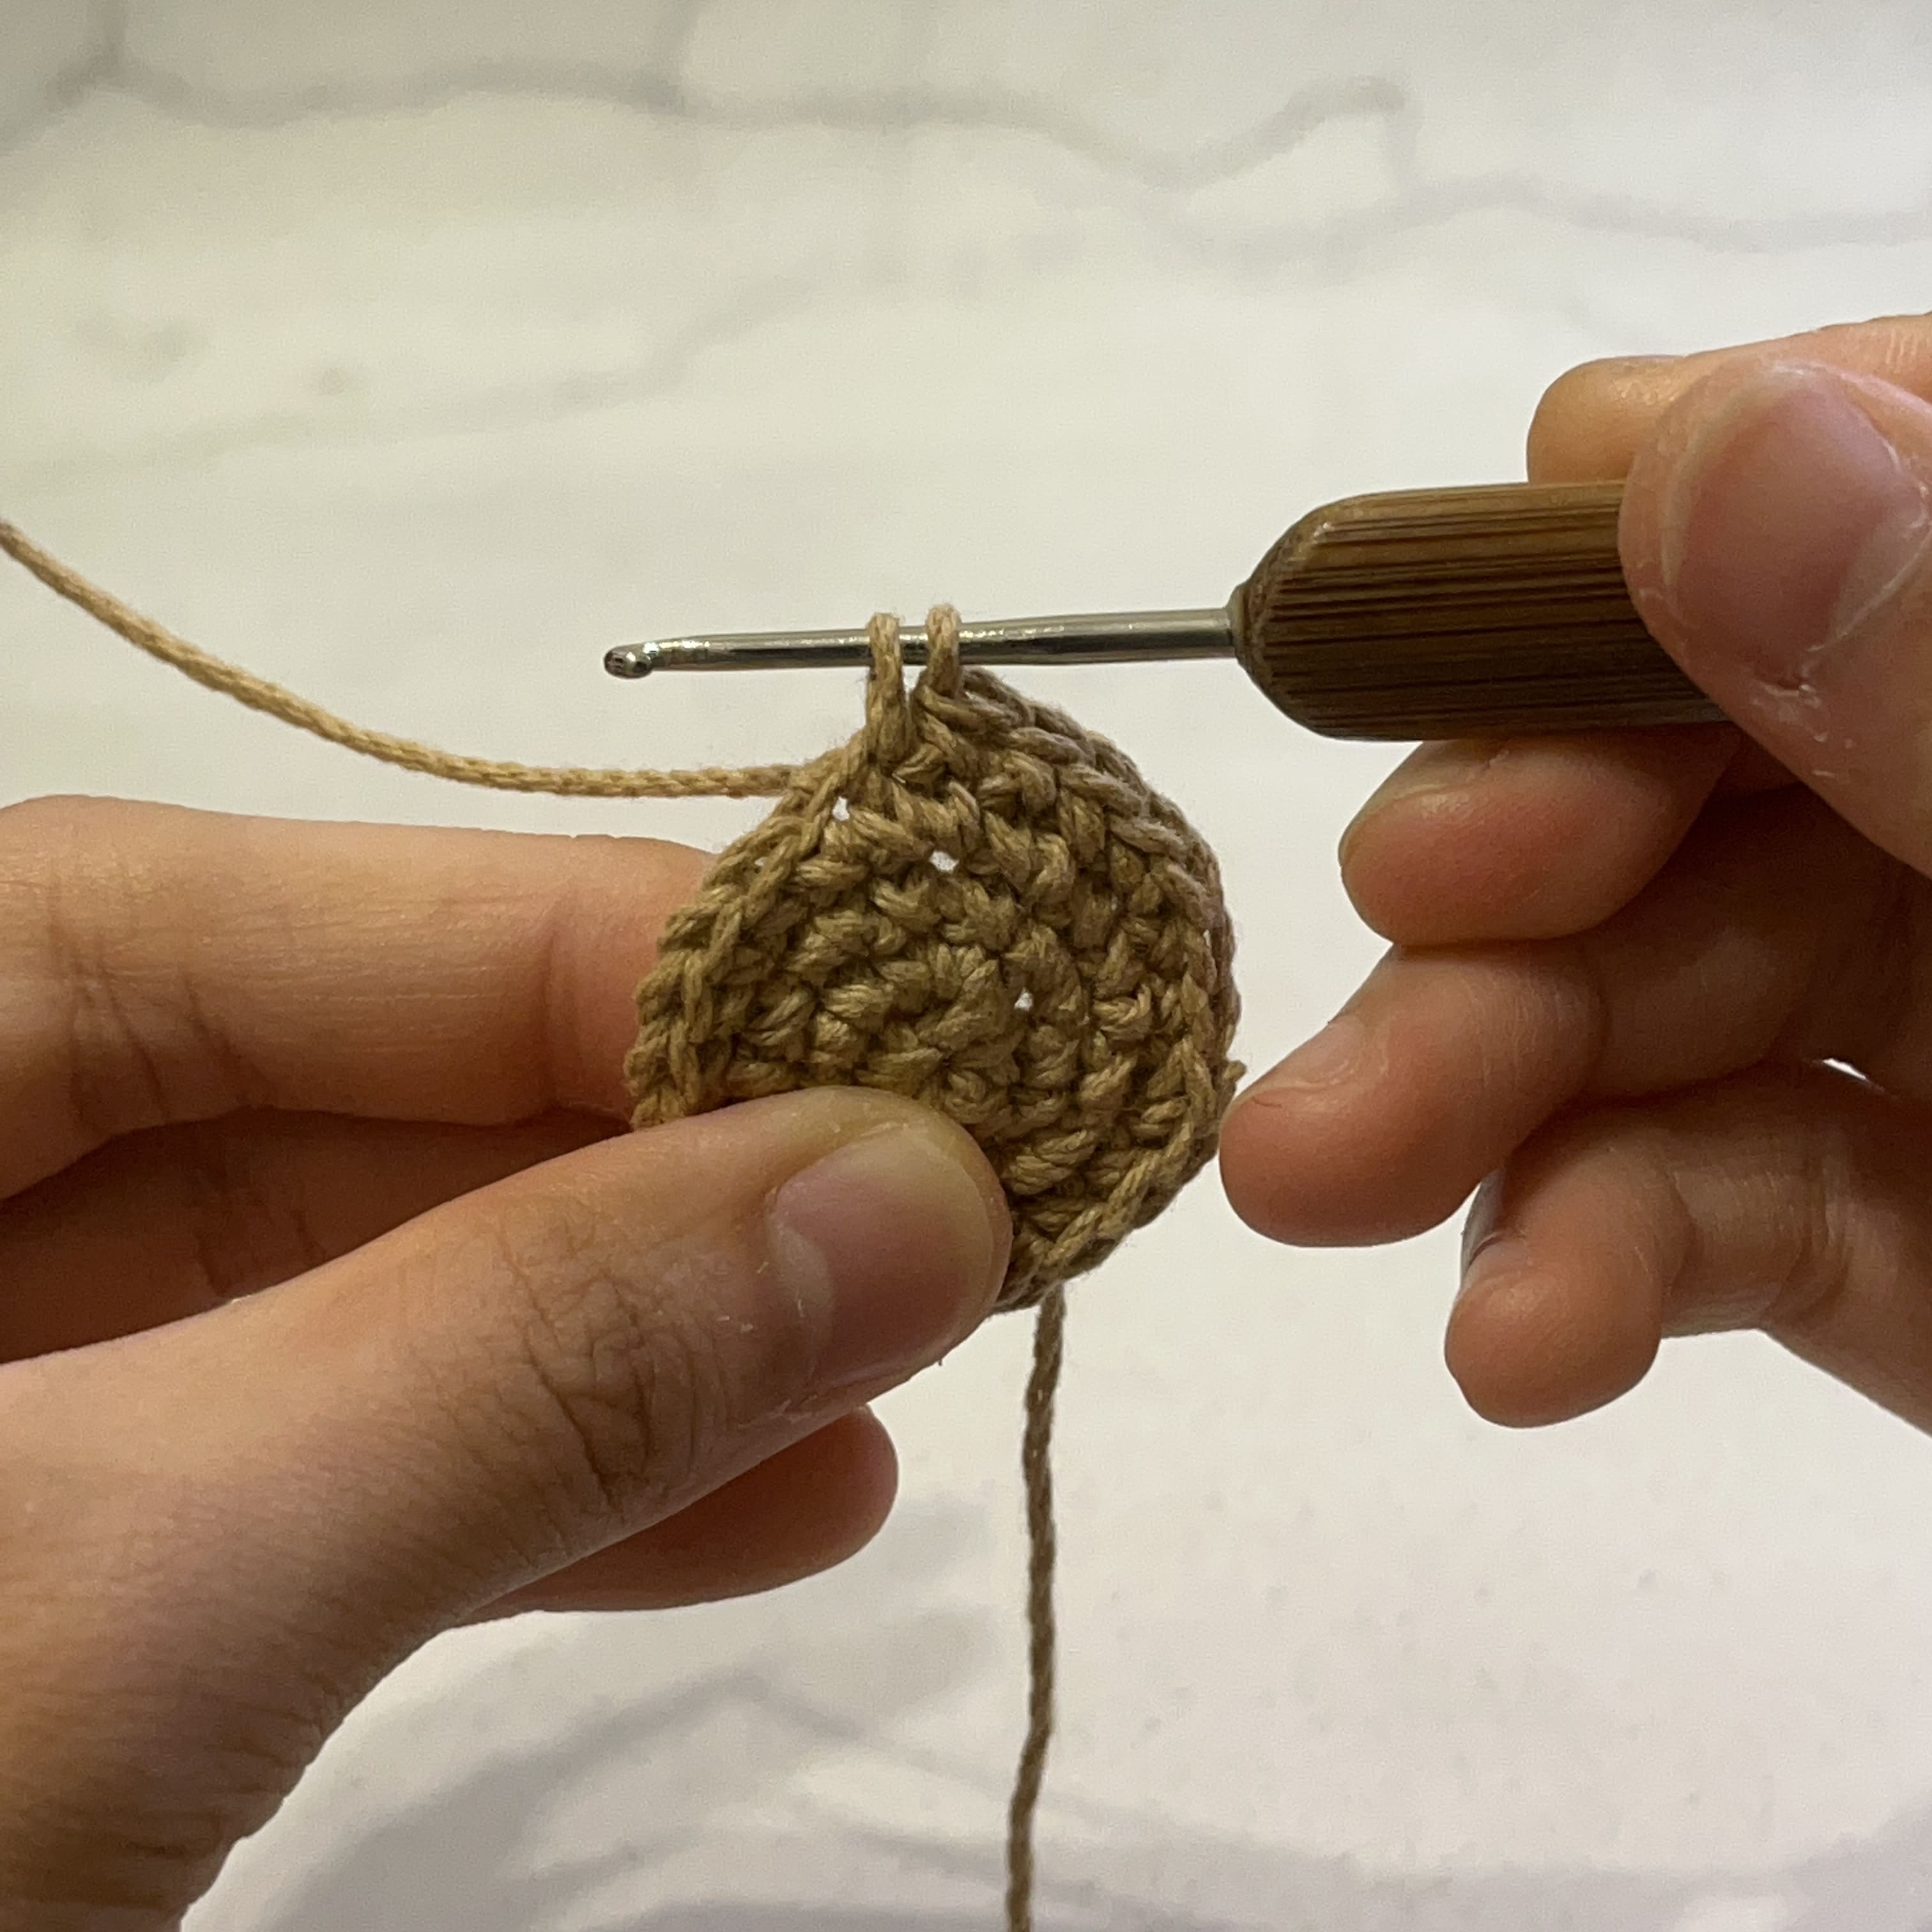
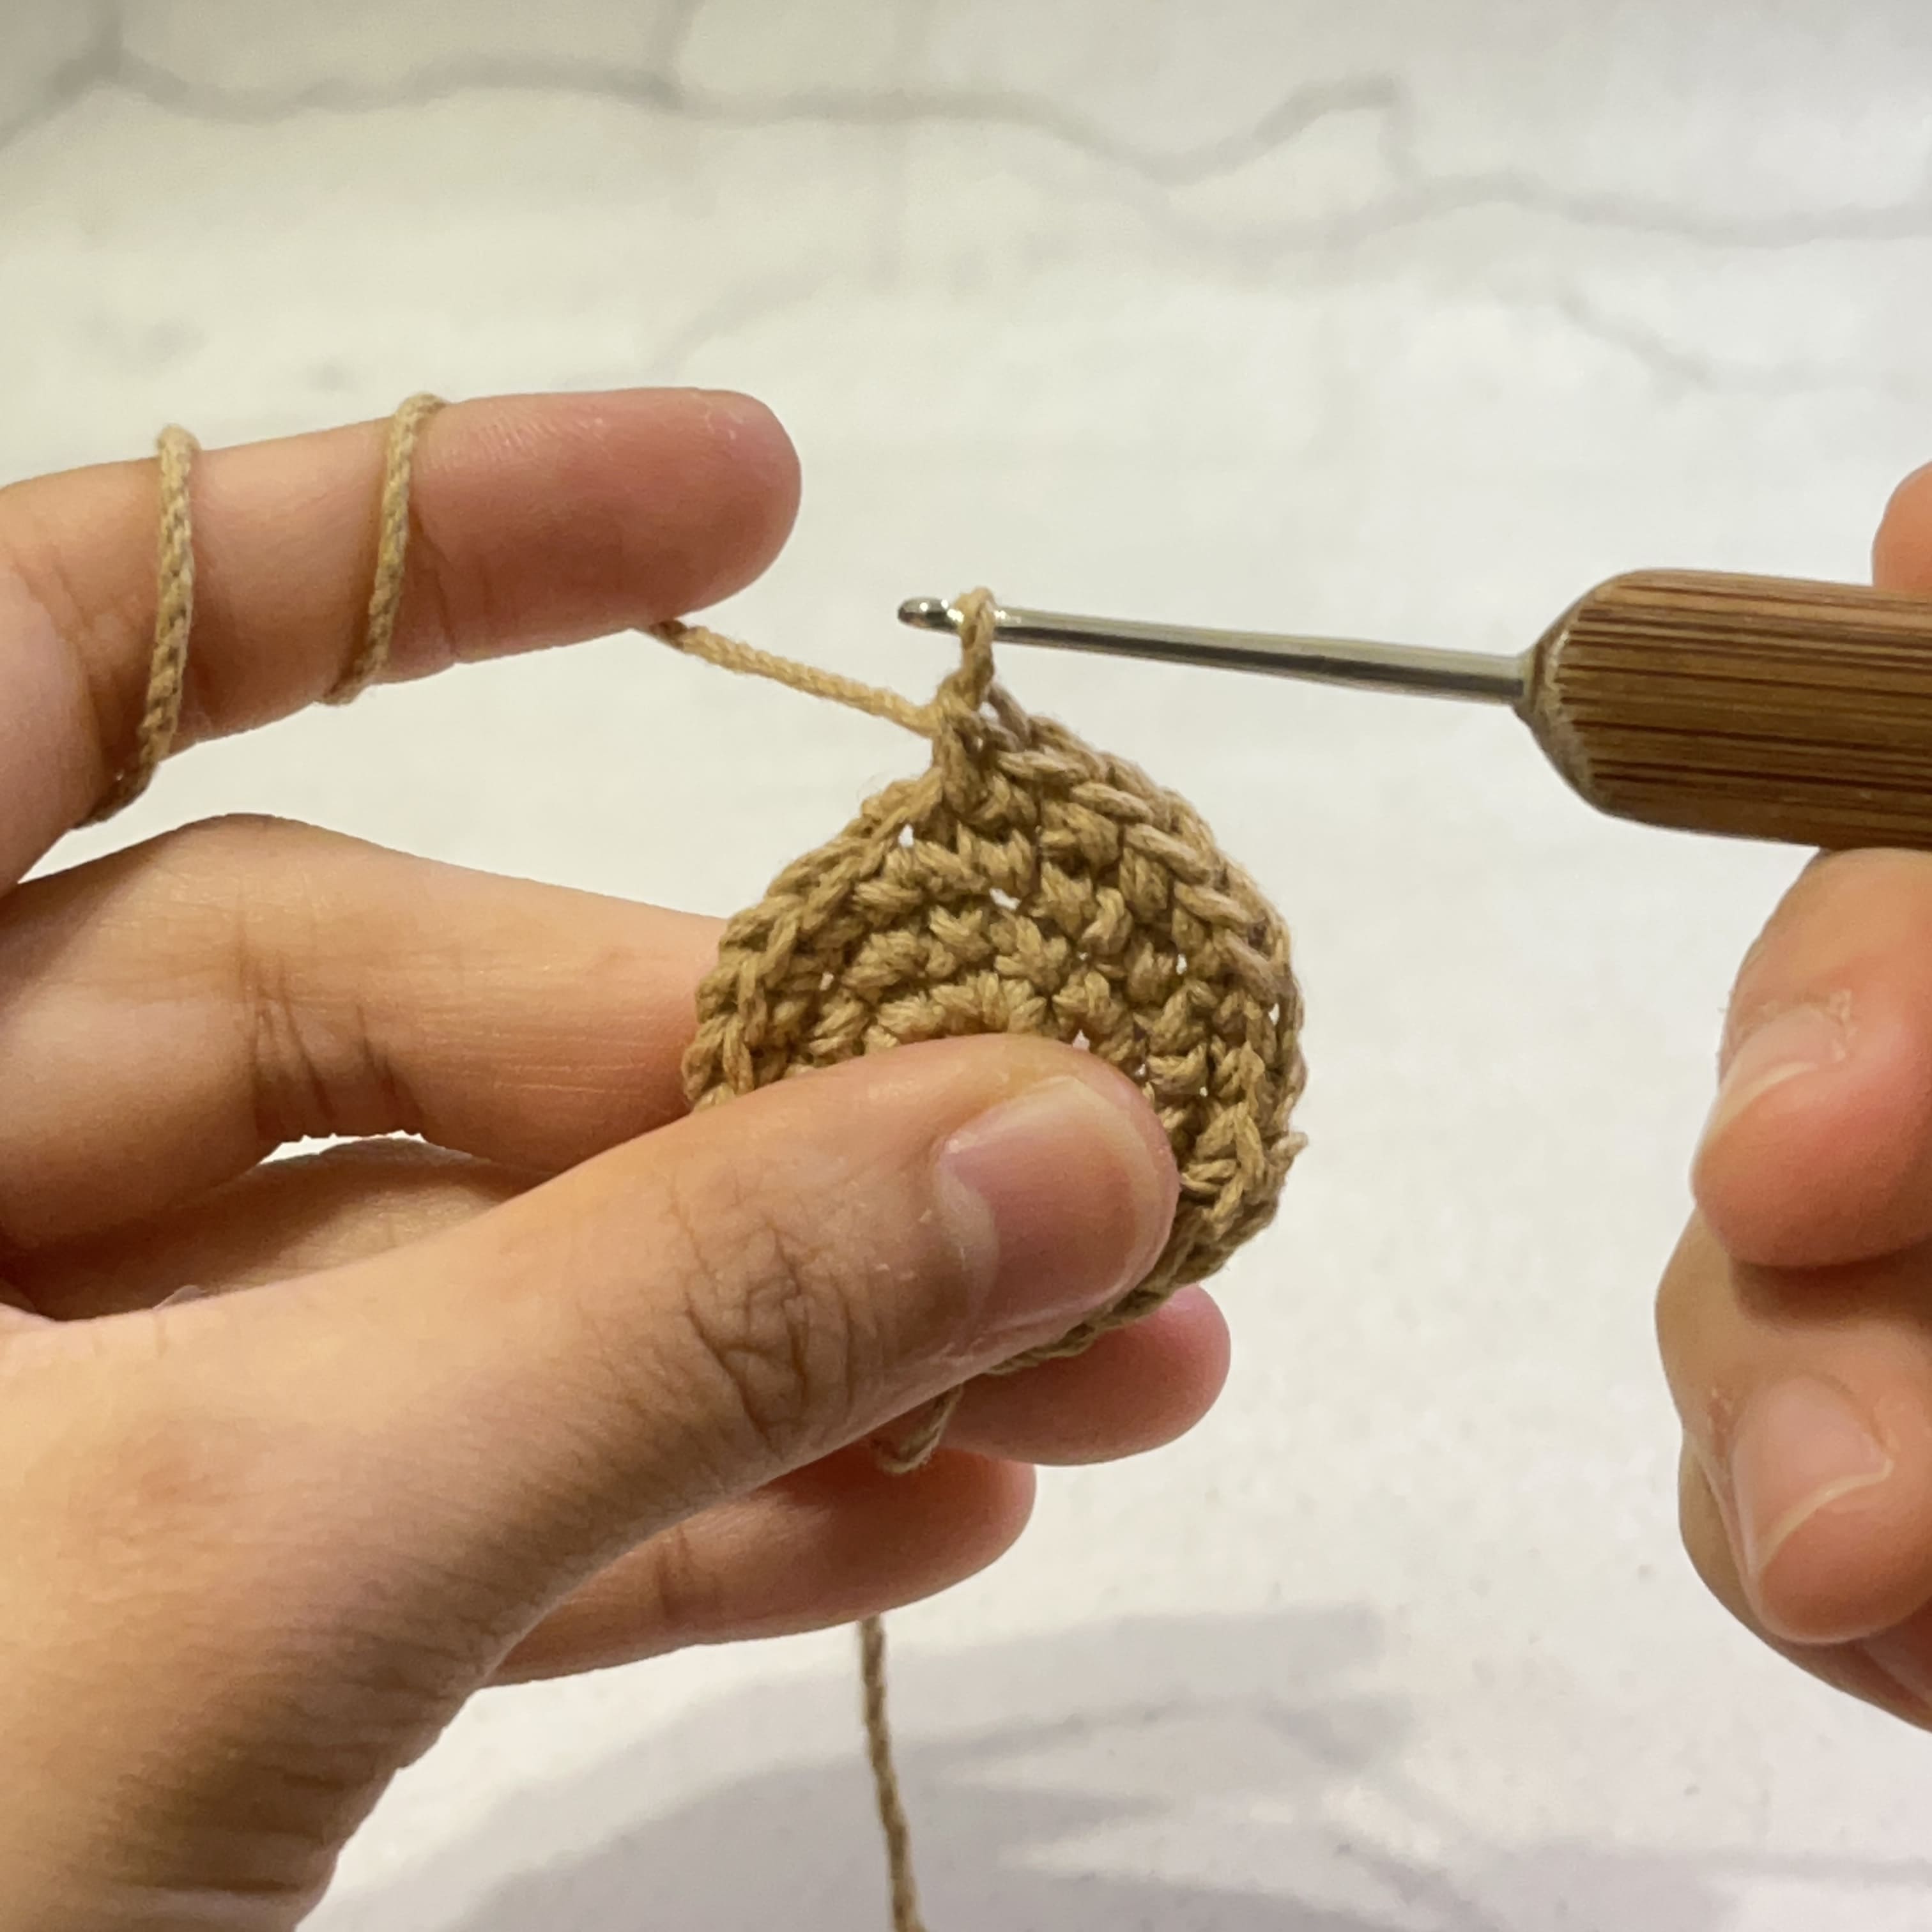
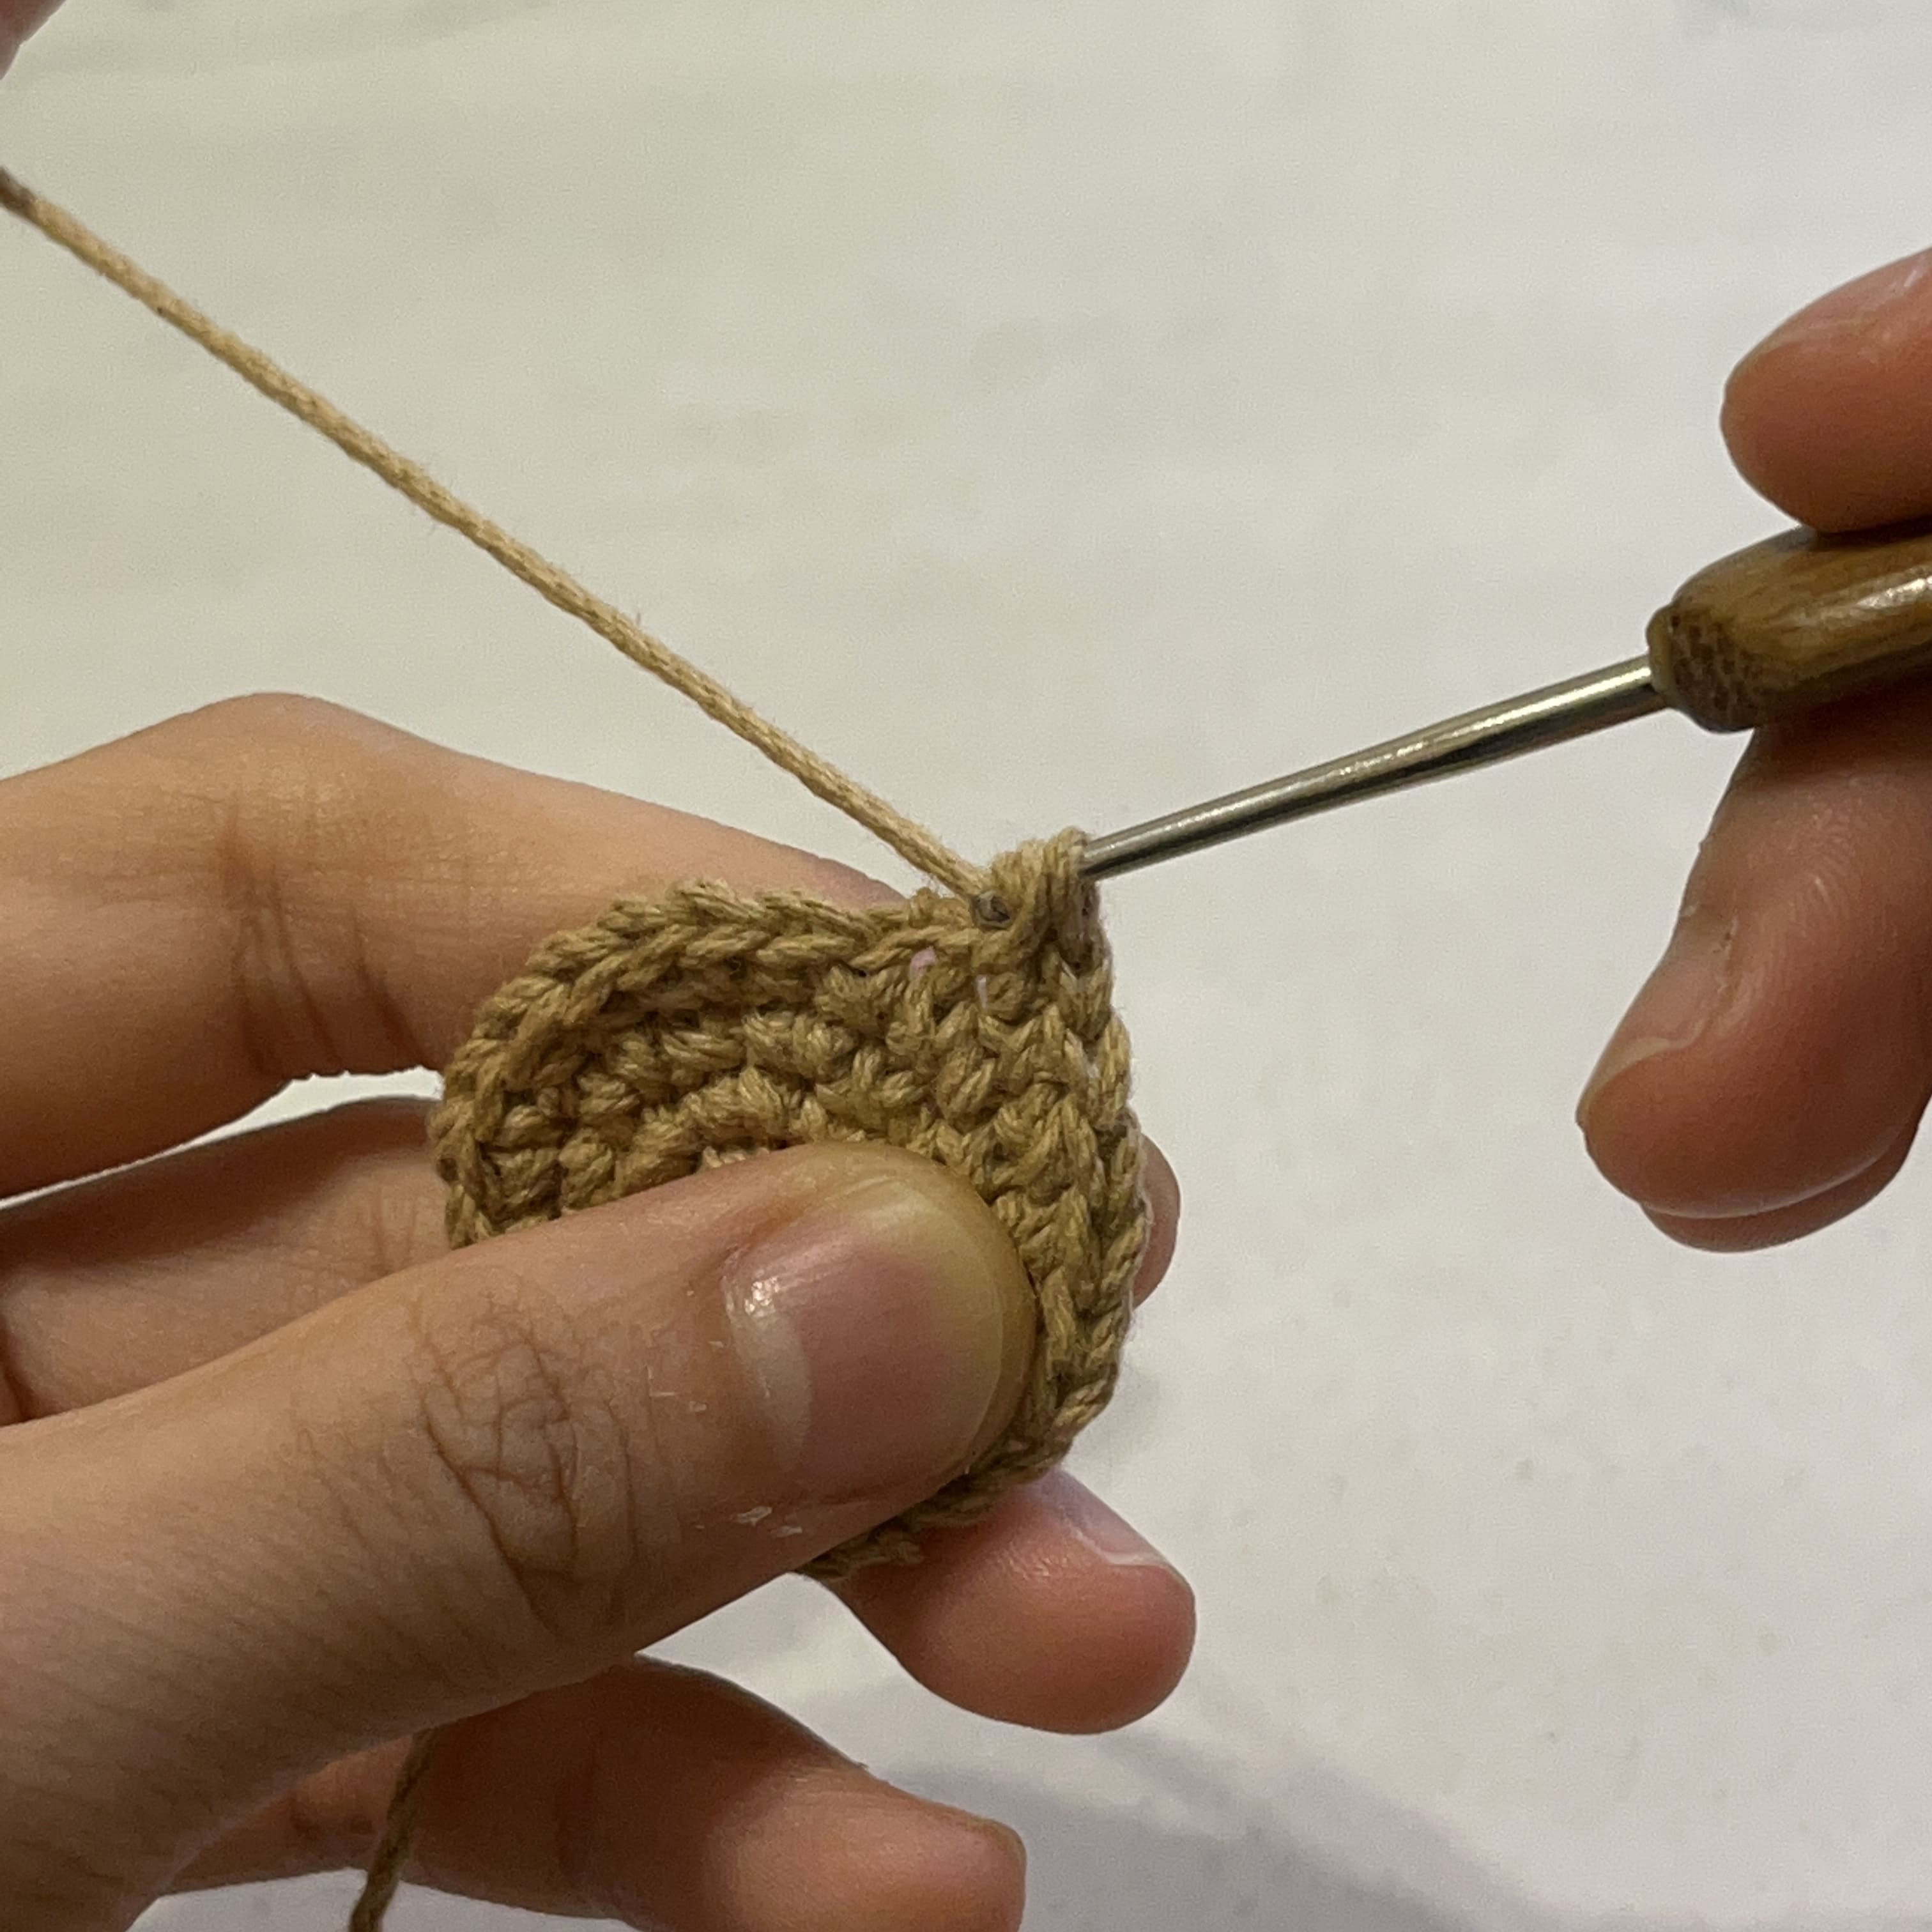
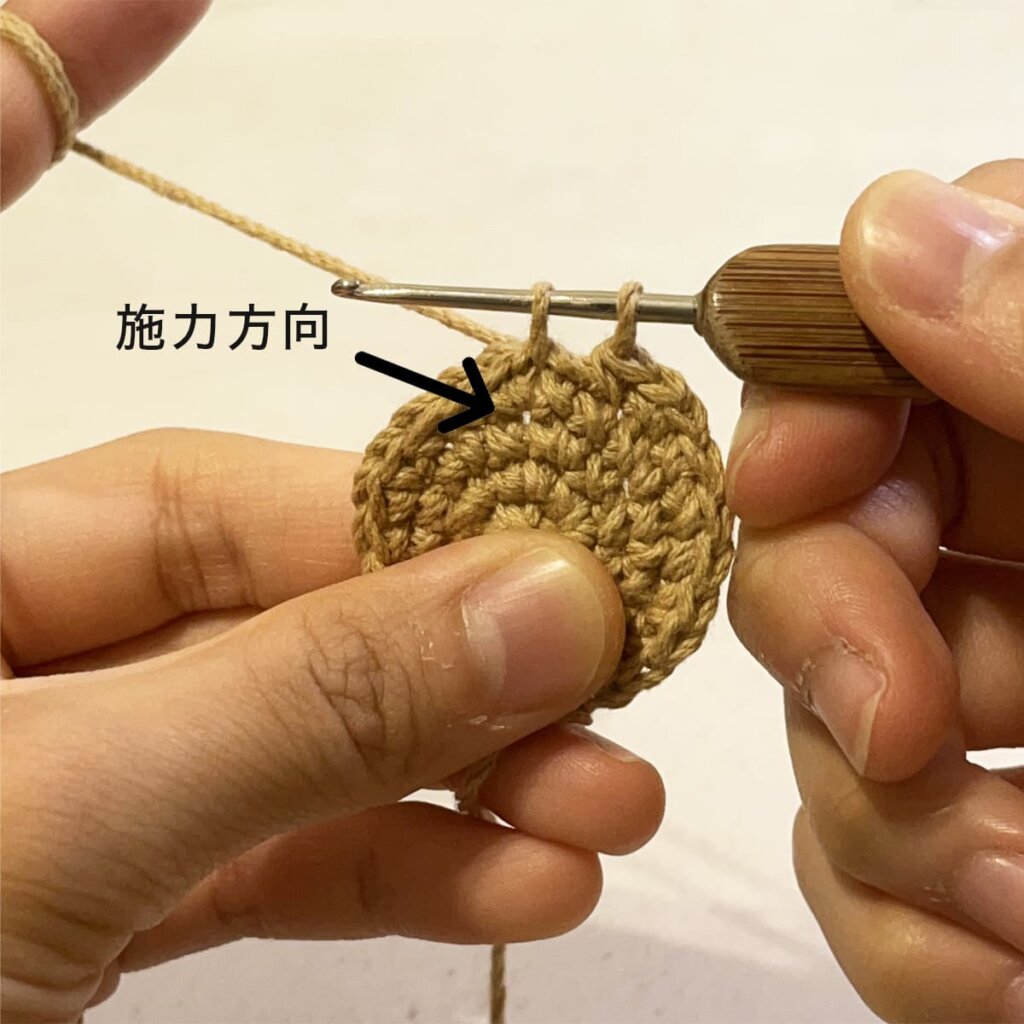
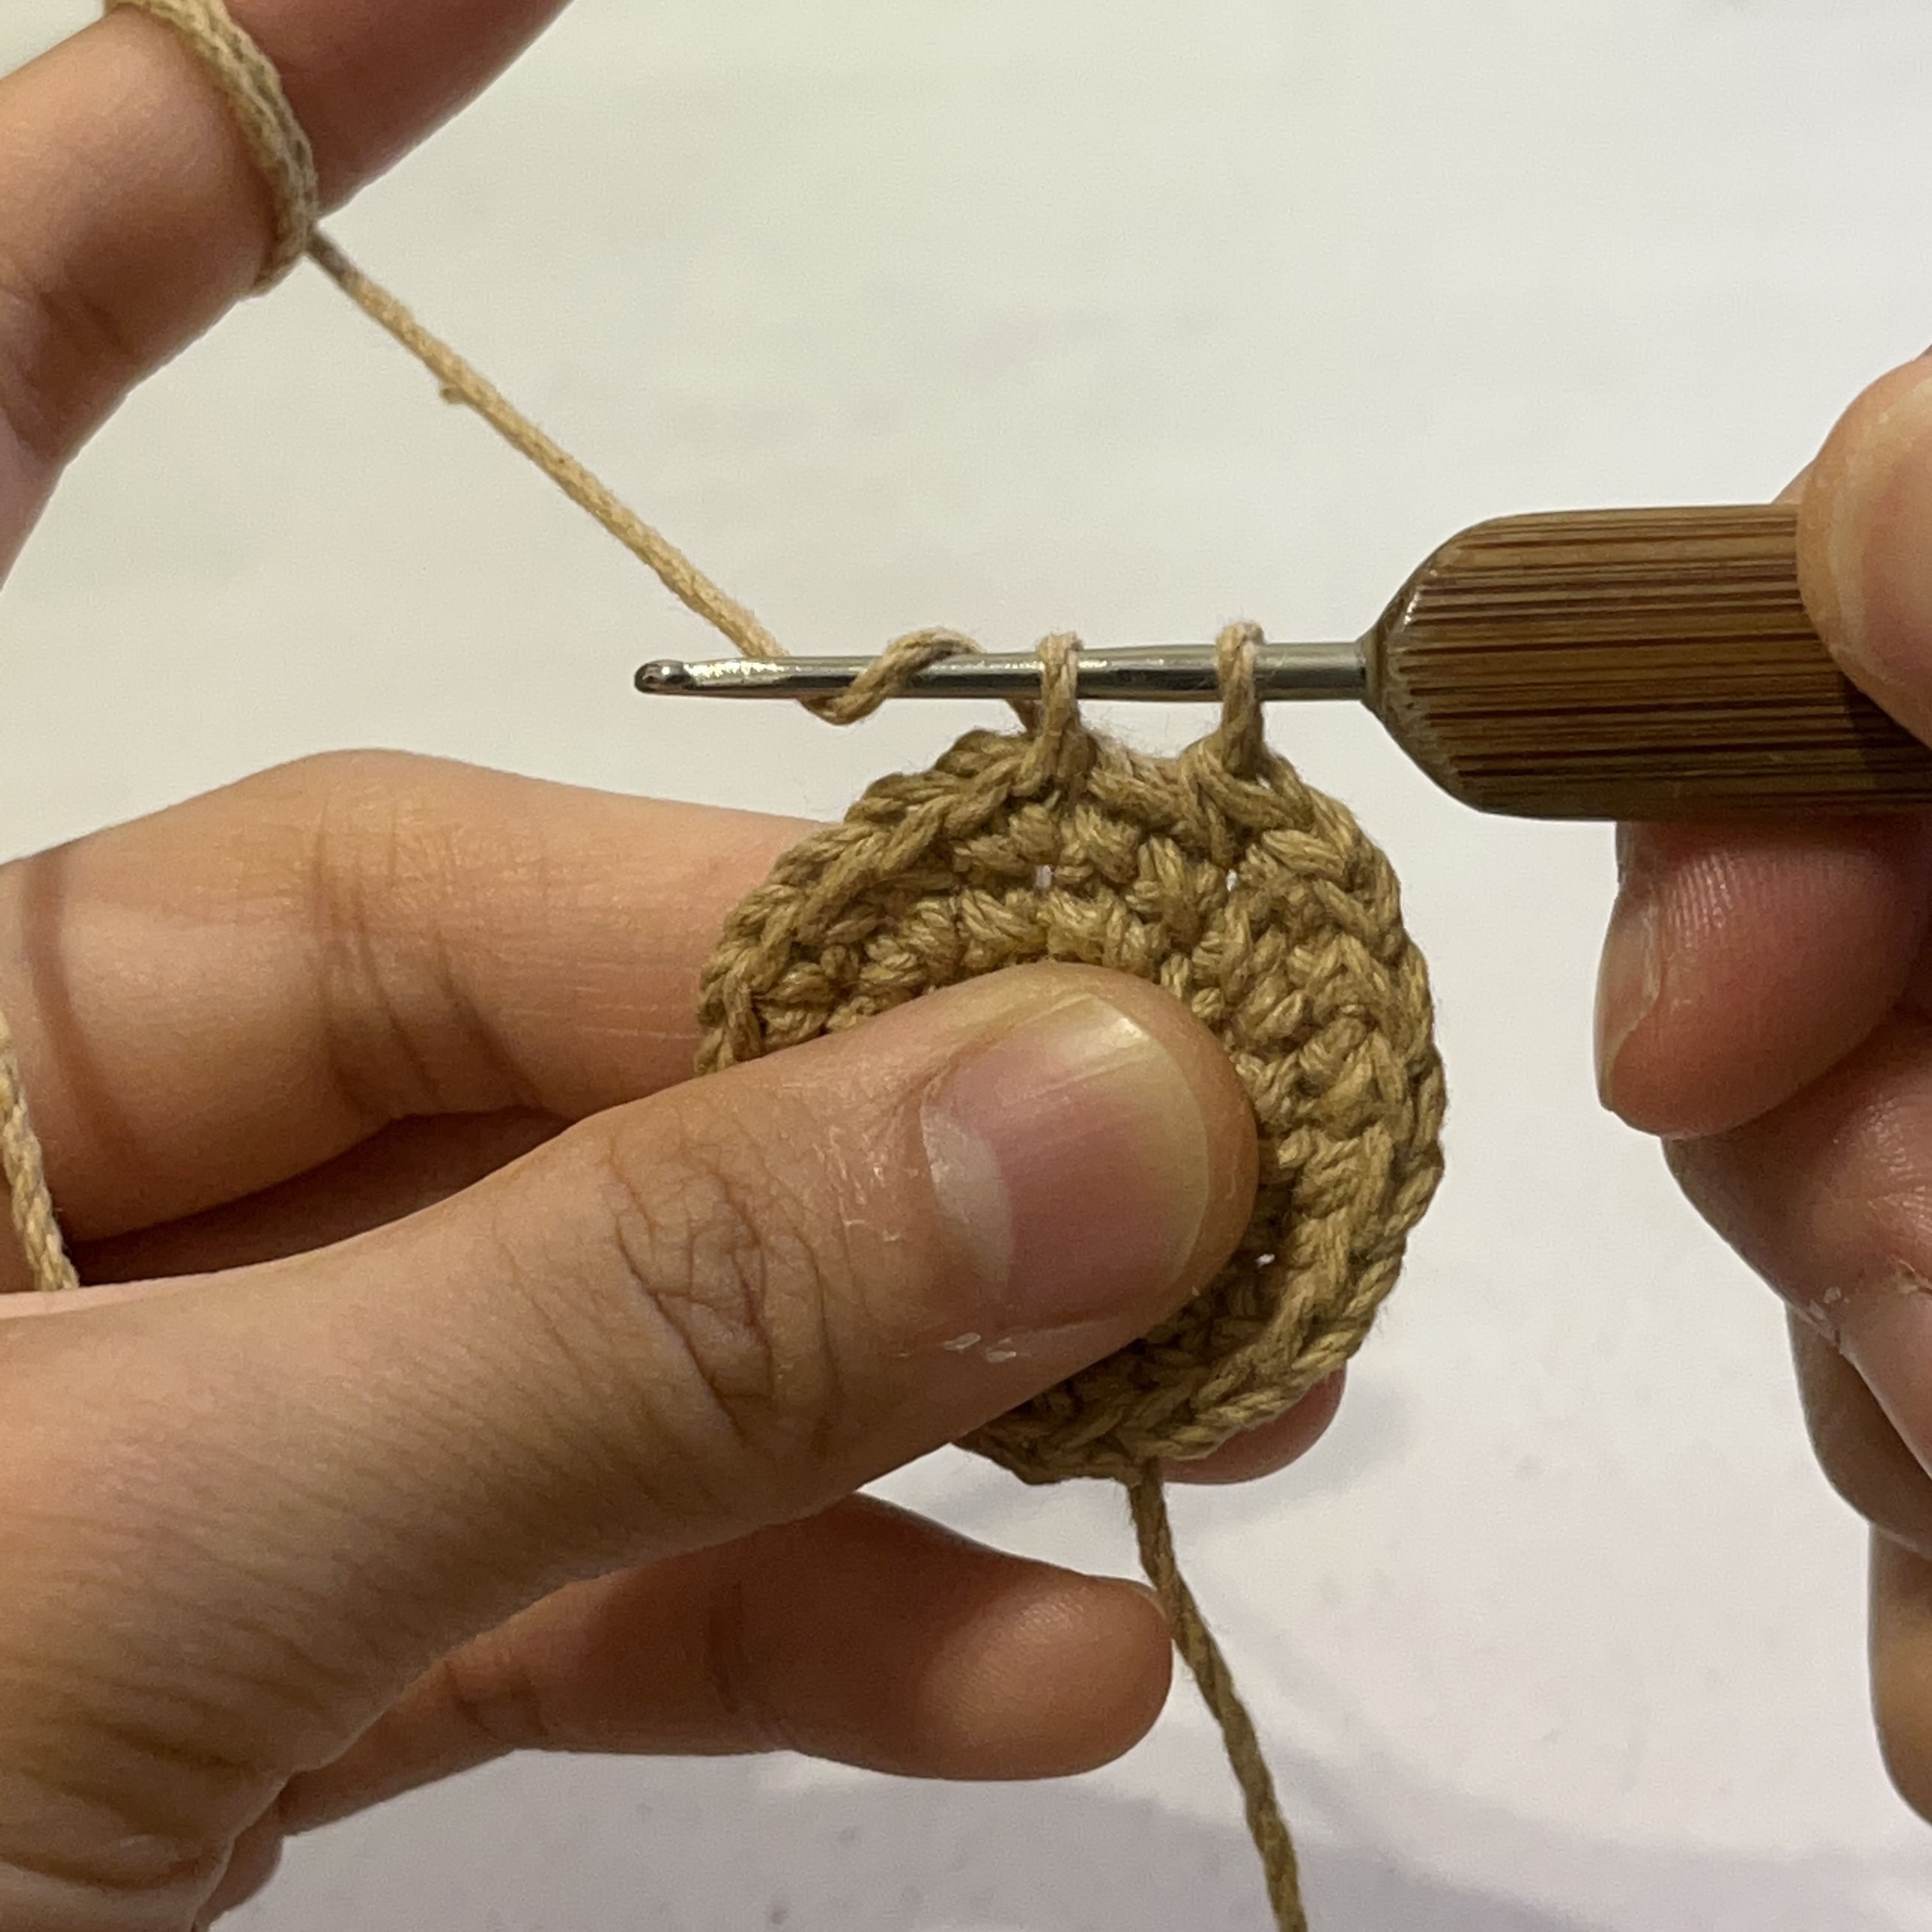
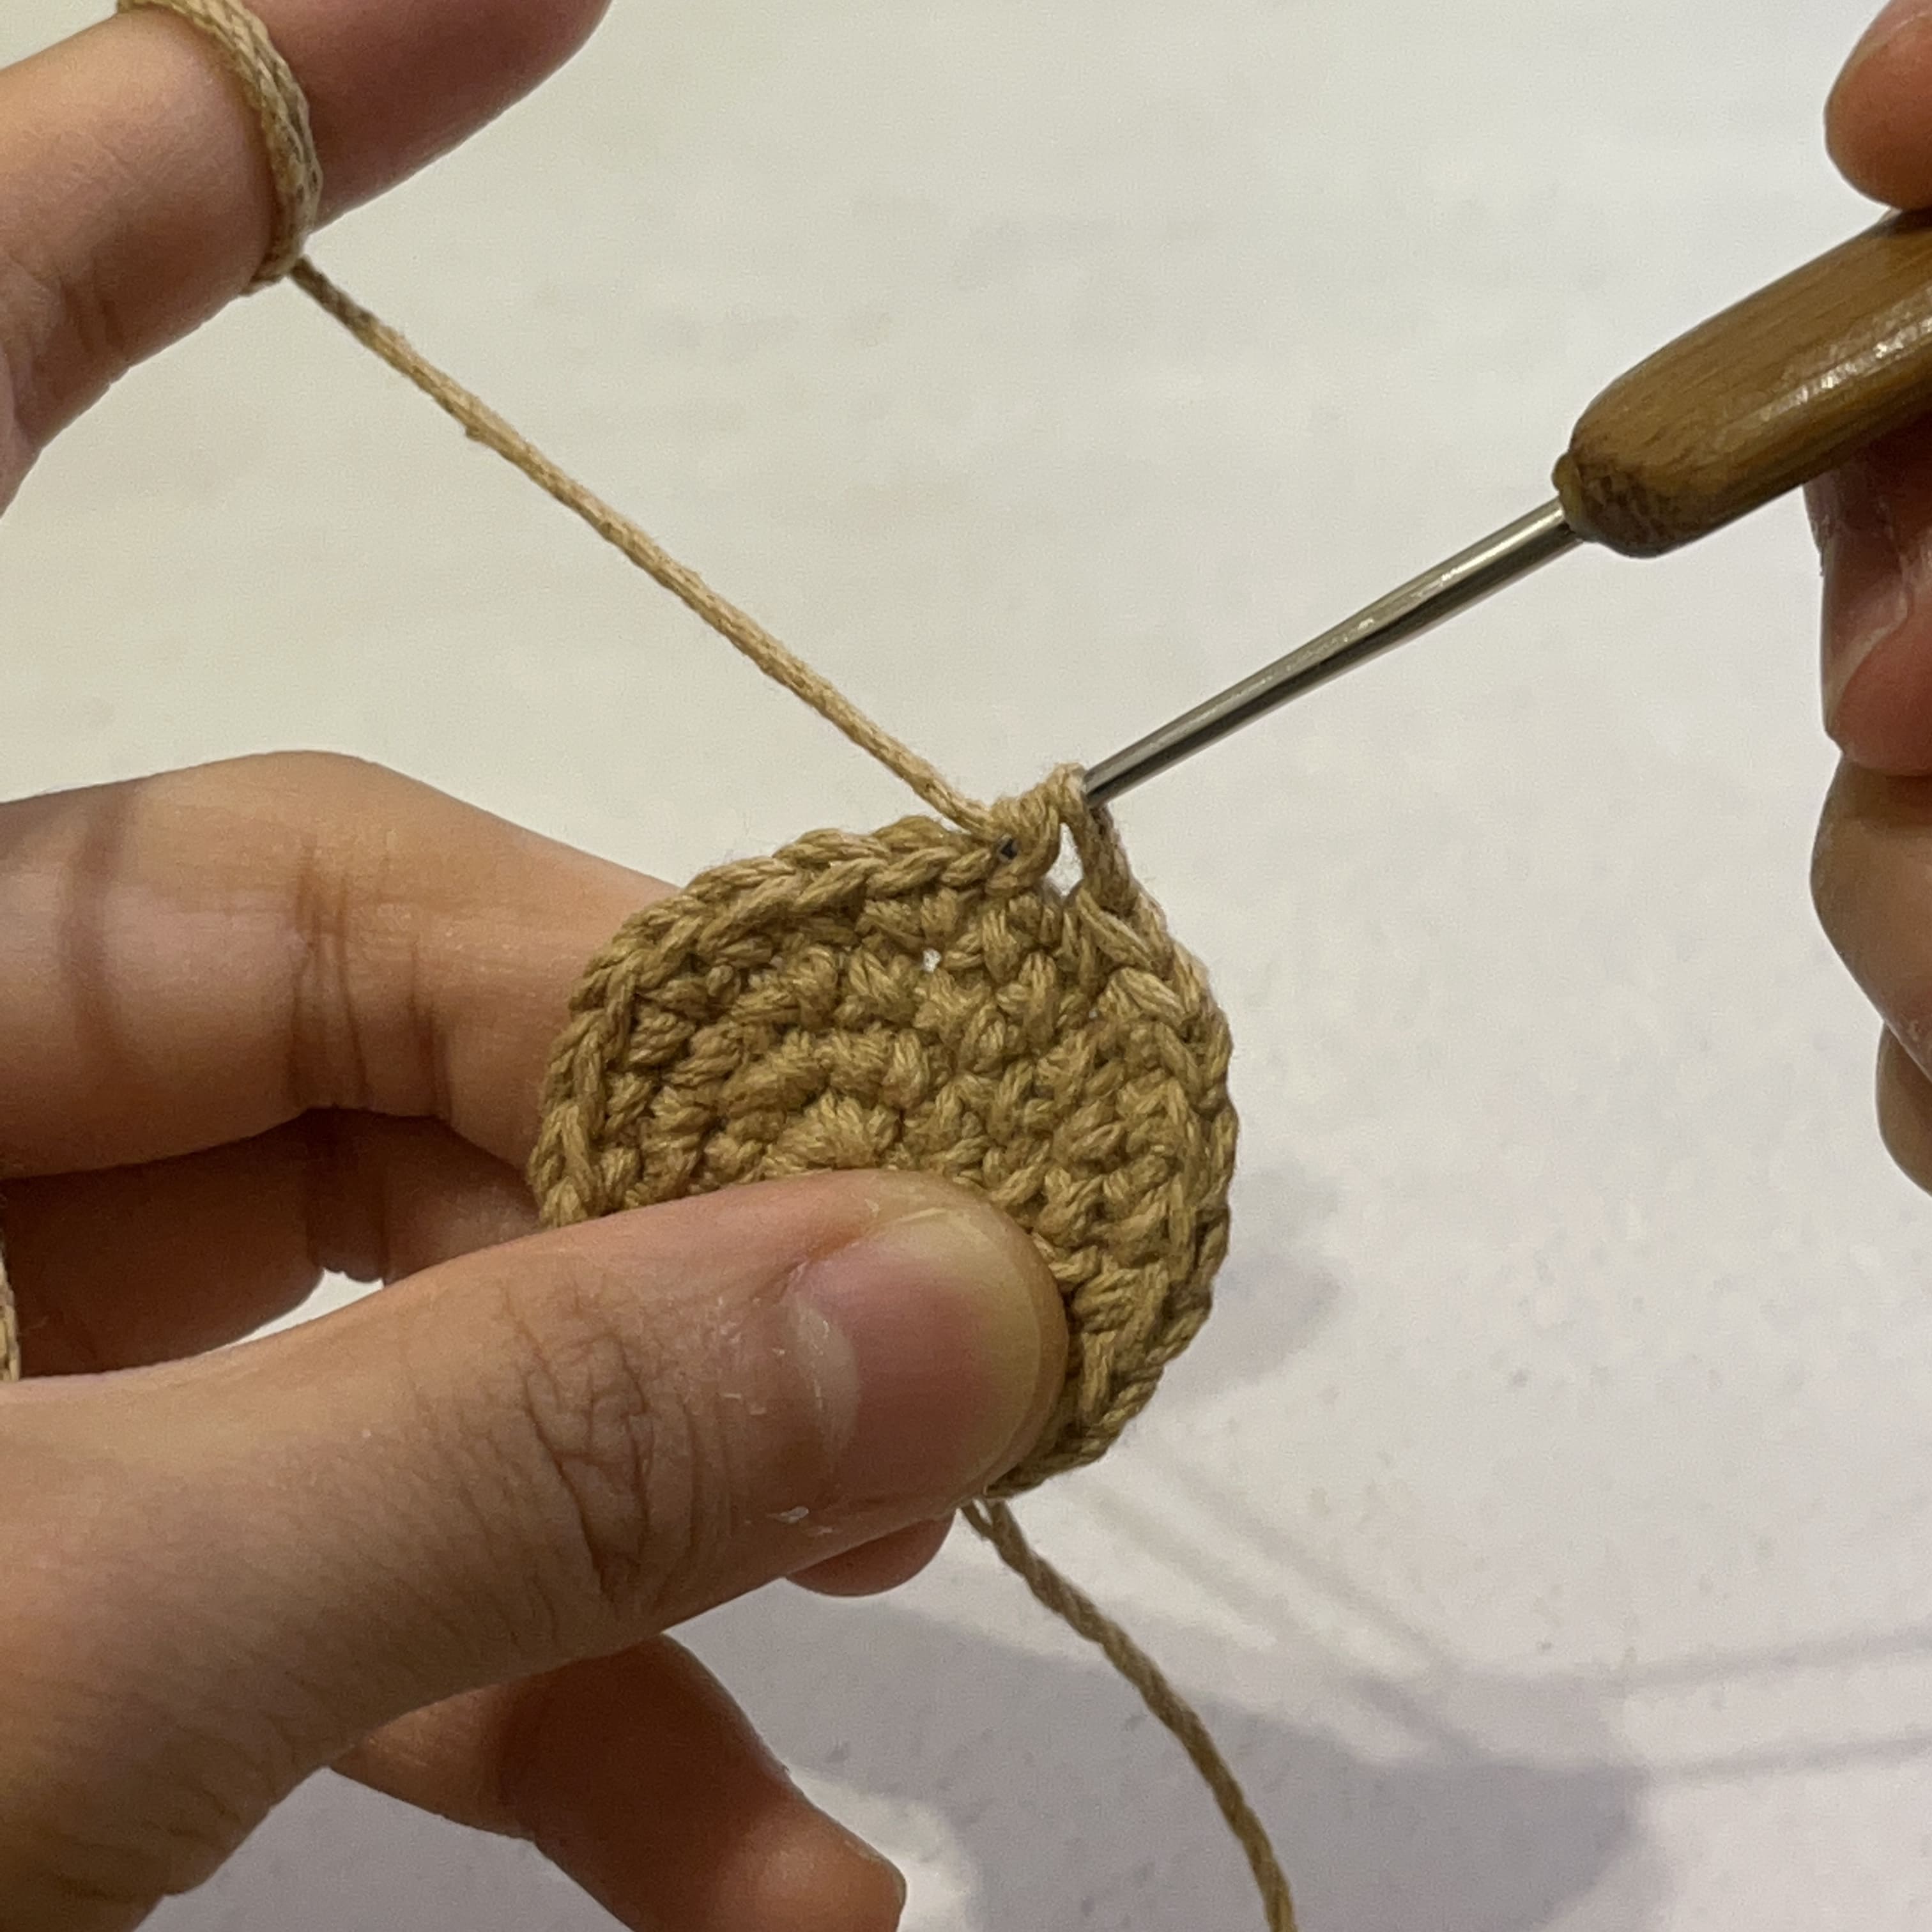
Single crochet decrease involves crocheting one stitch less than usual. The symbol for decrease is “A”, and its English abbreviation is “dec” (decrease). Depending on the requirements, there may also be instances of half double crochet decrease, double crochet decrease, and so forth.
How to Make Single Crochet Decrease

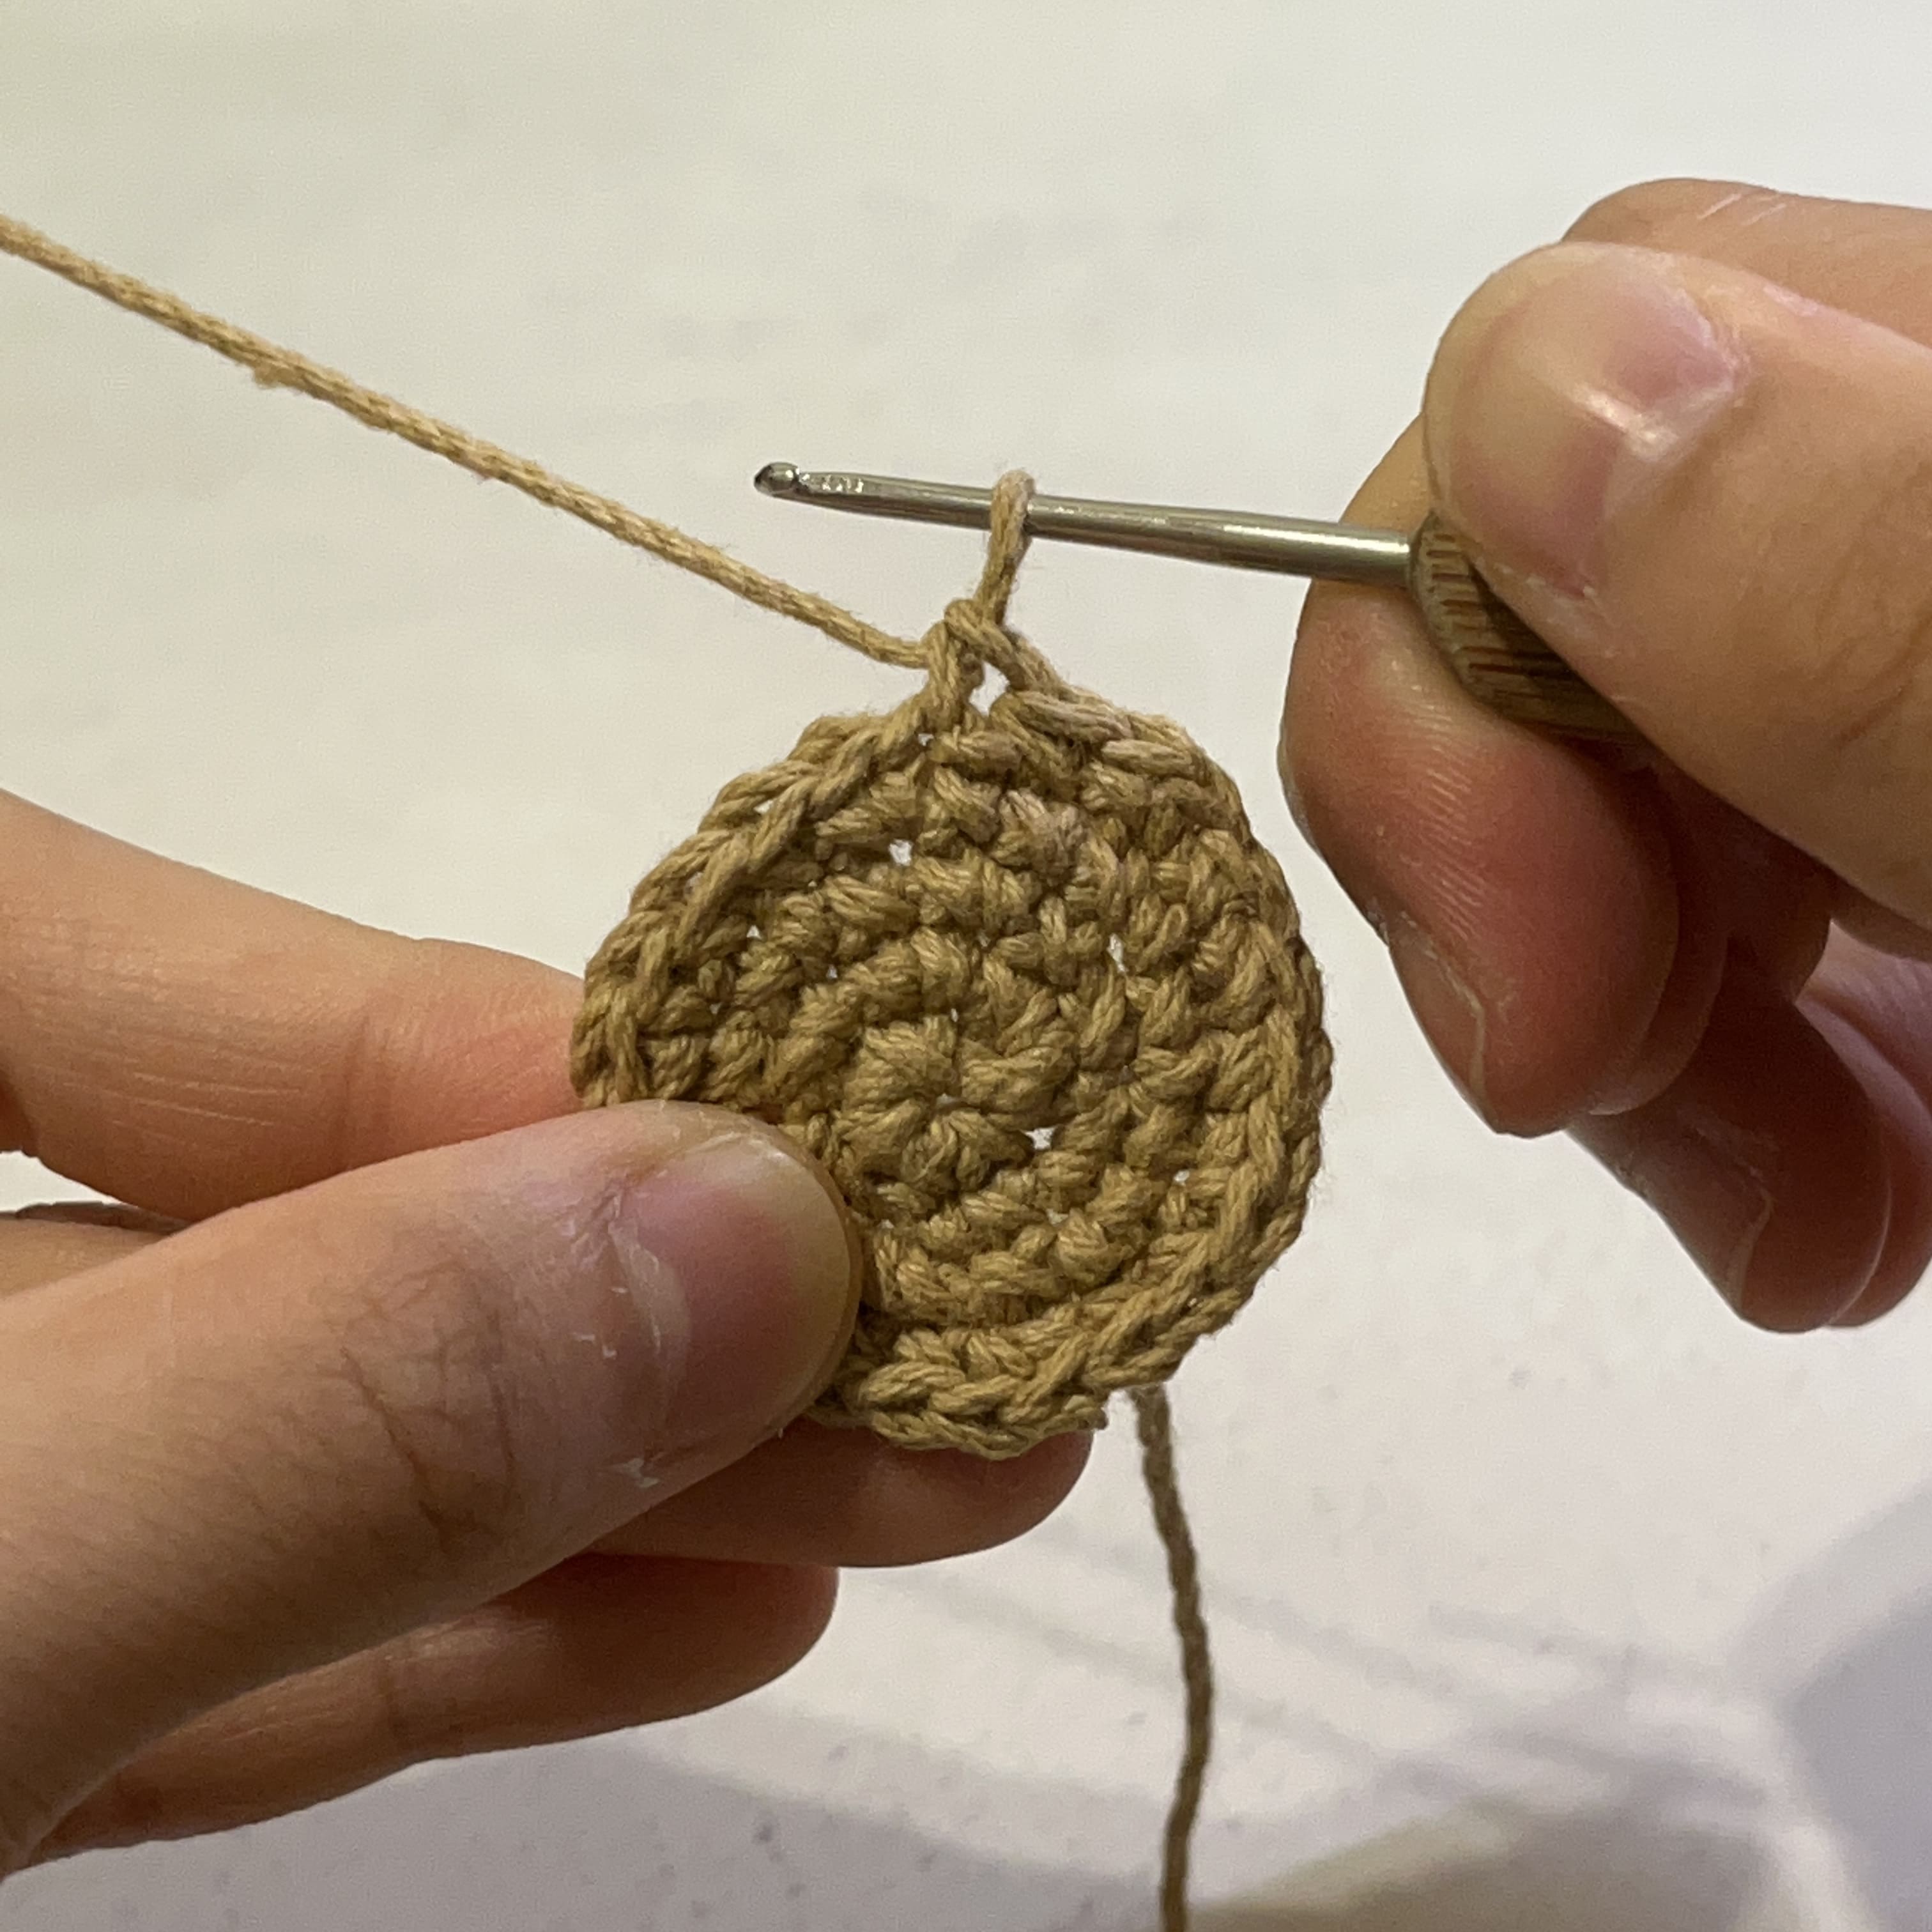
Basic Stitch 6: Slip Stitch
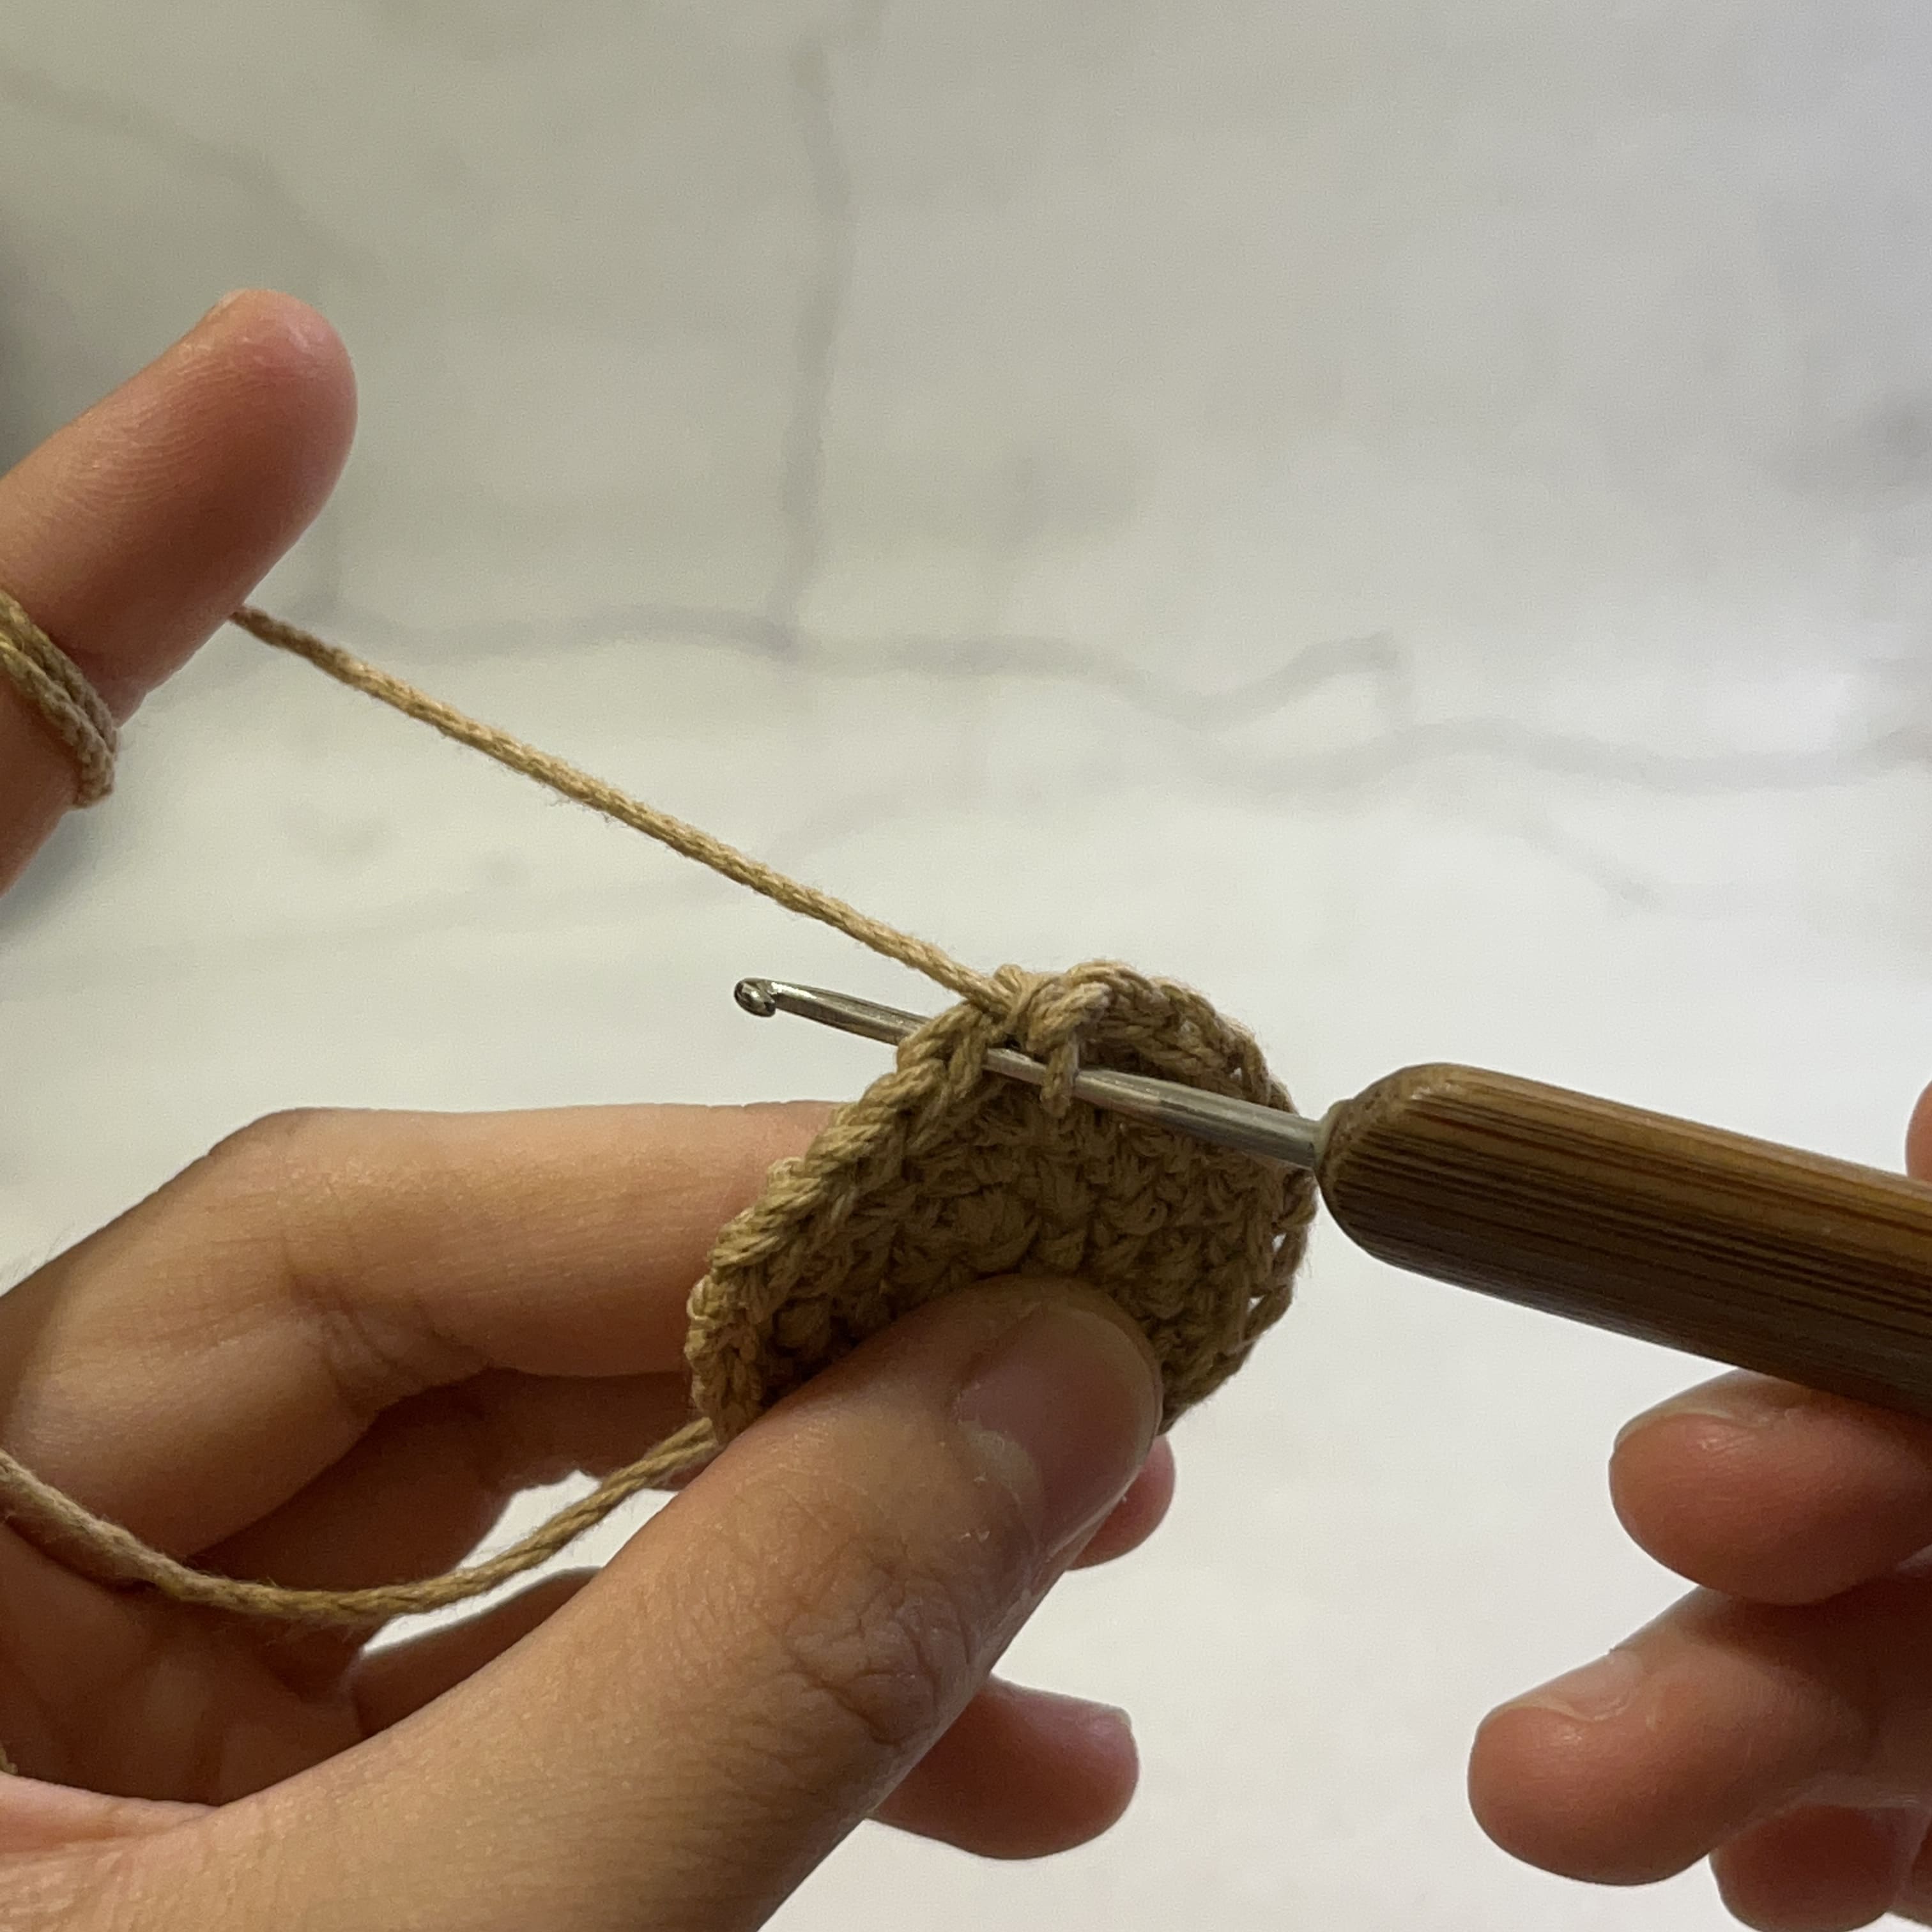
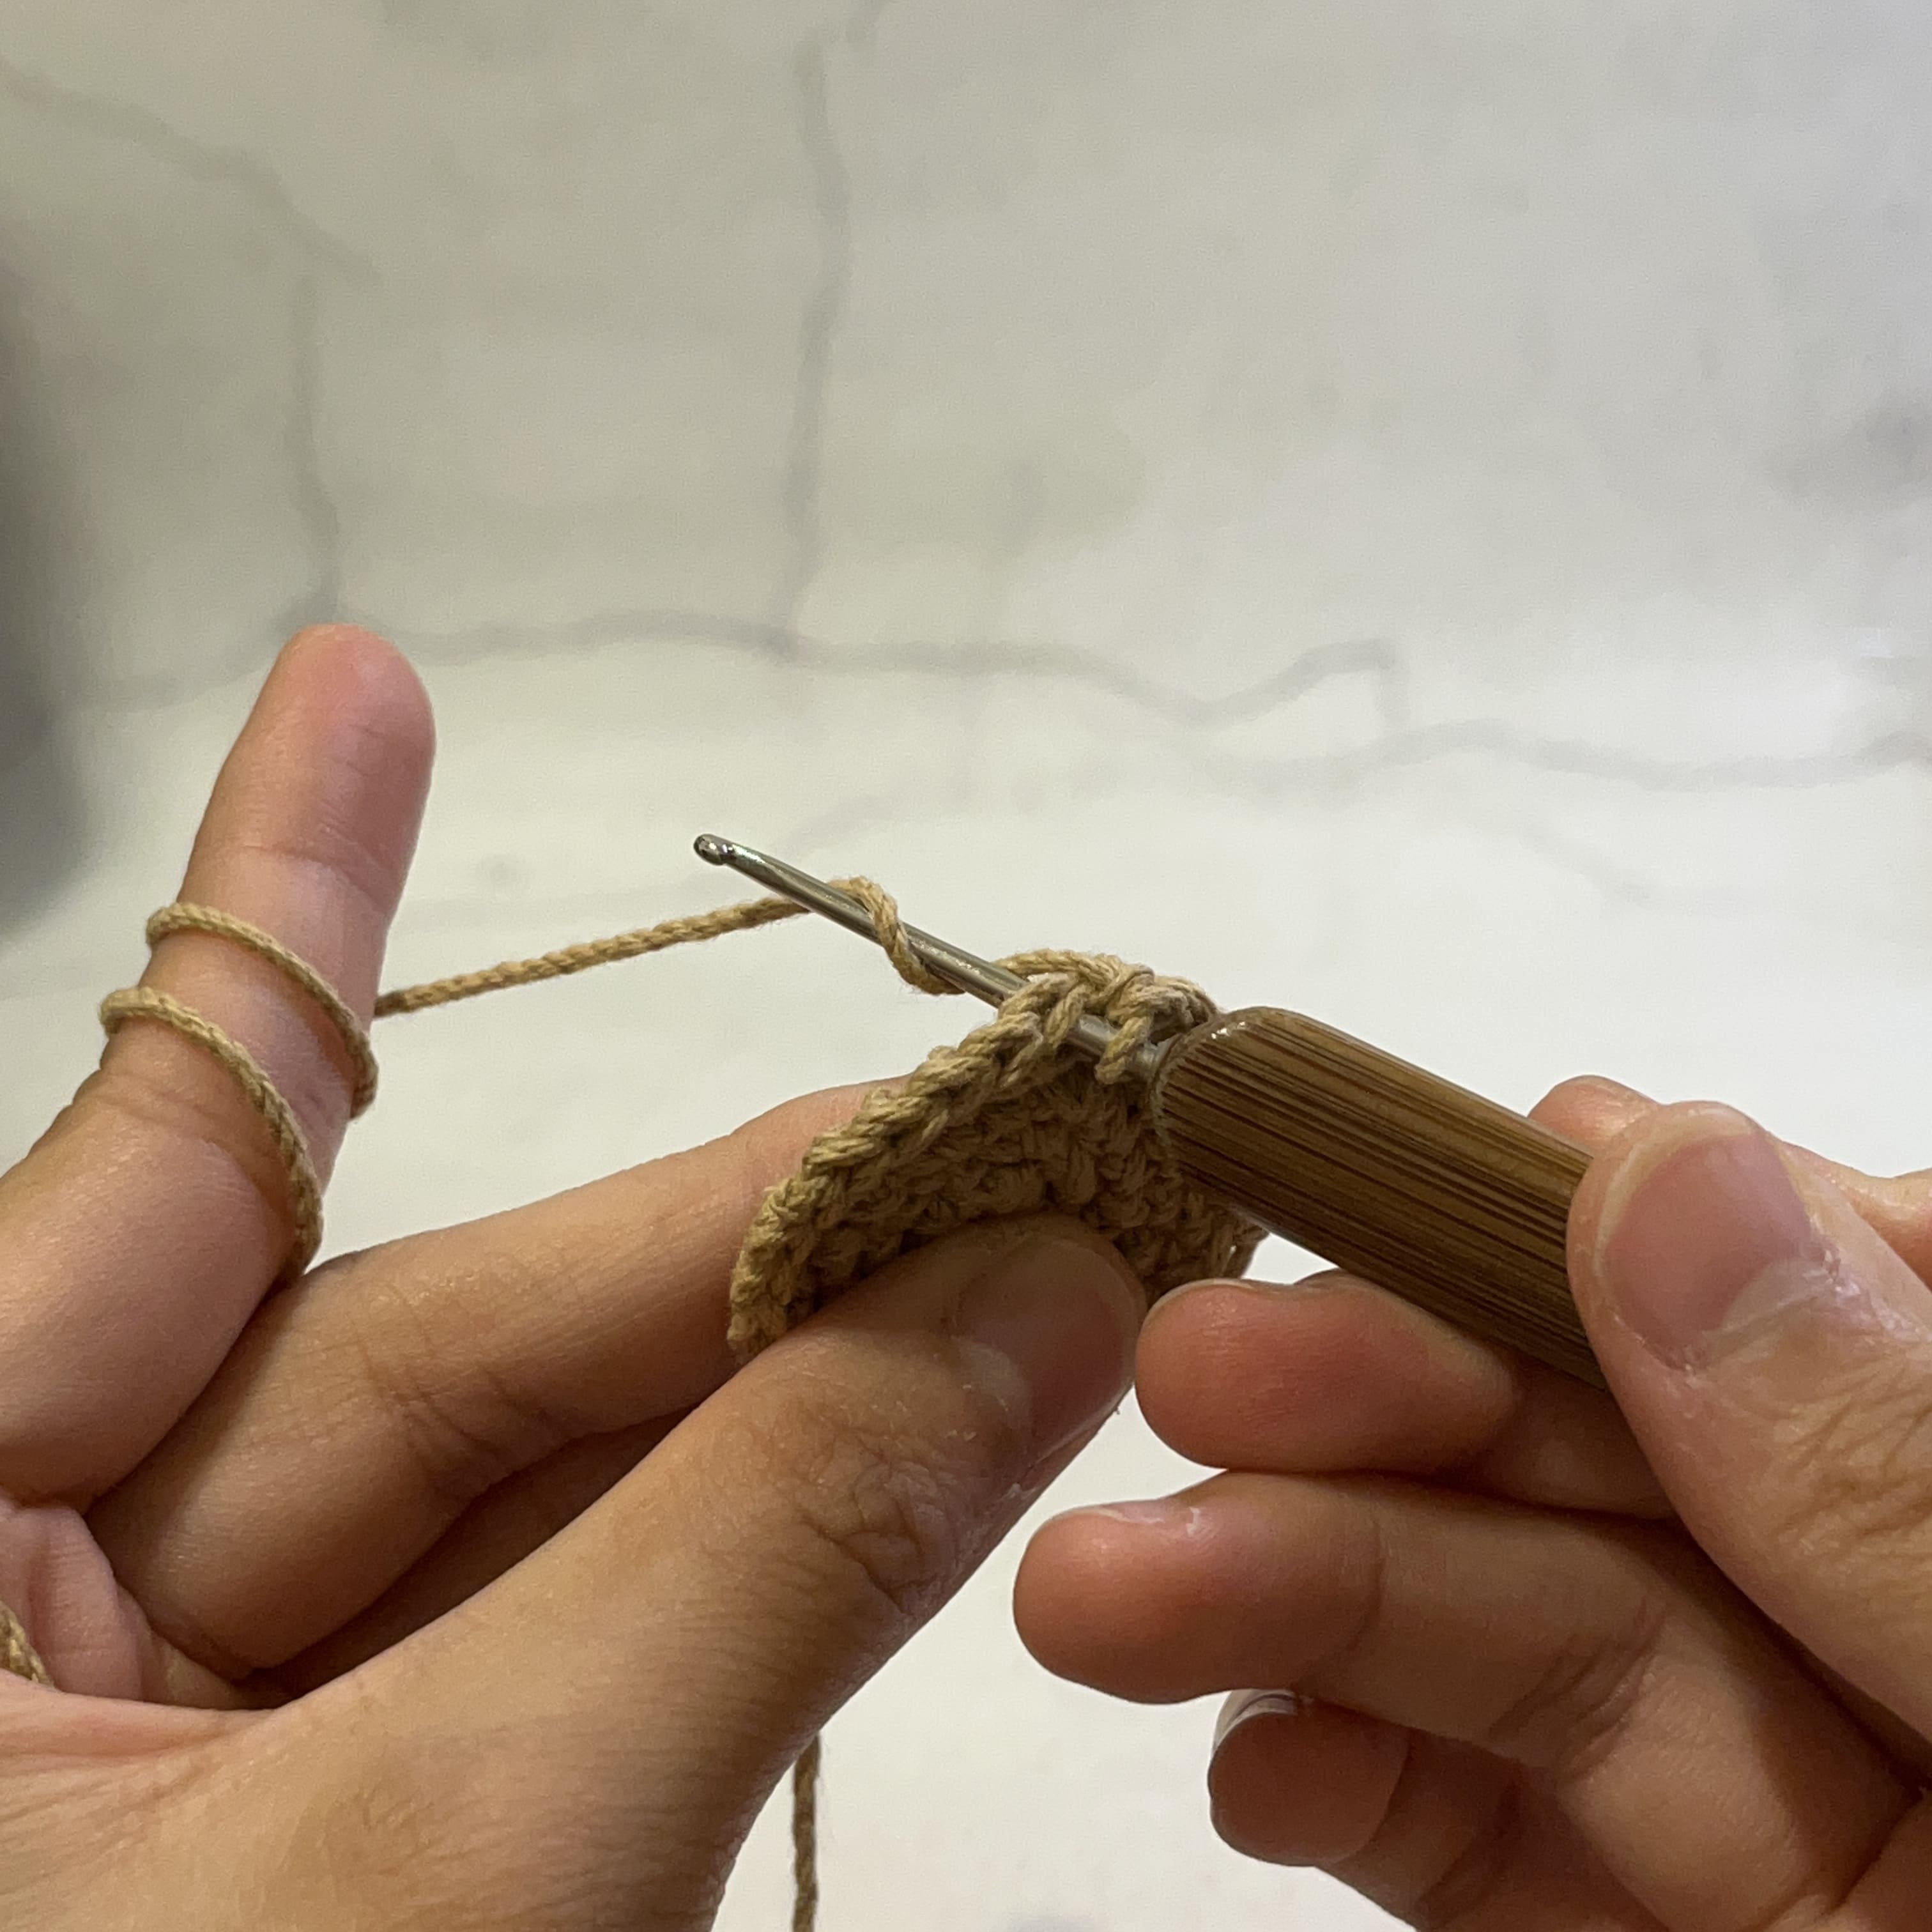
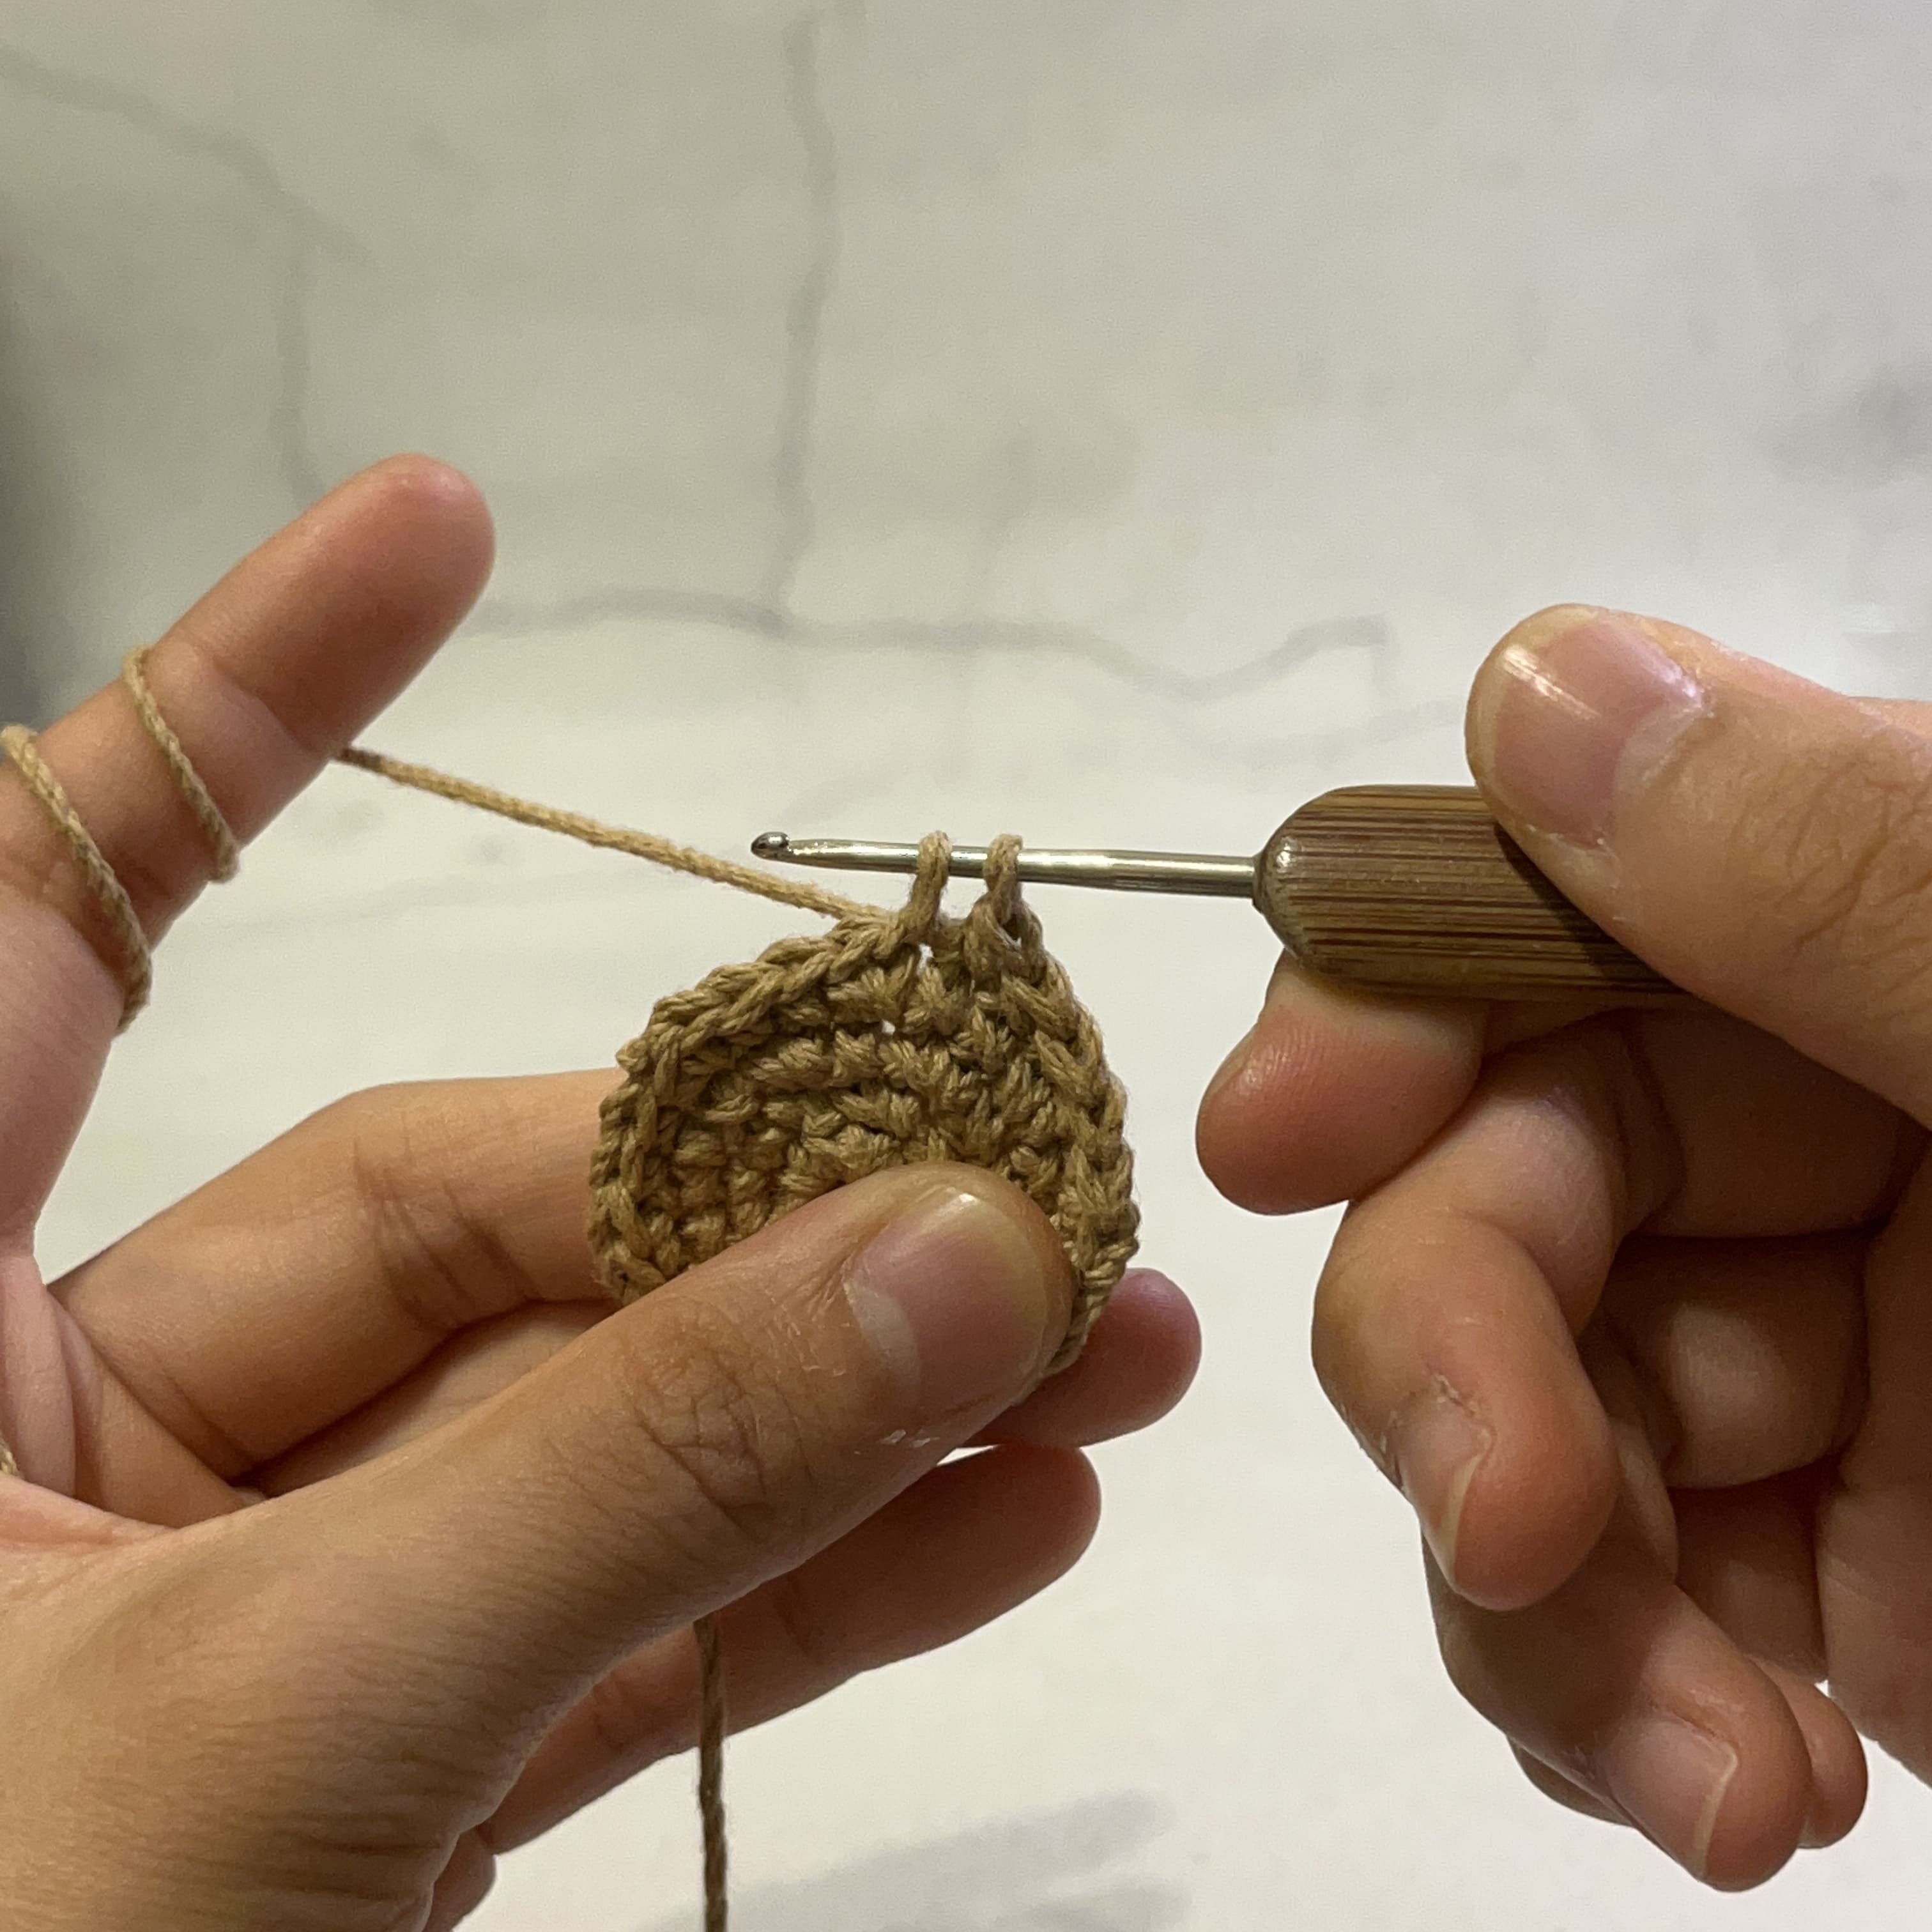
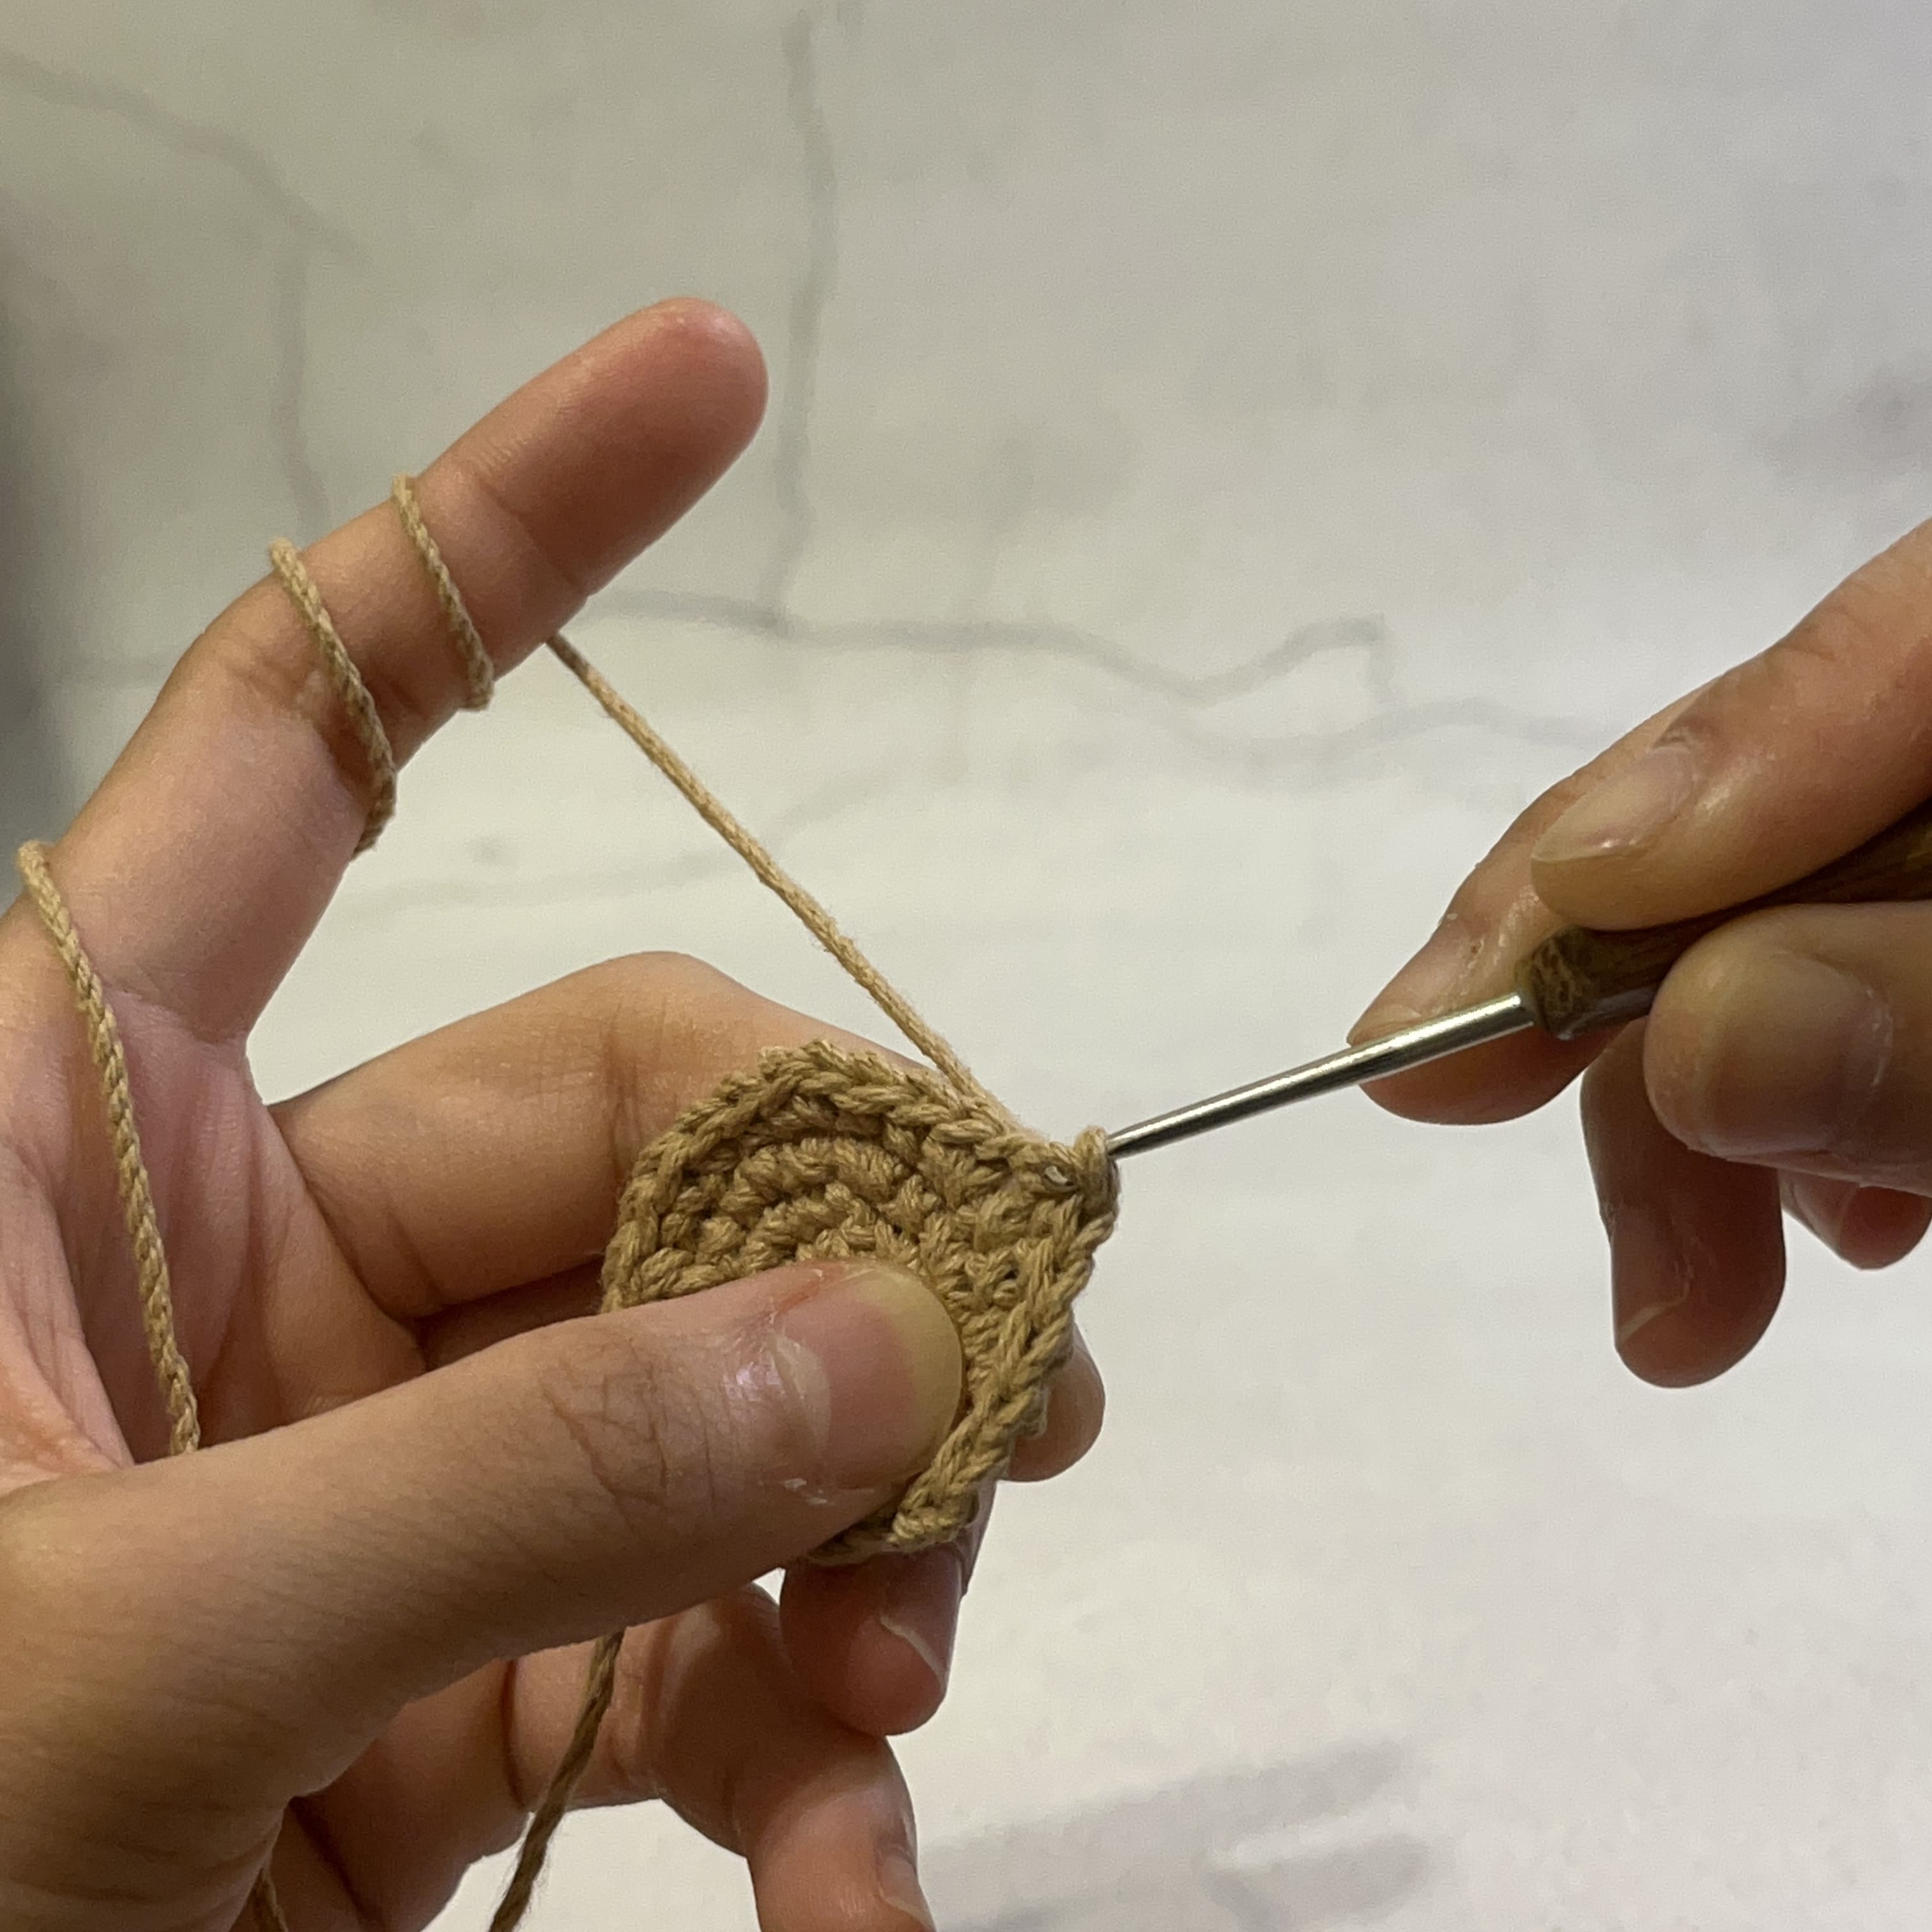
Slip stitch is commonly used for joining at the beginning or end of a row and is the shortest among all crochet stitches. For instance, in the “standing stitch” technique used at the beginning of a project, you start with a slip stitch and then crochet a chain stitch, known as a standing stitch. The procedure involves completing a slip stitch and then crocheting a chain stitch. For example, for single crochet, you crochet one chain stitch, for half double crochet, you crochet two chain stitches, and so on.
Regarding finishing off, slip stitch is somewhat akin to tying a knot. If a crochet pattern mentions “slip stitch and fasten off,” it means after completing the slip stitch, you cut the yarn and hide it, while “slip stitch and leave a tail” means leaving a portion of the yarn for sewing purposes.
How to Make a Slip Stitch
Subscribe E-newspaper, so you can get more crochet patterns.
❈ Read more ❈
How to Create a Magic Ring with HDC or DC – Amigurumi Tutorial 6

4 Comments
Pingback:
Pingback:
Pingback:
Pingback: